
Milky almond nails look effortless, which is why they're easy to mess up. I learned the expensive way: three salon visits, $165, chalky claws nothing like my reference photo. The culprit was small mistakes. These 19 milky almond nail ideas fix each one.
Why Milky Almond Nails Go Wrong
Sheer by design, this formula hides nothing — uneven coats, bad shaping, stained plates. Opaque polish forgives; milky sheer exposes. Each idea names one mistake, the look that fixes it, and the pro tip that keeps it working.
1. Thick Coats: The Sheer Milky Wash
My first attempt went on like house paint — three heavy coats turned opaque and streaky. The fix: two thin coats of true jelly-sheer, each left to level alone.
Result: a soft veil with your natural nail ghosting through. Say "two thin coats of sheer milky white" ($45–$55 gel) — if one coat looks opaque, switch bottles, not techniques.
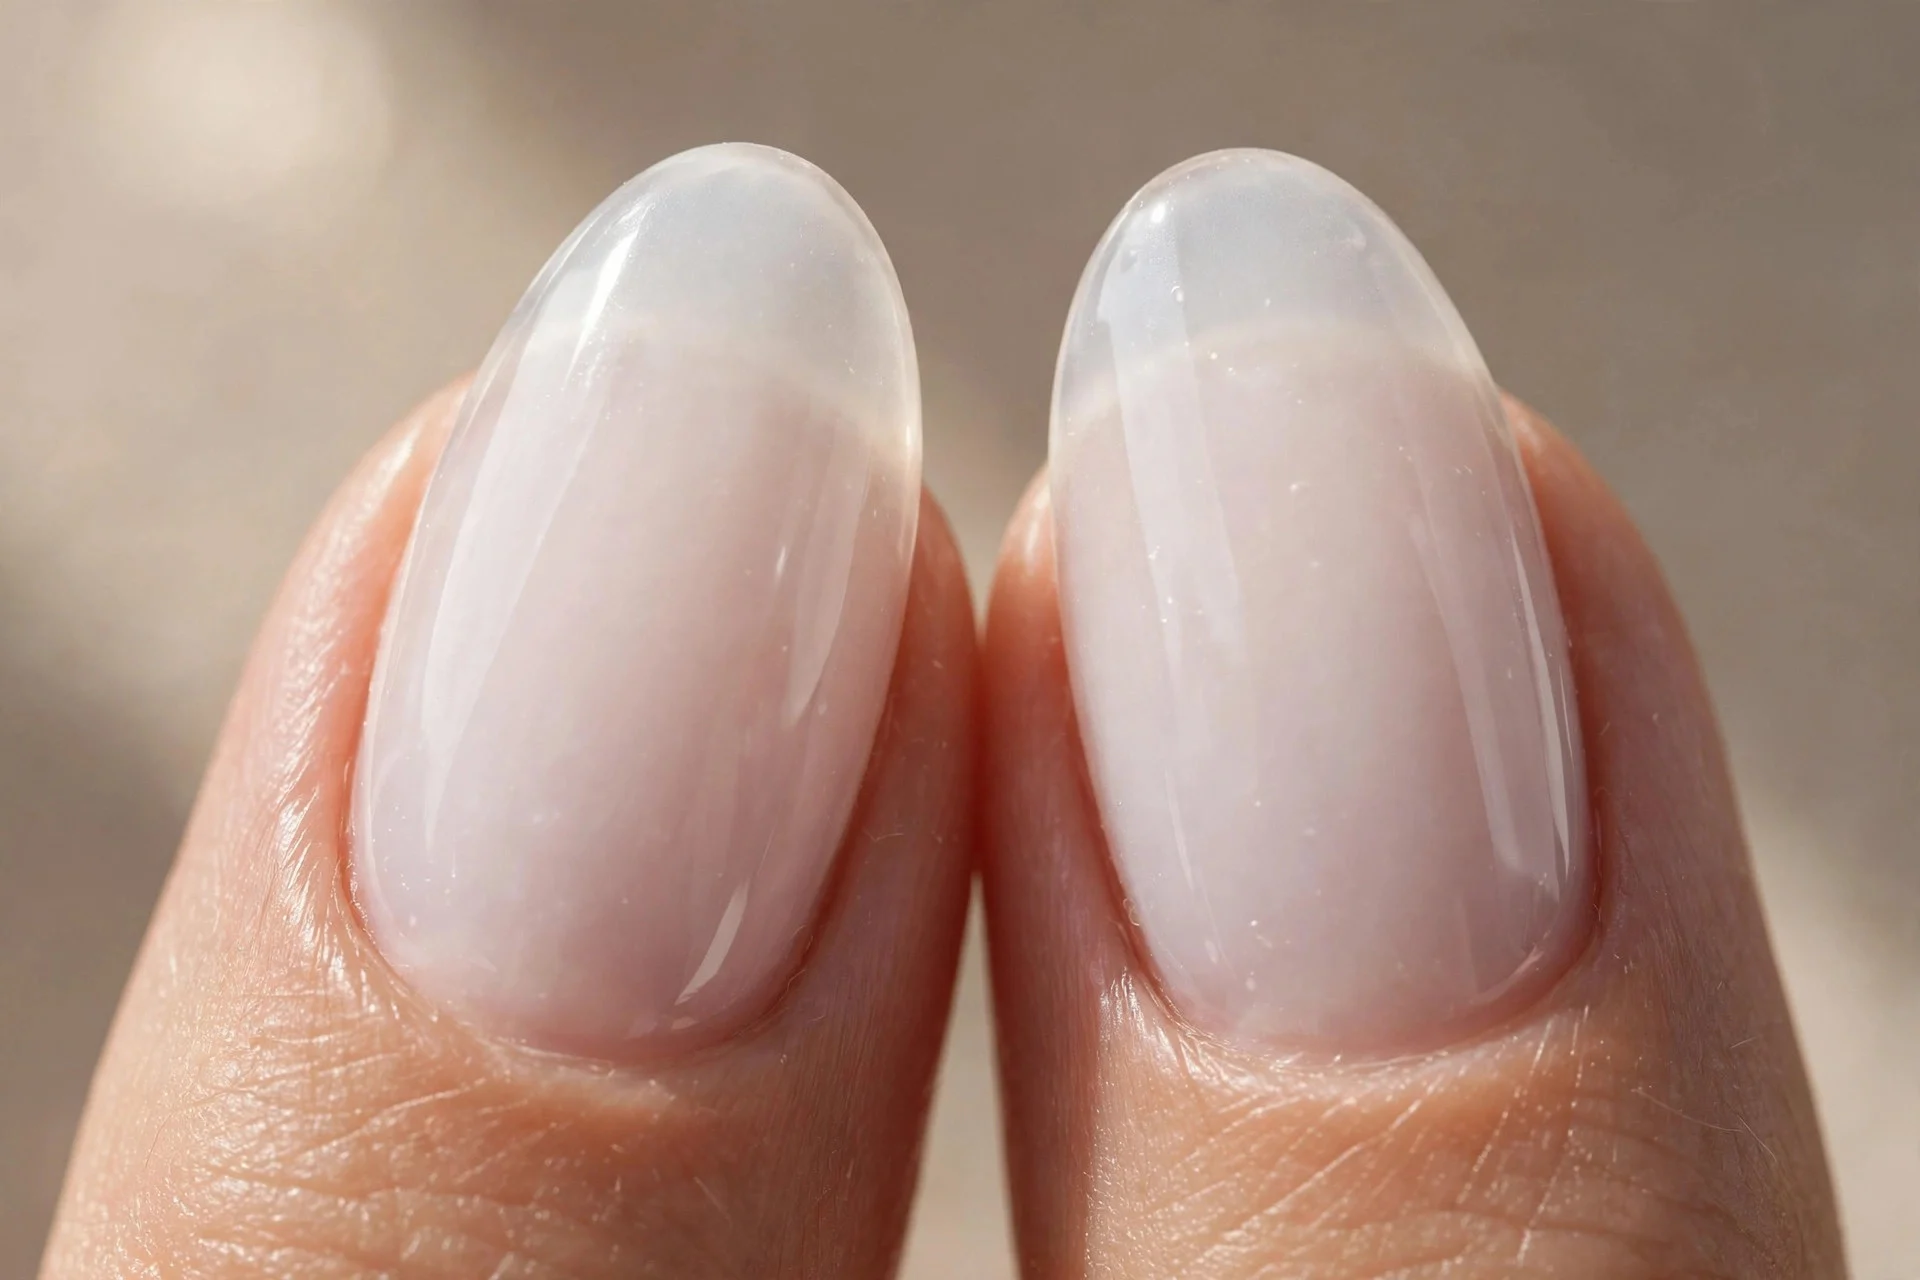
2. Wrong Shape: A True Almond
Almond and stiletto get confused daily — stiletto ends in a sharp point; almond is a soft tapered oval with a rounded tip. I once asked for almond and left with daggers that snagged every sweater for two weeks. Fix: sides tapered straight, tip rounded.
Done right, almond elongates without drama — elegant, far less breakable. Say "almond: tapered sides, rounded tip, medium length" (my almond nail ideas guide diagrams the angles).
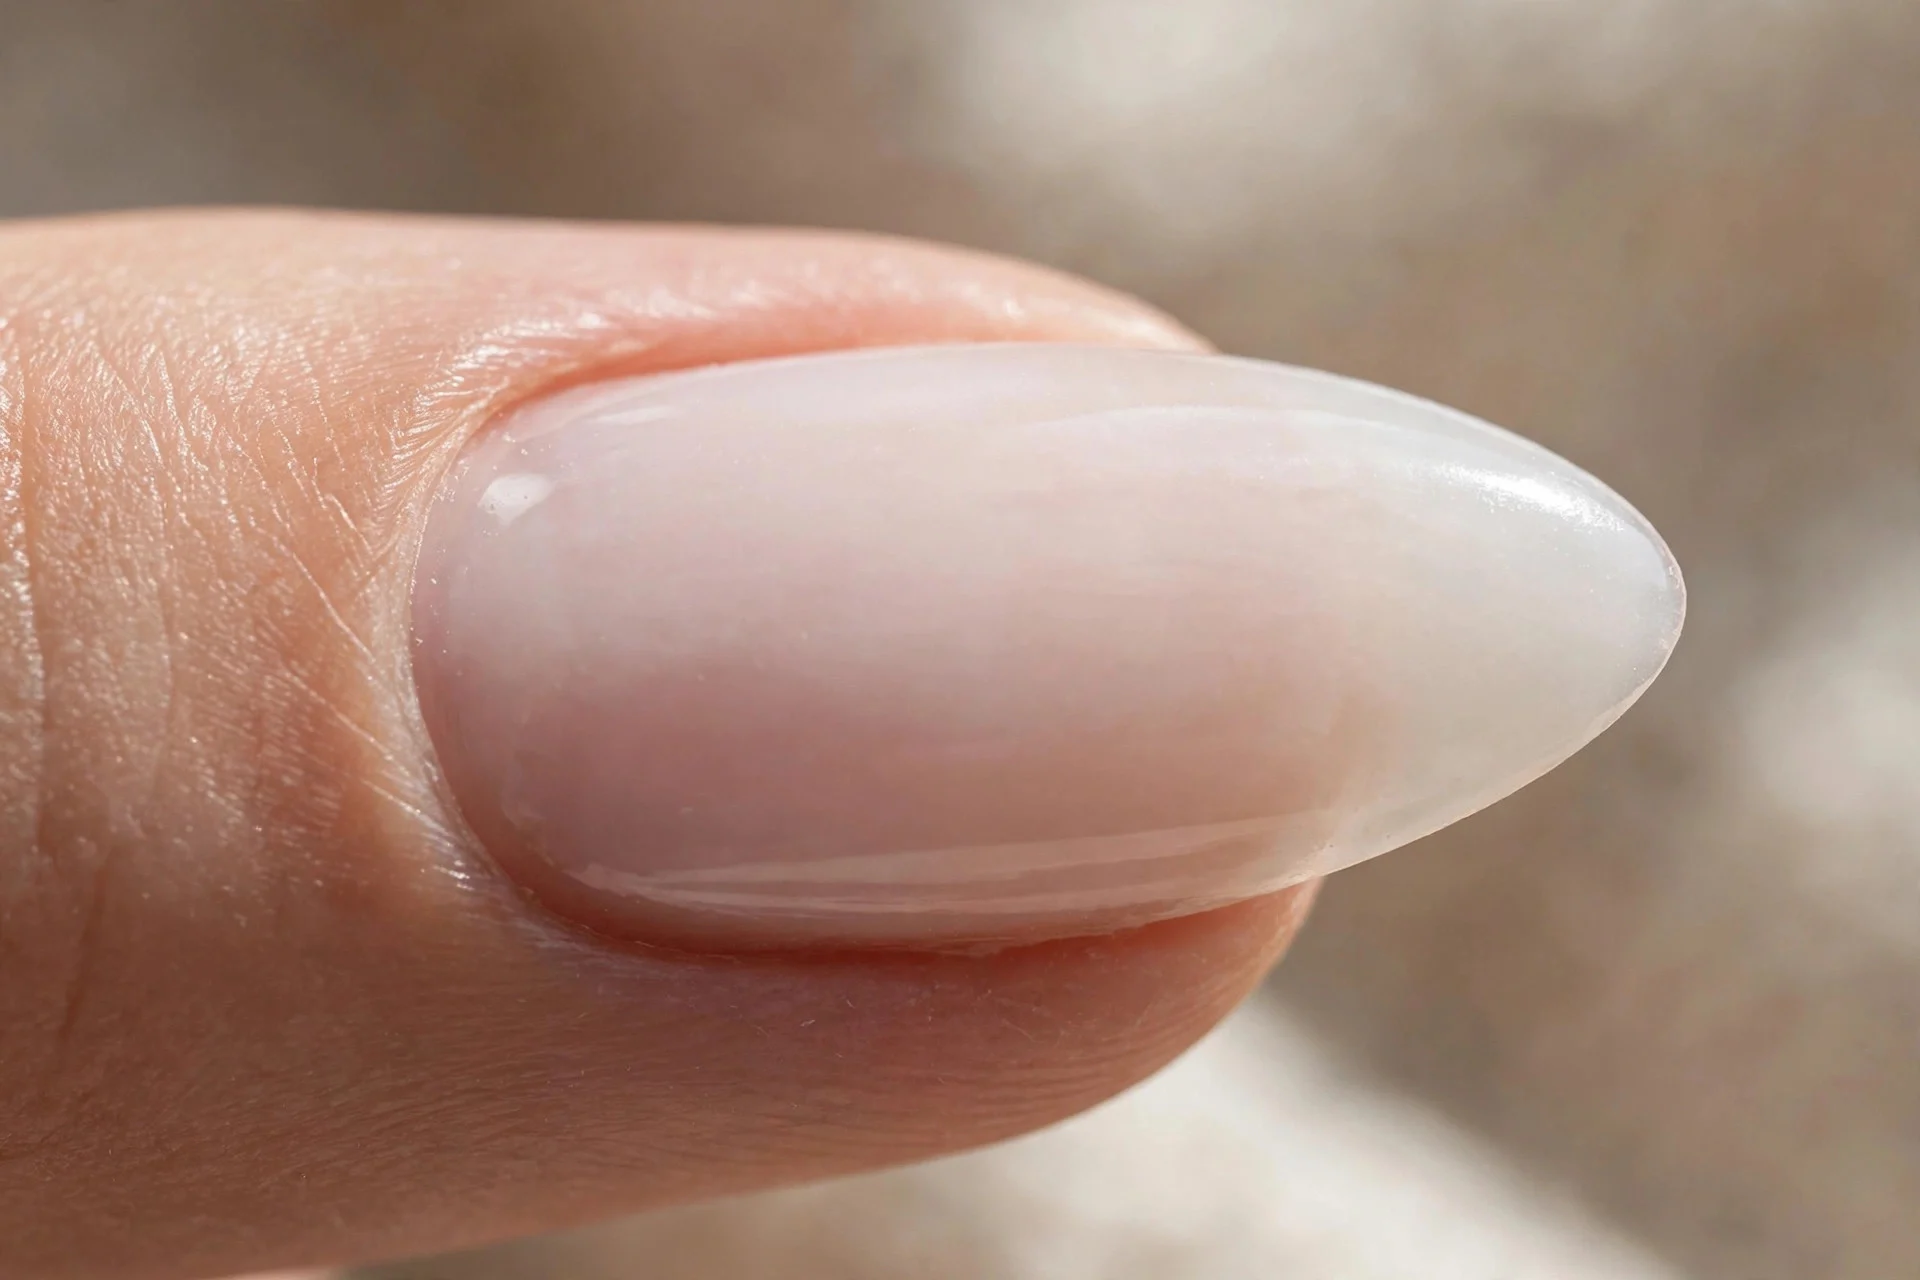
3. Skipped Base Coat: Brightening Base
Sheer polish shows everything underneath, including last month's yellow tinge. The fix: a brightening base, or a milky ridge-filler doubling as your first sheer layer.
You get a clean, even canvas and easier removal — two minutes, zero dollars. Just ask them not to skip it. Pro tip: blue-pigmented base neutralizes yellowing best.

4. Uncapped Edge: Sealed Tips
Here's the mistake behind most "chipped in three days" stories: the tech never sealed the free edge, so chips show as ugly opaque crescents. The fix is capping — base, color, and top coat run over the tip's edge.
A capped set wears 10–14 days in gel, 5–7 in regular polish. Ask "could you cap the tips?" Ten seconds, double the wear.
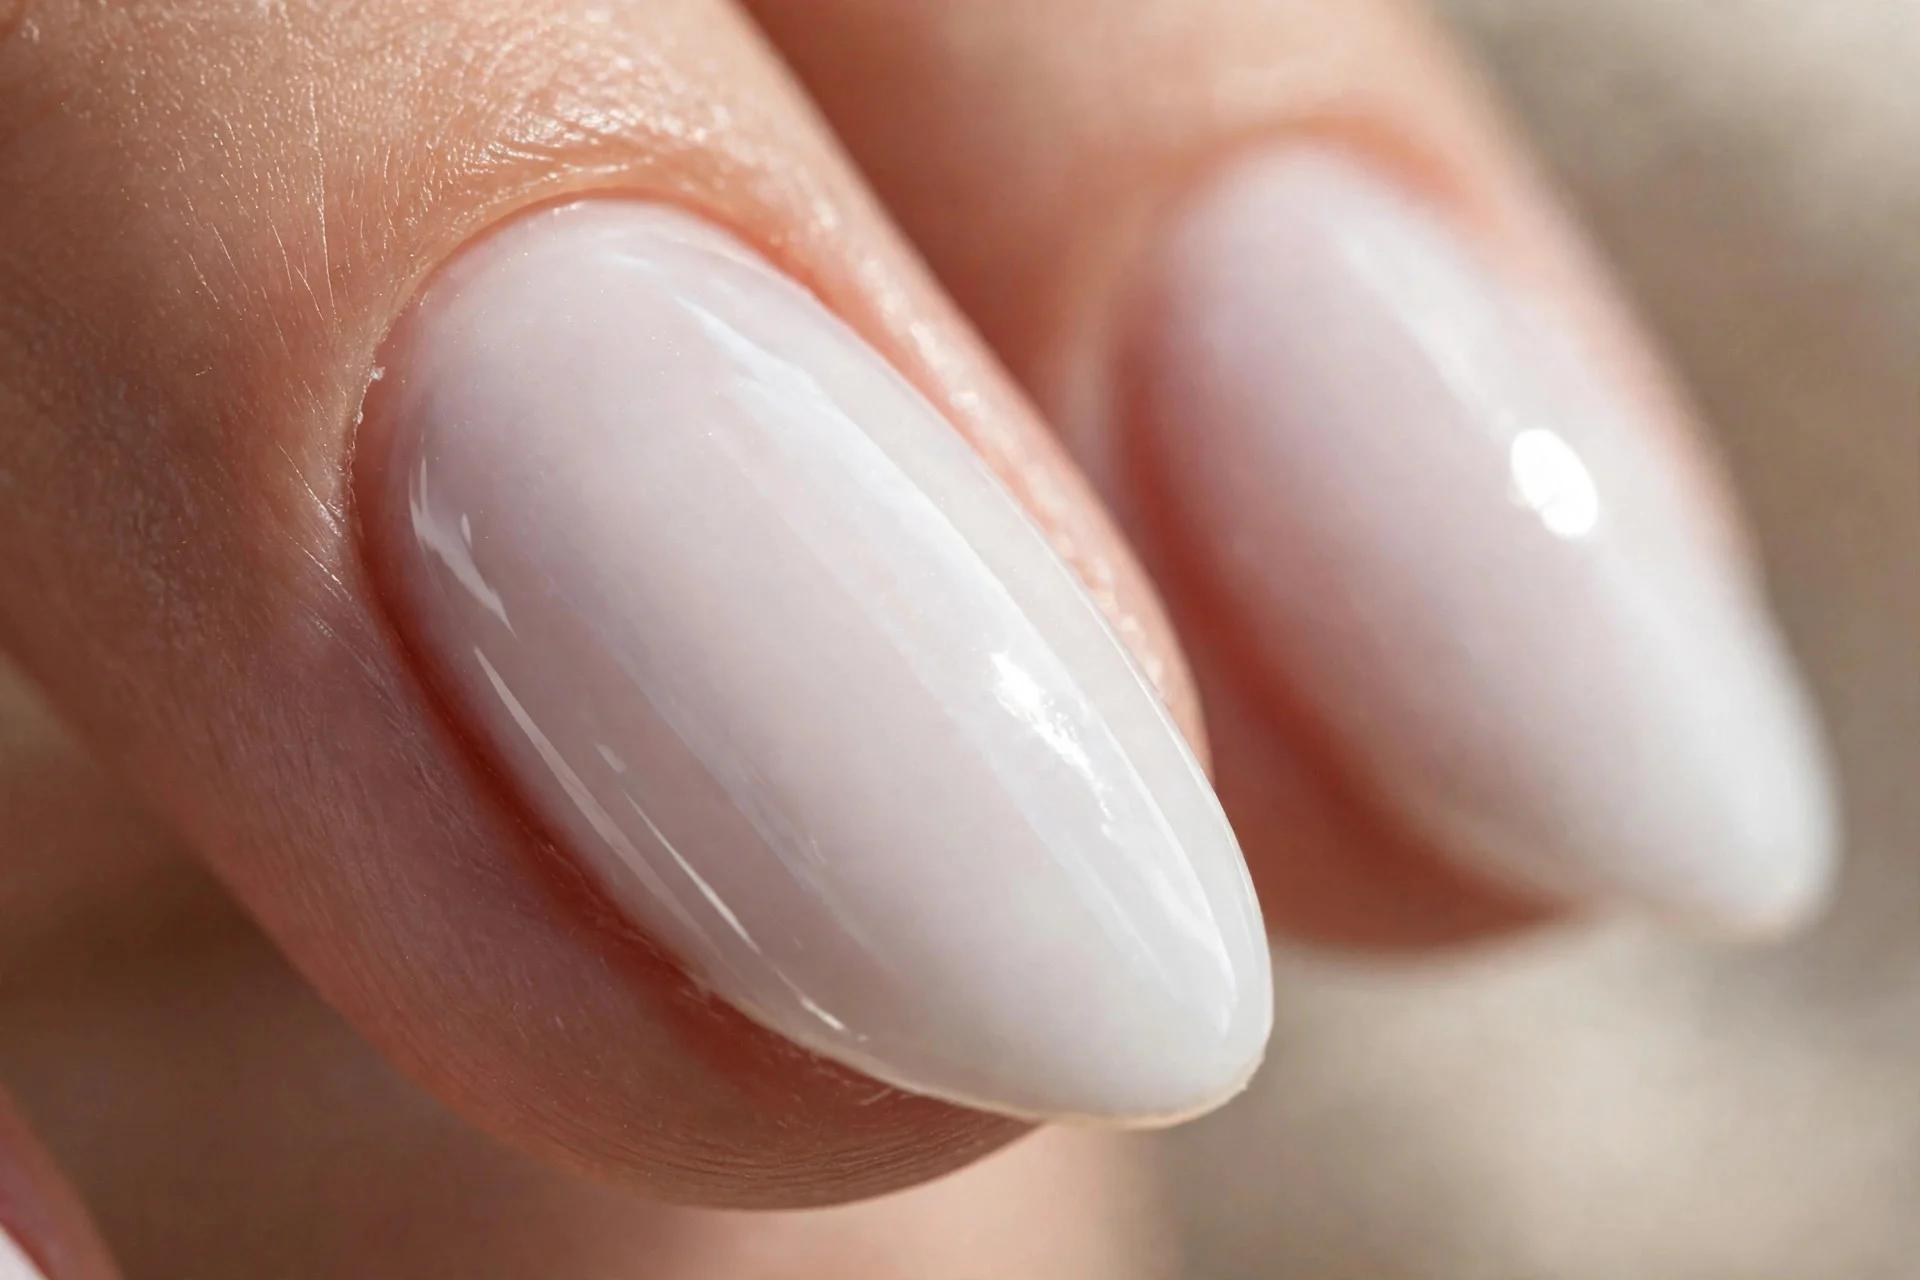
5. Wrong Undertone: Warm Milky for Warm Skin
Milky white isn't one color: blue-based milkies look crisp on cool skin but grayish on warm undertones, and warm creamy ones do the reverse. I wore an icy milky for a month before realizing it washed me out. Fix: match undertones — warm creamy milk for warm skin, cool blue-white for cool.
The right undertone makes it look like it belongs on your hands — test against your inner wrist in daylight. Warm-neutral lovers: my latte brown nail ideas pair beautifully with a warm milky base.
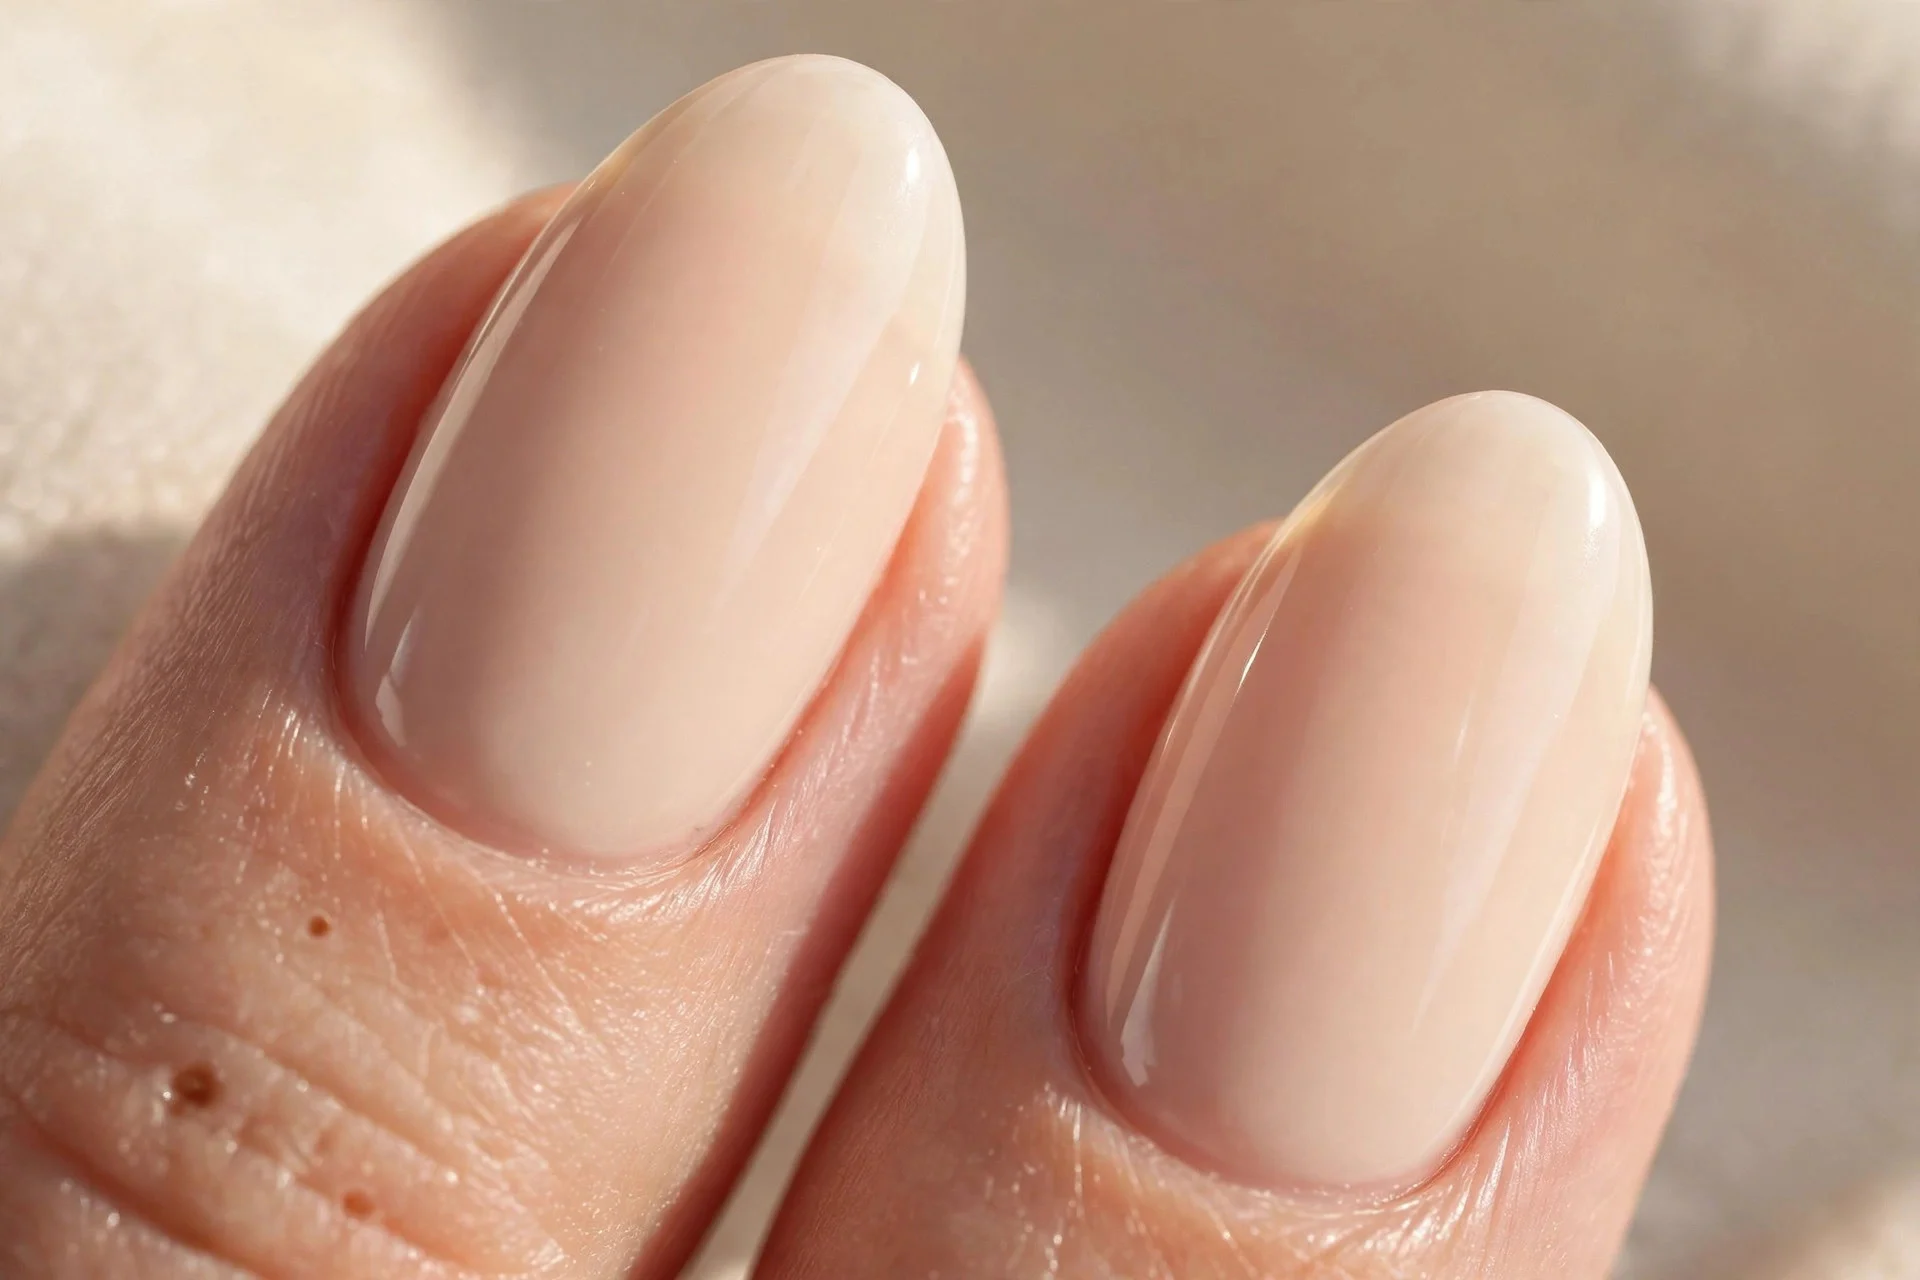
6. Matte Over Streaks: Go Glossy
Matte top coat is unforgiving — it flattens reflection, so every sheer-coat streak shows. I matte-topped a streaky set once; it looked like dried glue. Fix: go glossy. Shine blurs unevenness and gives the signature glassy depth.
Gloss also extends wear as a flexible shield. Love matte? Perfect sheer coats first, then matte only on the last day — and reapply gloss on day four for three extra days.
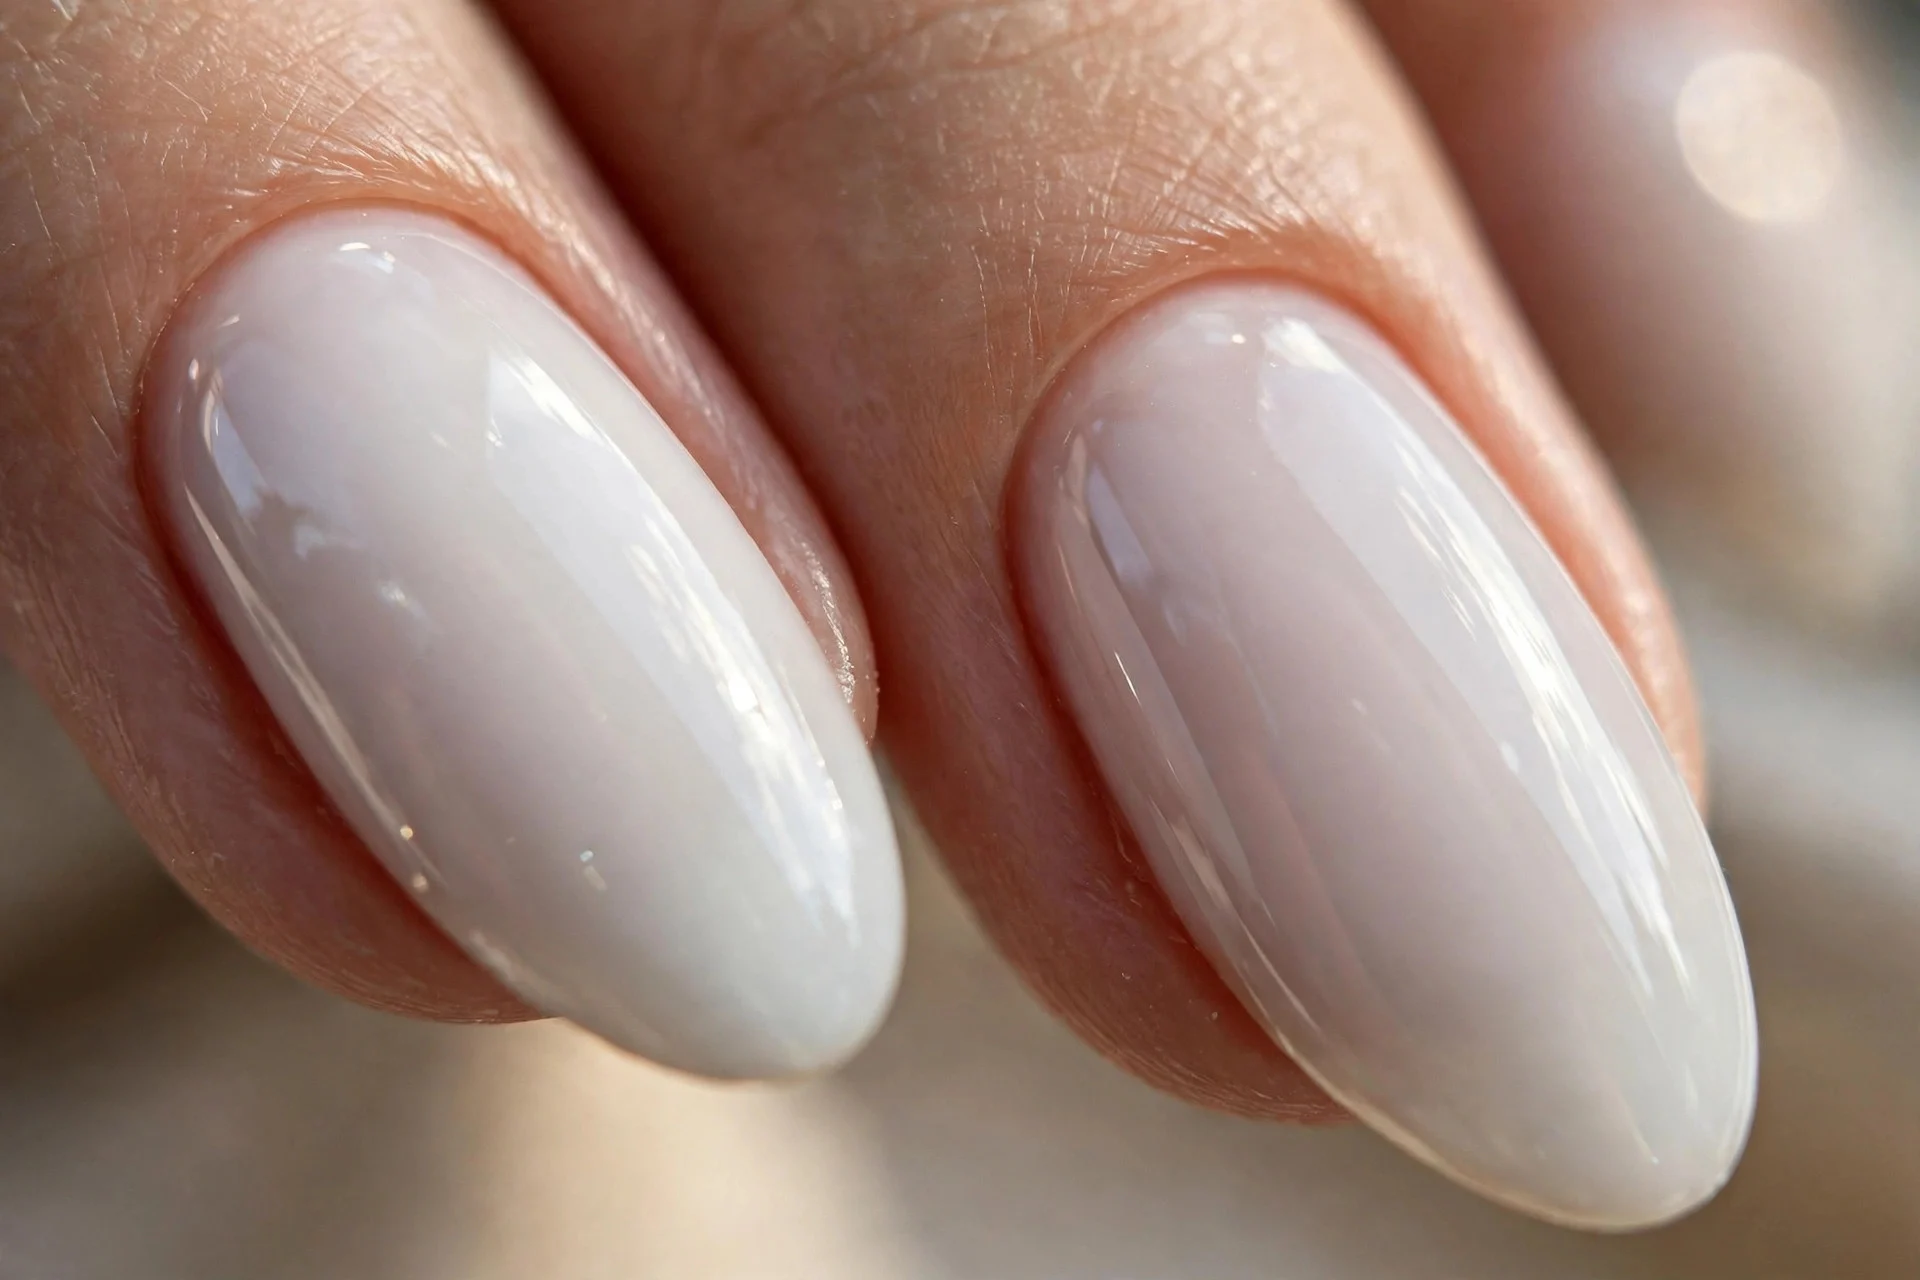
7. Over-Buffing: Gentle Prep
Aggressive buffing thins the nail plate, and thin nails plus sheer polish means visible ridges and breakage. Fix: one gentle pass with a fine-grit buffer — or none on smooth nails — plus a jelly milky that fills micro-ridges.
Healthy nails hold polish longer — say "light buffing only, please." Thin nails? A strengthening base ($5–$8) is worth it.
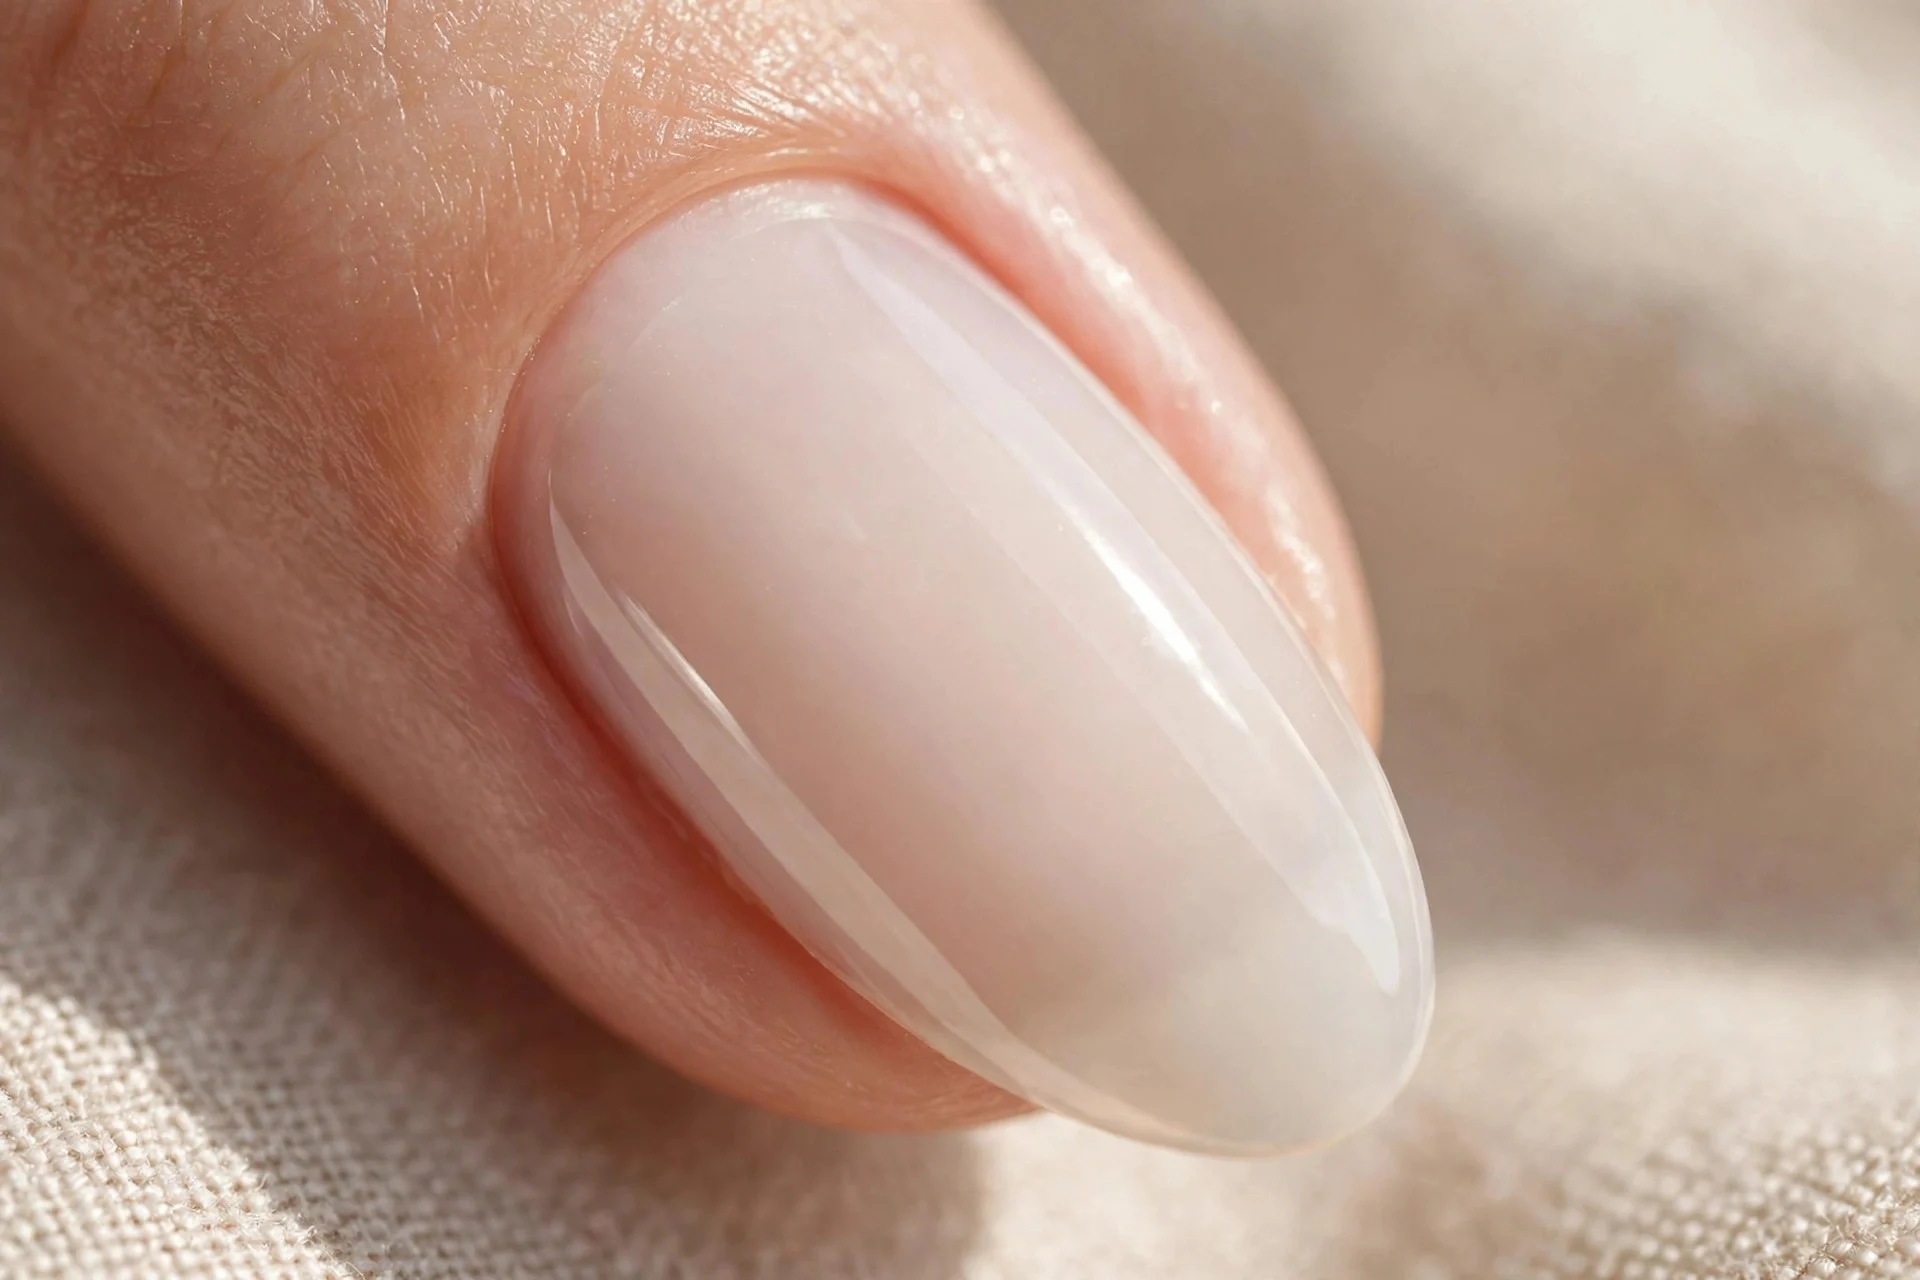
8. Opaque White: True Translucent Milky
Grabbing solid opaque white and calling it milky is the most common mistake here — opaque white reads correction fluid; true milky is translucent with depth. Fix: buy "sheer," "jelly," or "translucent," and swatch — the nail line should show faintly through one coat.
Two coats of real milky white give that lit-from-within glow — my $8 drugstore pick beats $25 salon bottles. Pro tip: layer sheer white over sheer pink for custom milky pink (my pink nail ideas has shades that layer well).
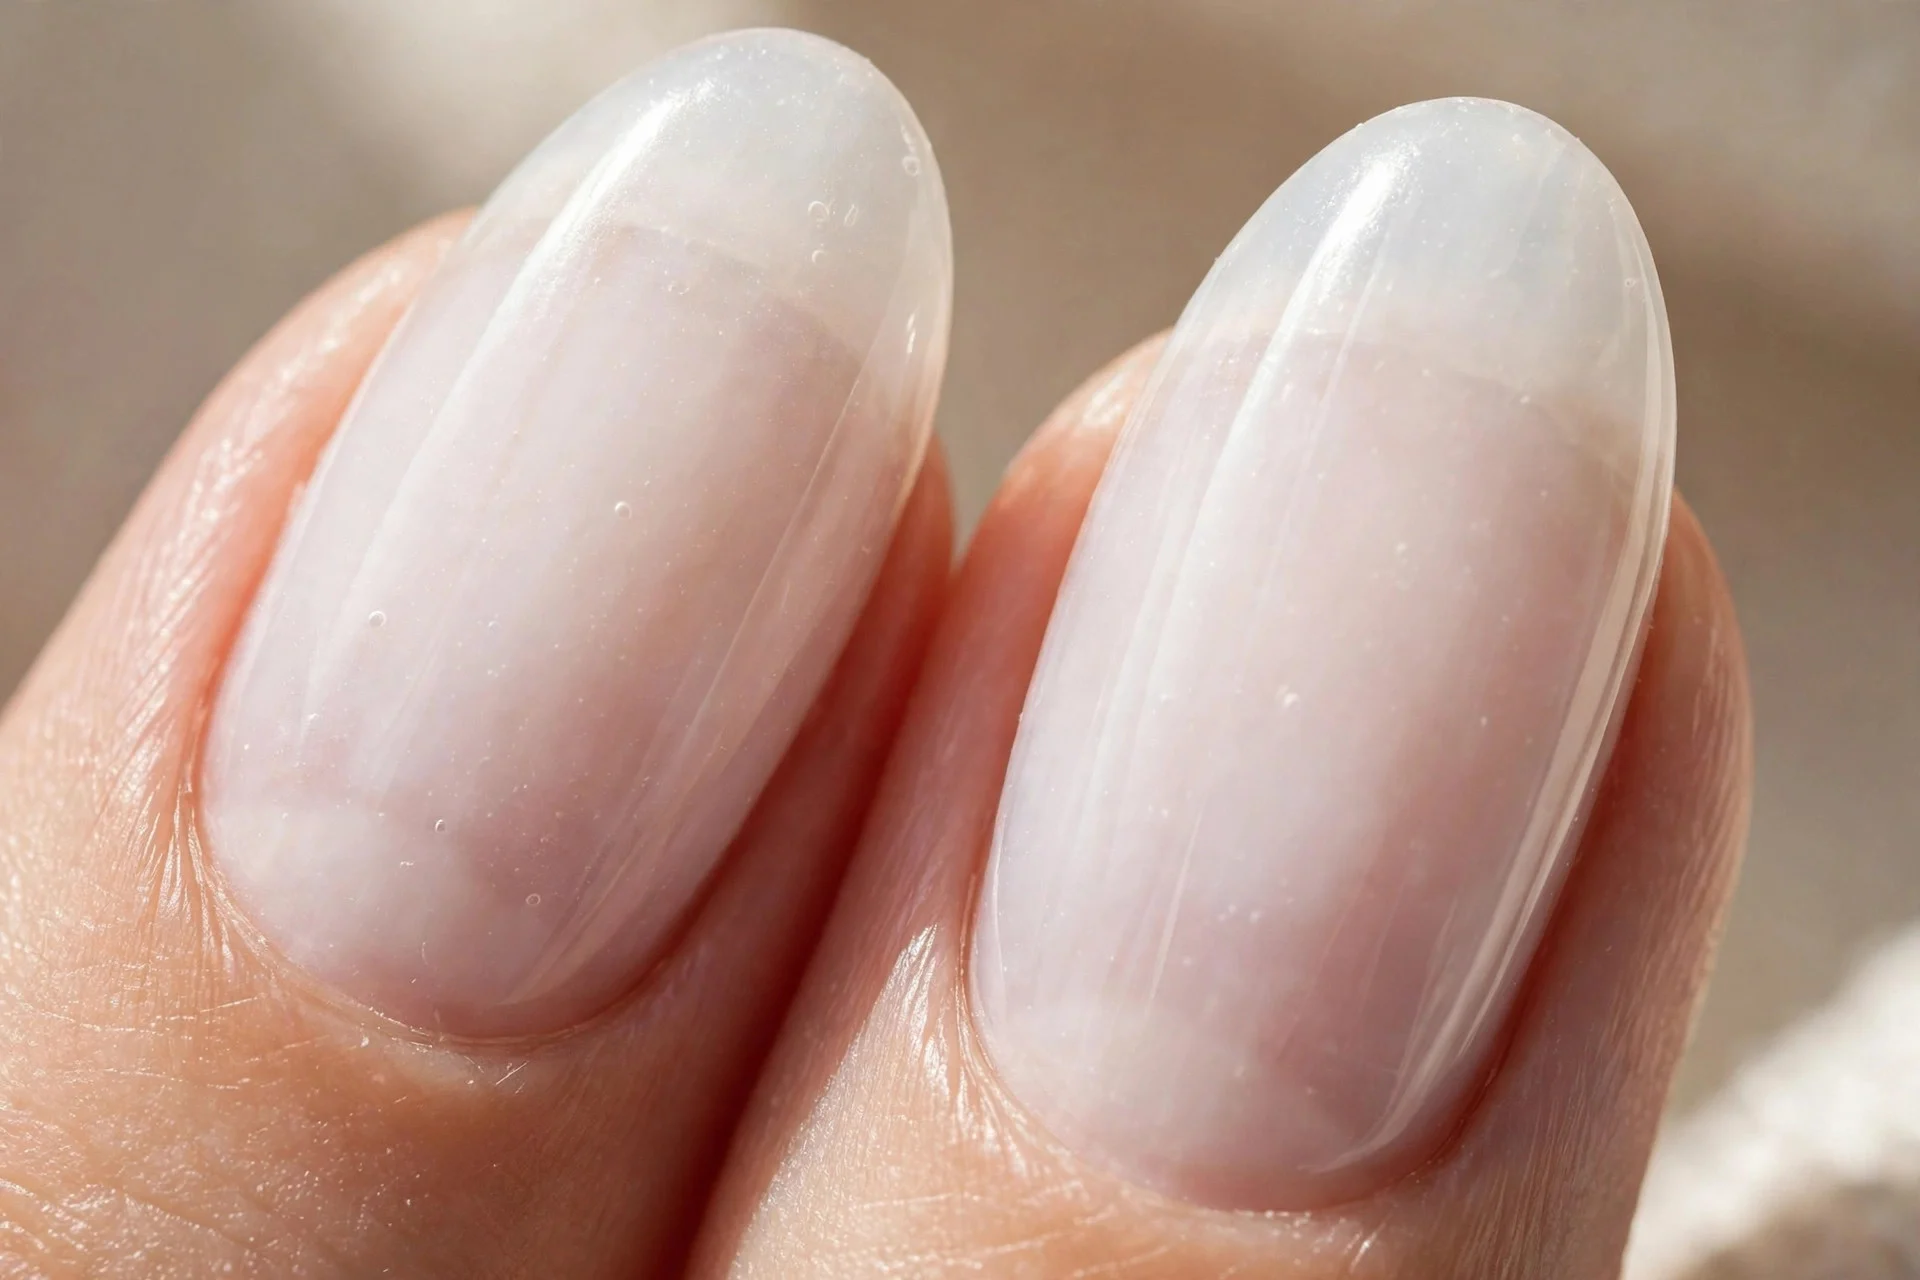
9. Ragged Cuticles: A Clean Frame
Sheer polish frames cuticles like a spotlight — ragged, dry cuticles against a clean milky nail look unfinished however good the polish is. Fix: five minutes — soak, push back gently, nip only true hangnails, oil daily.
Clean cuticles make DIY milky look salon-done — usually included in a $45+ manicure, or $10–$15 standalone. Keep cuticle oil at your desk; dry office air kills fresh sets.
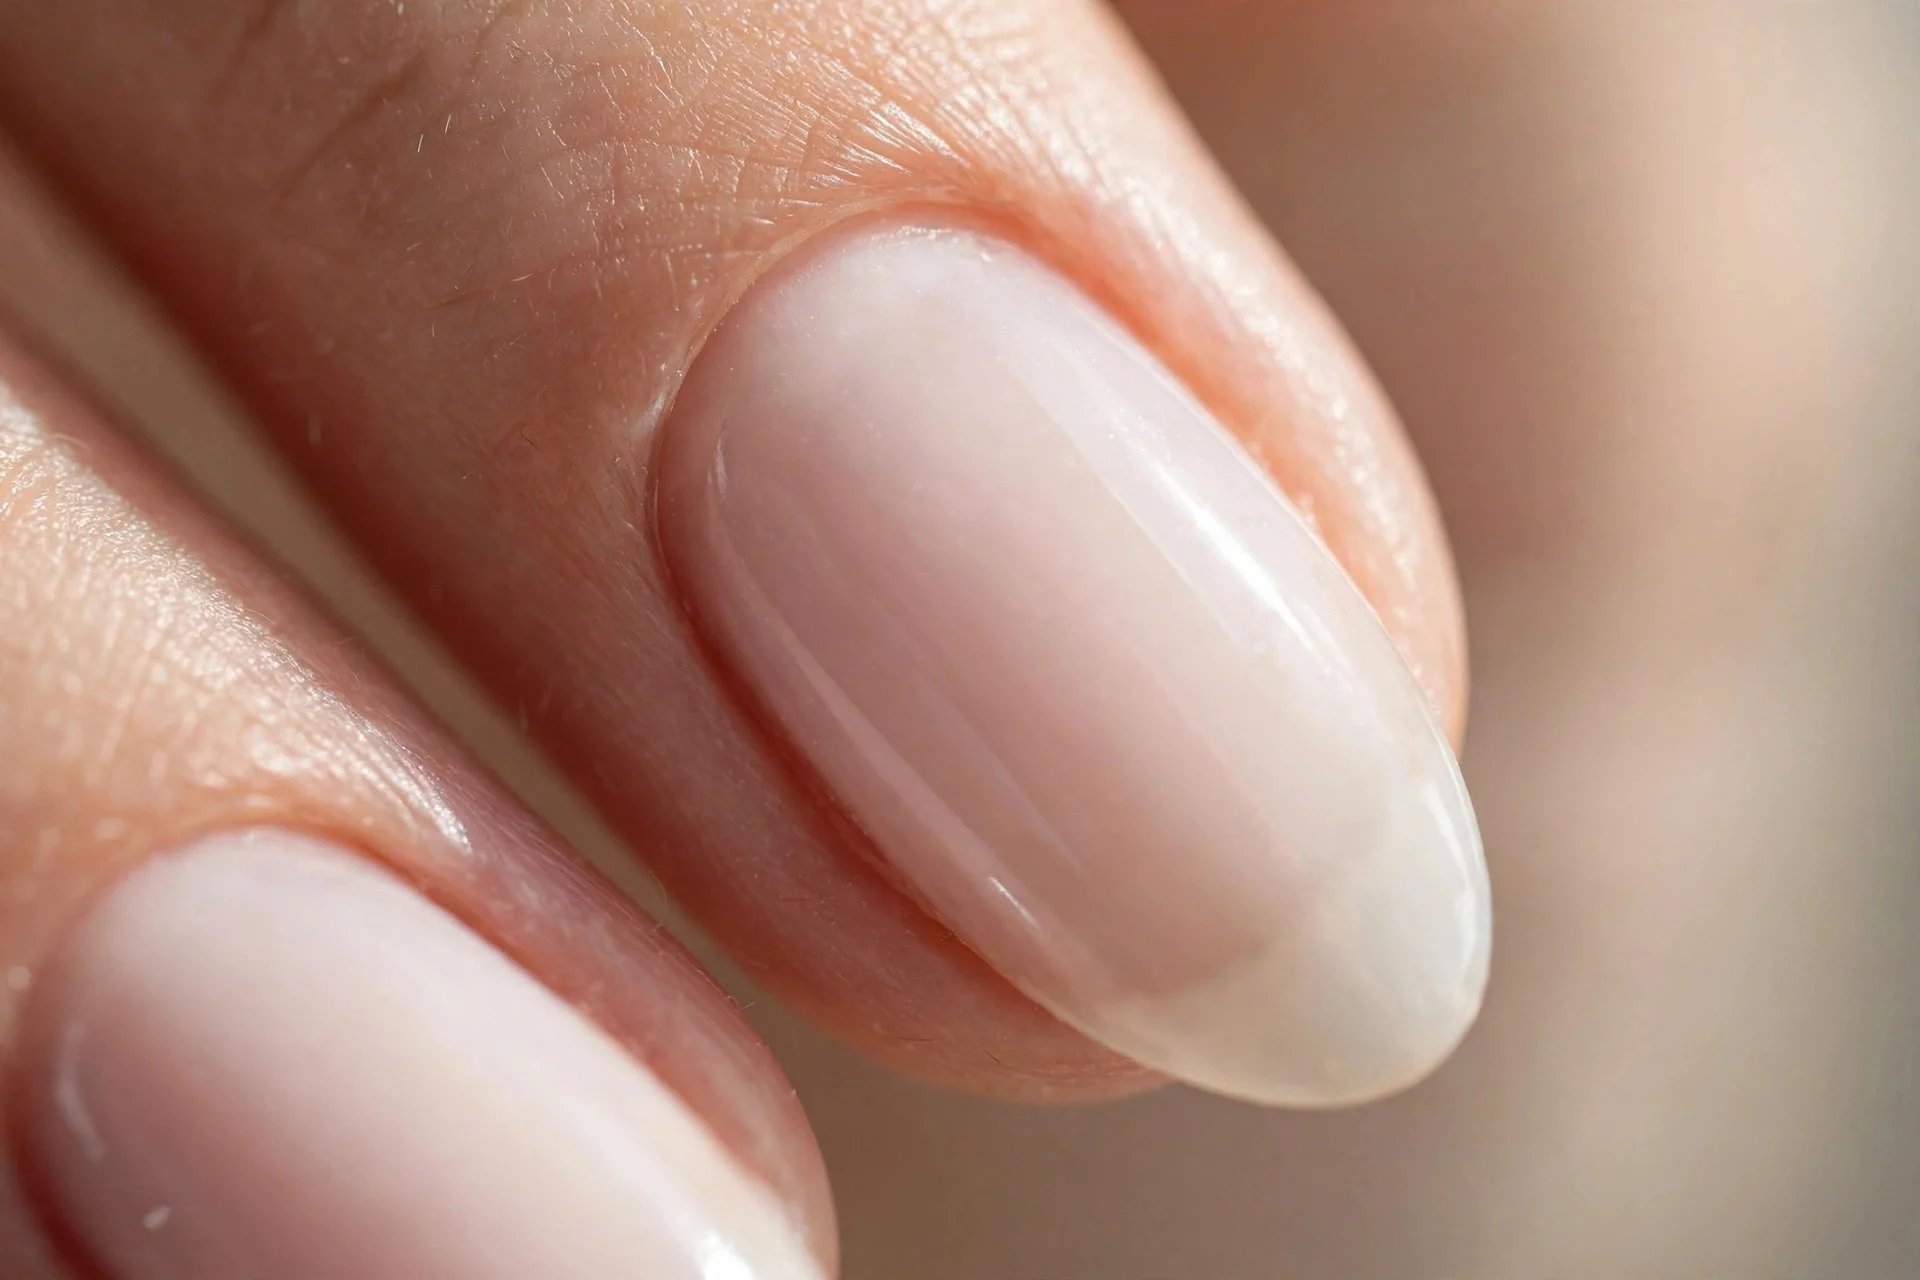
10. Chunky French Tips: Go Micro
A thick white tip over a milky base looks dated fast — too harsh for sheer. Fix: the micro-French — a 1–2mm tip in the same sheer milky family, or soft white drawn thin with a detail brush.
Delicate, modern, grows out gracefully. Ask for "micro-French, very thin tip, same sheer family" ($10–$15 add-on) — the smile line should follow your nail's curve.
11. Too Many Coats: Stop at Two
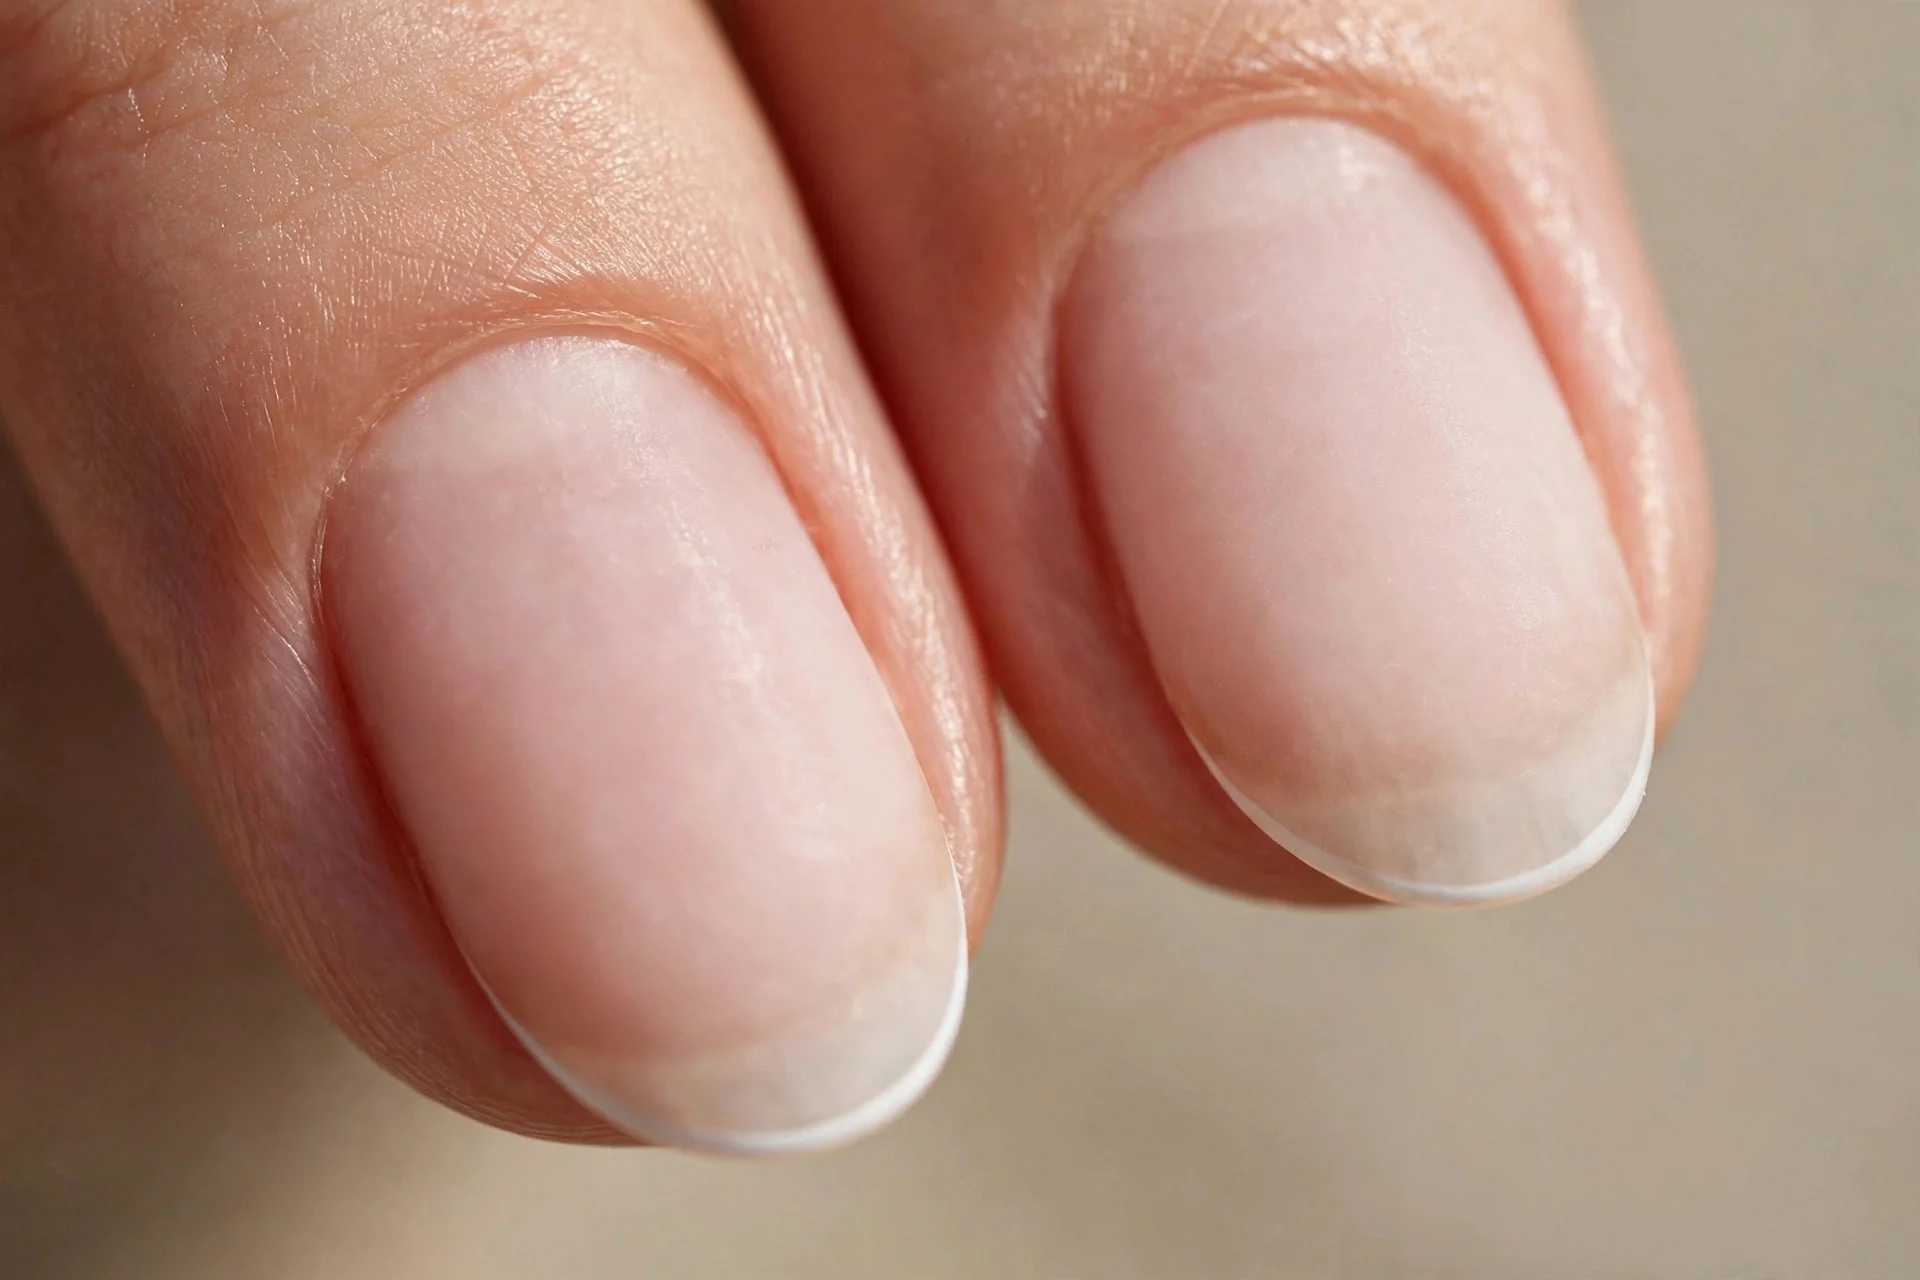
More coats feel like more coverage, but each extra sheer coat adds streak risk and bulk — four coats go gummy and peel in sheets. Fix: a self-leveling gel milky that reaches full beauty in two thin coats.
Two thin gel coats cure glass-smooth and wear 2–3 weeks — same rule at home: two thin coats, full dry time between. Pro tip: if coat two looks patchy, the polish is too old. Replace it.
12. Extreme Length: Go Practical Medium
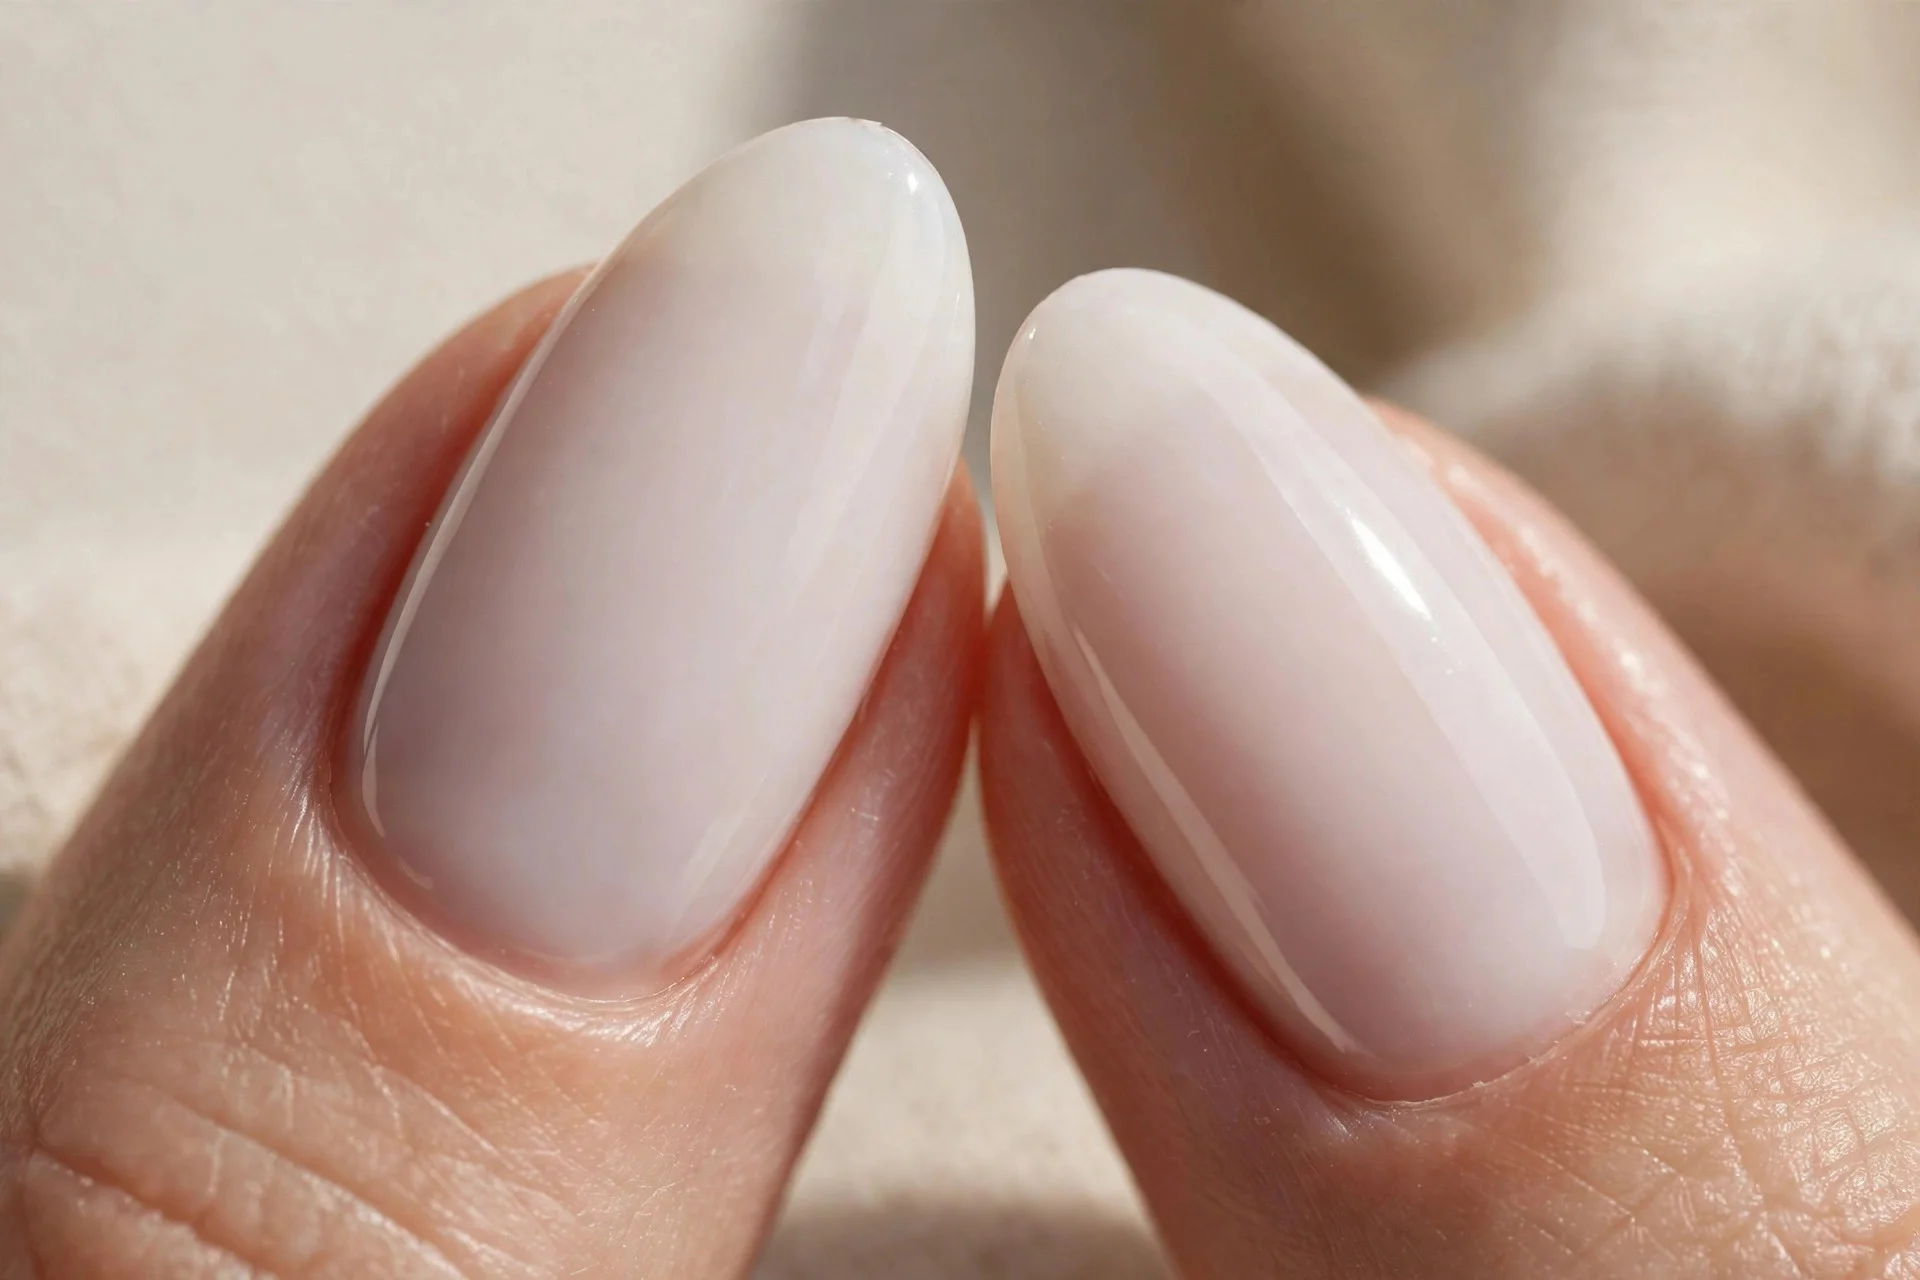
Long almond nails photograph beautifully and snap constantly. If your life involves typing, toddlers, or the gym, extreme length is a maintenance nightmare. The fix: medium length — free edge about 3–4mm past the fingertip.
Medium almond elongates the finger but survives real life — fills every 2–3 weeks at $25–$35, not constant repairs. Short almond is chic too; my short nail ideas prove you don't need length.
13. Wet Layers: Let Each Coat Dry
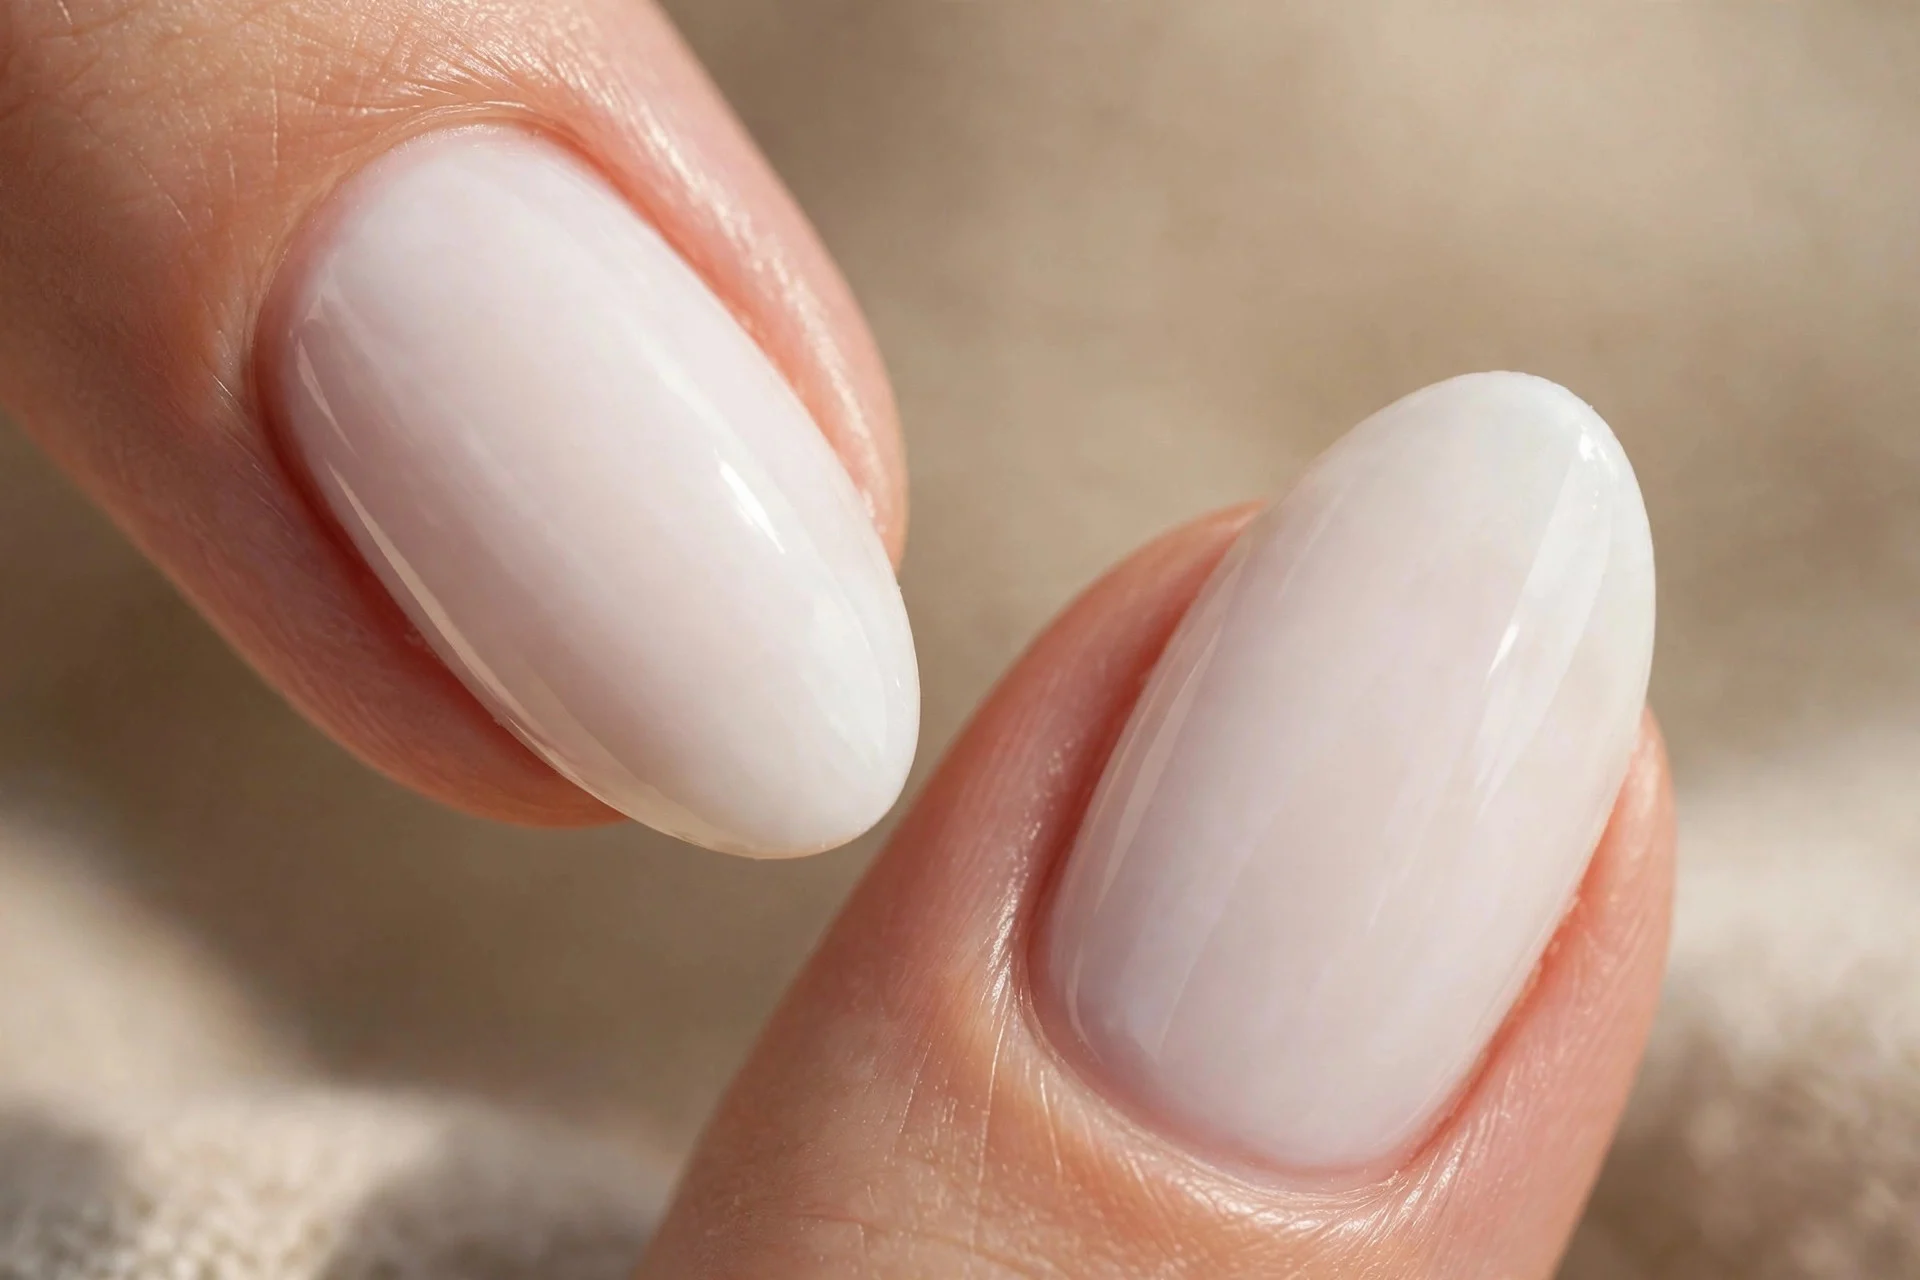
Impatience shows up as tiny bubbles trapped in the polish — on sheer milky they catch light like craters. Fix: thin coats, each fully touch-dry before the next. Gel needs a full 60-second cure; regular polish, two minutes.
Bubble-free milky looks like glass — never shake the bottle, roll it between your palms. Bubbles? Let the coat dry fully, smooth with a dry brush, continue.

14. Blind Shade Picks: Milky Almond Nails for Deep Skin
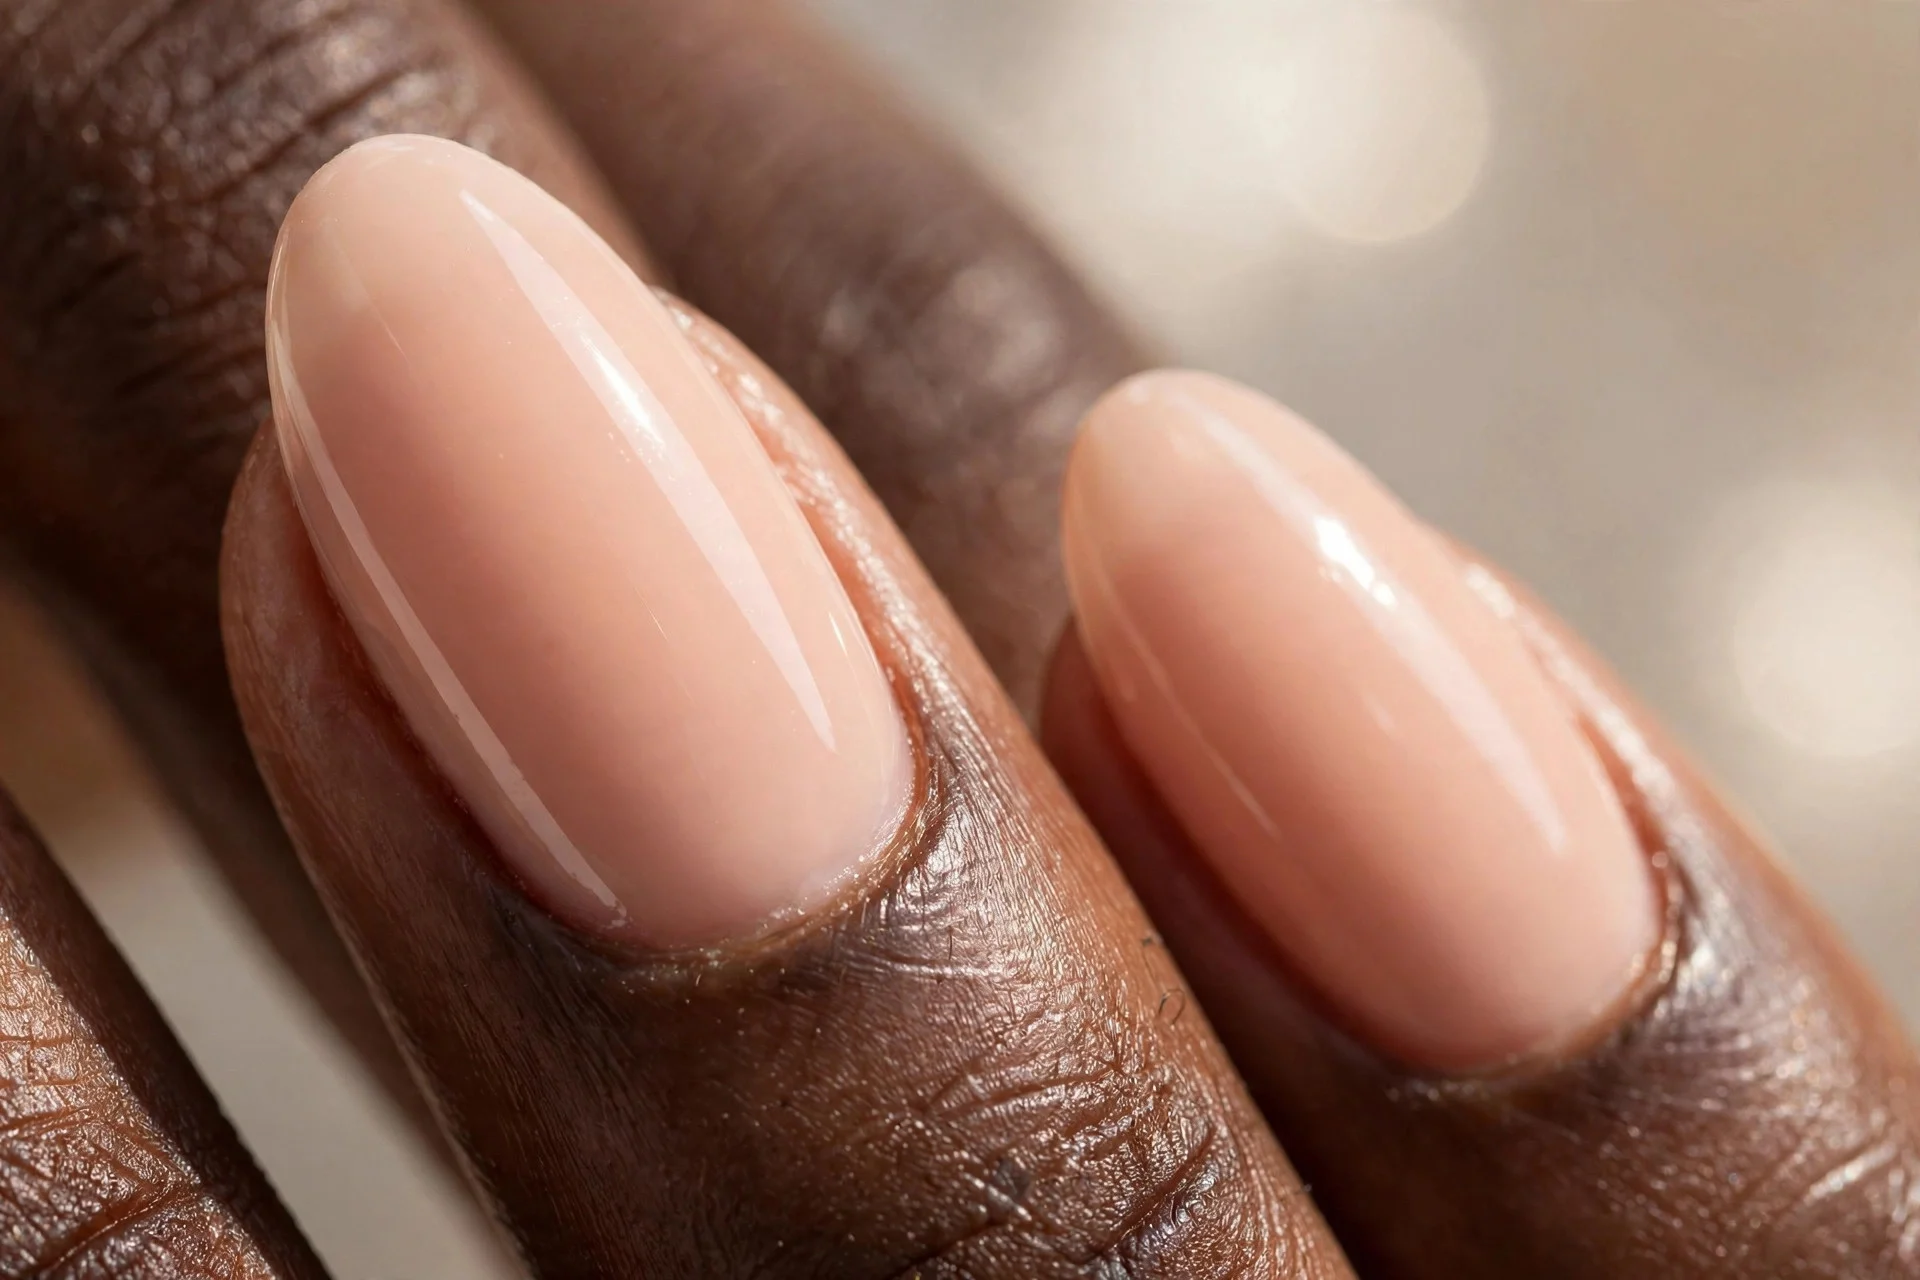
Milky shades chosen blindly off a pale swatch stick can disappear on deep skin — or look ashy. Fix: test on your own nail. Paint one, wear it a full day, check it in daylight and indoor light.
On deep skin, warm or peachy milkies glow rather than gray out — my nude nail ideas for dark skin breaks down undertone matching. Pro tip: photograph the test nail; cameras reveal ashiness eyes forgive.
15. No Top Coat: The Refresh Rule
Skipping top coat to "save time" costs the whole manicure — unsealed milky dulls within days, stains from denim and turmeric, chips easily. Fix: glossy top coat at application, plus one fresh thin layer every 3–4 days.
Ninety seconds stretches regular polish from five days to ten — keep the bottle by your toothbrush. Pro tip: re-cap the free edge with each refresh; that's where wear starts.

16. Lopsided Shaping: The Center-Dot Method
Filing almond freehand is harder than it looks — one side always ends up fuller. Fix: file with a guide — mark the tip's center with a tiny dot, file each side to match, check symmetry from directly above.
Symmetrical almond makes sheer polish look twice as expensive. A $15–$20 shape-only salon visit before at-home polish is money well spent. Pro tip: file only when nails are fully dry — wet nails tear.
17. Yellow Nails: Brighten First
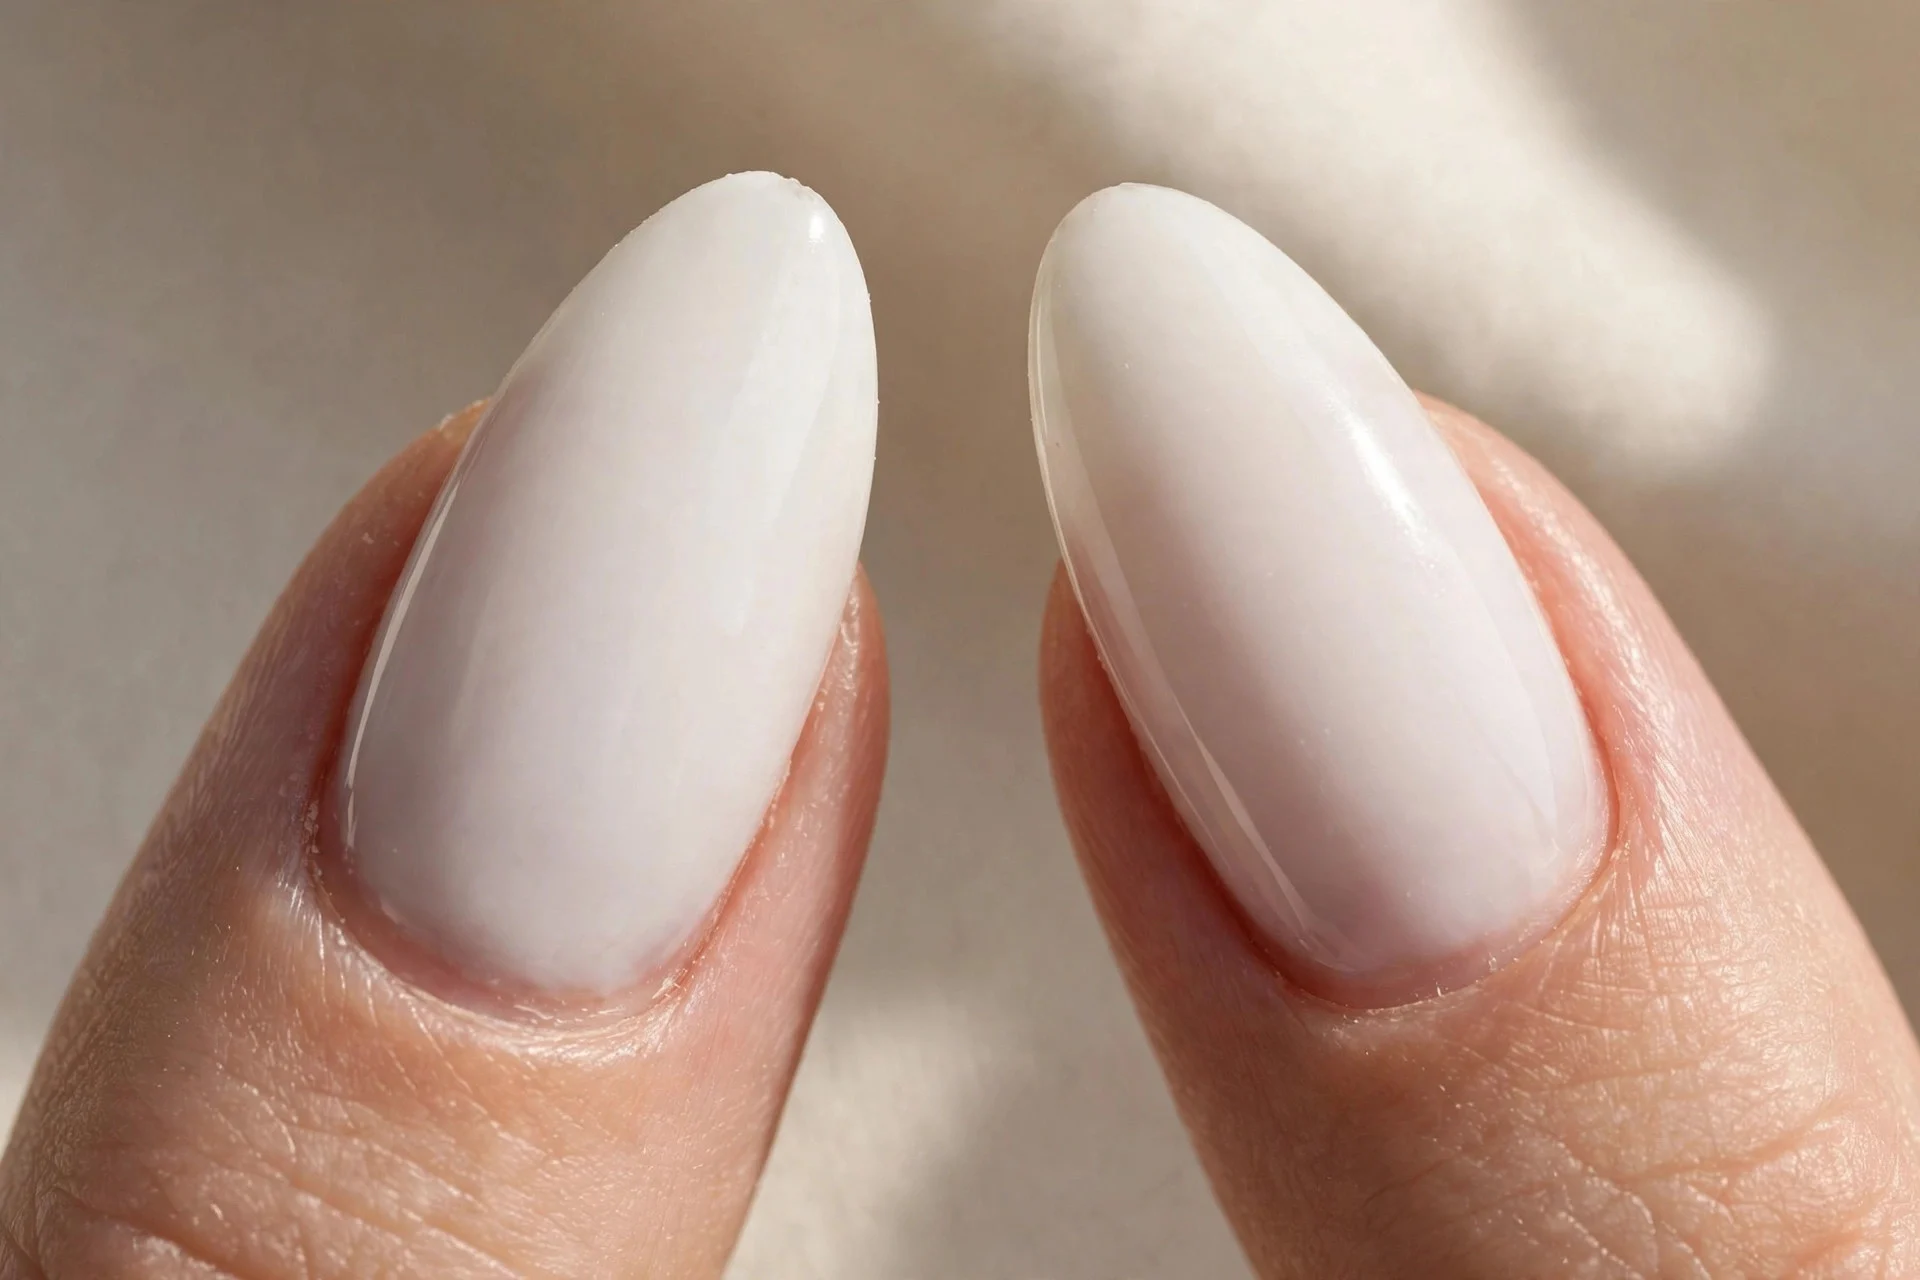
Years of dark polish leave a yellow cast that sheer milky magnifies — dingy, not dreamy. Fix: a brightening base coat before color, or a week of bare nails with lemon-and-baking-soda soaks for deep staining.
Once the plate is neutral, milky sheer looks clean and luminous. Always base-coat under darks — and a ridge-filling base with optical brighteners fakes a clean canvas in one coat.

18. Dry Hands: Hydrate Daily
Gorgeous nails on parched hands lose half their impact — dry skin also lifts polish faster at the cuticle. Fix: hand cream twice daily, cuticle oil nightly, gloves for dishes and cleaning.
Hydrated hands photograph beautifully and hold a manicure days longer — my fall nail ideas has a cold-weather hand care routine. Pro tip: oil first, then cream to seal it.
19. Old Product Underneath: Start Fresh
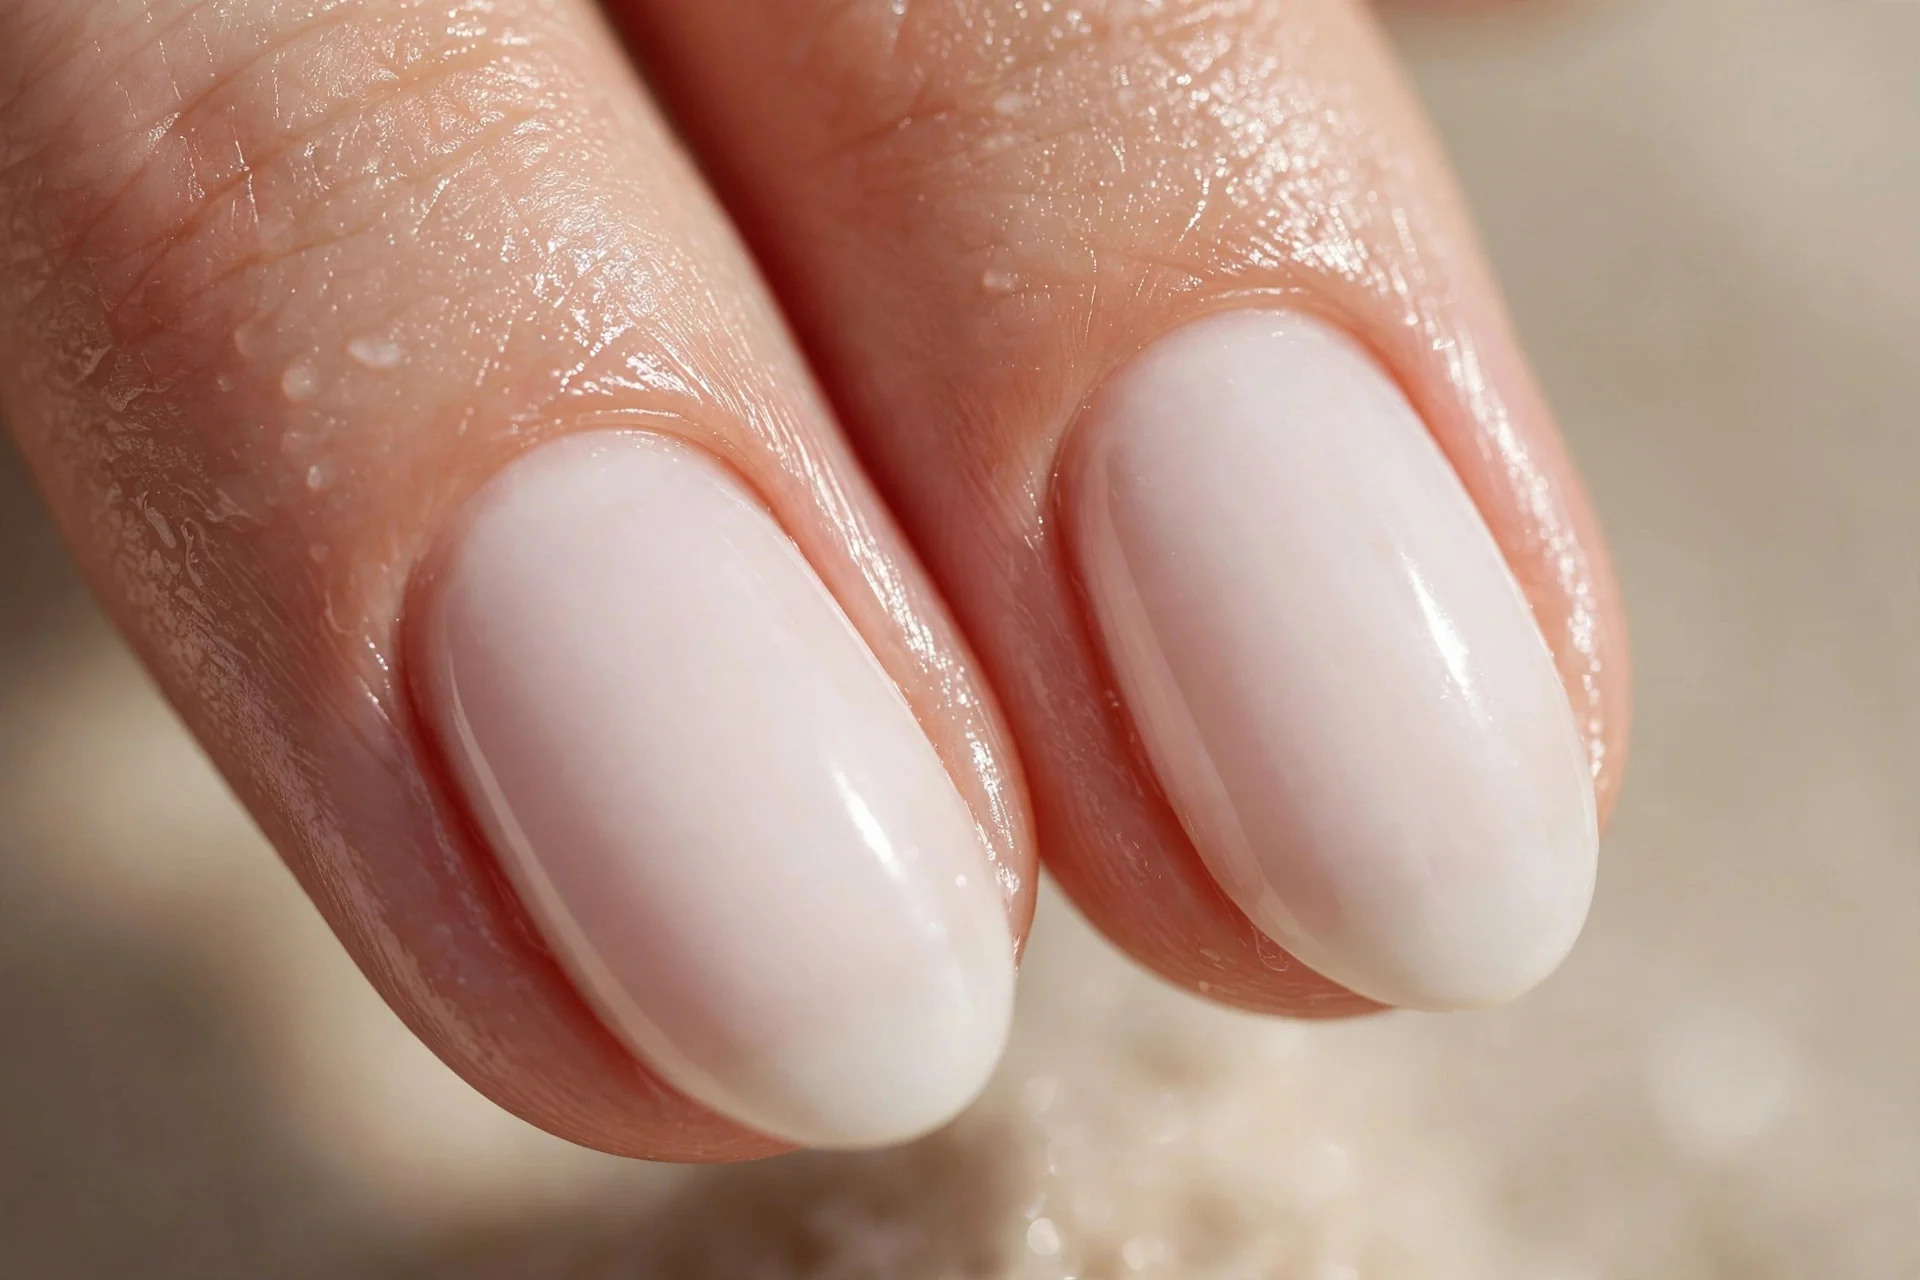
Painting milky sheer over last week's grown-out gel guarantees a lumpy, discolored result — sheer hides nothing. Fix: a true fresh start — remove everything, buff residue gently, cleanse with alcohol, begin from a bare, even nail.
A clean slate is the difference between "fine" and expensive-looking. Use proper acetone wraps (ten minutes, don't peel), then wait an hour before re-polishing — polish grips better.
Milky Almond Nails: Your Questions Answered
How many coats do milky almond nails need?
Two thin coats of sheer or jelly formula over base coat. Patchy after two? The polish is too old — replace it.
How long do they last?
Gel: 2–3 weeks with capped edges. Regular polish: 5–7 days, or 10 with a fresh top coat every 3–4 days.
Do they work on short nails?
Absolutely — sheer is forgiving on shorter lengths, and short almond is elegant without breakage risk.
Which skin tones suit milky almond nails?
Every skin tone, once undertones match — warm creamy for warm skin, cool blue-white for cool, warm peachy for deep tones.

One Response