
Short almond nails are my favorite DIY shape: the taper makes fingers look longer, the soft point never snags, and at a short length they suit typing, cooking, and real life. No salon needed.
I have filed my own almonds for three years and made every mistake so you do not have to. Here is the complete at-home tutorial: tools, filing steps, polish tips, and the errors that ruin DIY almonds. Then 17 short almond nail ideas to try once your shape is set.
The Tools You Actually Need
Total cost under $25. A glass nail file, non-negotiable for almond tapering; mine cost $8 and has lasted two years. A four-sided buffer for smoothing before polish. An orangewood stick for cuticles. Jojoba oil, applied after every filing session. Ridge-filling base coat, polish, and glossy top coat. Optional: a striping brush for French tips and a cleanup brush dipped in acetone.
Filing Short Almond Nails: Step by Step
Start with clean, dry nails. Never file wet nails; they are flexible when wet and you will over-file.
Step 1: Shorten. Trim straight across with clippers first, leaving extra length. For short almond, the free edge should extend just past the fingertip, two to three millimeters.
Step 2: Mark your center. Imagine a line down the exact center of each nail. Your goal is symmetry around that line. Skipping this is why DIY almonds come out lopsided.
Step 3: Taper the sides. Hold the file at 45 degrees under the sidewall and file corner to center in one direction. Three to four strokes per side, matched evenly. Narrow from about the midpoint of the free edge.
Step 4: Round the tip. File across the tip in gentle one-direction strokes, blending the sides into a soft point. Think the end of an actual almond: softly pointed, never sharp.
Step 5: Check symmetry. Hold your hand at arm's length and compare nails. Flip your hand over and look from underneath; asymmetry shows clearly there. Refine with light strokes.
Step 6: Smooth and oil. Run the fine buffer along the filed edge to seal it, then massage oil into every nail. Ready for polish or bare wear.
Polish Tips and Common Mistakes
Thin coats only. Thick polish pools at the tapered tip and looks lumpy. Two thin coats, two minutes drying between. Cap the free edge: run the brush along the tip with every coat to seal it and reduce chipping. Leave a hairline of bare nail at each side; it slims the nail and hides wobbly application.
Mistakes I made so you do not have to: filing back and forth, which causes splits within days. Over-tapering into mini stilettos that snag on everything. Uneven sides from uncounted strokes; match them side to side. Skipping base coat, so reds and darks stain. Flooding the cuticle; leave a tiny gap and clean up with an acetone brush.
17 Short Almond Nail Ideas to Try at Home
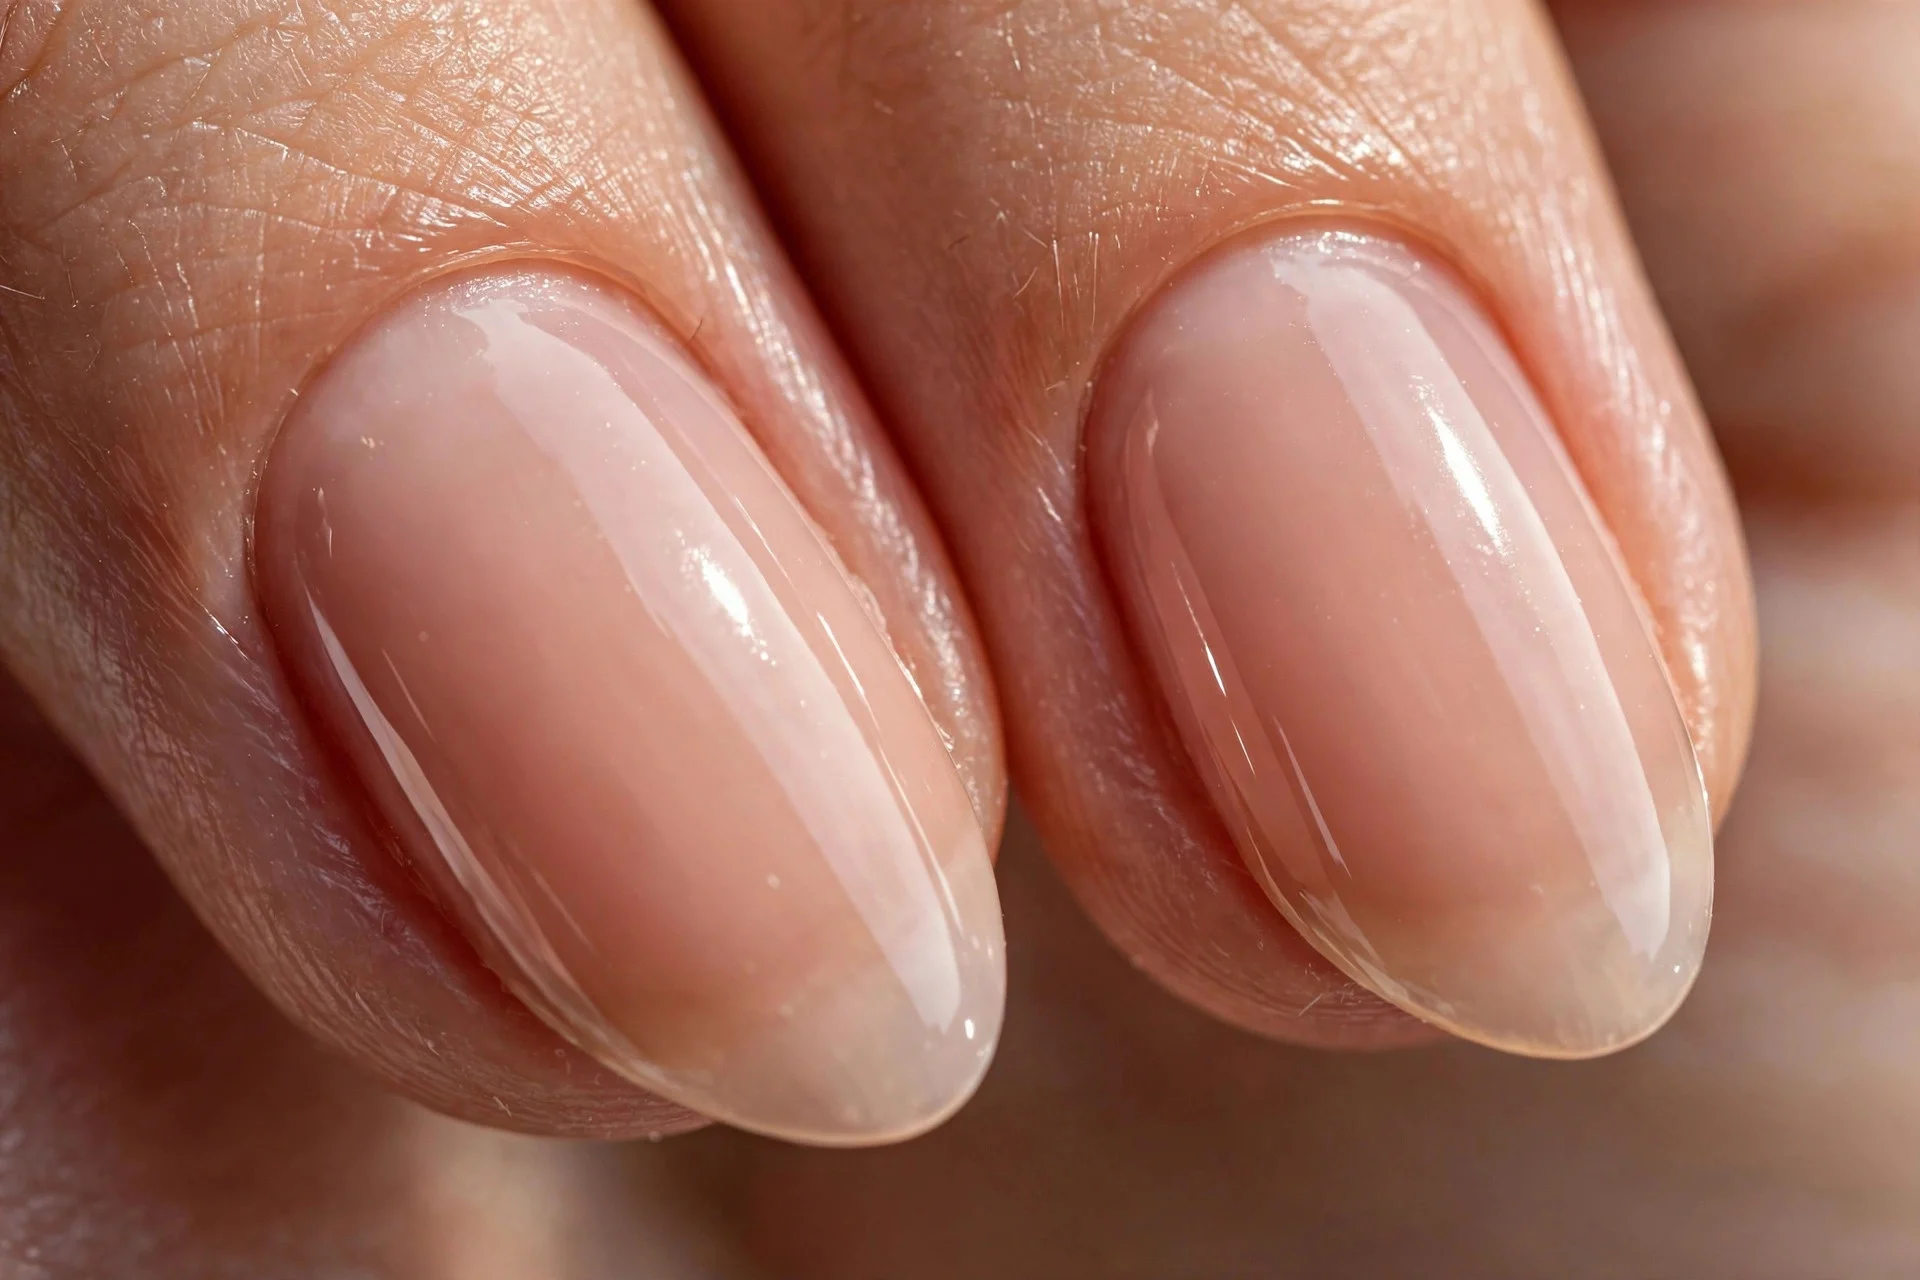
1. Classic Sheer Nude Almond
Two coats of your best skin-tone nude on freshly filed short almonds. Shows off the shape with zero art skills and suits every occasion. The manicure I wear when I want effortless elegance.
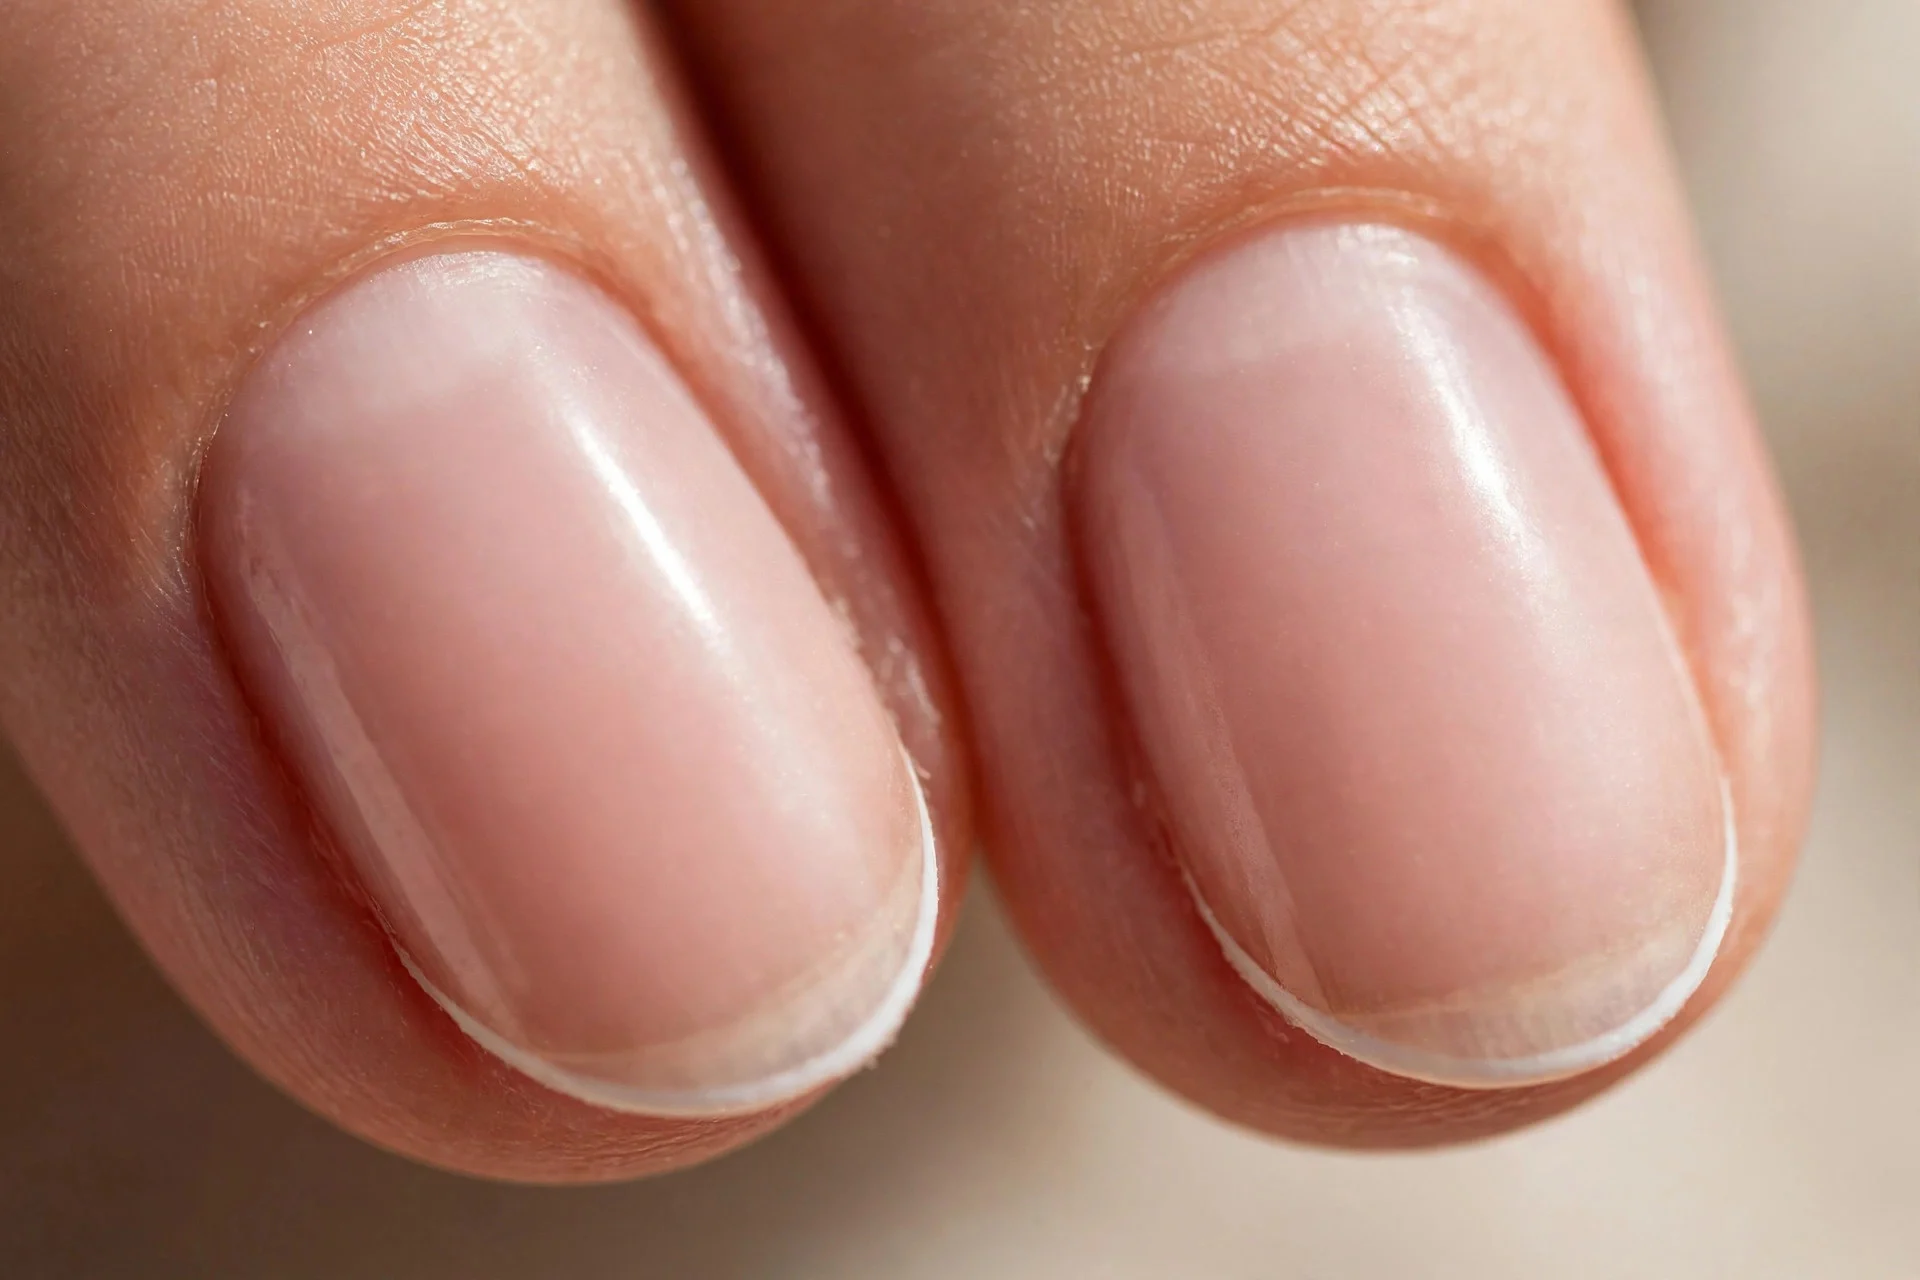
2. DIY Micro French
Sheer nude base, then a one-millimeter white line along the almond tip with a striping brush. Clean wobbles with an acetone brush.
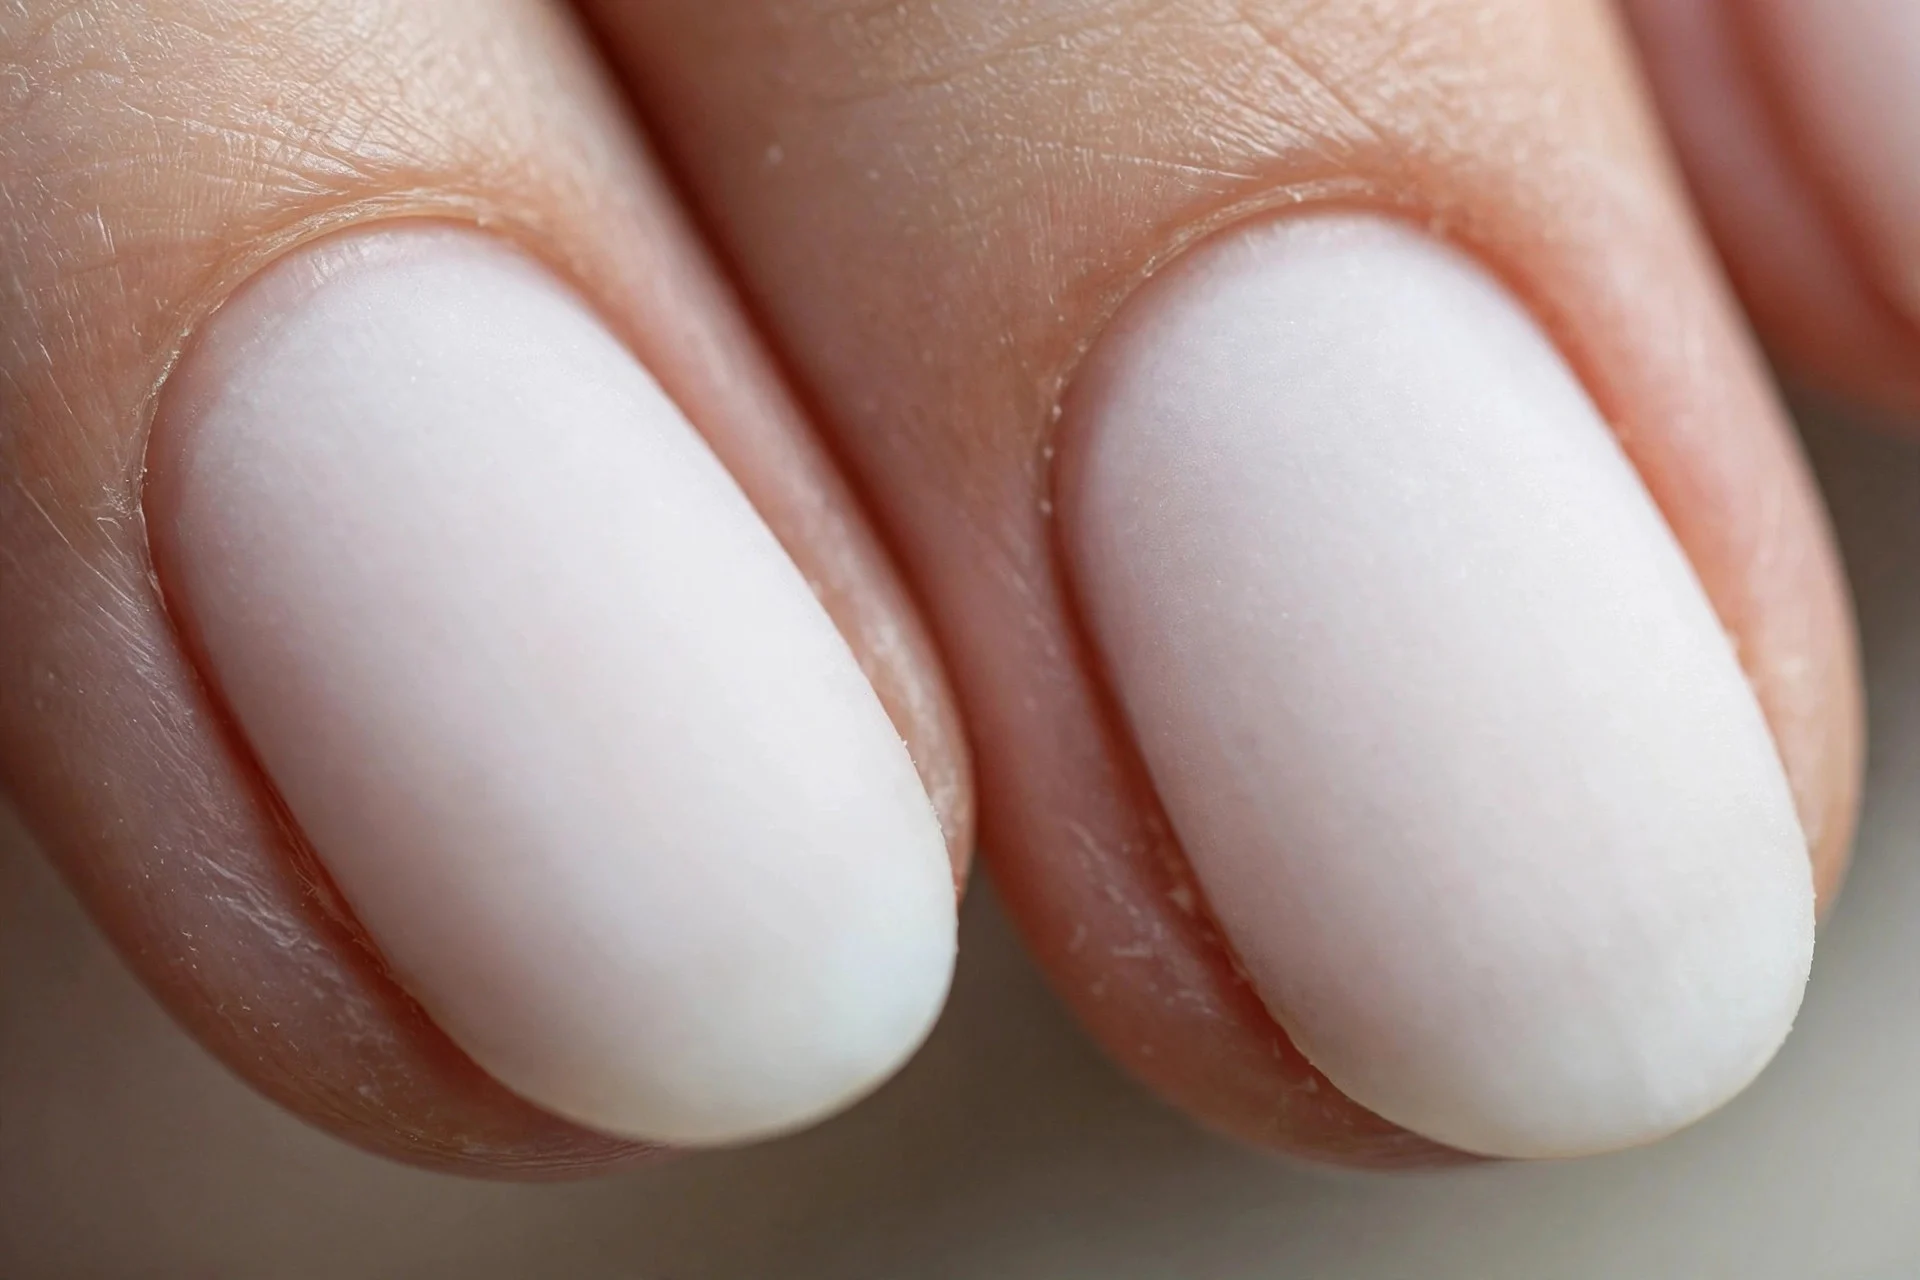
3. Milky White Almonds
Milky white on short almonds is fresh and modern, and opacity hides imperfections, which is forgiving for beginners. Two thin coats, cap the tip, glossy top coat. Photographs beautifully year-round.
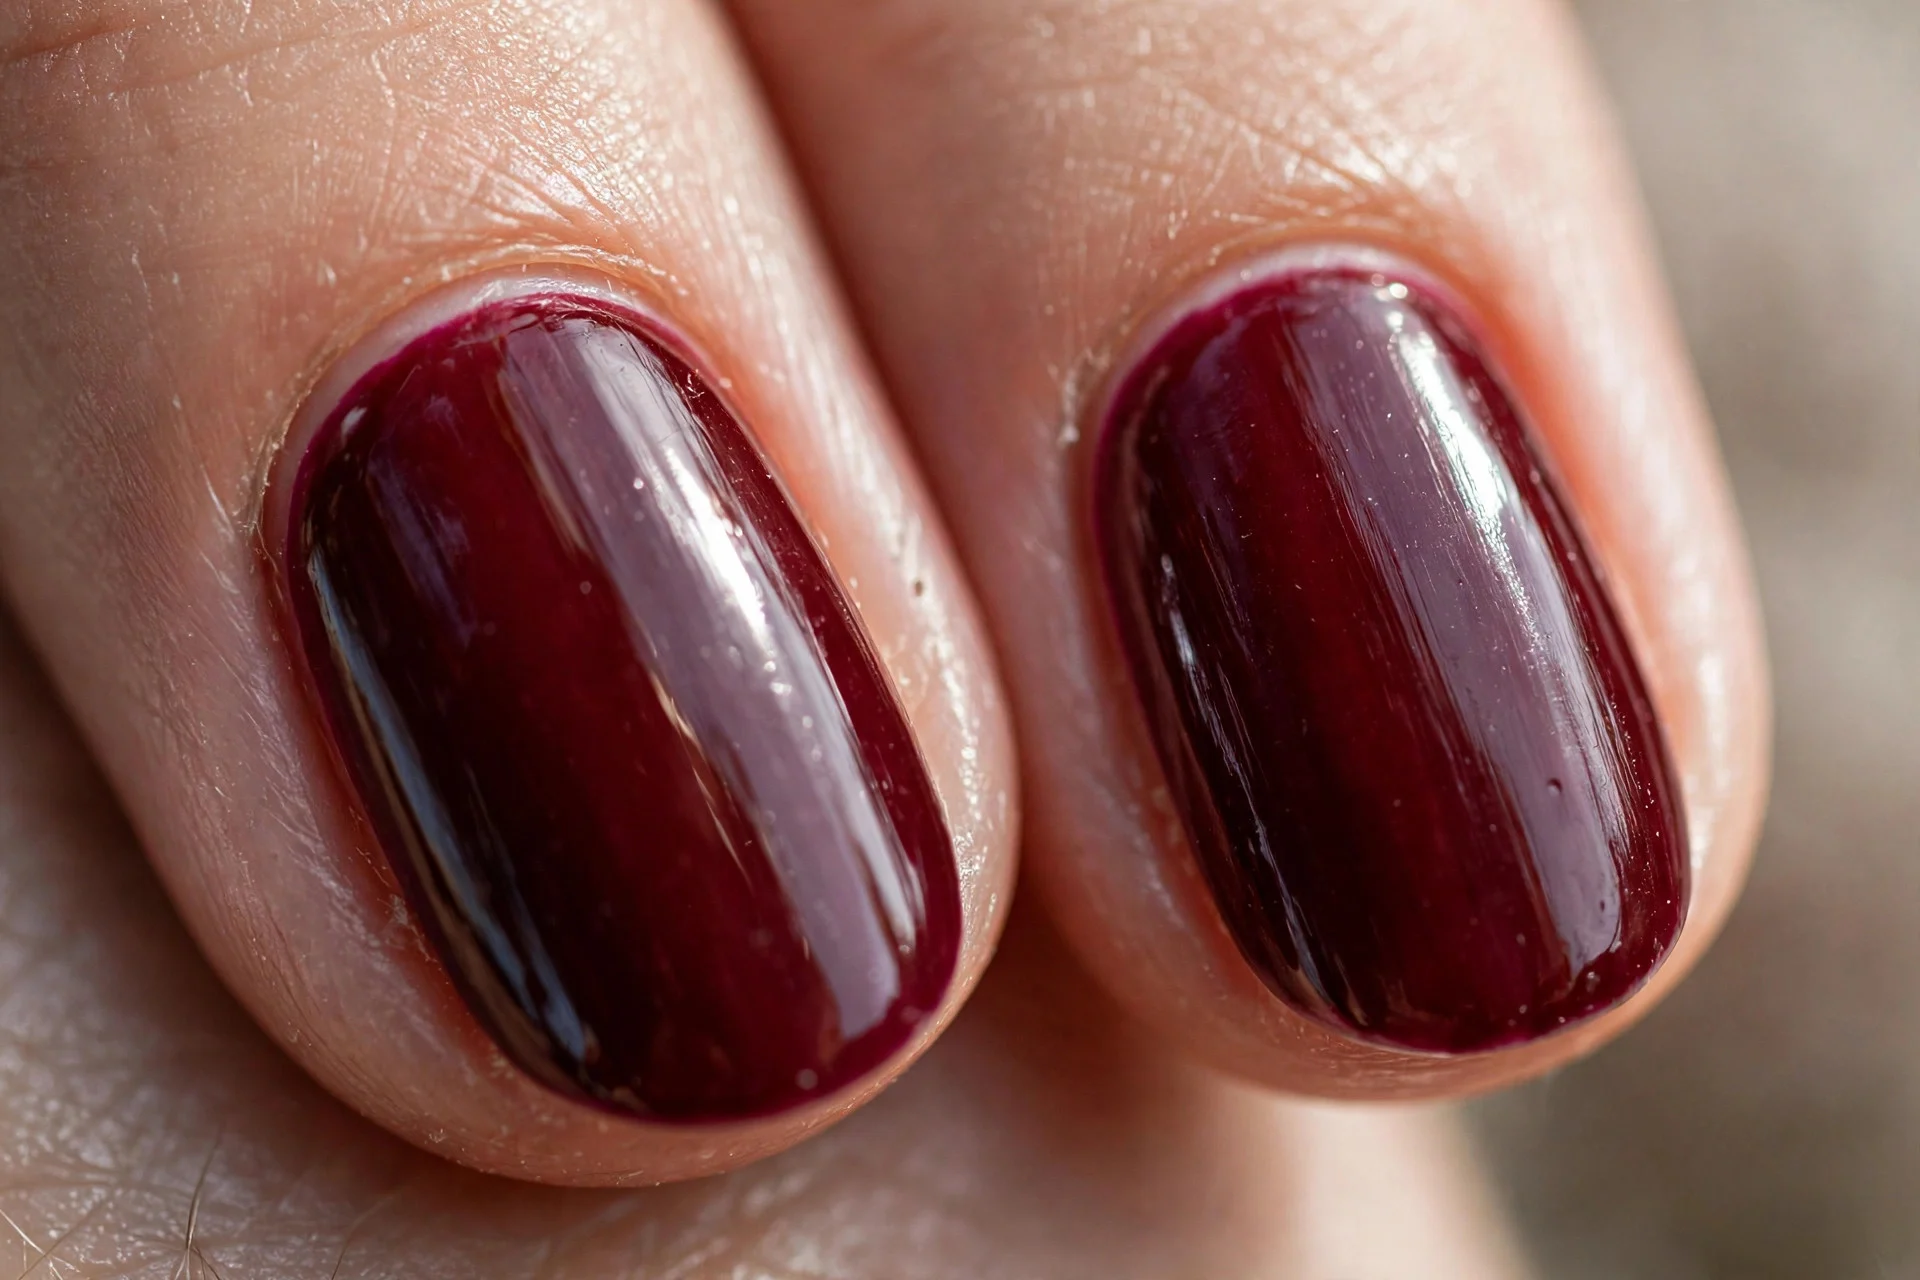
4. Burgundy Almonds for Autumn
Deep burgundy on short almonds is rich without being high-maintenance. Dark colors hide application mistakes better than lights. Base coat first to prevent staining, two thin coats, glossy top coat.
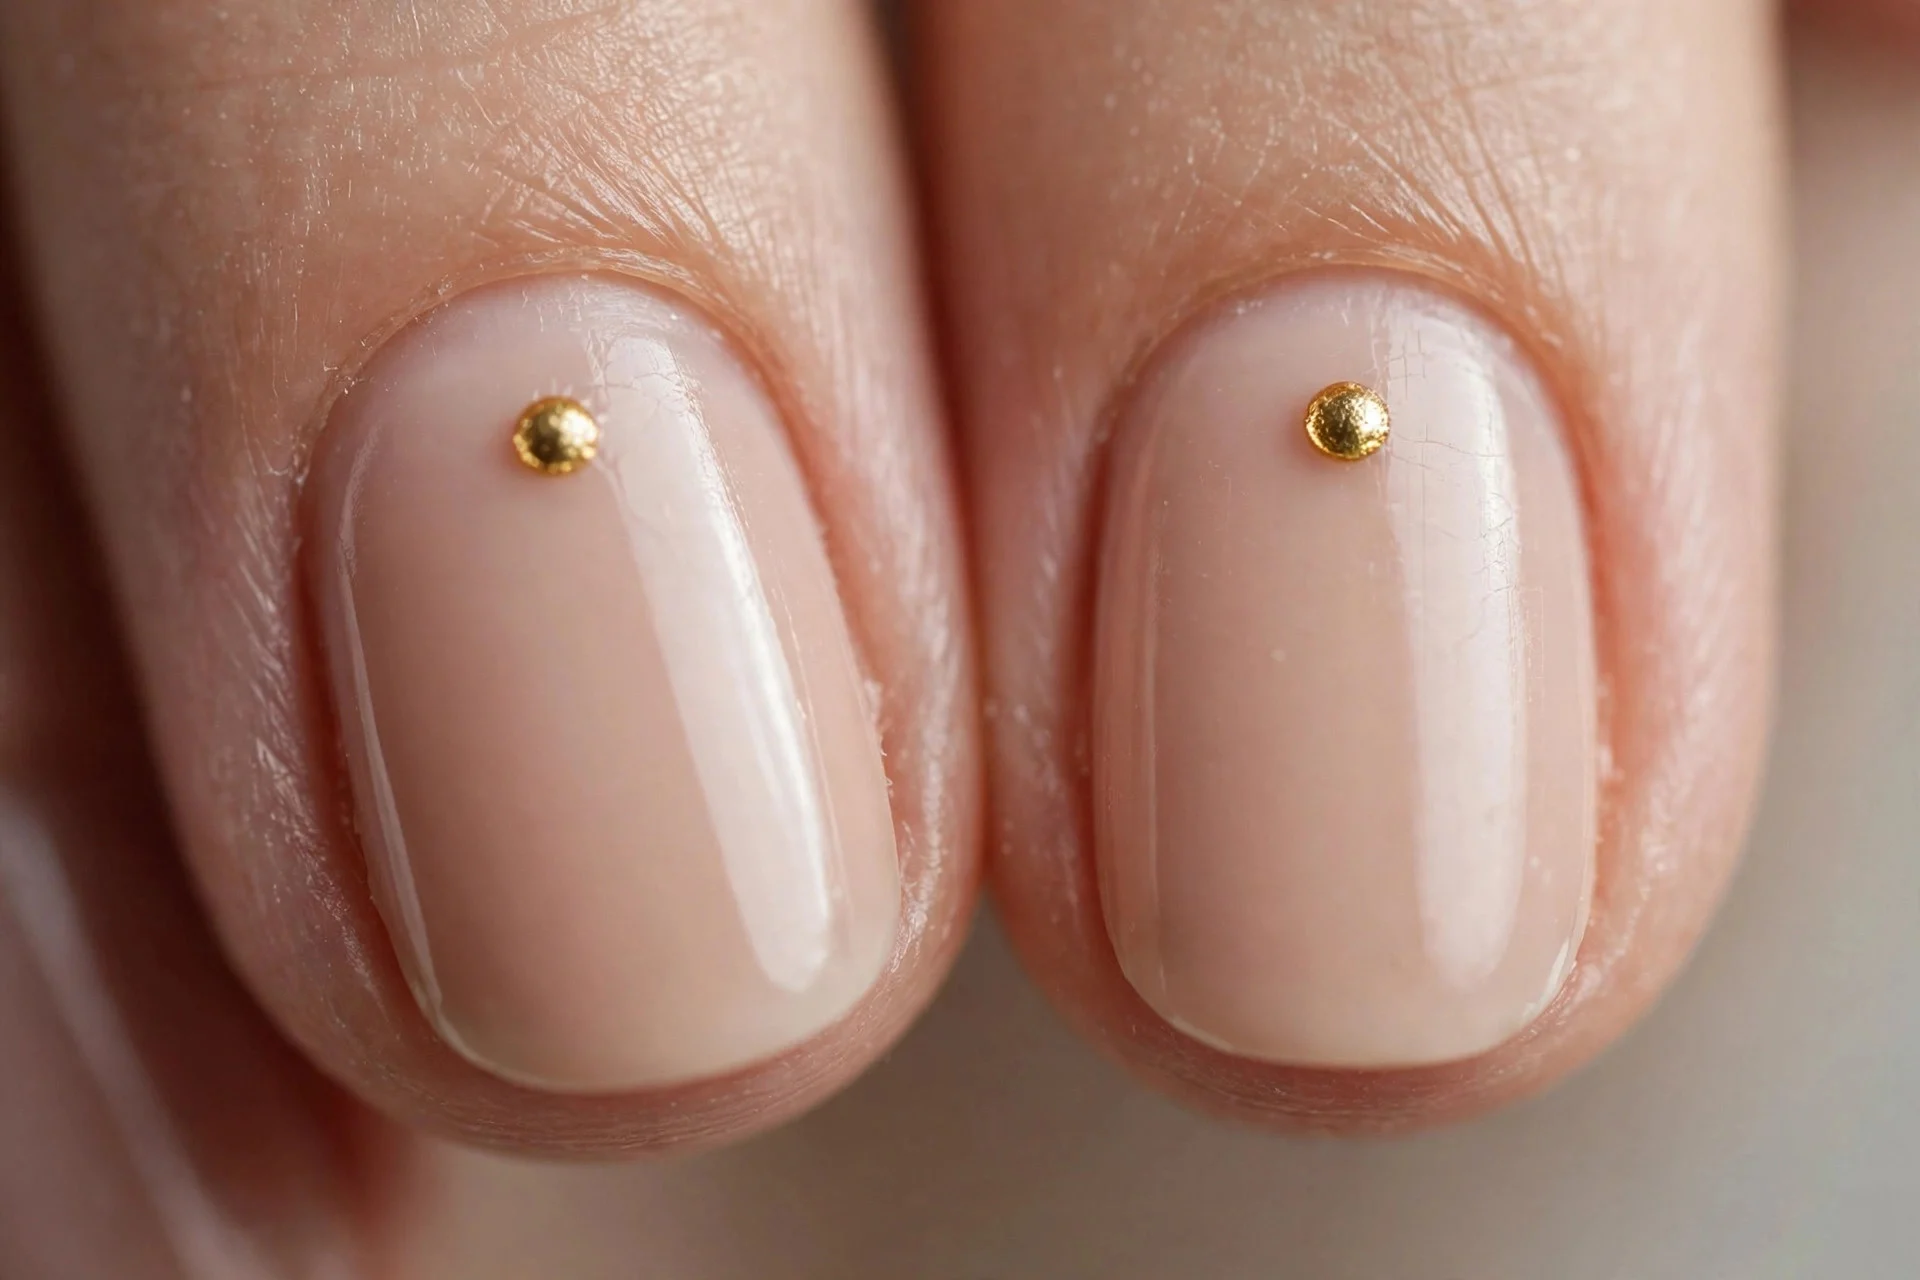
5. Gold Dot Accents
Nude almonds with one small gold dot near the base of each nail, placed with a dotting tool or bobby pin. Center the dots; on almond, centered art enhances symmetry. Seal with top coat. Five minutes, maximum impact.
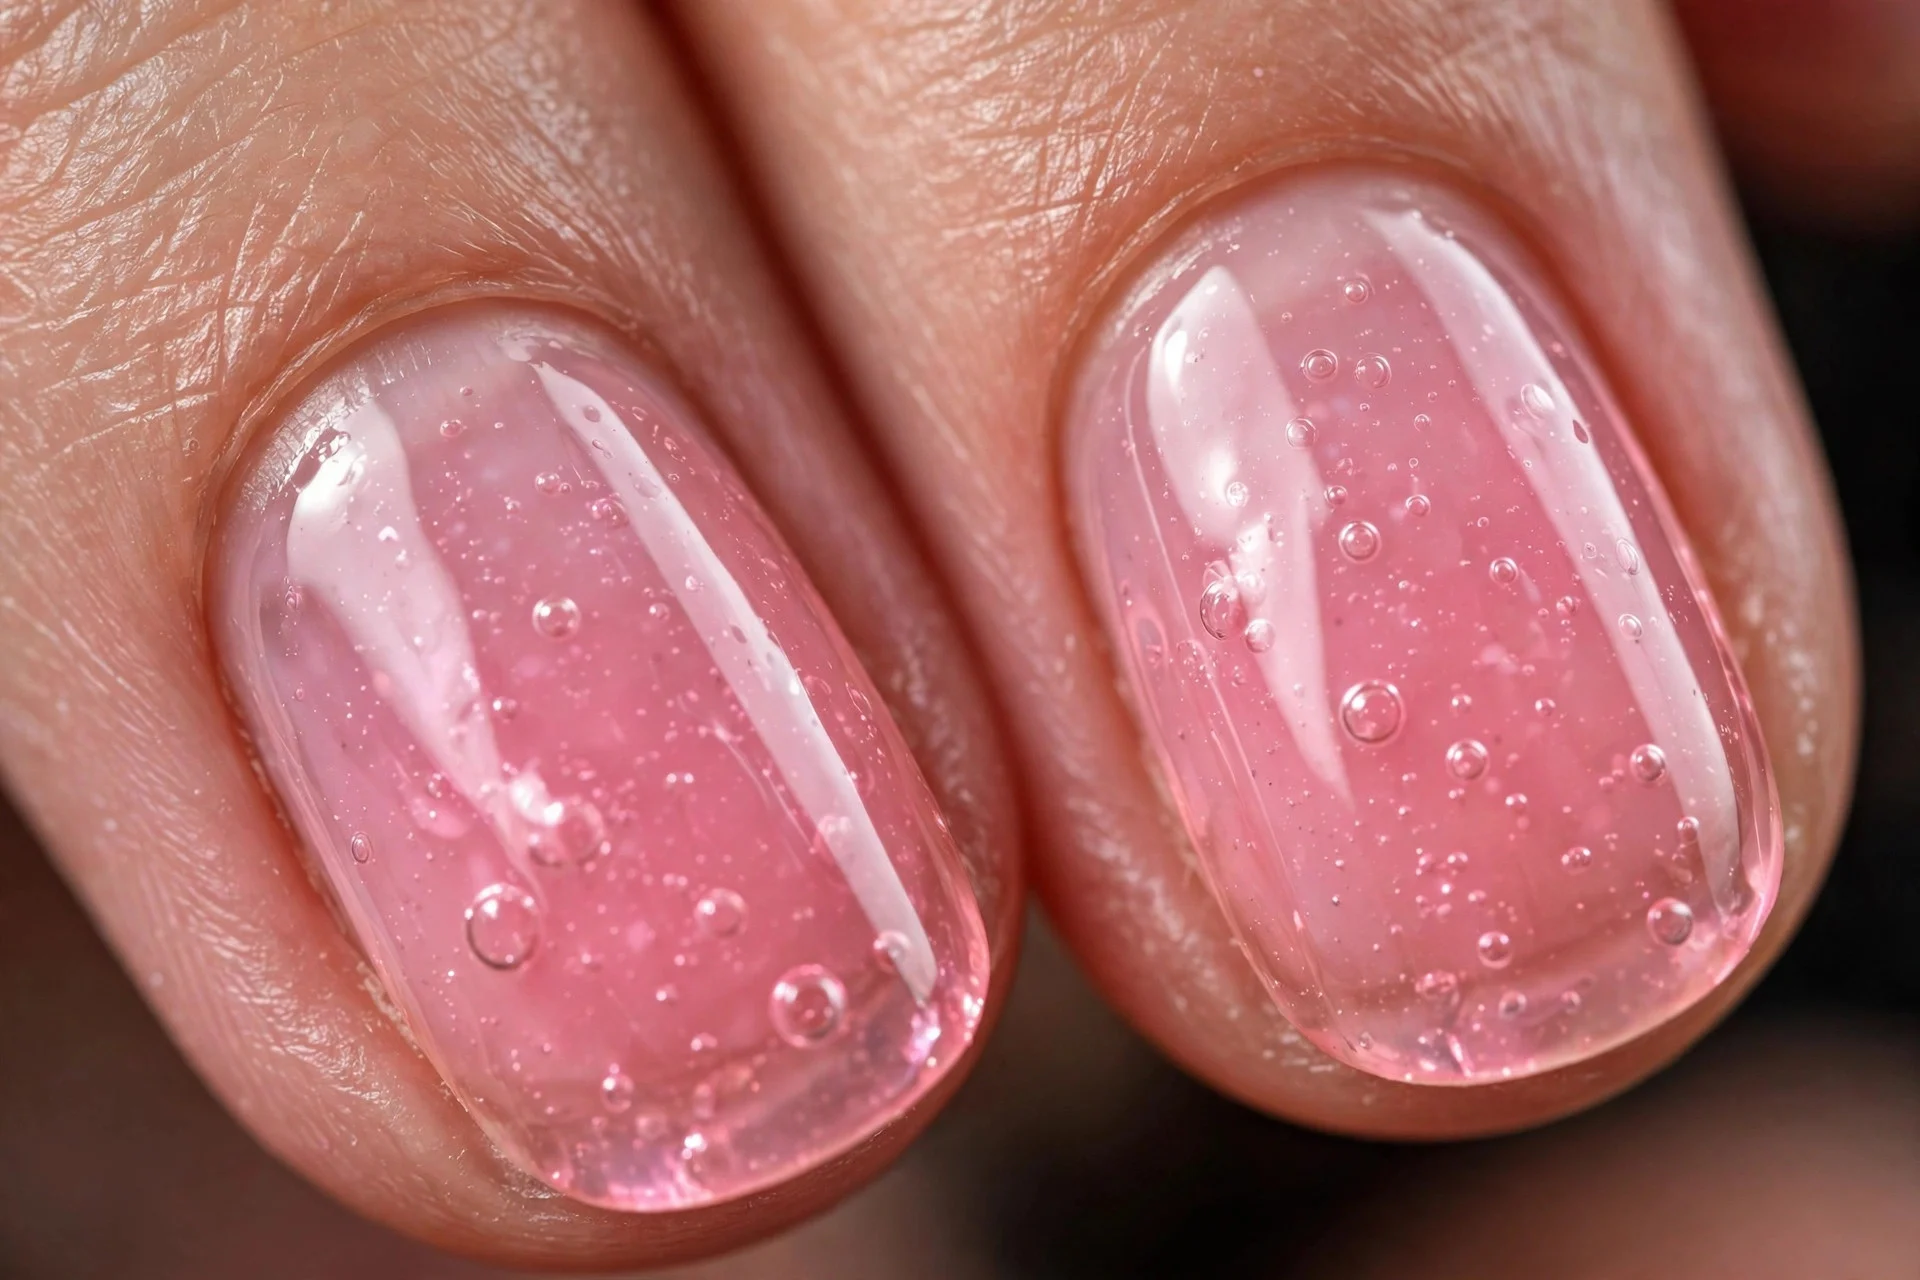
6. Soft Pink Jelly
Jelly polishes are sheer and forgiving because streaks disappear into the translucency. Soft pink jelly on short almonds looks like candy and your natural nail at once. Three thin coats build the depth.
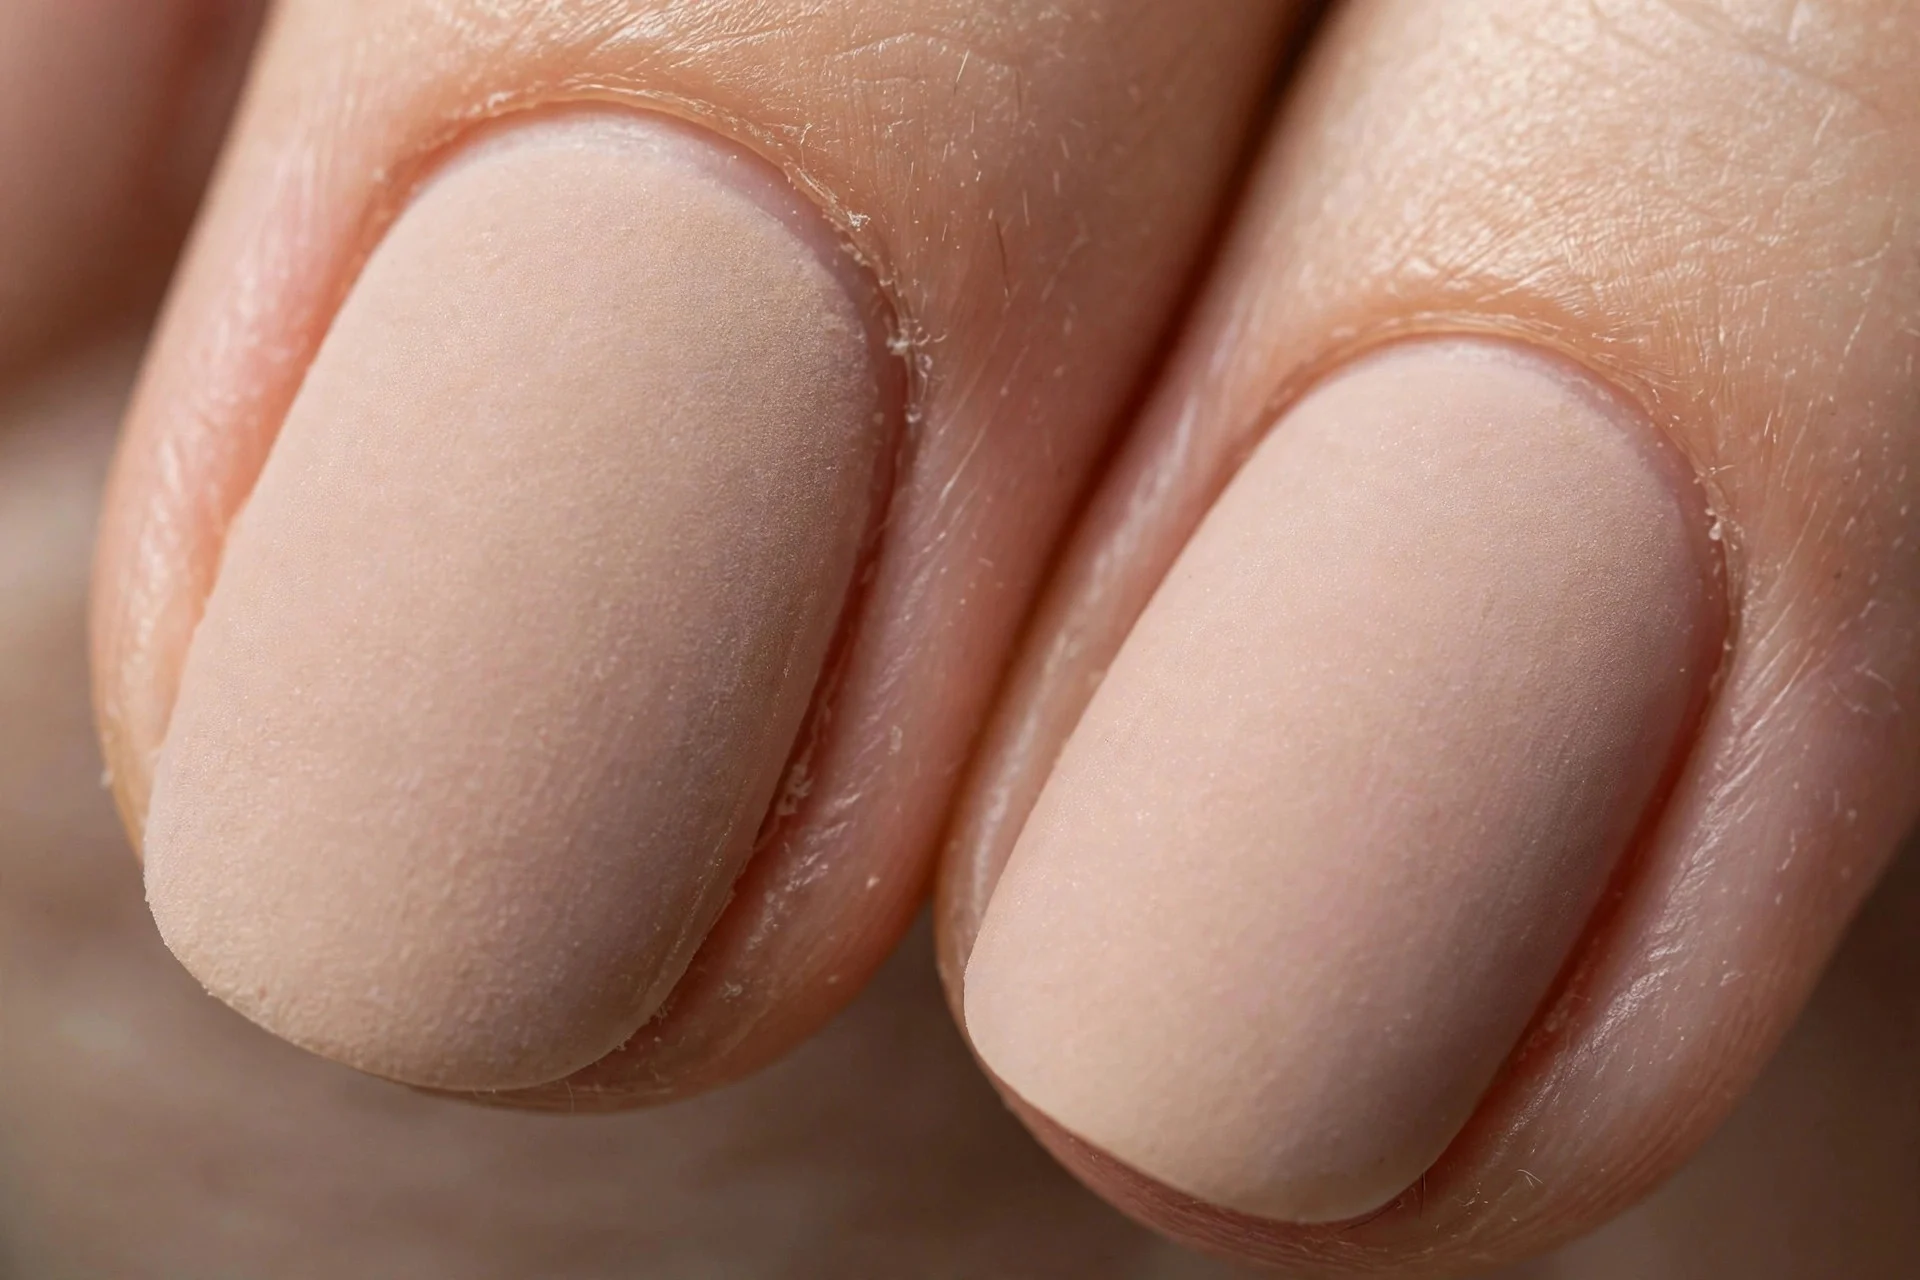
7. Matte Nude Almonds
Matte top coat over nude almonds transforms them completely. The velvety finish looks modern and hides minor filing imperfections. Reapply every three days; matte wears faster than gloss.
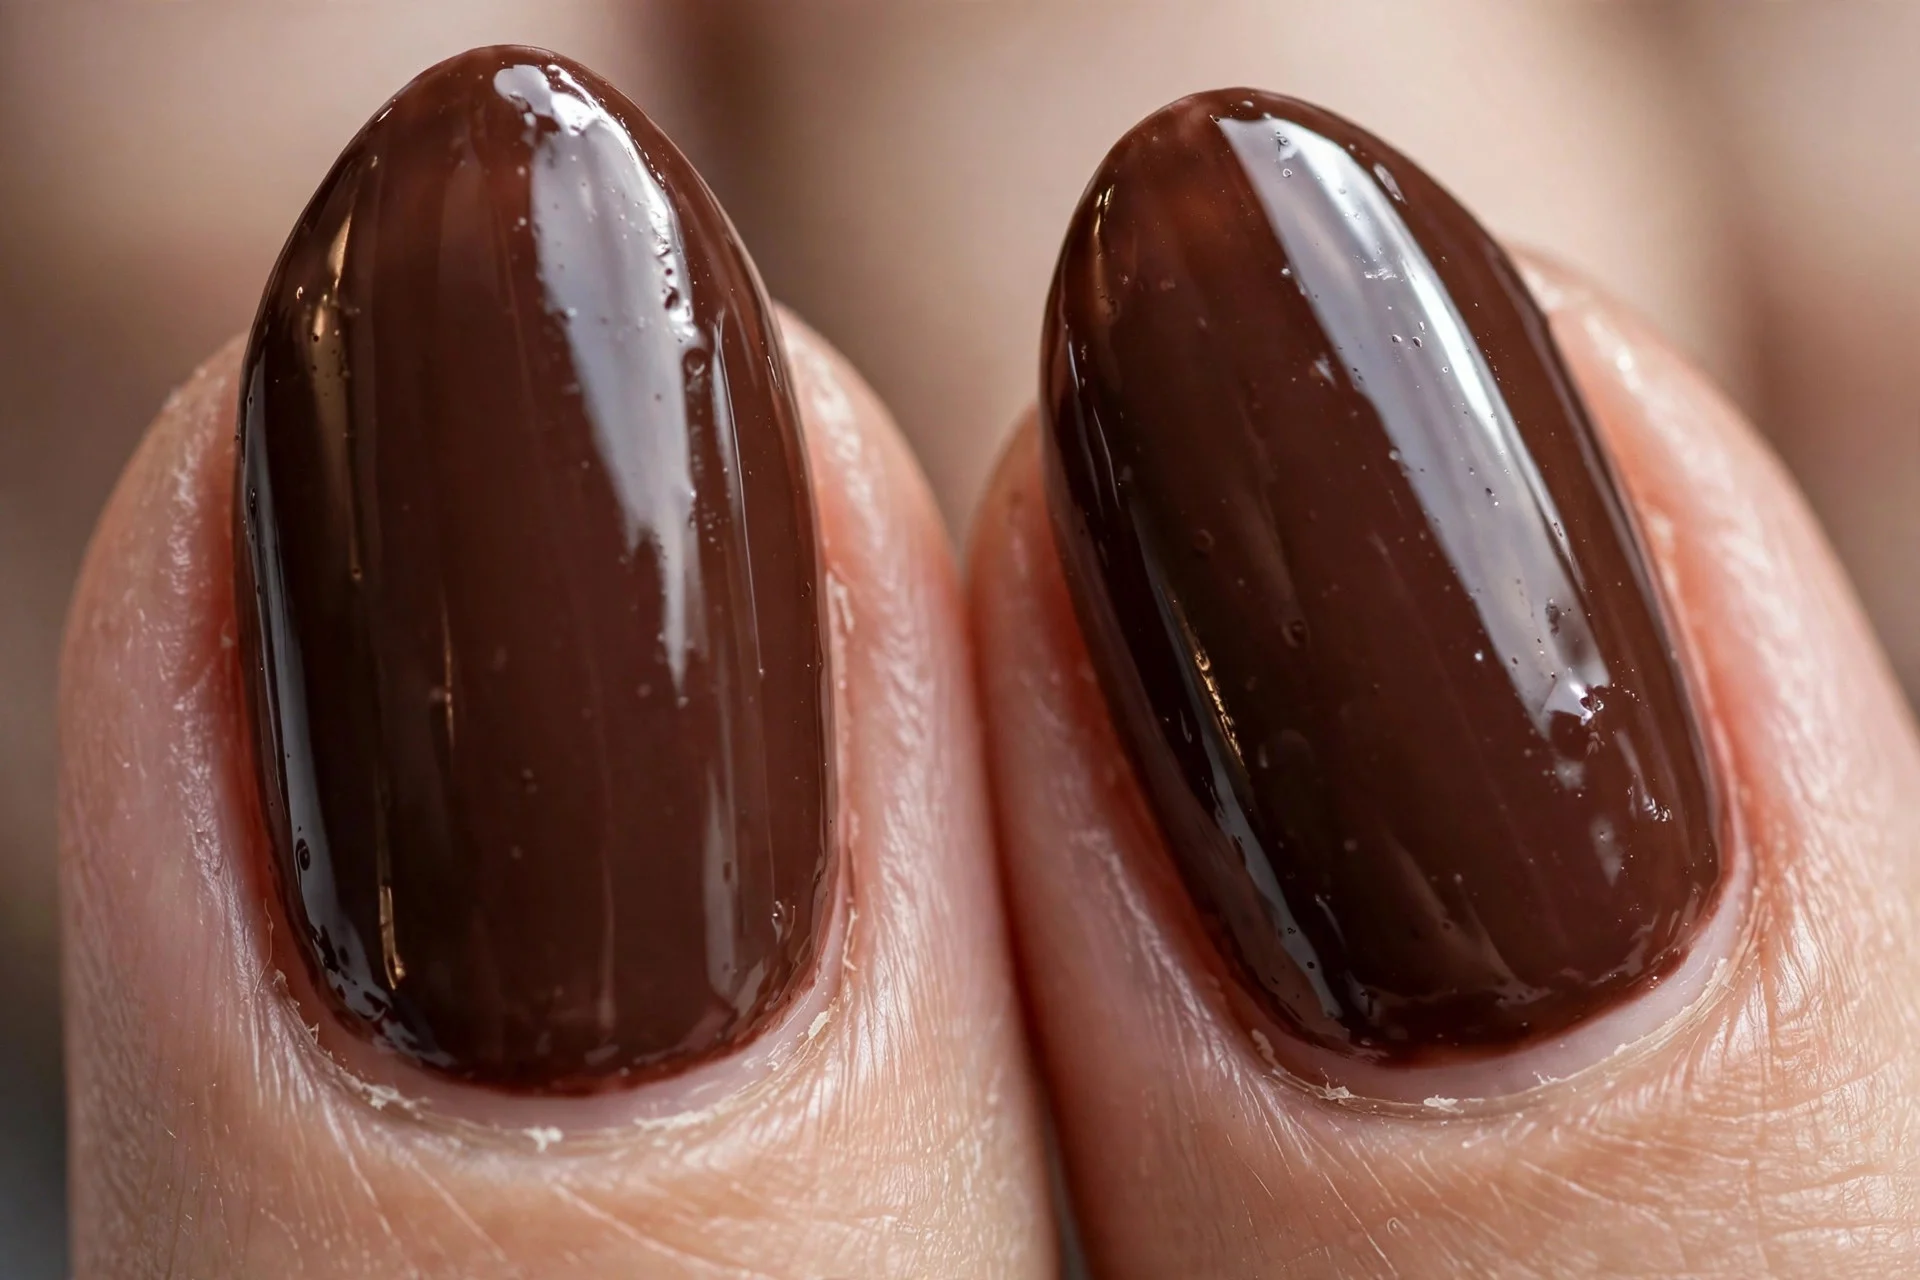
8. Chocolate Brown Almonds
Chocolate brown flatters every skin tone, looks expensive, and hides chips well. On short almonds it reads chic rather than heavy. Two coats, glossy top coat: a manicure that works October through March.
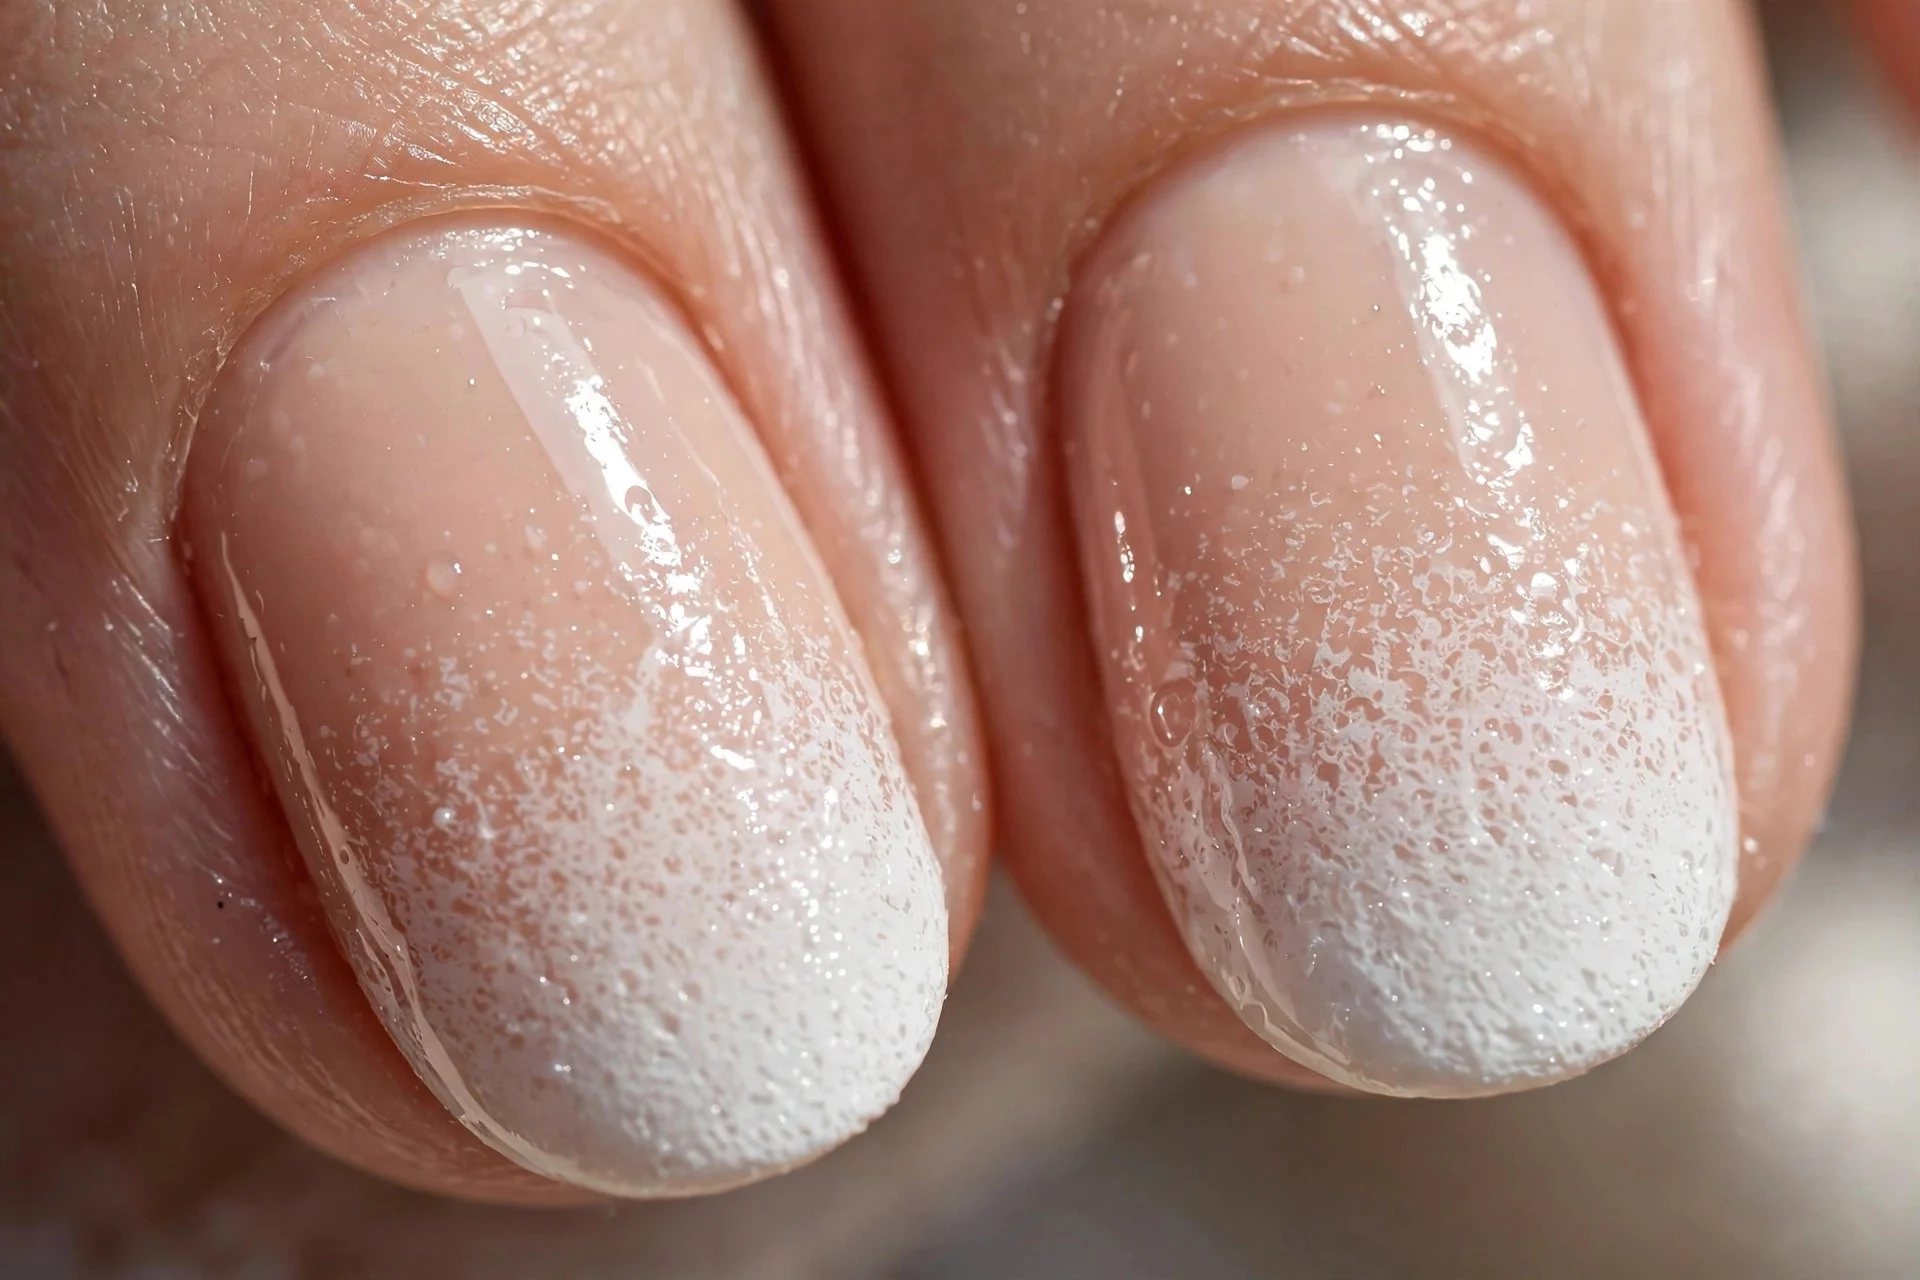
9. DIY Ombré With a Sponge
Paint nails nude, sponge white onto the tips with a makeup sponge, dabbing gently. The almond taper makes the fade look natural. Seal with two coats of top coat.
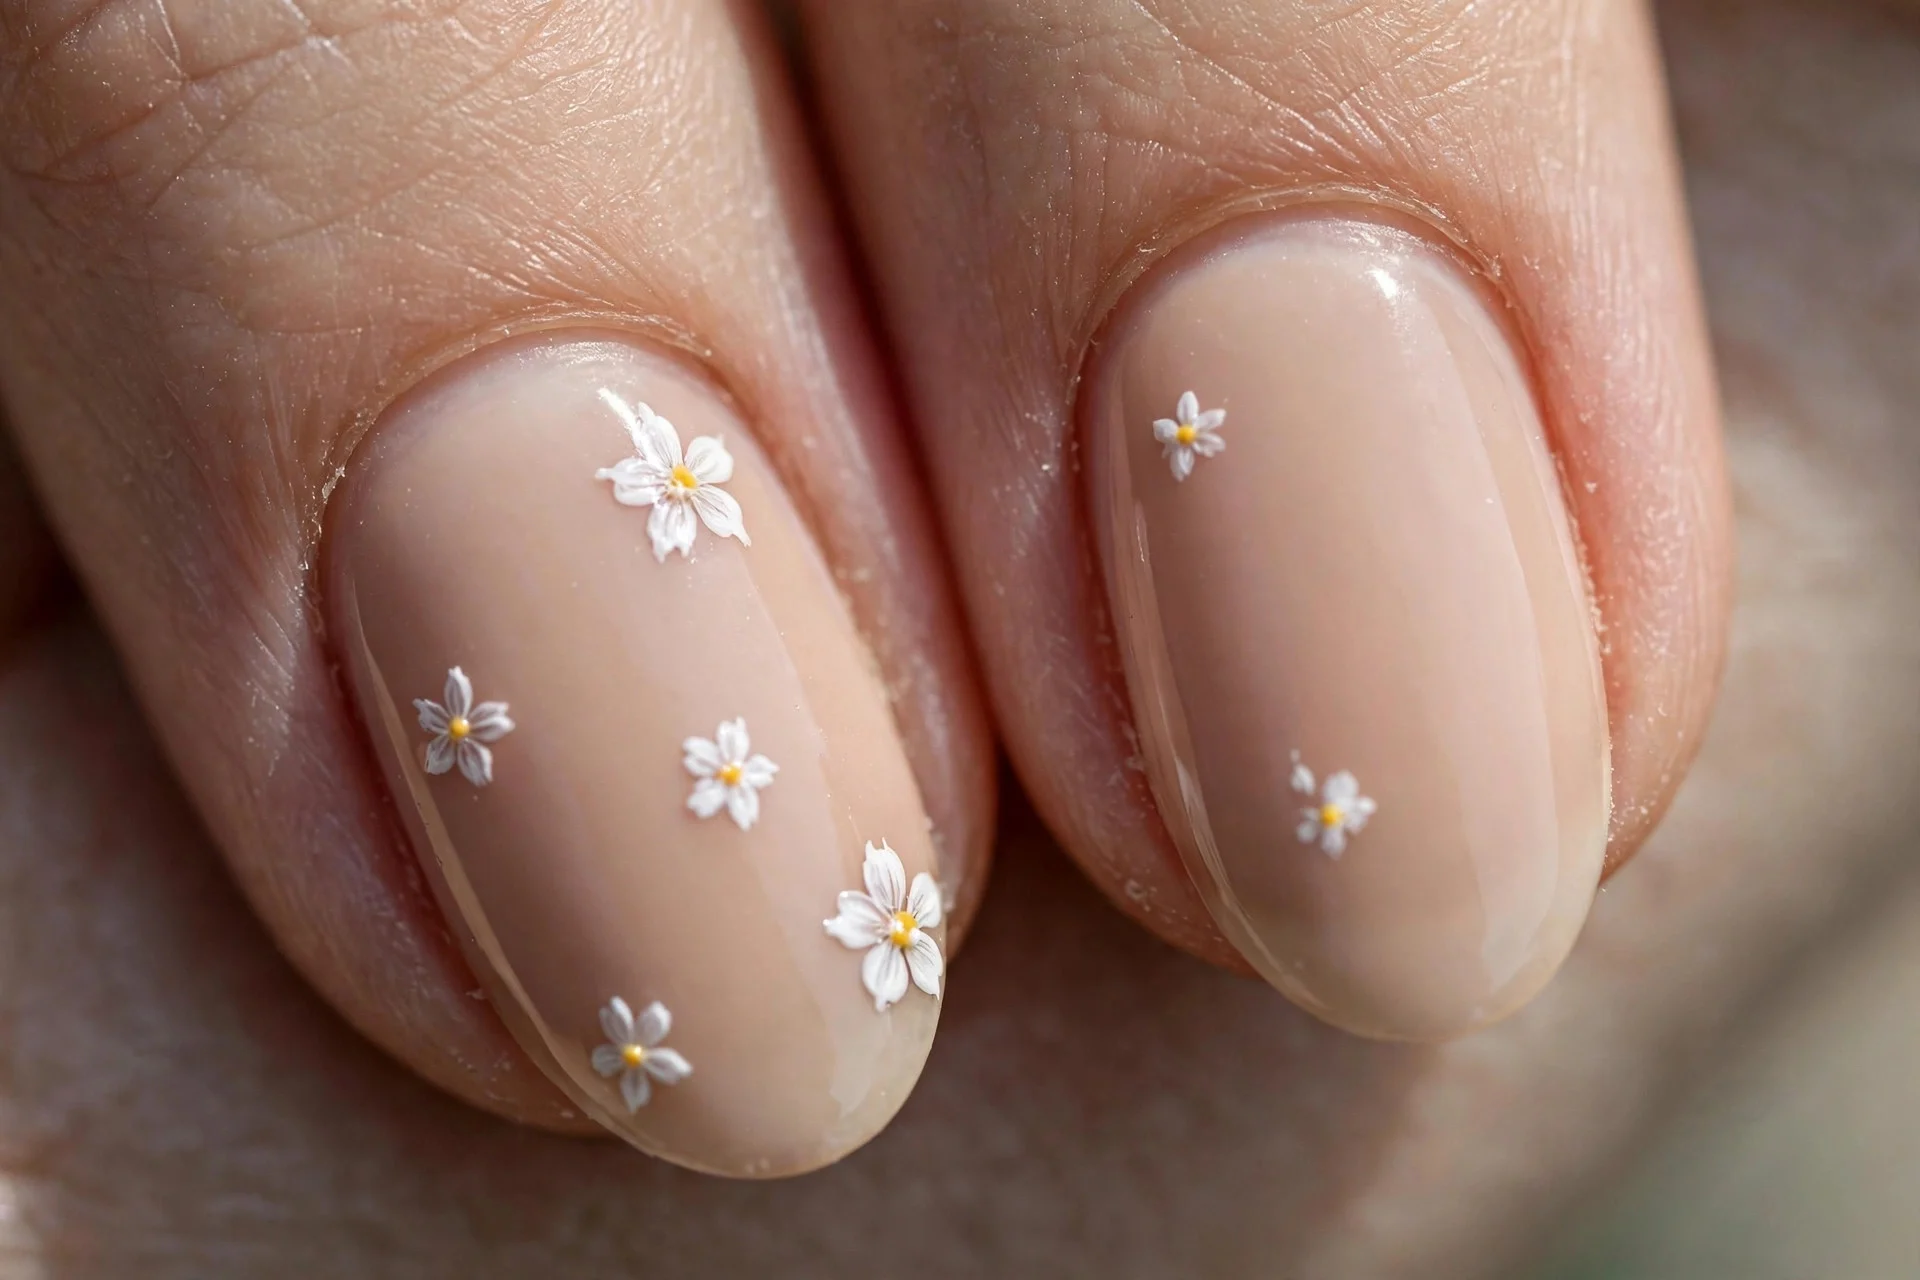
10. Tiny Floral Accents
On two accent nails, paint a five-petal flower with a dotting tool: five dots in a circle, one center dot, a tiny stem. Keep flowers small and centered. More easy art in these easy nail designs to try at home.
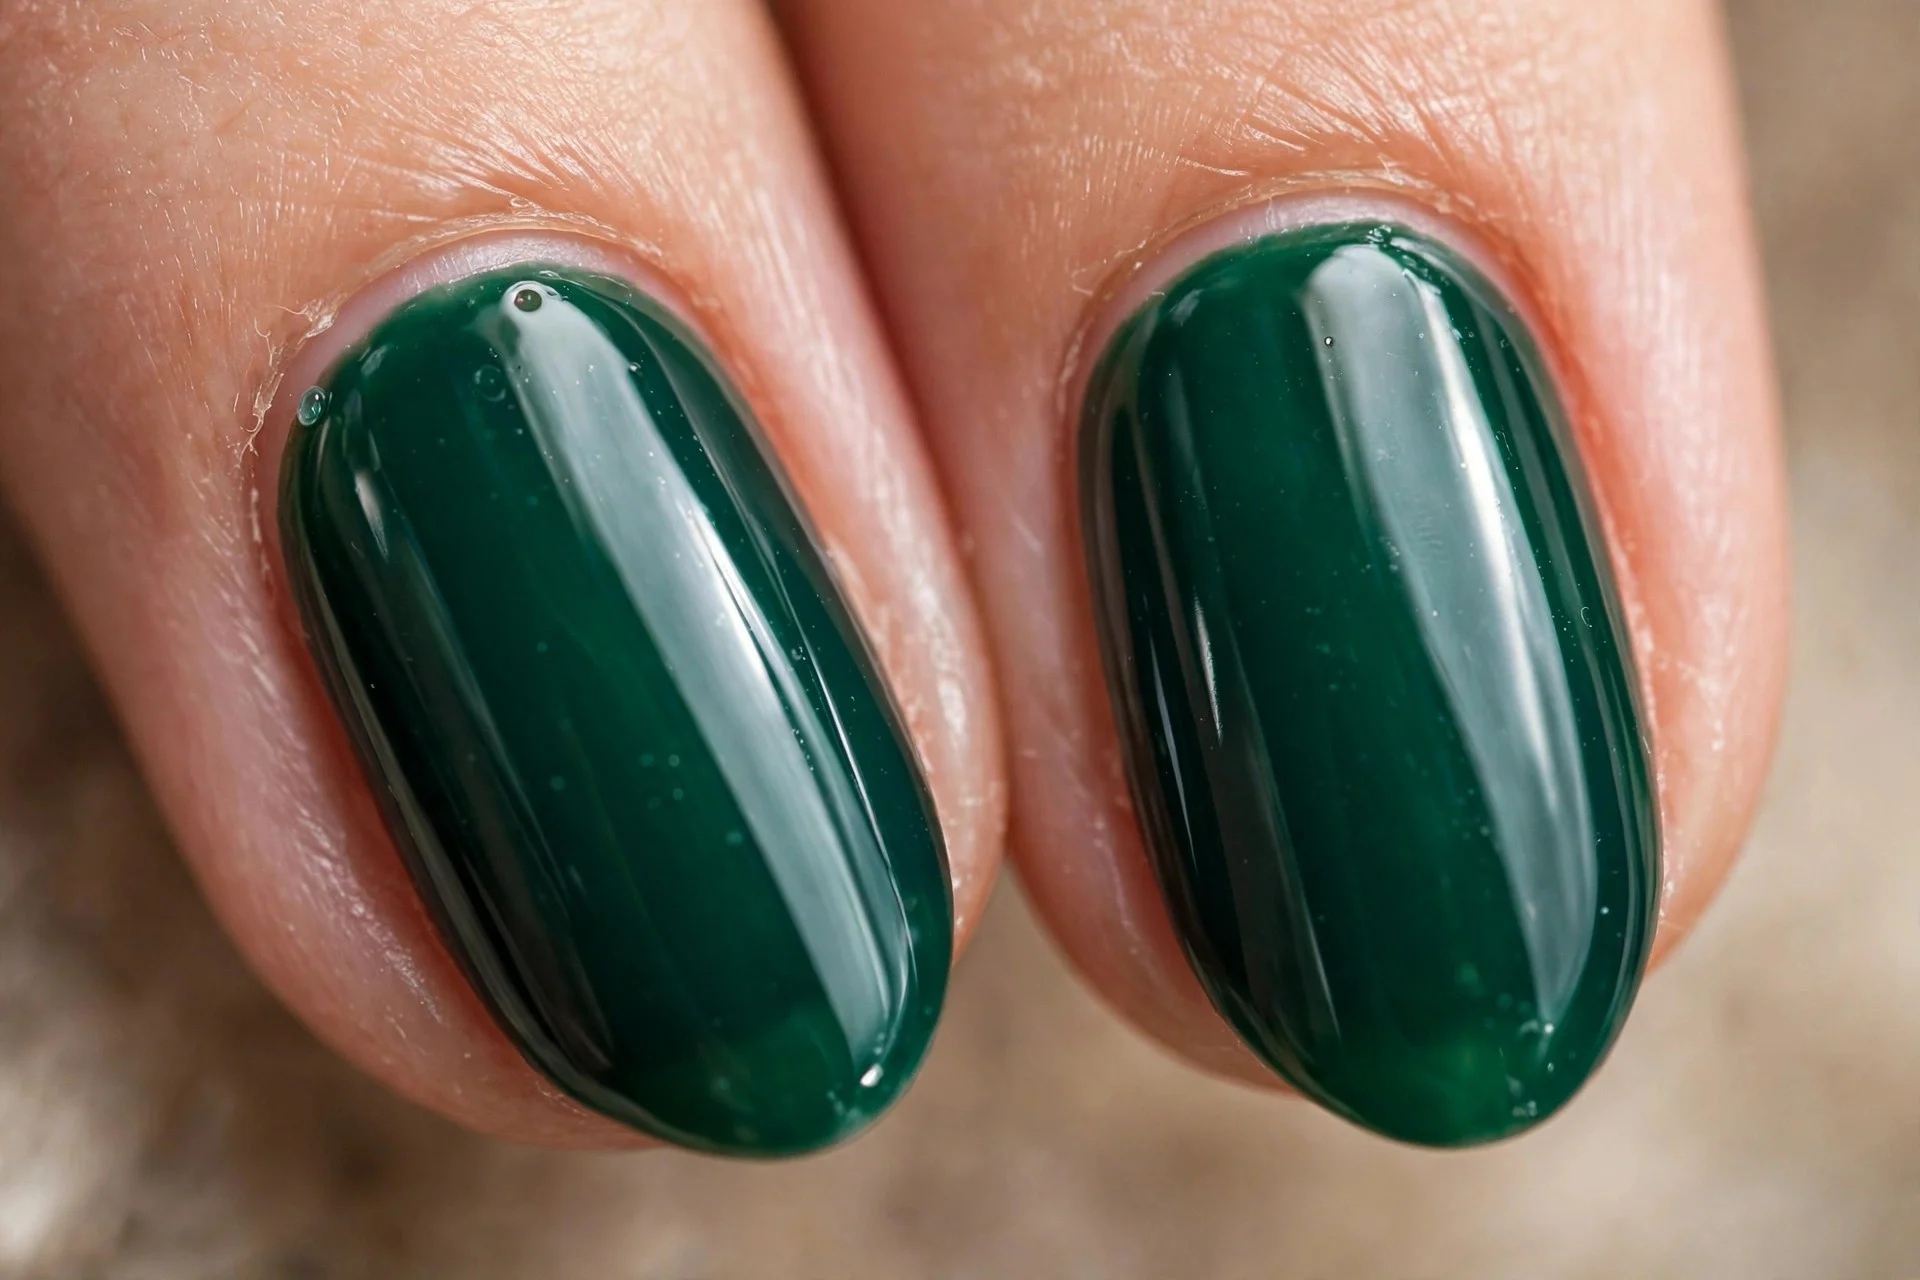
11. Deep Emerald Almonds
Emerald on short almonds looks jewel-like and expensive. Beginner-friendly like all darks. The almond shape keeps dark color elegant. Base coat is essential to prevent green staining.
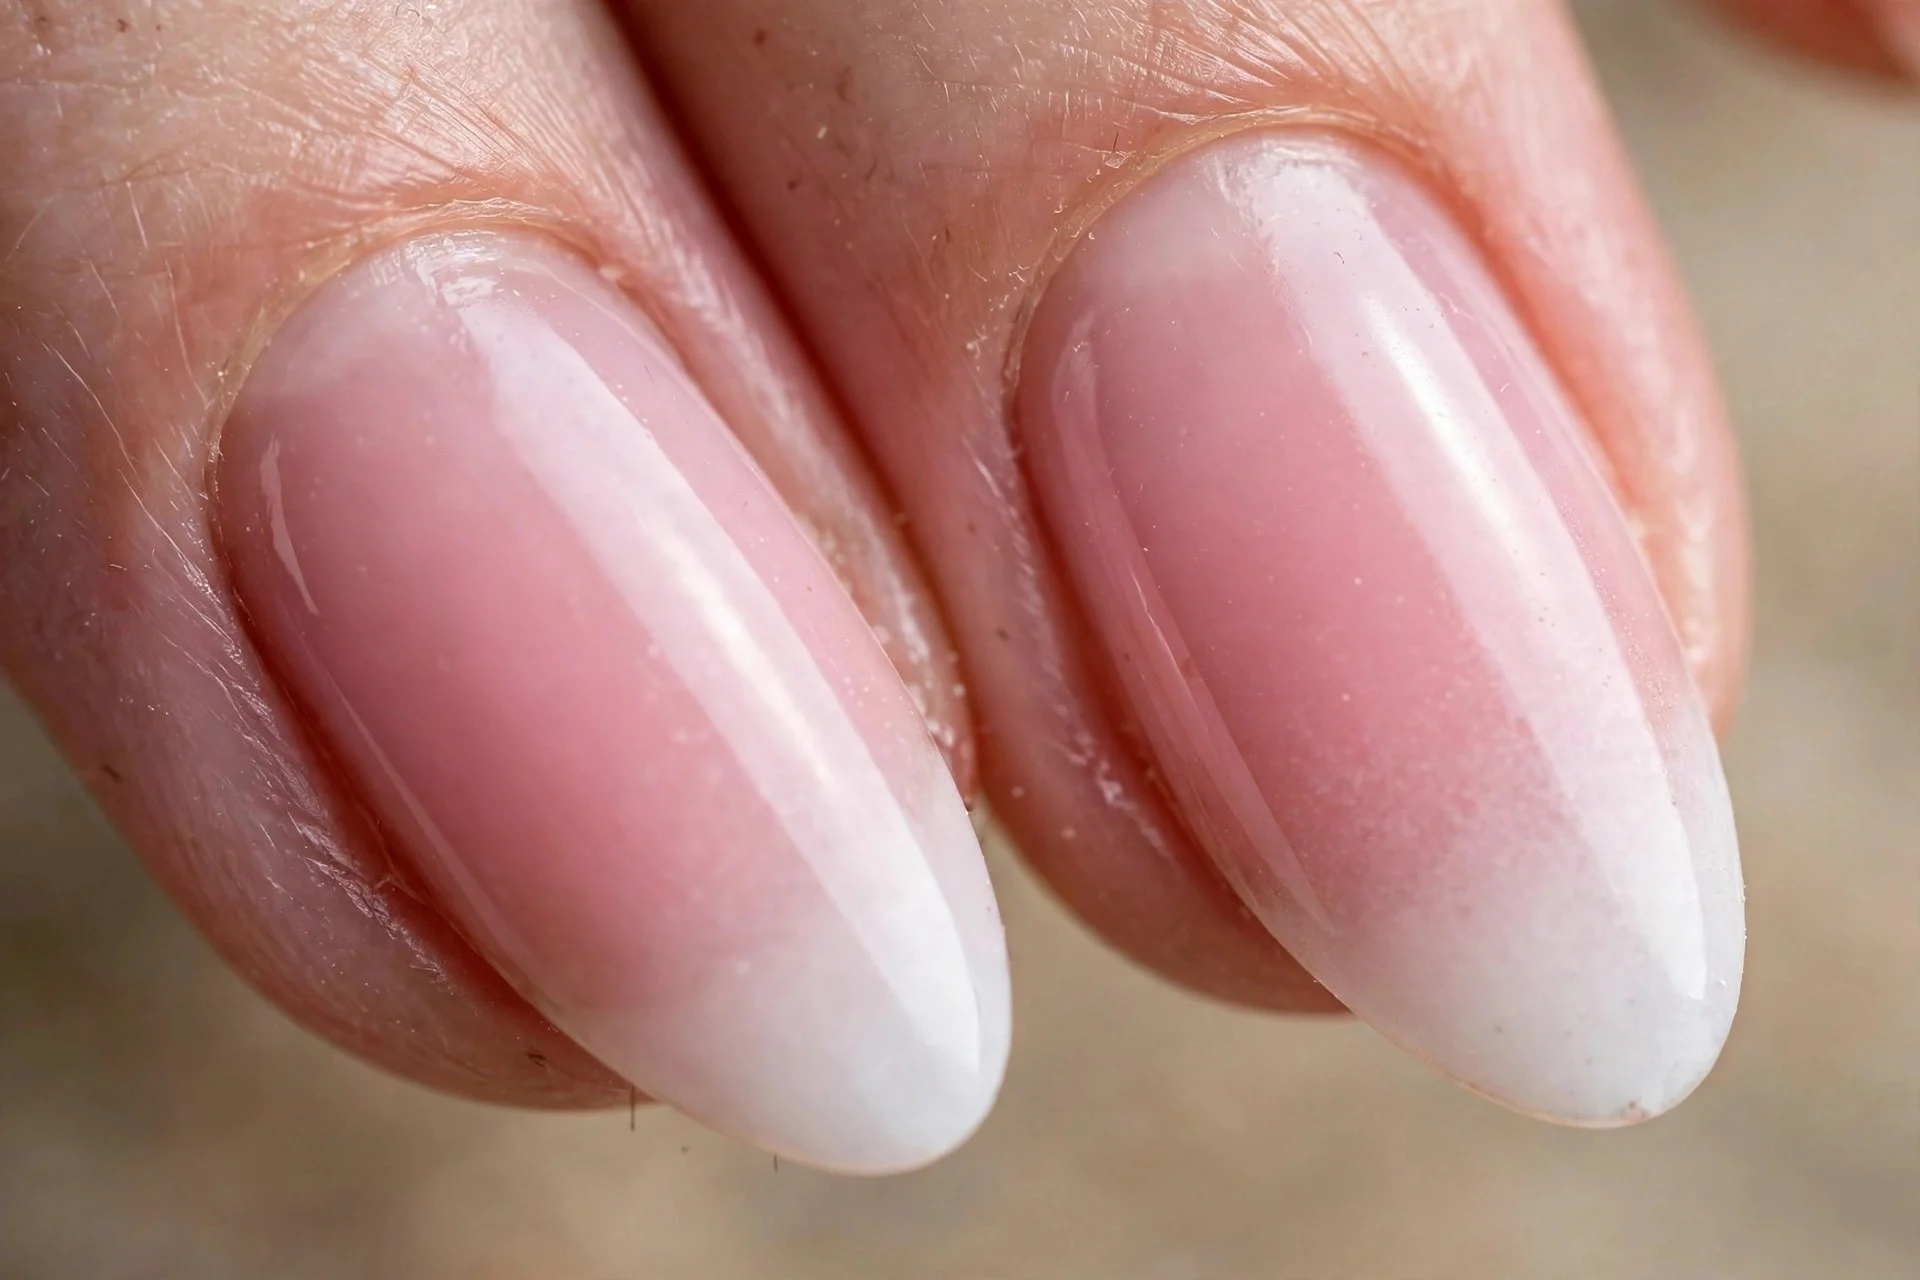
12. Sheer Pink With White Tips
Sheer pink base, then sponge soft white just at the tip for a reverse fade. Subtler than a French, easier than a full ombré. The almond tip carries the white beautifully. Glossy top coat for the blend.
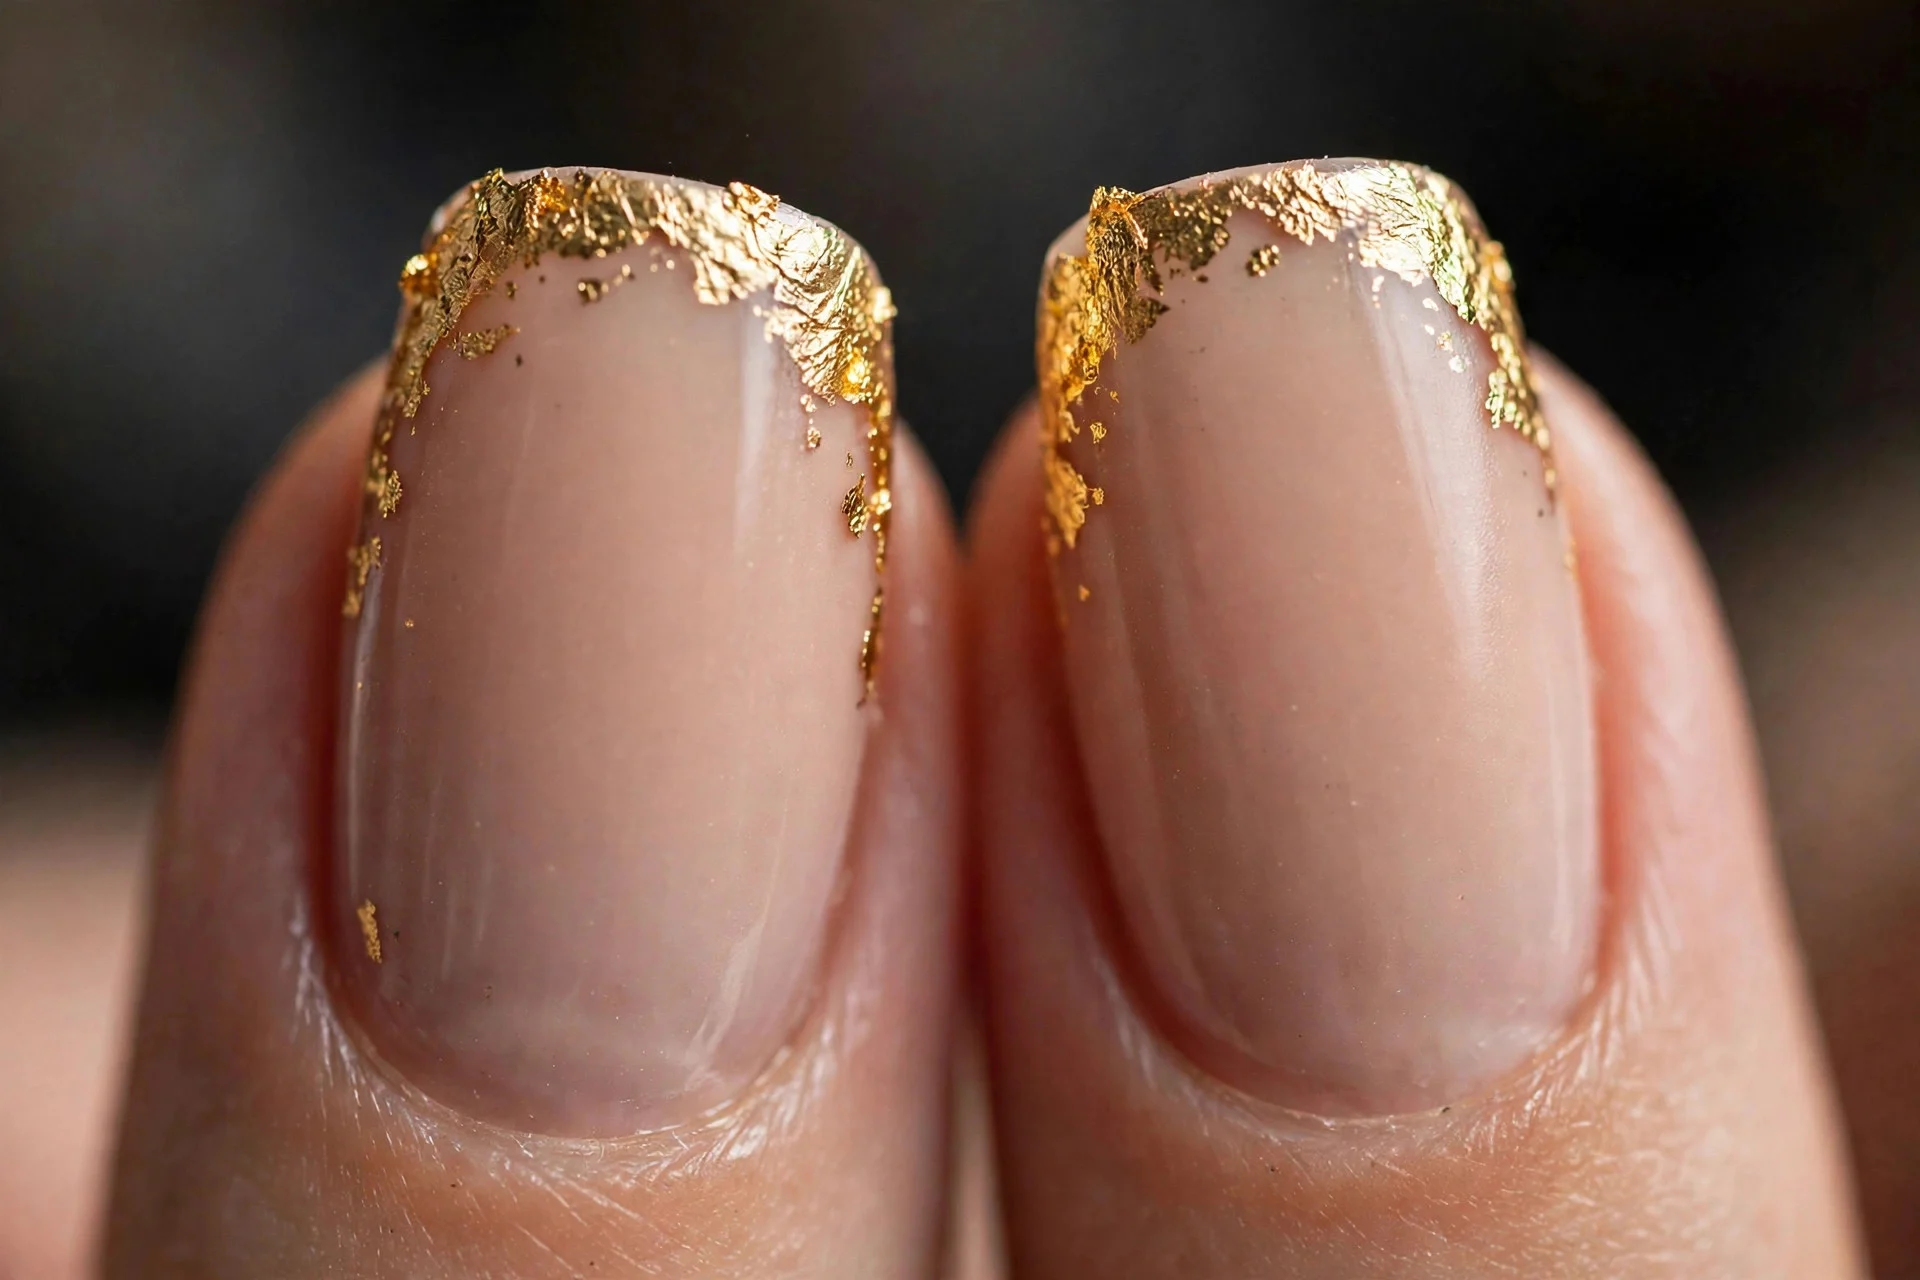
13. Nude Almonds With Gold Foil Tips
Press tiny gold foil pieces onto the tips of nude almonds with tweezers while polish is tacky. Seal with two coats of top coat. No two nails match, and that is the charm.
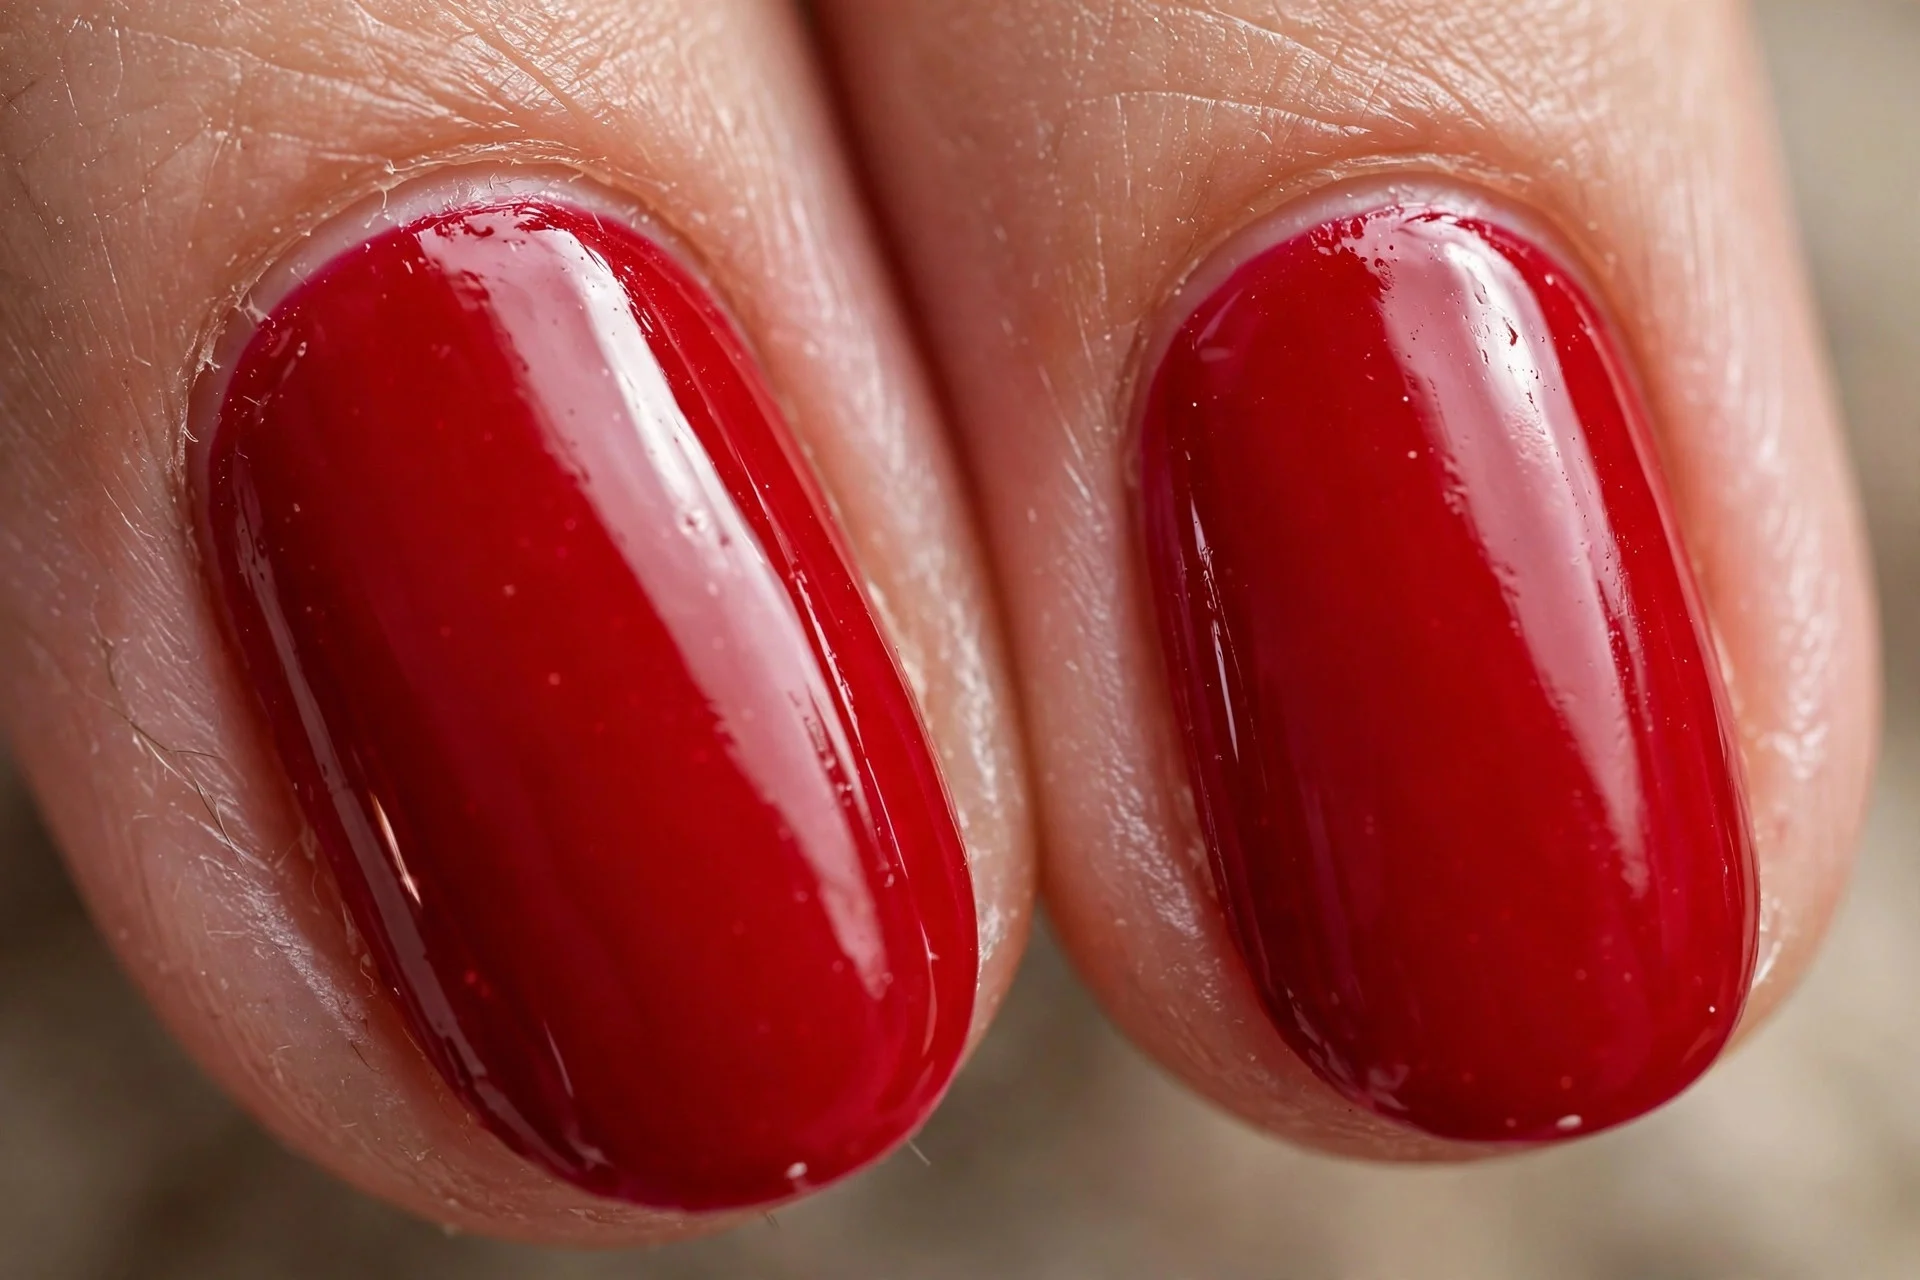
14. Classic Red Almonds
True blue-red on short almonds is timeless. Red shows every imperfection: thin coats, acetone-cleaned edges, glossy top coat.
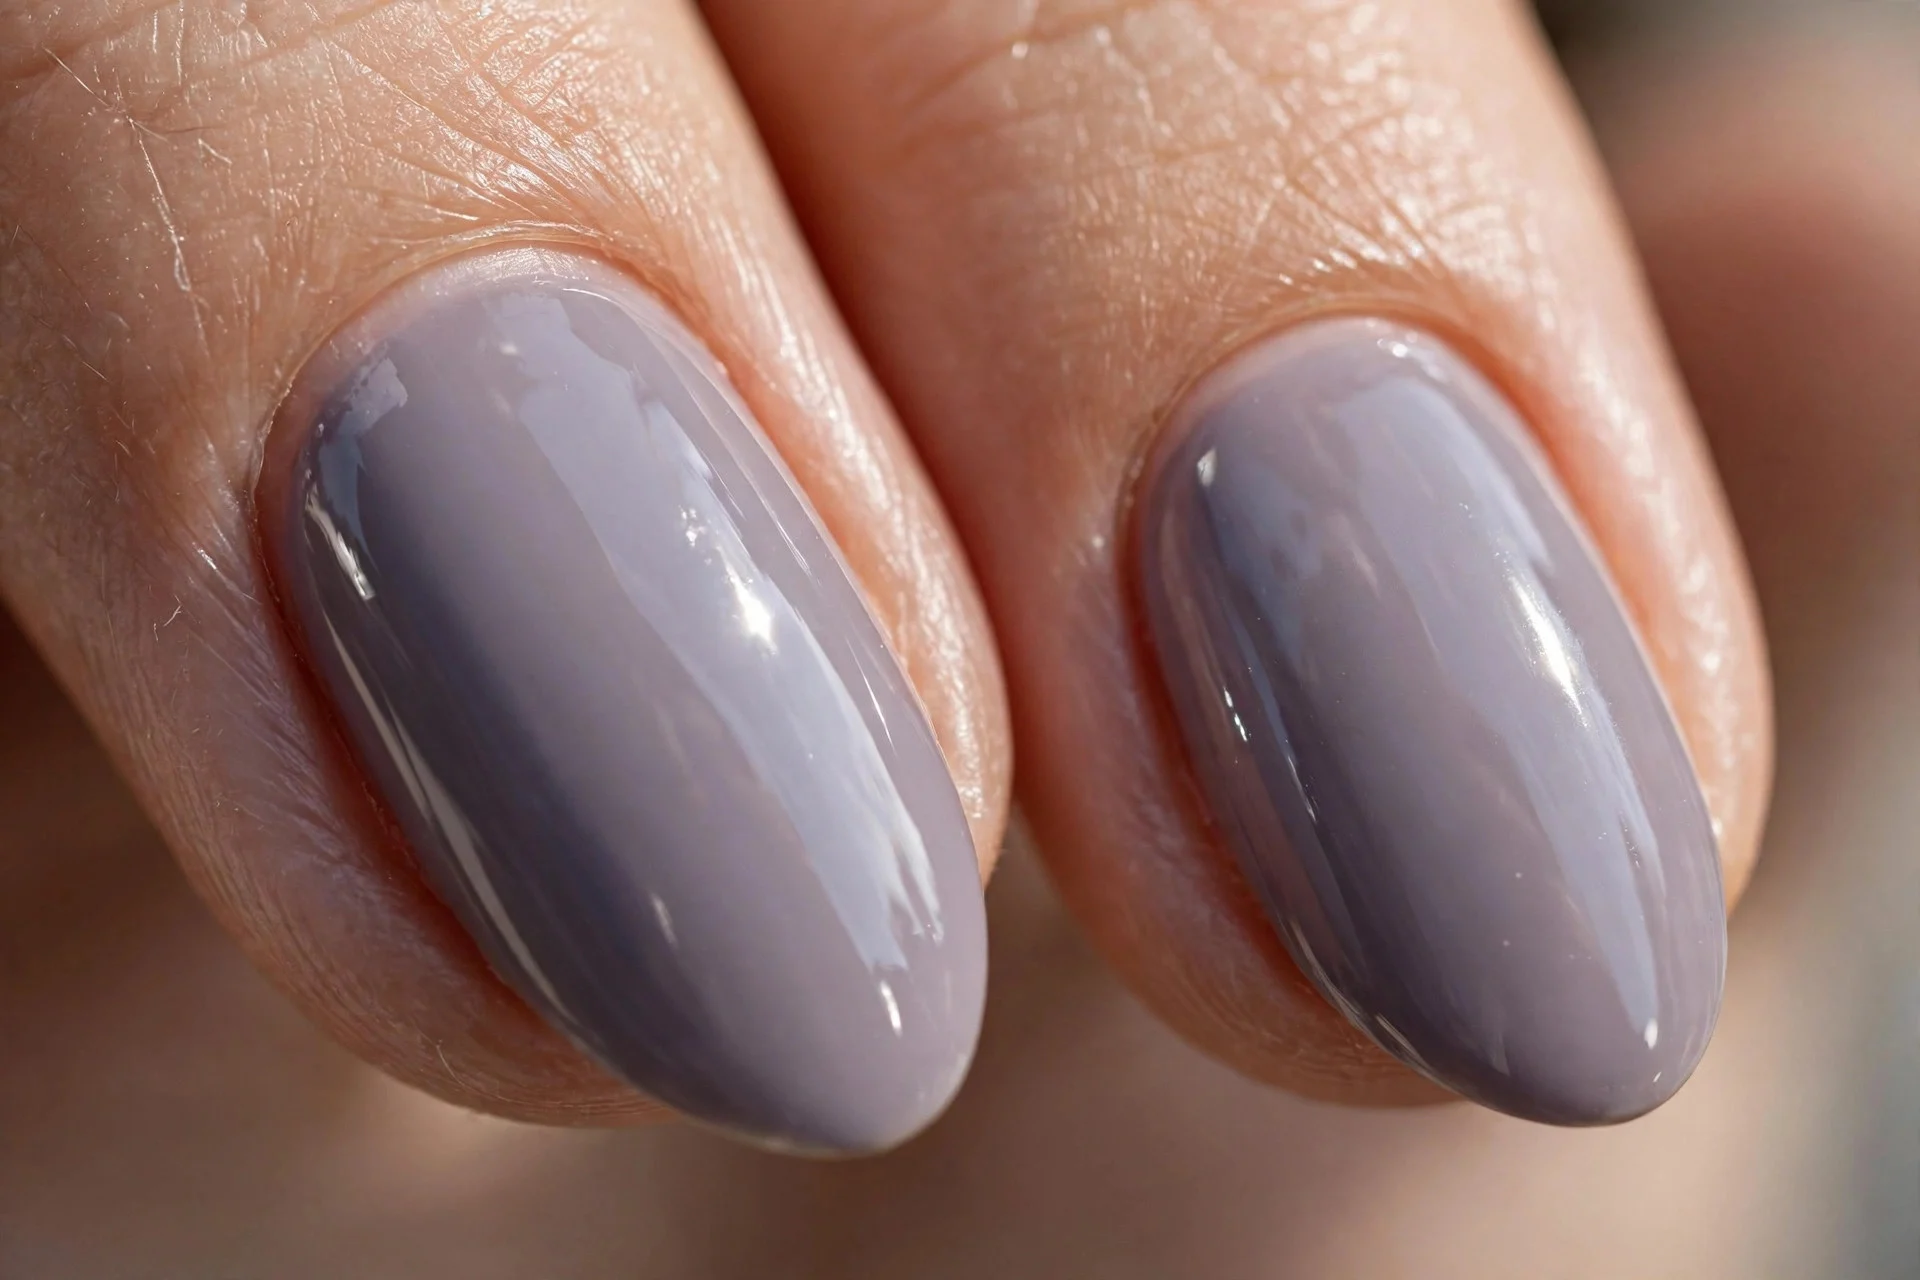
15. Lavender Grey Almonds
Muted lavender grey is soft, unusual, surprisingly wearable, and flattering on cool skin tones. Two thin coats for a manicure that gets compliments from people who notice details. More pink-purple ideas in these pink nail ideas.
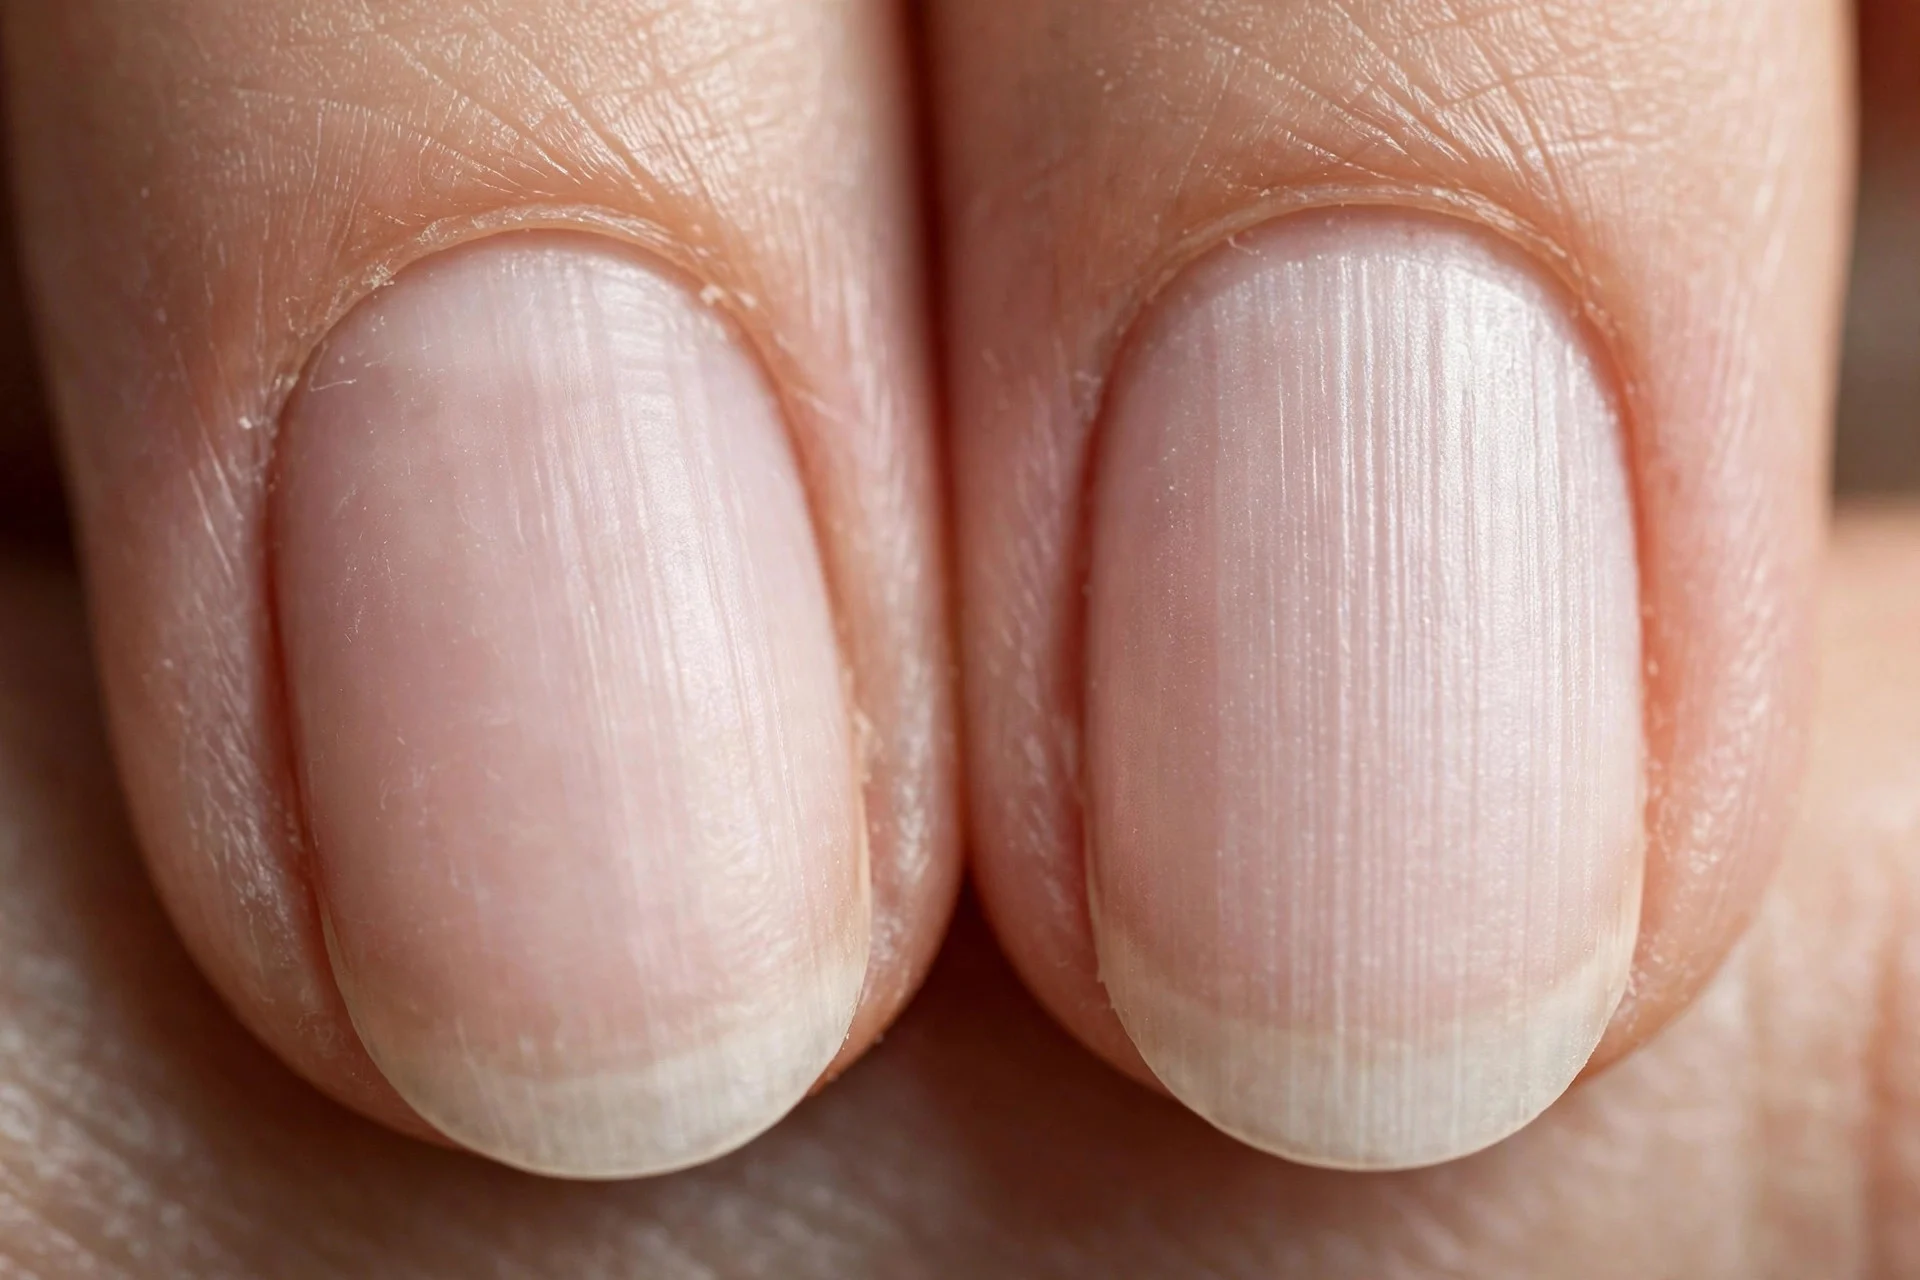
16. Bare Almonds With Ridge Filler
Sometimes the best DIY almond manicure is no color: file, buff gently, apply ridge-filling base coat worn alone. Satin glow, zero color, shows off your filing work. My between-manicures reset.
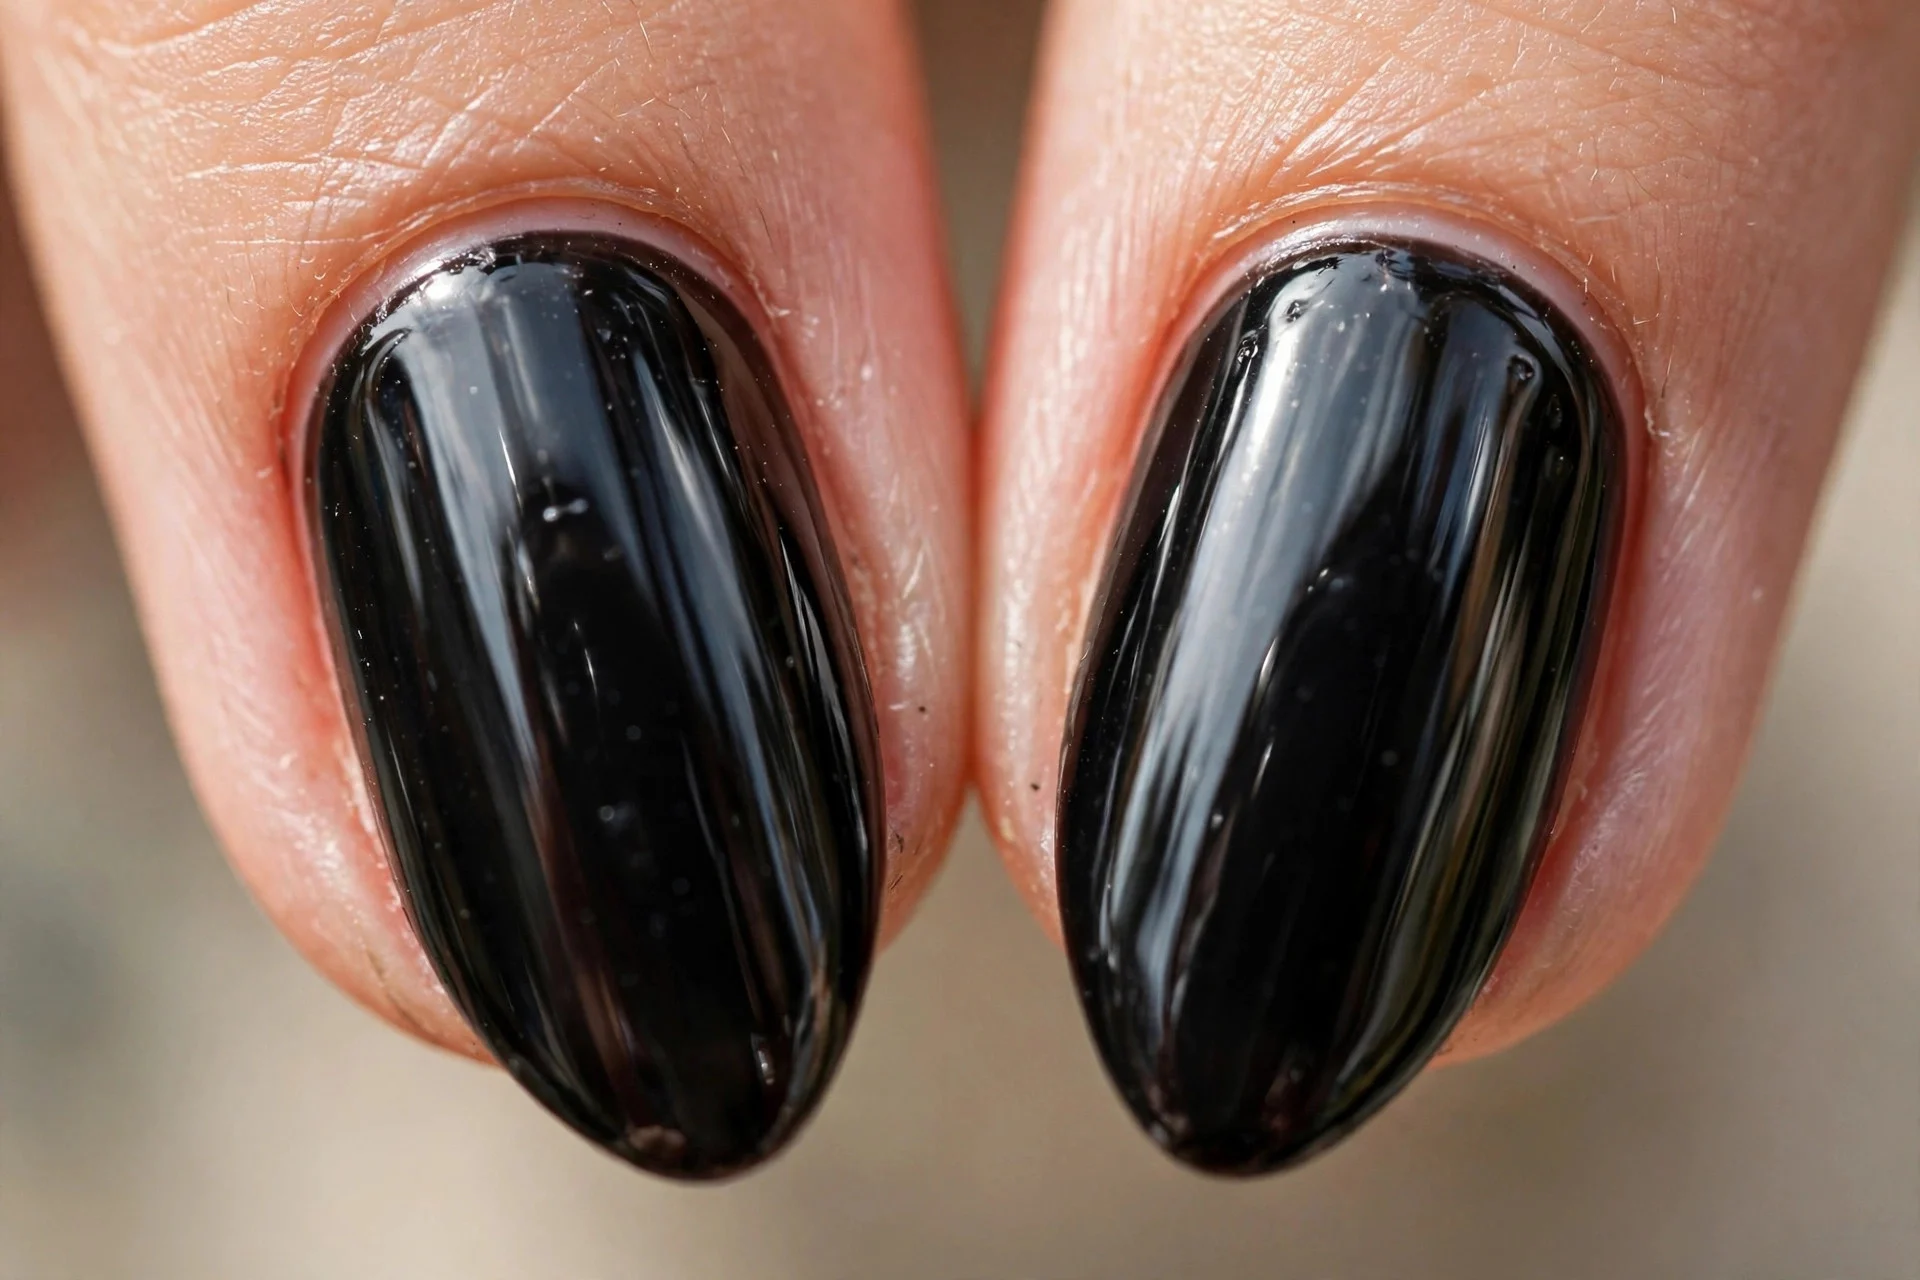
17. Black Almonds, Short and Chic
Short black almonds are edgy without being impractical; the short length keeps black everyday-wearable. Apply carefully, seal the tip well. Matte black is moody; glossy black is classic.
Frequently Asked Questions
Can I file almond nails if my nails are very short?
Yes, with patience. You need two to three millimeters of free edge for the taper. File what you have into a soft almond, keep oiled, and let them grow. Three to four weeks gives proper short almonds.
How do I keep both hands symmetrical?
File in good light, count strokes per side, and check from arm's length often. Look at nails from underneath, where lopsidedness is obvious. Go slower on your dominant hand.
Why do my DIY almonds keep breaking at the tip?
Usually the tip is filed too thin, you use nails as tools, or the edge was never sealed. Round the tip slightly more, cap every manicure with top coat, and oil daily.
What is the best polish for DIY short almonds?
Sheer and jelly polishes are most forgiving because they hide brush strokes. Nudes and milky shades show off the almond shape. Save dark opaques for when your application is confident, and always use base coat.
How often should I refile the almond shape?
A light maintenance file every seven to ten days keeps the taper crisp. Growth comes from the base, so the tip stays stable; you mostly refine the sides. Full reshaping is only needed after a break.
Final Thoughts
Filing your own almond nails pays off every week: no appointments, no $60 fills, just beautiful nails whenever you want them. Start with the sheer nude, master the taper, and work through these 17 ideas. For the fullest almond inspiration once your shape is set, these almond nail ideas will keep you busy for months.