
I have always had a soft spot for pearl nails, because they look polished without trying too hard. Over the years, though, I have made every mistake in the book, from pearls pinging off on day one to finishes that looked cloudy instead of luminous. This guide shares what I learned, plus seventeen looks I love, so you can skip the trial and error.
Common Pearl Nails Mistakes and How I Fix Them
Fixing these first makes every idea below look better and last longer, at home or in a salon.
Mistake 1: Choosing Pearls That Are Too Big or Heavy
The first time I tried pearl nails, I picked the largest pearls in the pack. They looked dramatic for an hour, then started lifting and catching on my hair. The fix is simple: choose small, flat-backed pearls, usually 2 to 3 millimetres, and save a larger pearl for one accent nail only. Lighter pearls sit flatter and stay put far longer.
Mistake 2: Skipping Proper Glue and Sealing
A dot of ordinary top coat will not hold a pearl through washing up and typing. Press each pearl into a tiny drop of nail glue, hold it for ten seconds, then seal around, not over, the pearl. Thick top coat over pearls dulls their shine; sealing just the edges keeps them luminous and locked in place.
Mistake 3: Placing Pearls Before the Polish Is Ready
Pressed into wet polish, pearls sink and slide. On a bone-dry base, glue grips less well. My sweet spot is a base that is dry to the touch but slightly tacky, or a dry base with a fresh drop of glue. Work one nail at a time and check each pearl from the side.
Mistake 4: Overloading Every Nail
Pearls are beautiful because they are restrained. When I covered all ten nails in pearls, the result looked fussy and felt bulky. Now one or two accent nails carry the pearls, while the rest wear clean pearl-finish polish. For a fuller look, keep pearls small and evenly spaced, and leave one plain nail to rest the eye.
Mistake 5: Picking a Base Colour That Turns the Finish Cloudy
A pearl finish over a dark or yellow base can look muddy, and too many shimmer coats turn cloudy. I favour a sheer milky white, pale blush, or soft nude base in thin coats, with a pearl topper only where I want extra glow. Two thin coats beat one thick coat every time.
17 Pearl Nail Ideas to Try
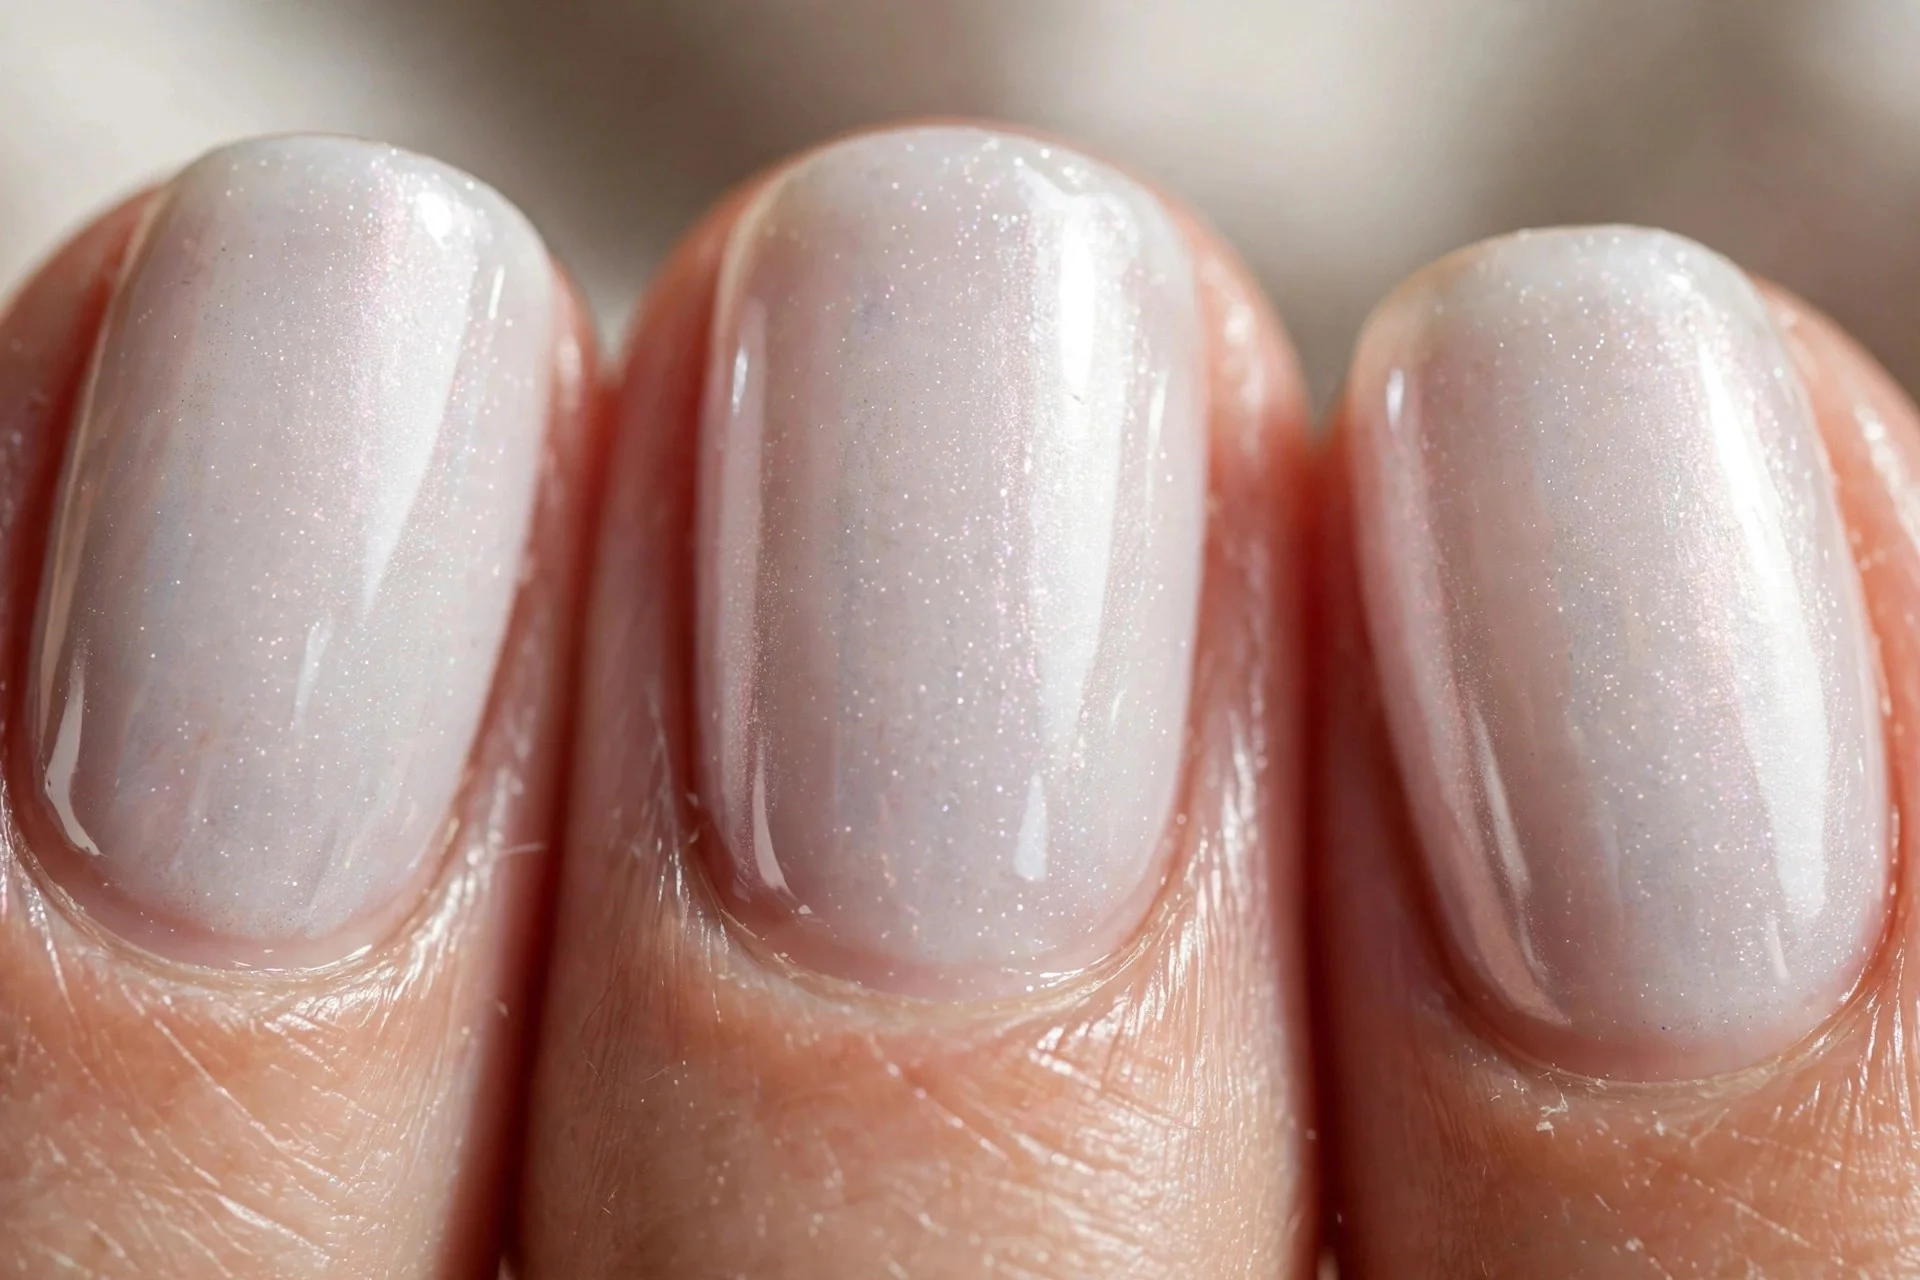
1. Classic Milky Pearl
A sheer milky white base with fine pearl shimmer is my timeless go-to. Keep coats thin for a clean, glassy finish.
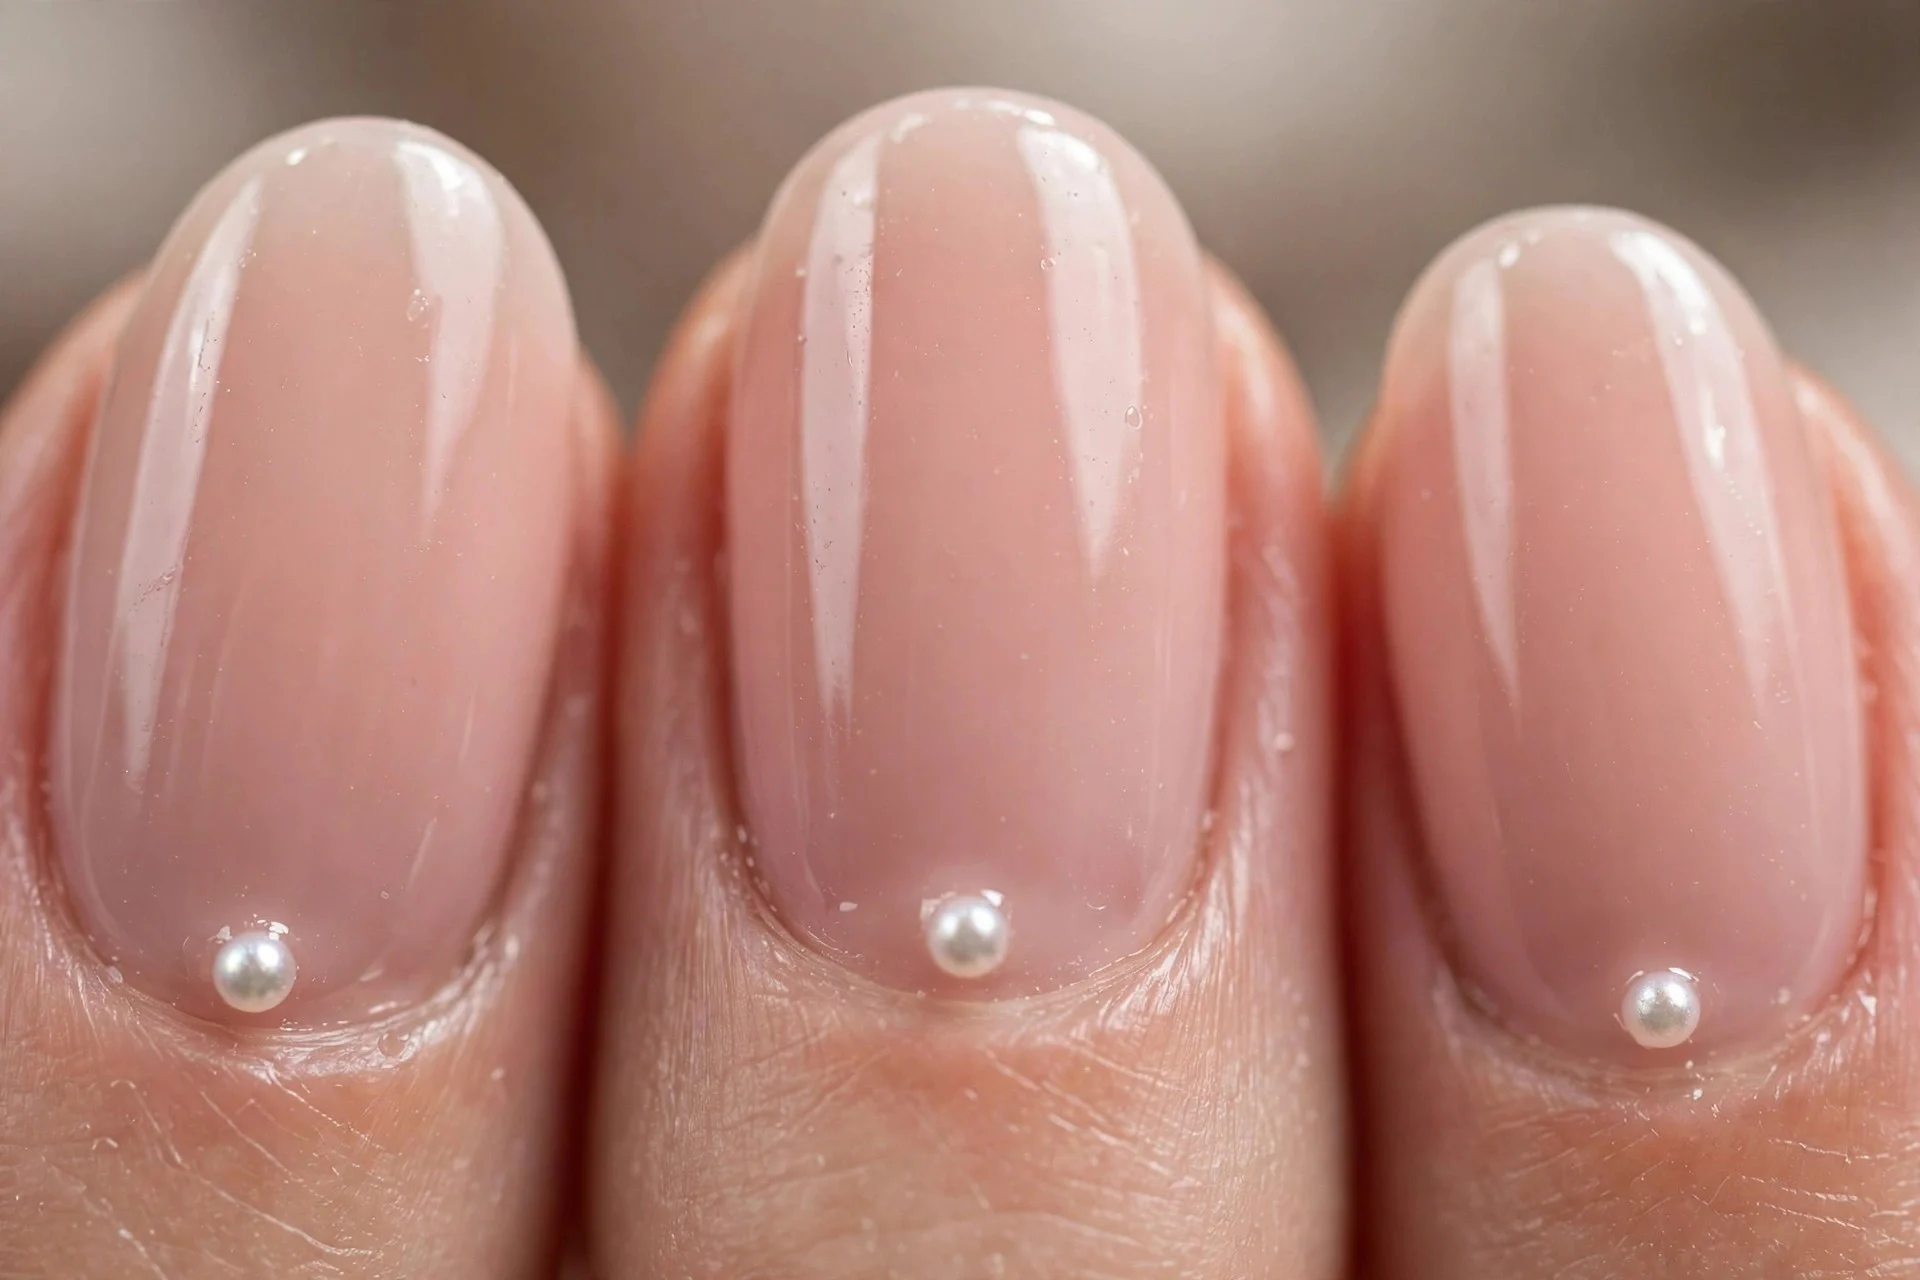
2. Single Pearl Accent
Paint all nails soft nude, then add one tiny pearl at the base of each ring finger. This minimal touch feels bridal and refined, and it is easy to wear to work.
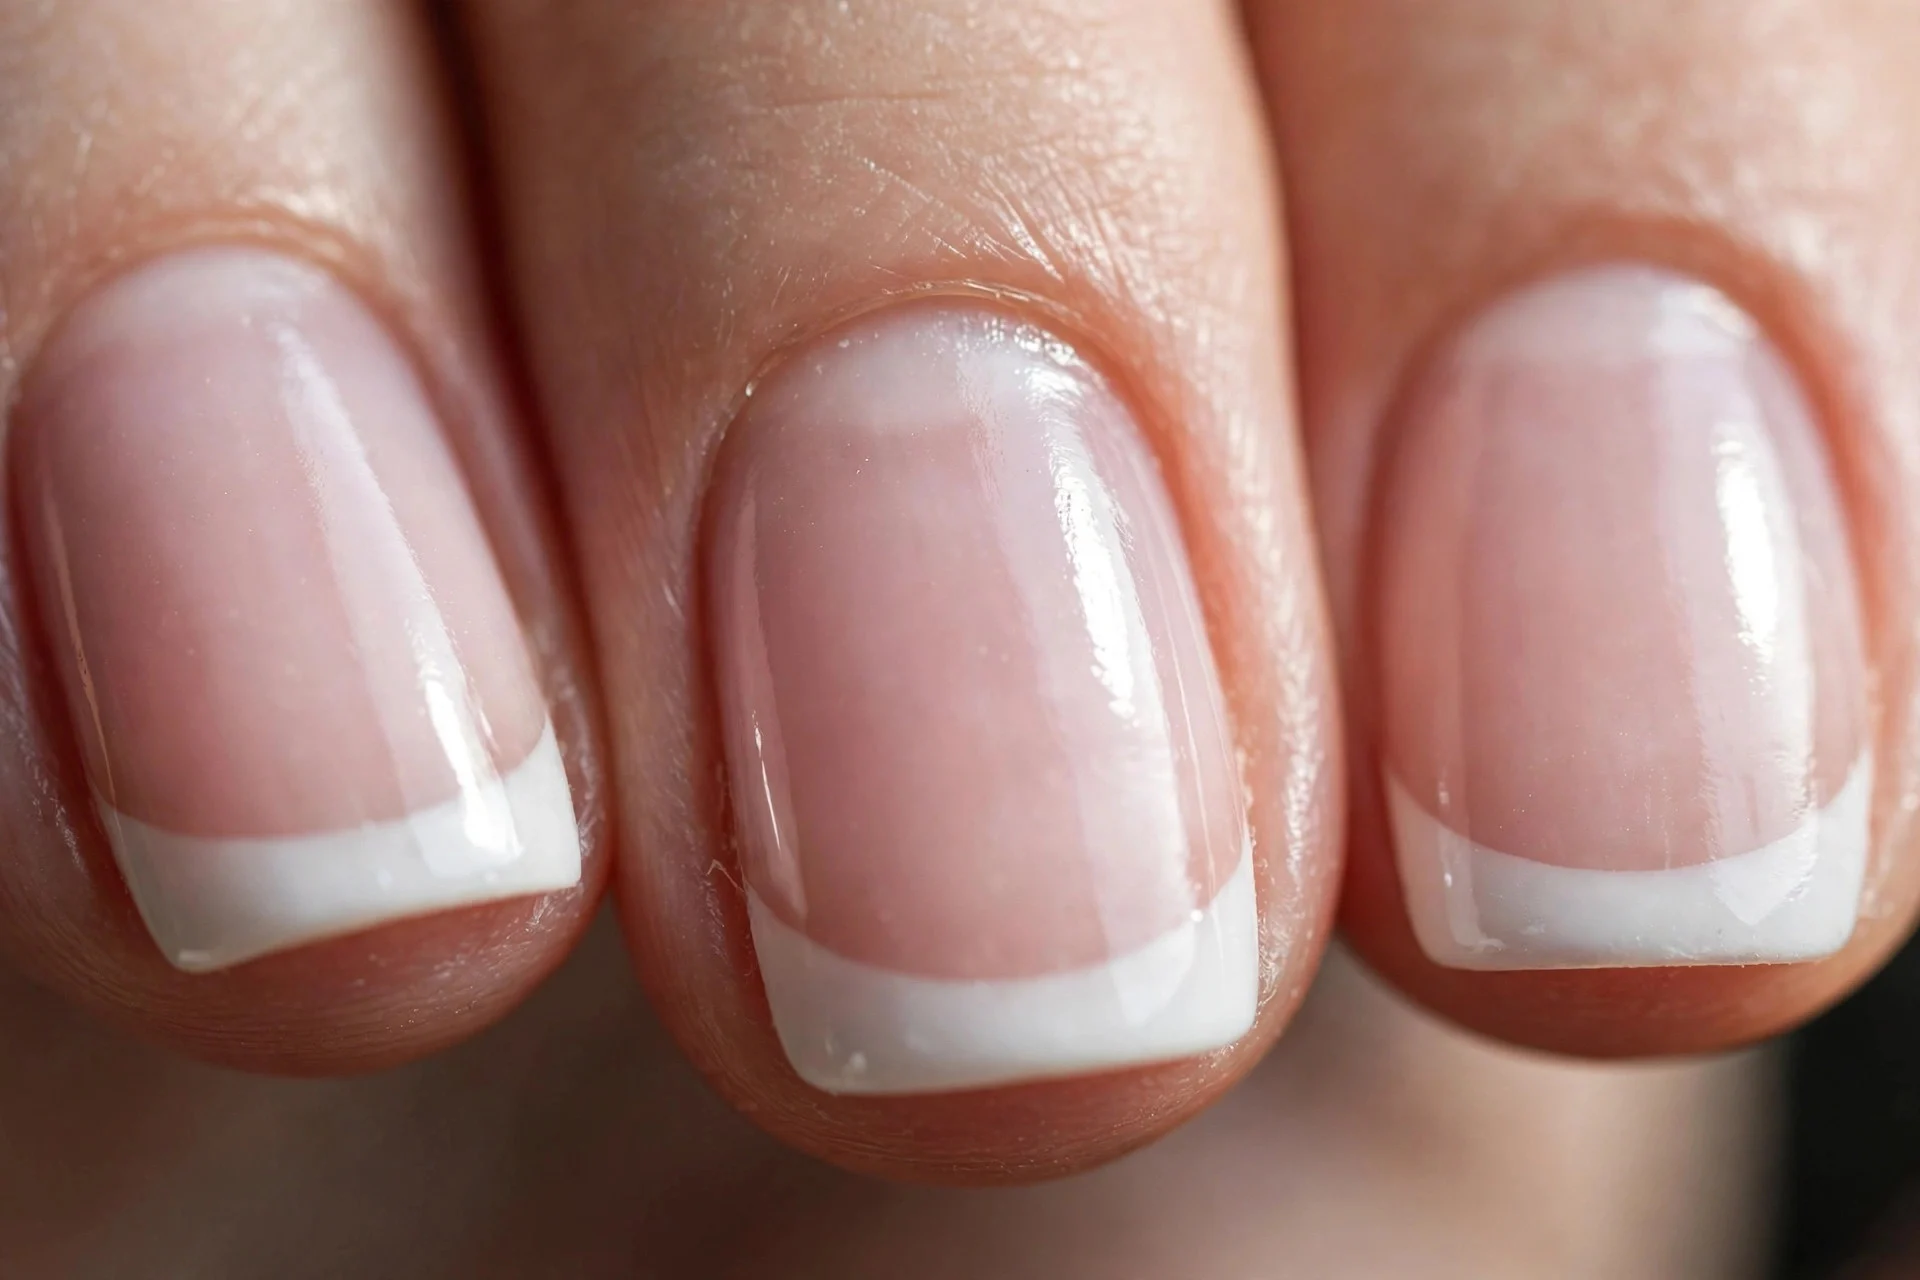
3. Pearl French Tips
Swap the usual white tip for pearly white on a sheer pink base. The result is a French tip with extra glow, perfect for weddings. Keep the smile line neat.
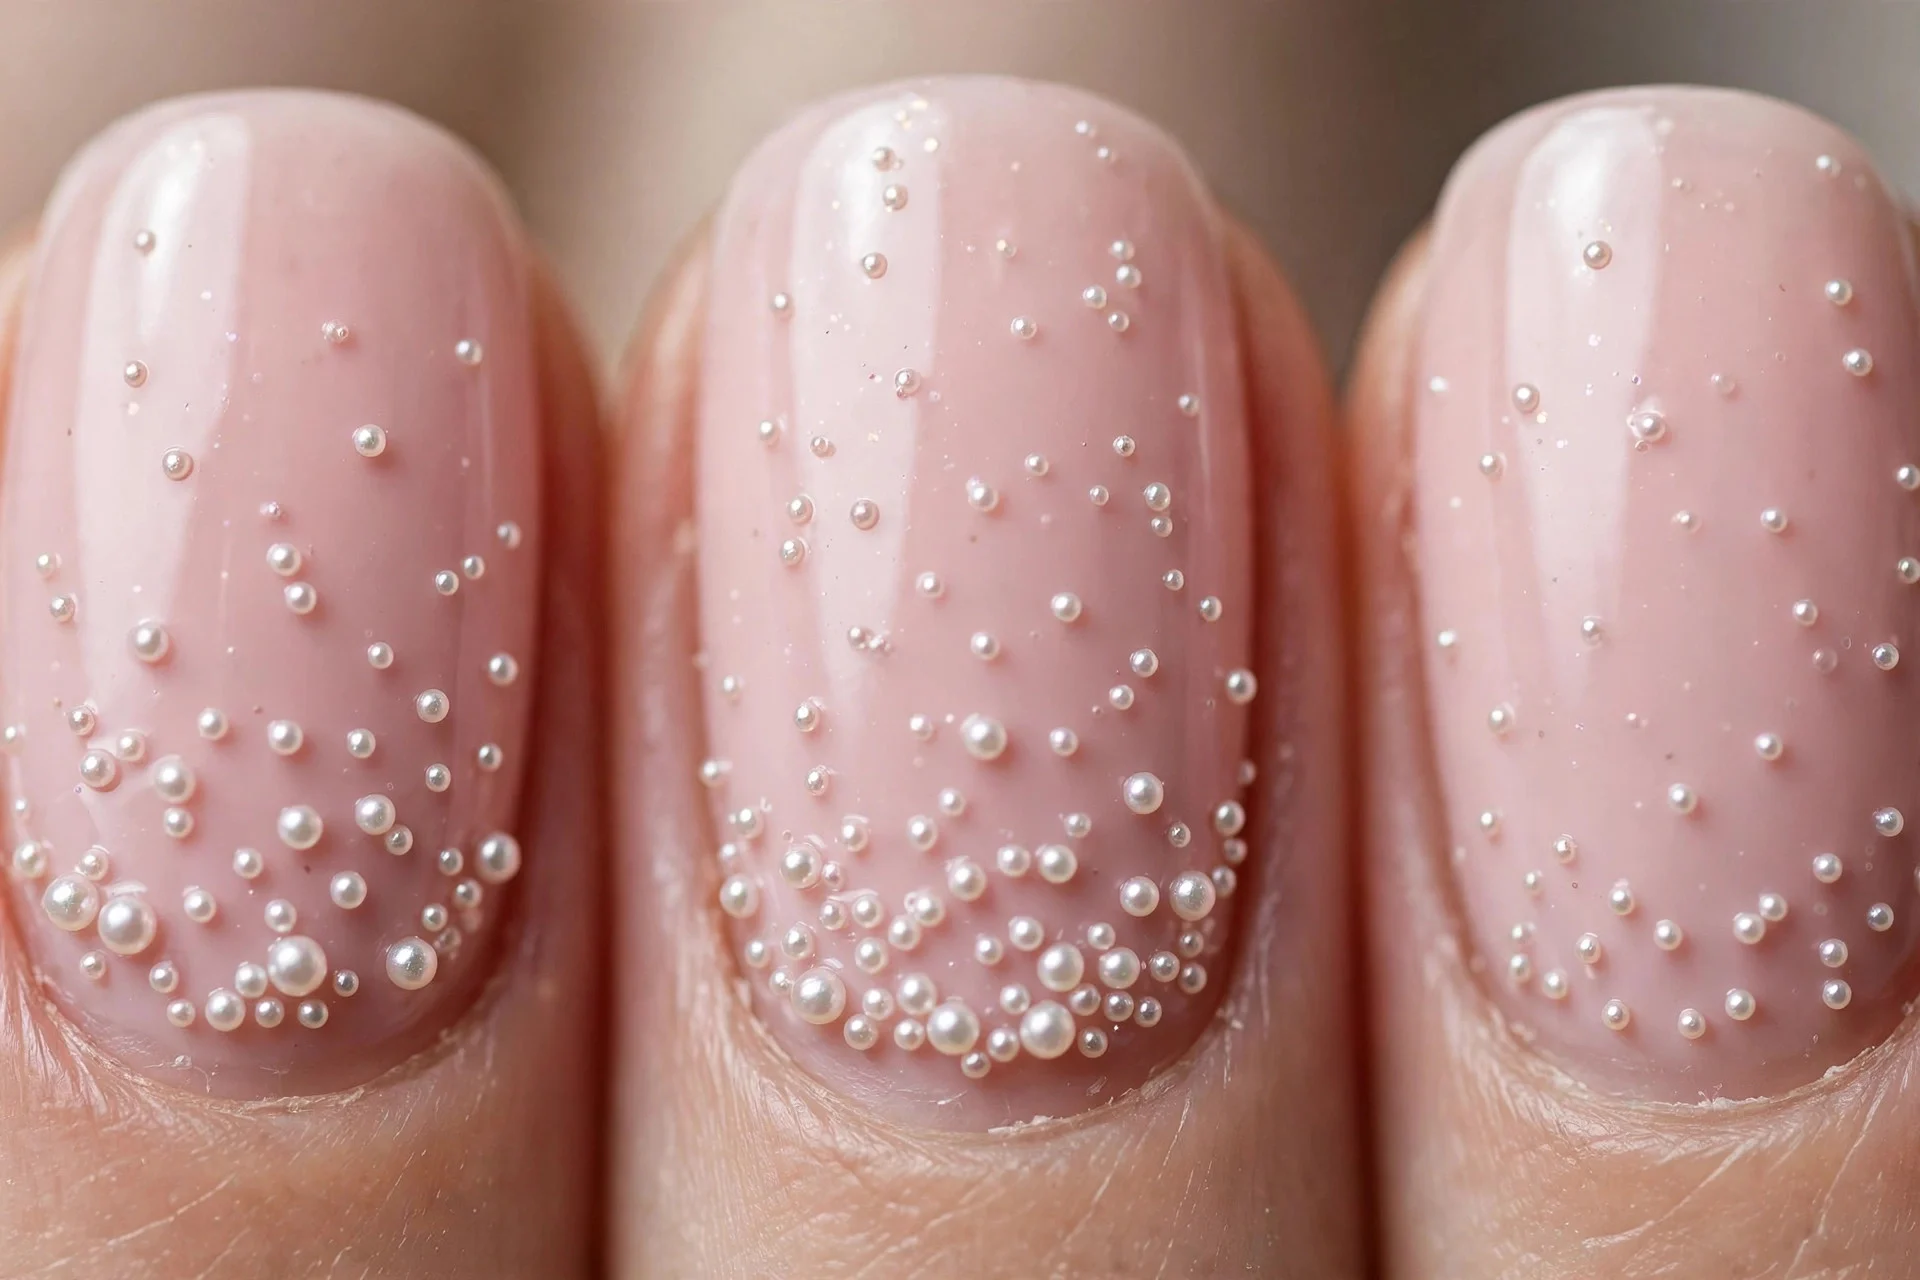
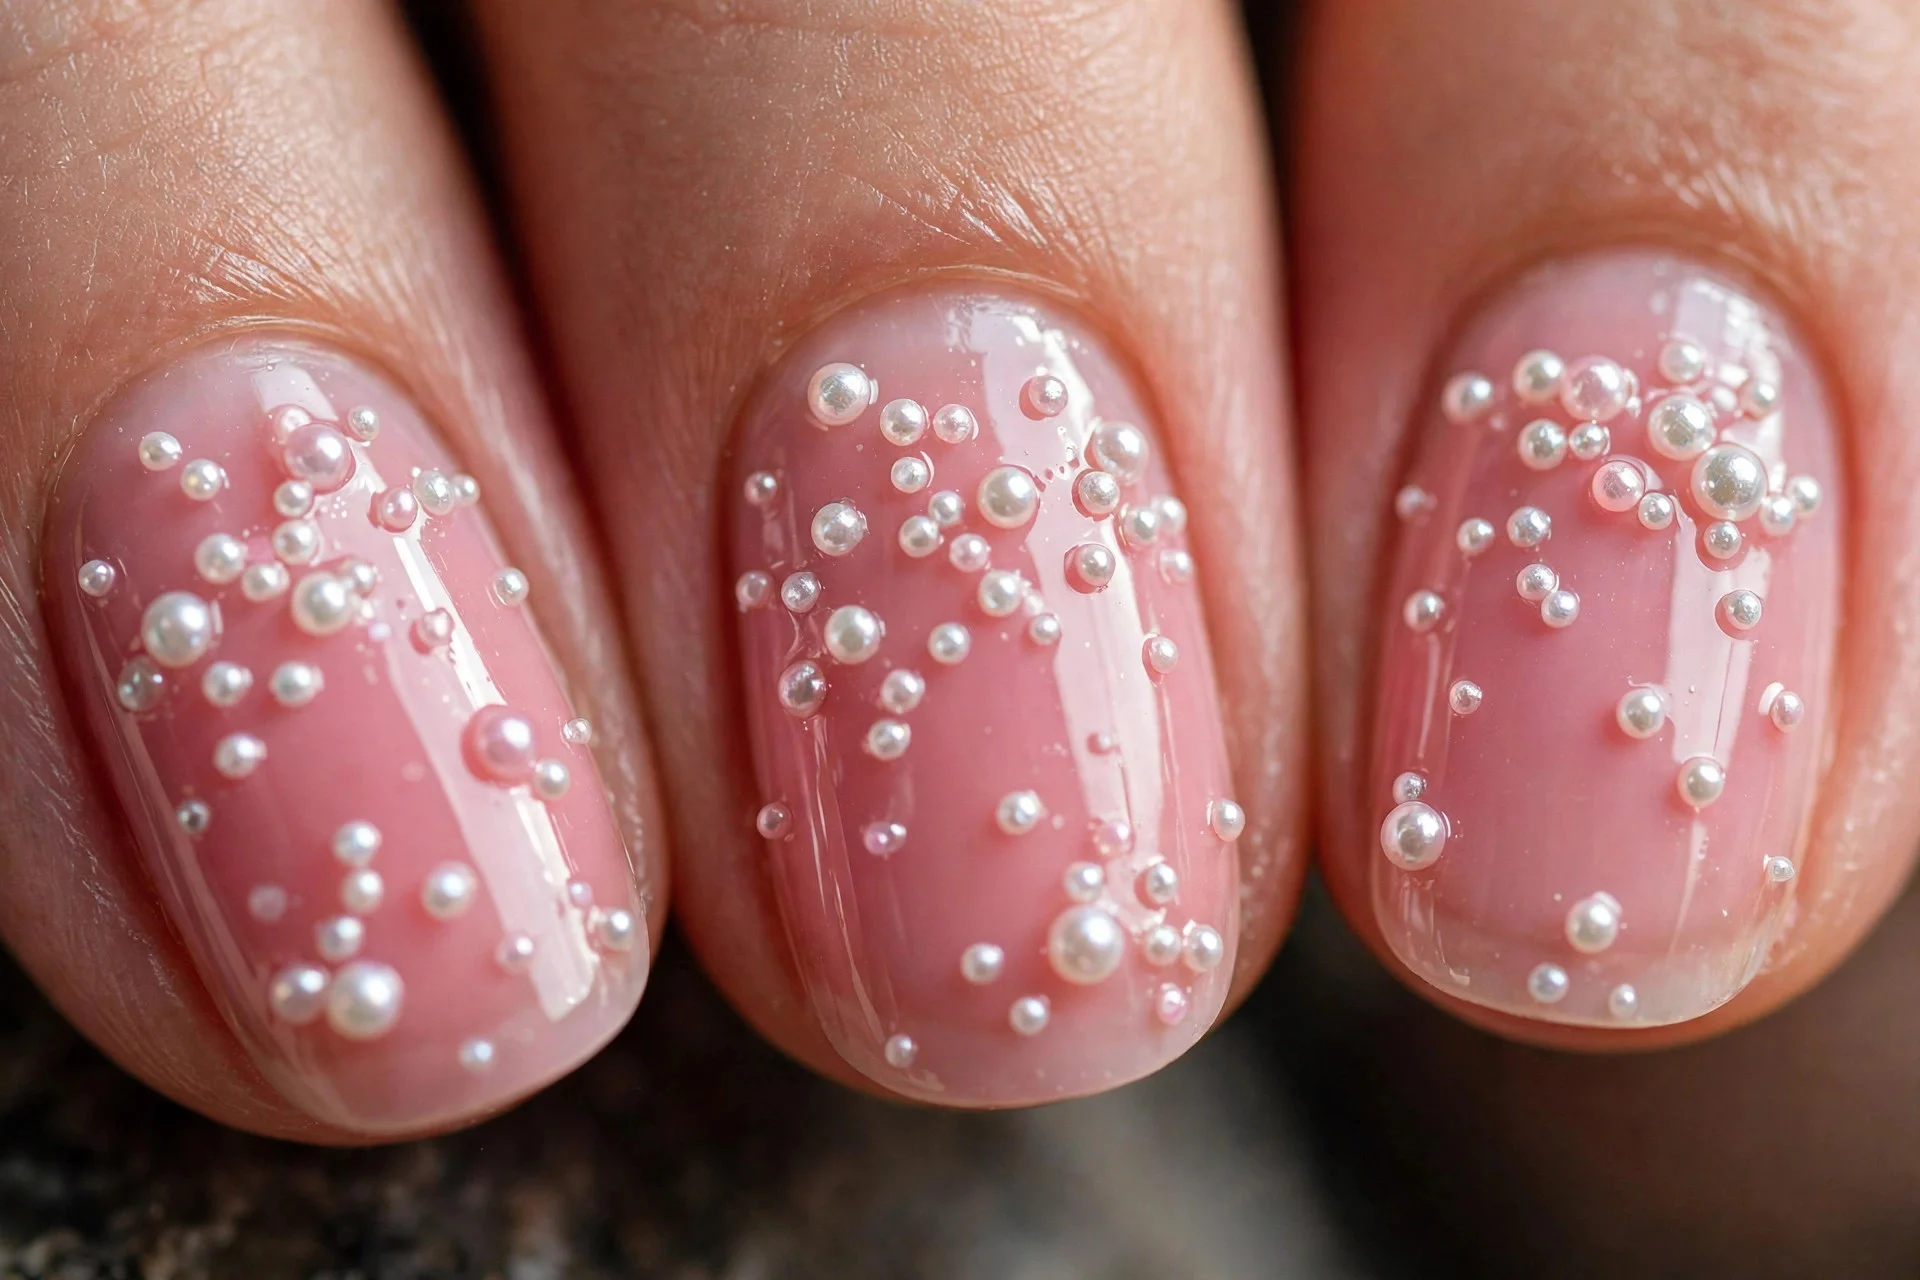
4. Scattered Micro Pearls
Scatter tiny micro pearls across a pale blush base, denser near the cuticle and sparser toward the tip. Seal the edges well so none lift.
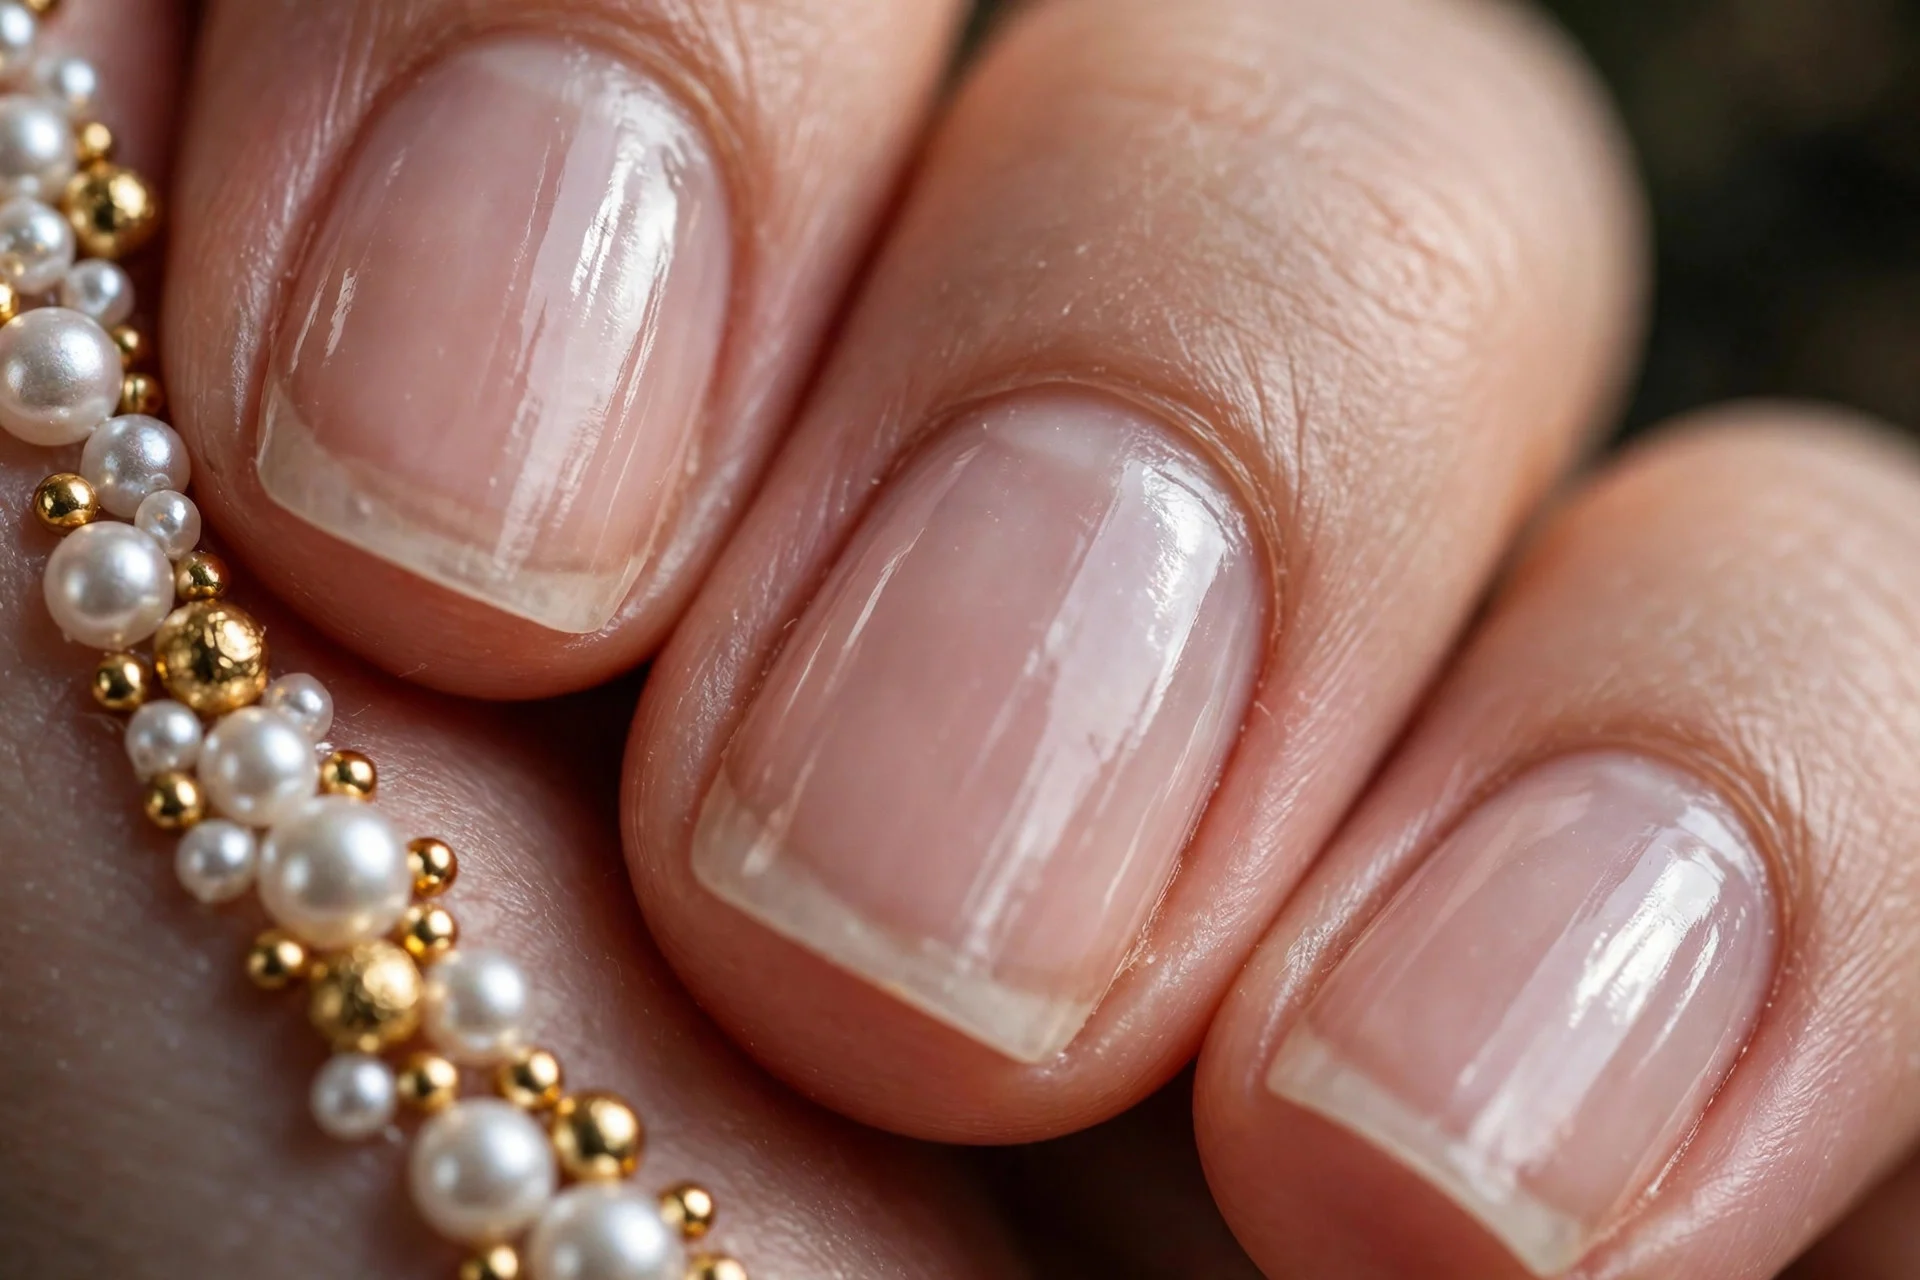
5. Pearl and Gold Bead Mix
Pair small pearls with tiny gold beads along one side of the nail for a jewellery-like effect. Keep the line slim so it reads as delicate, not heavy.
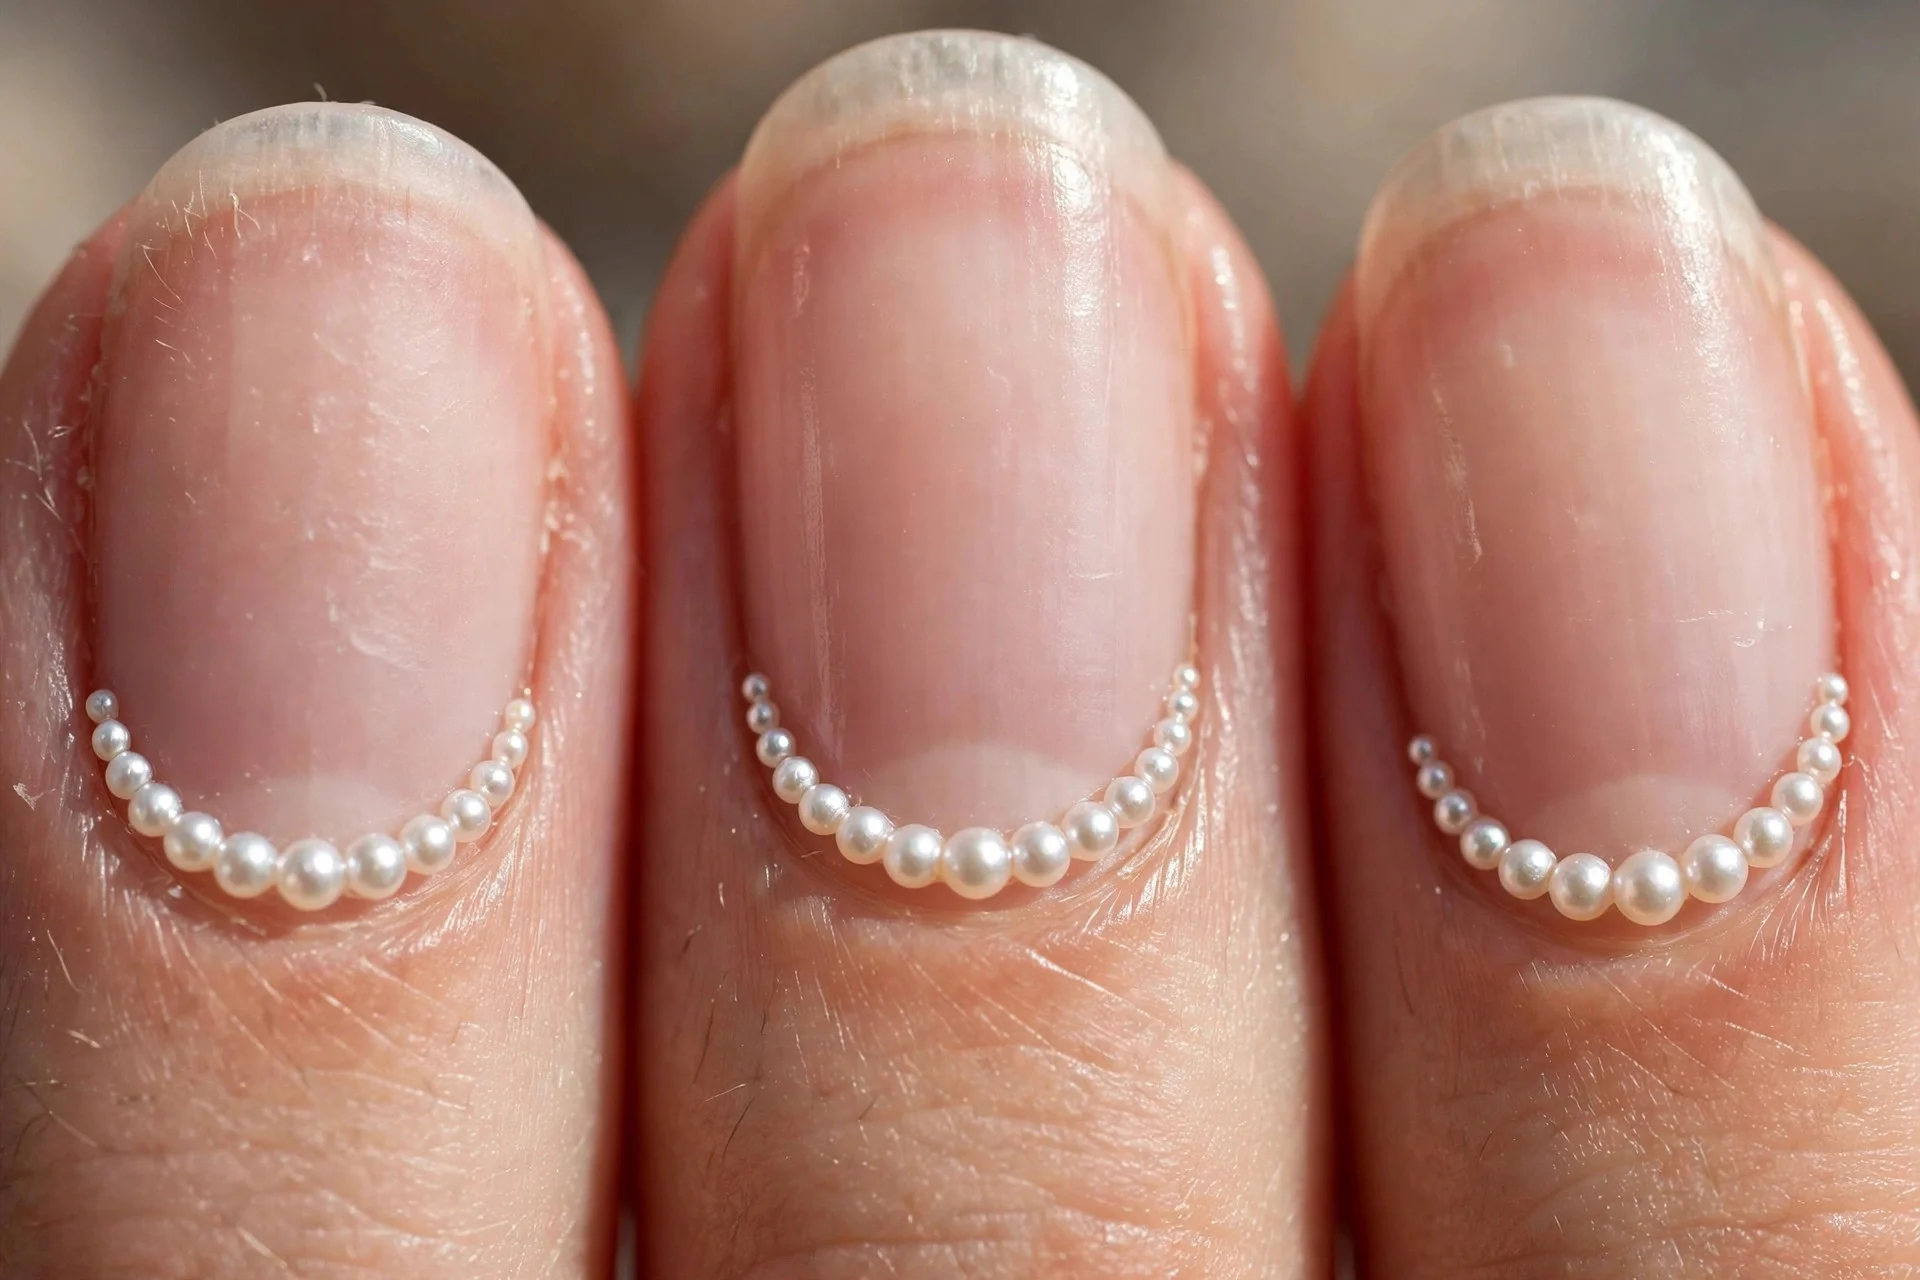
6. Half-Moon Pearl Detail
Place a neat crescent of small pearls along the half-moon at the base over a milky base. This vintage detail works well on shorter nails, too.
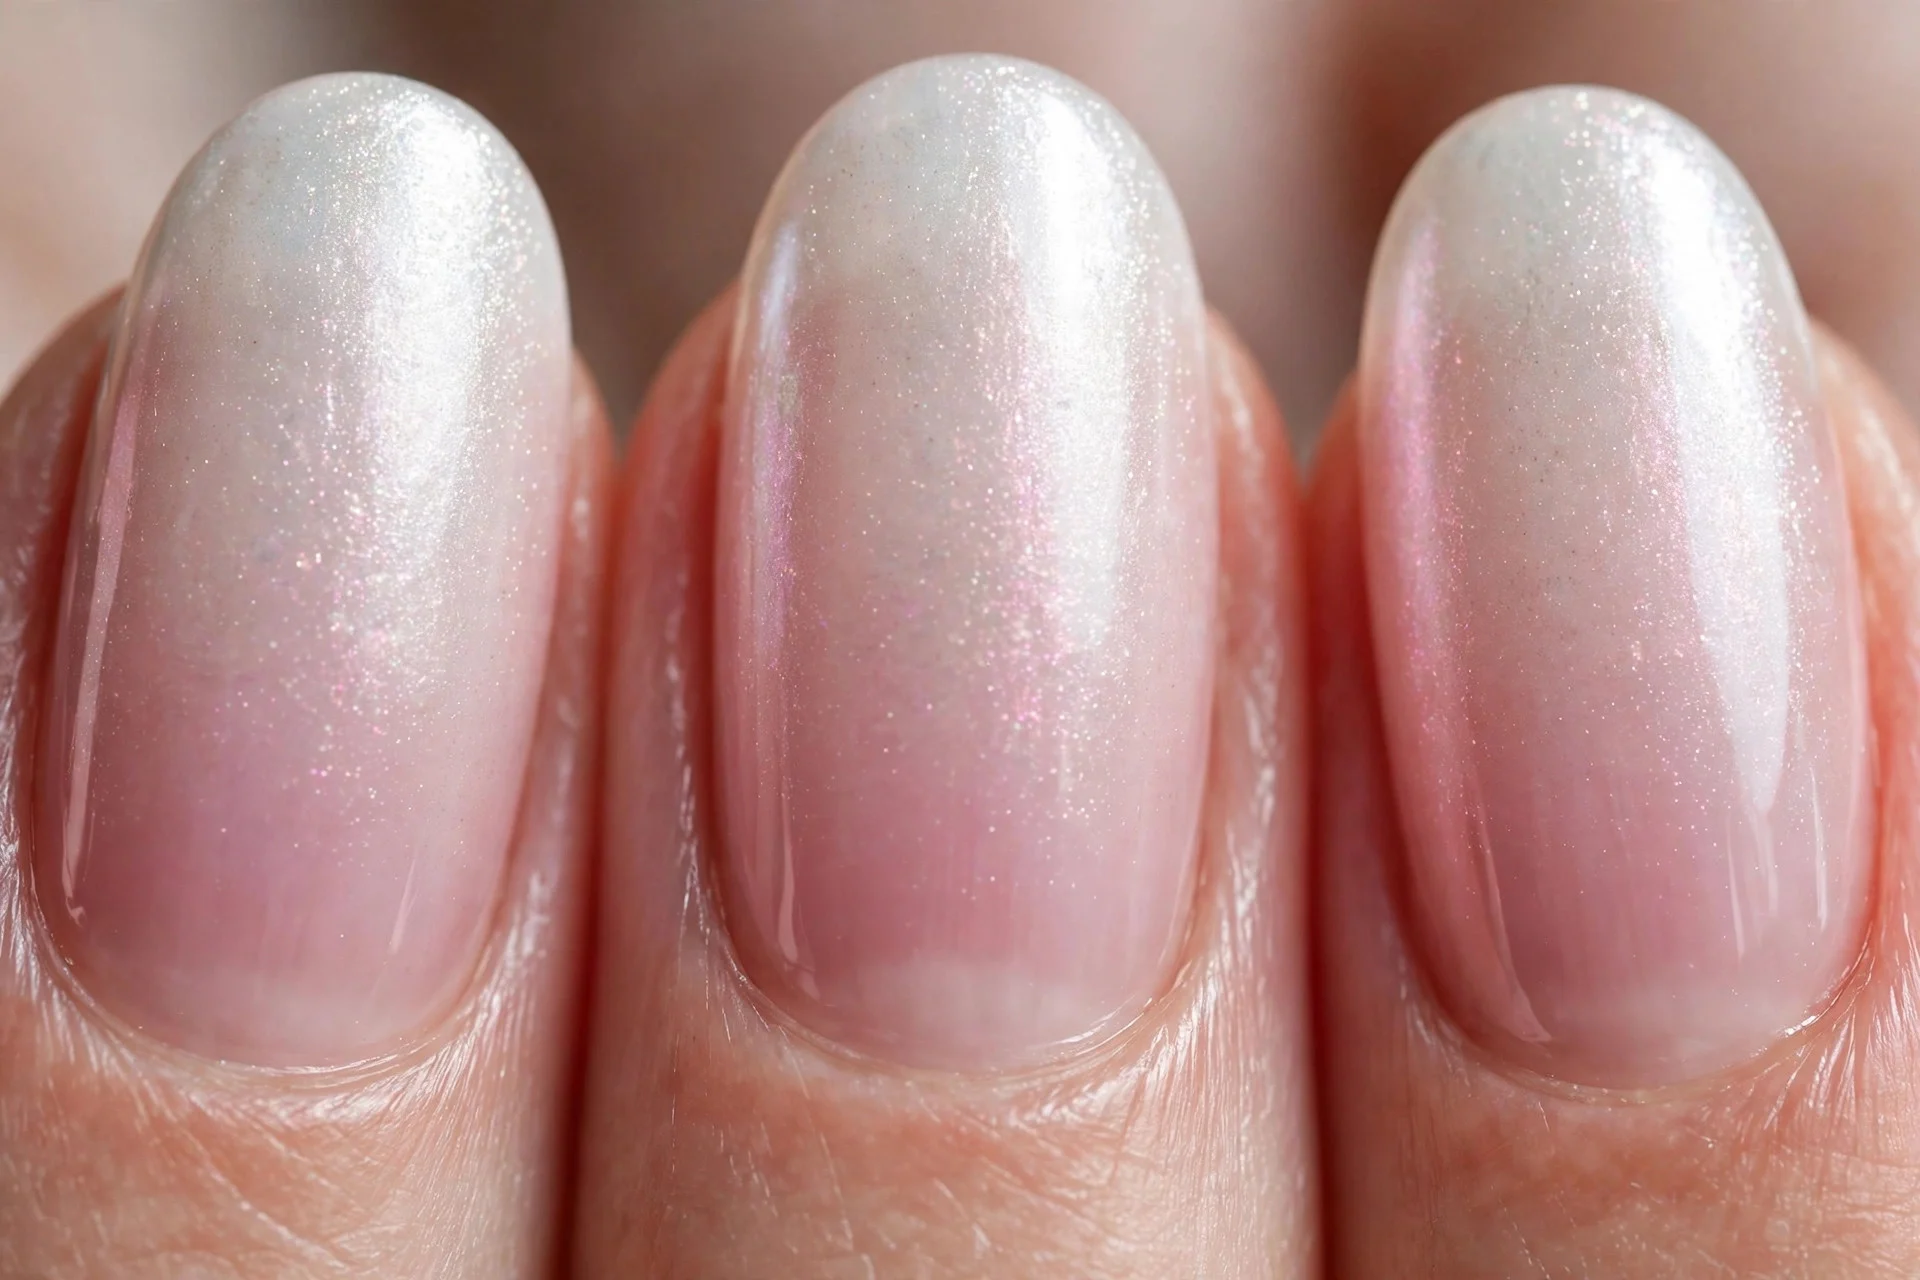
7. Pearl Ombré Fade
Fade pearl shimmer from dense at the tip to sheer near the cuticle. I sponge it on lightly for a smoother blend, then finish with glossy top coat.
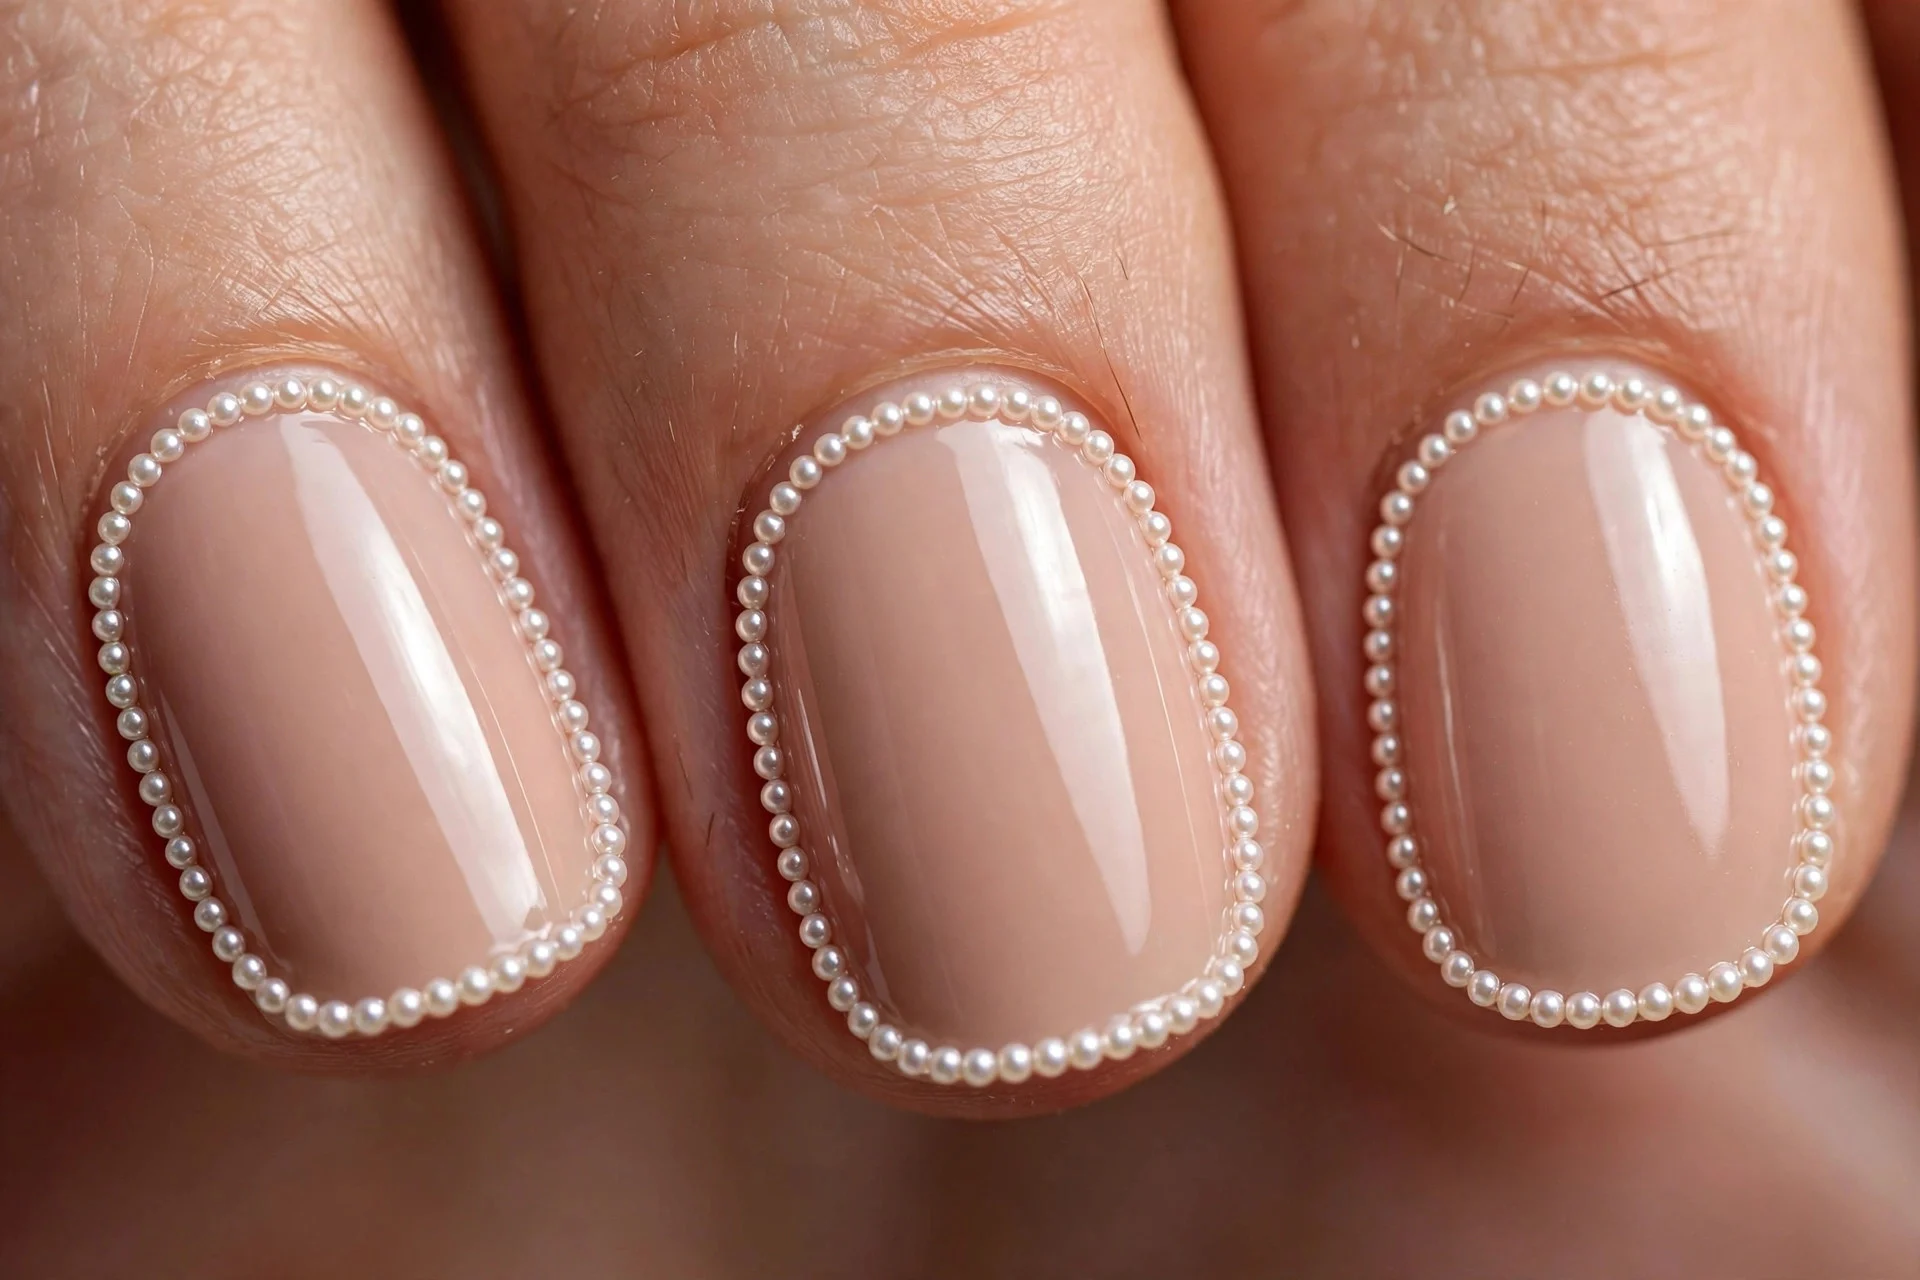
8. Bridal Pearl Frame
Outline the nail with a thin frame of tiny pearls over a sheer nude base. Leave the centre plain so the frame stands out.
9. Pearl and Chrome Blend
Combine a pearl finish with a hint of chrome shine on accent nails. Use the chrome sparingly, on one or two nails only.
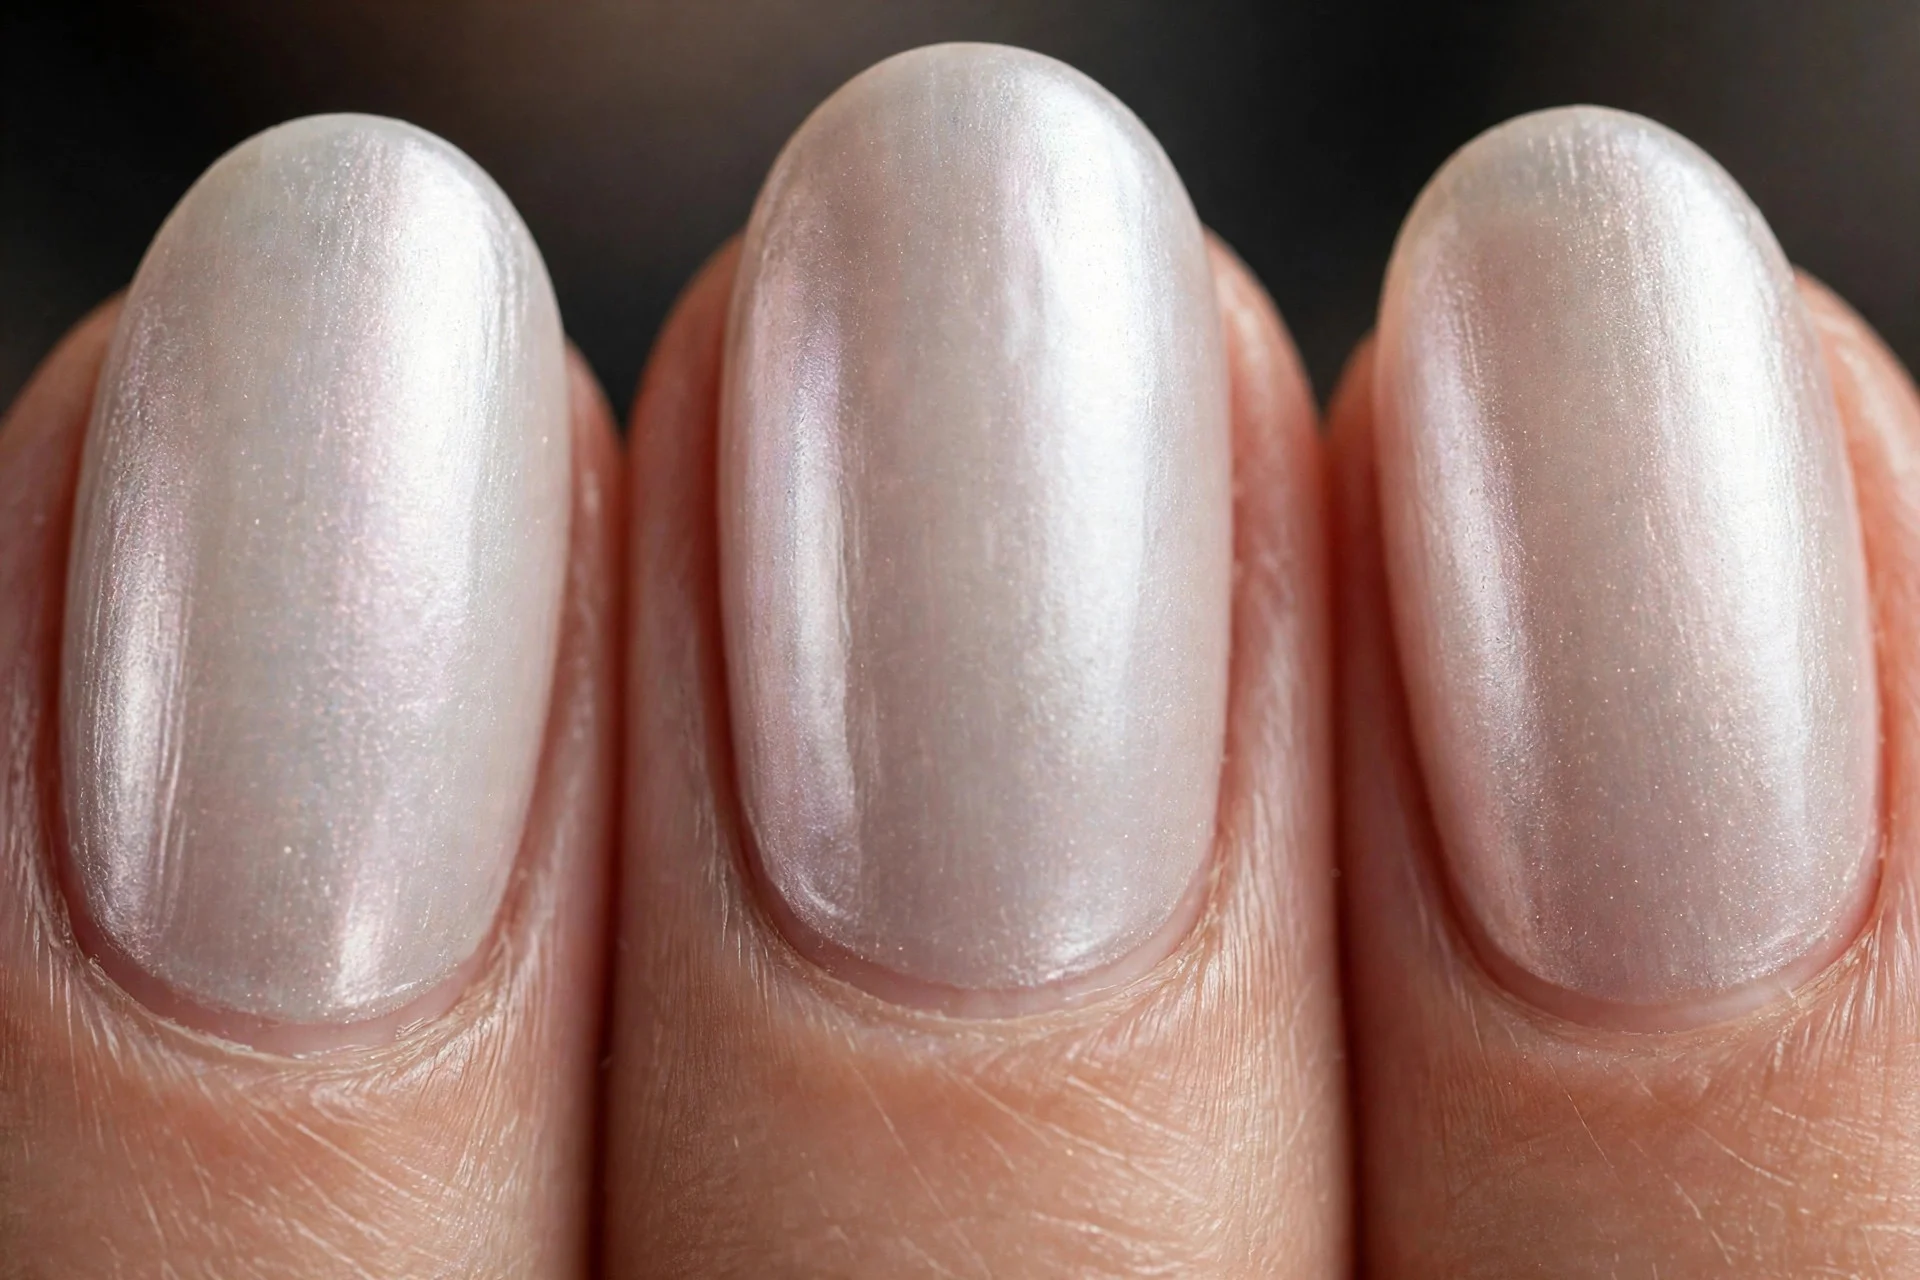
10. Blush Pearl Glow
A warm blush base with a pearl topper gives a healthy glow that suits most skin tones. Two thin coats and glossy top coat finish it perfectly.
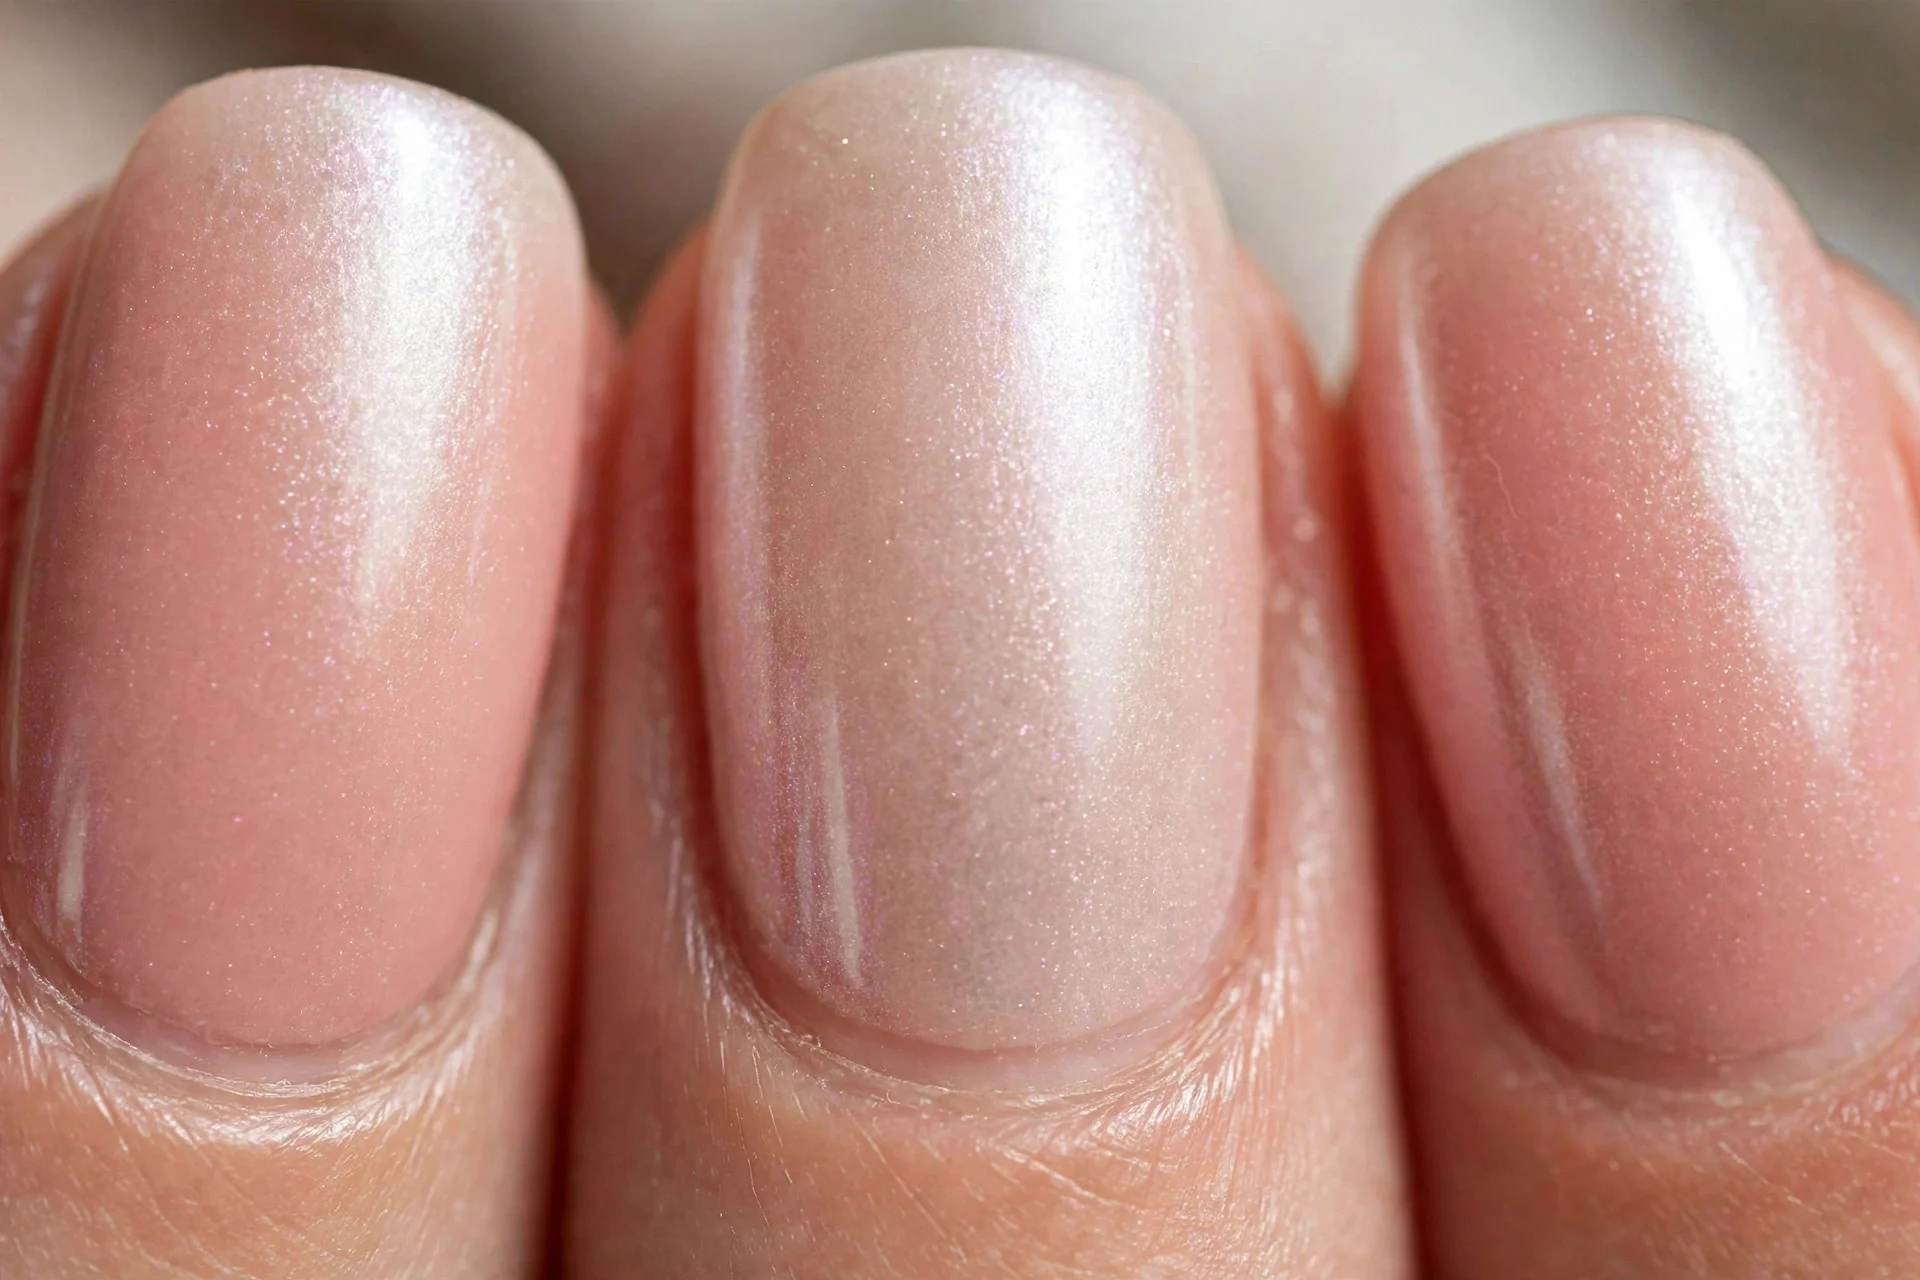
11. Pearl Cluster on Almond Nails
Group three small pearls in a triangle near the cuticle of each almond-shaped accent nail. Keep the other nails plain so the clusters shine.
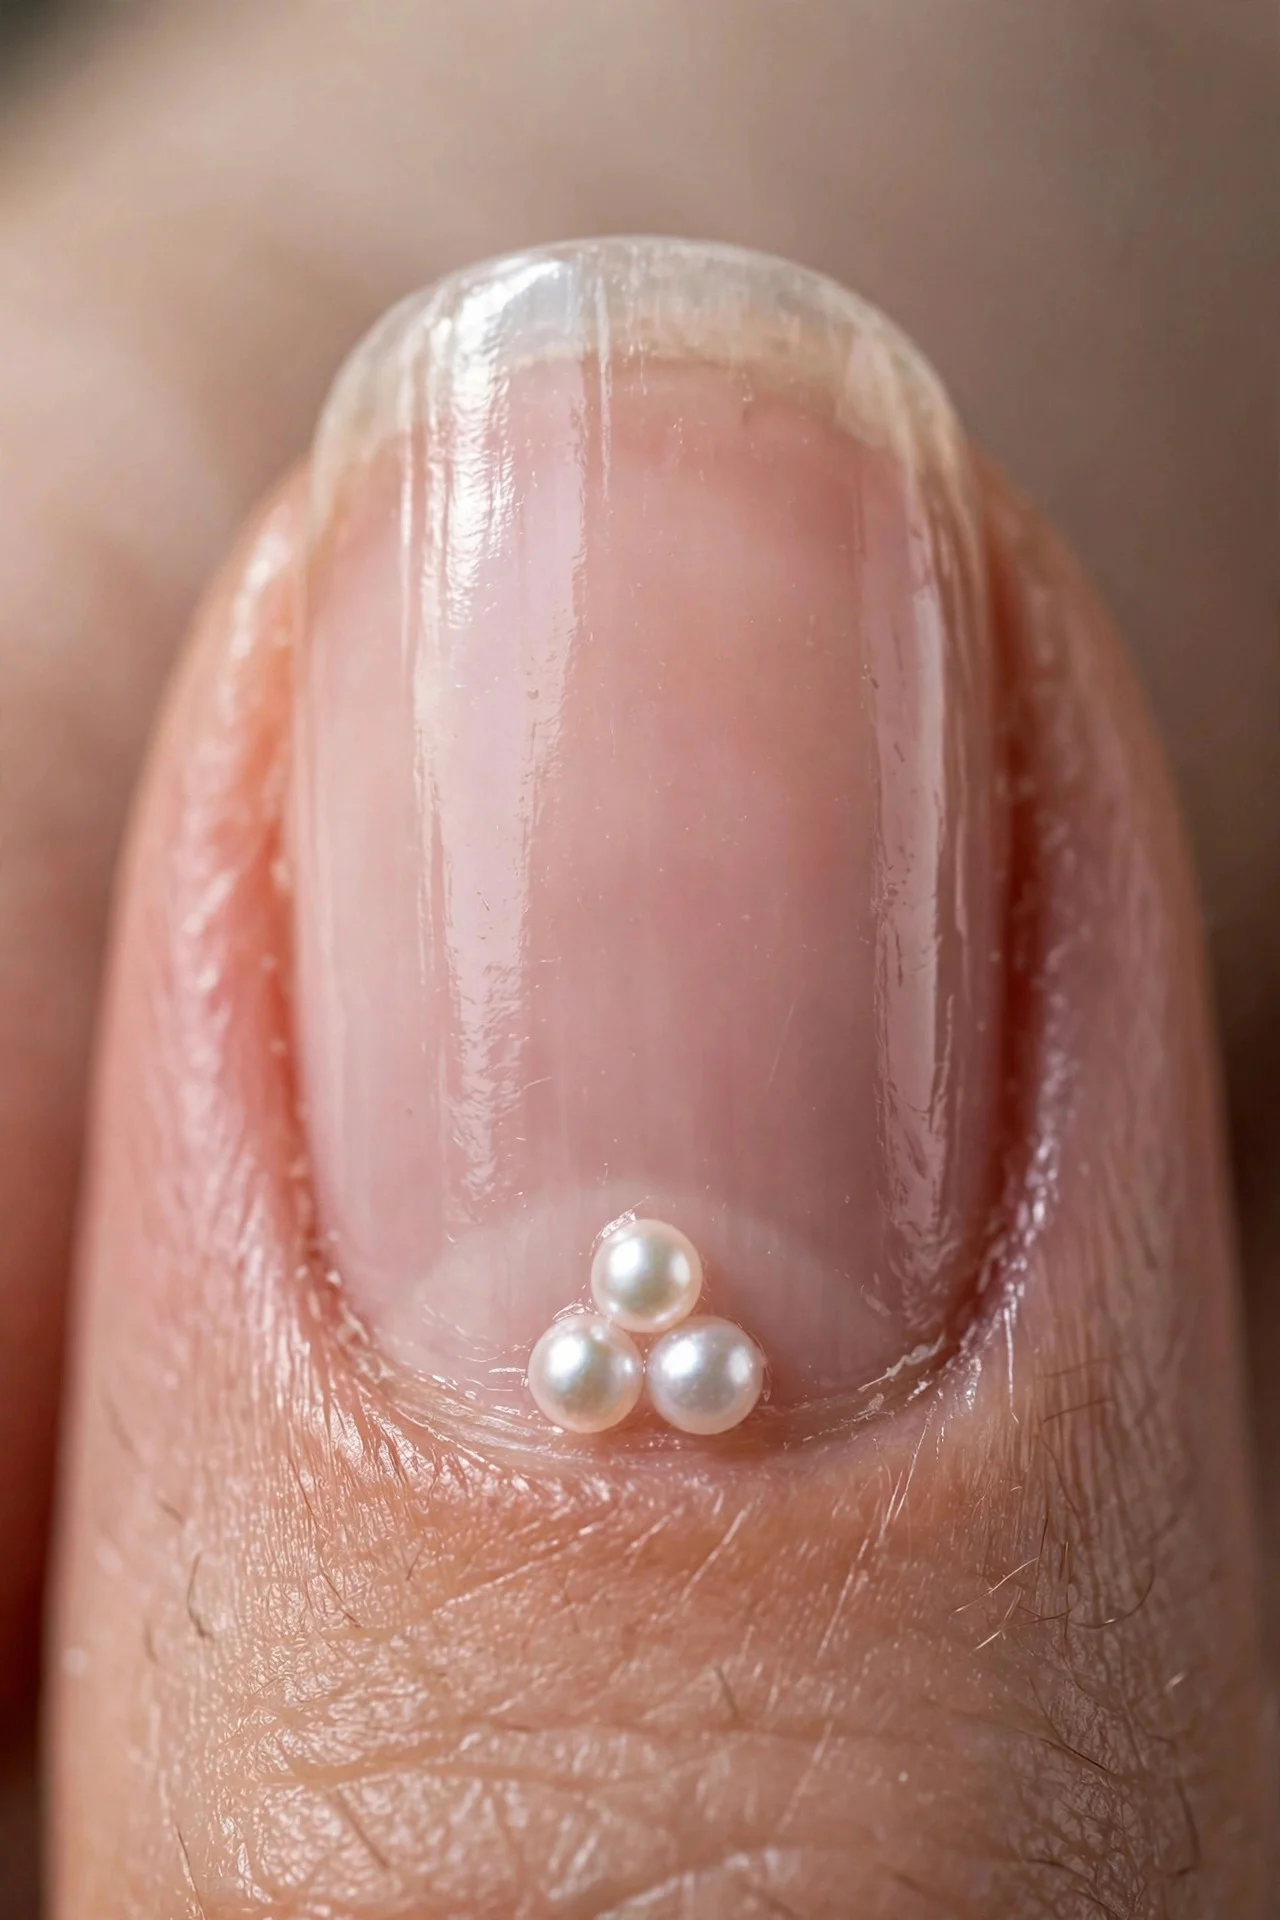
12. Winter White Pearl
A crisp white base with cool pearl shimmer feels fresh in winter. Keep beads minimal, just one per accent nail, so the look stays clean.
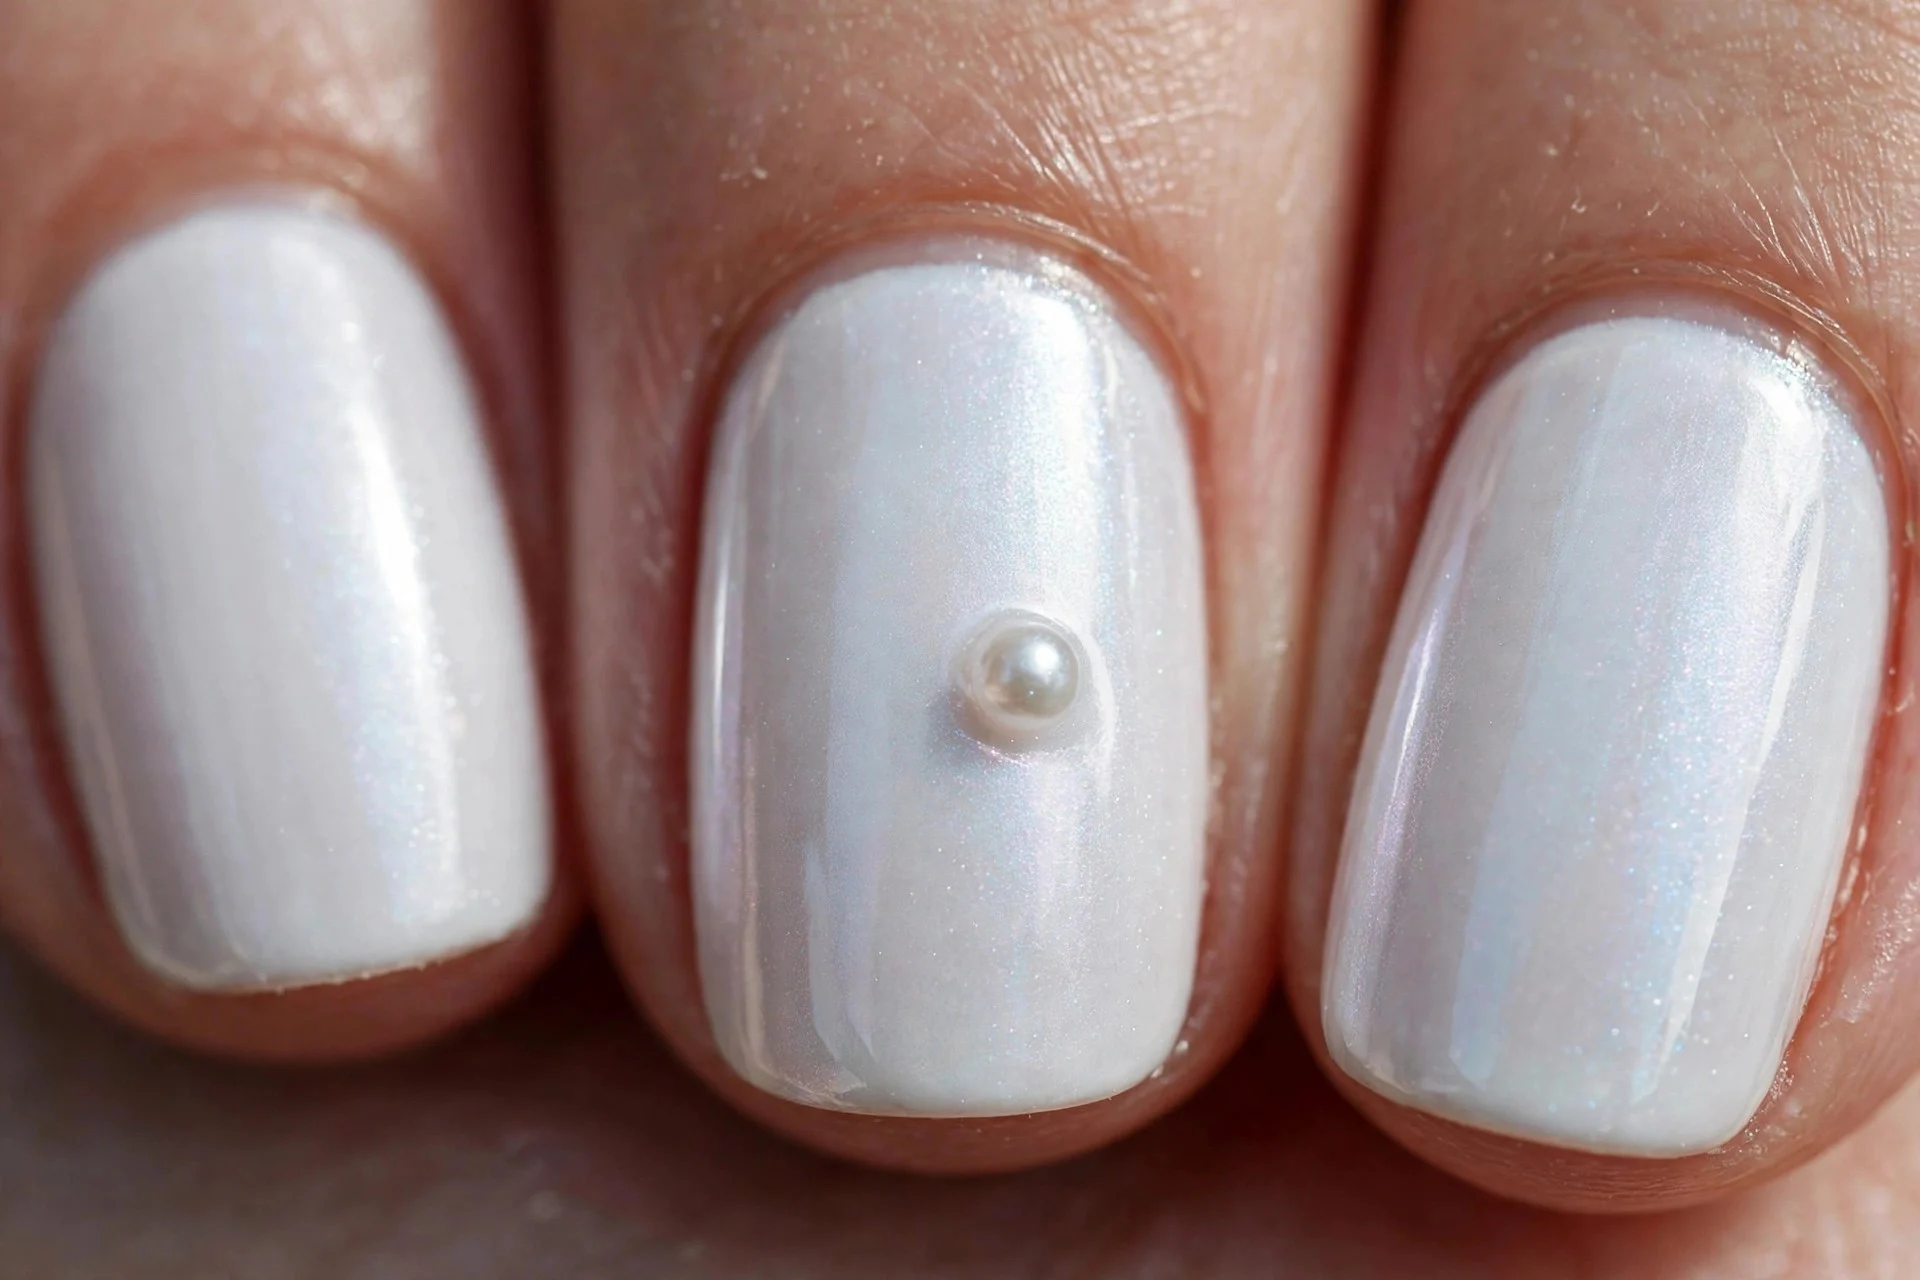
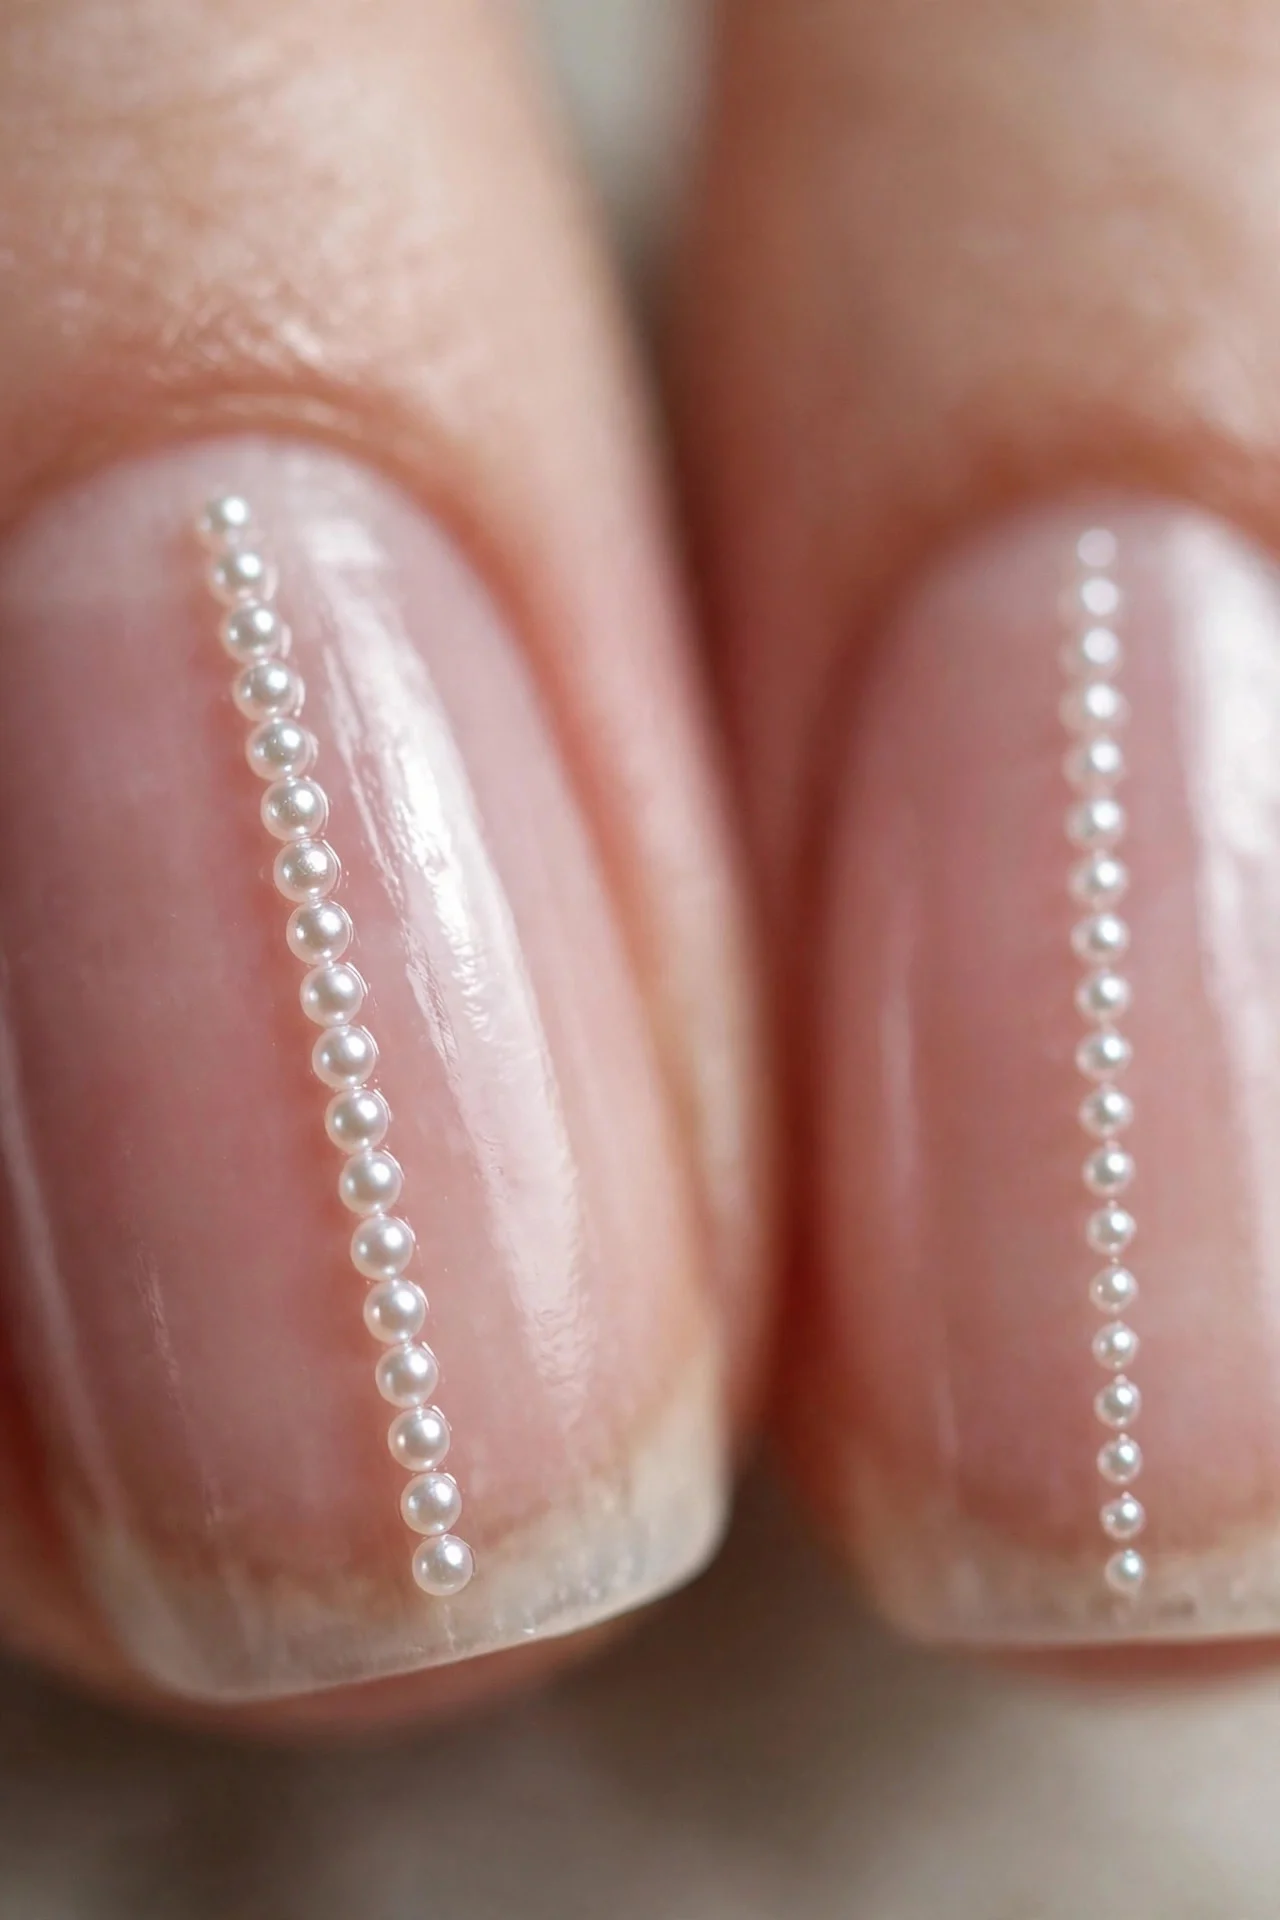
13. Pearl Side Line
Run a slim vertical line of micro pearls down the centre of one accent nail over a sheer base. Use a wax pencil for precise placement.
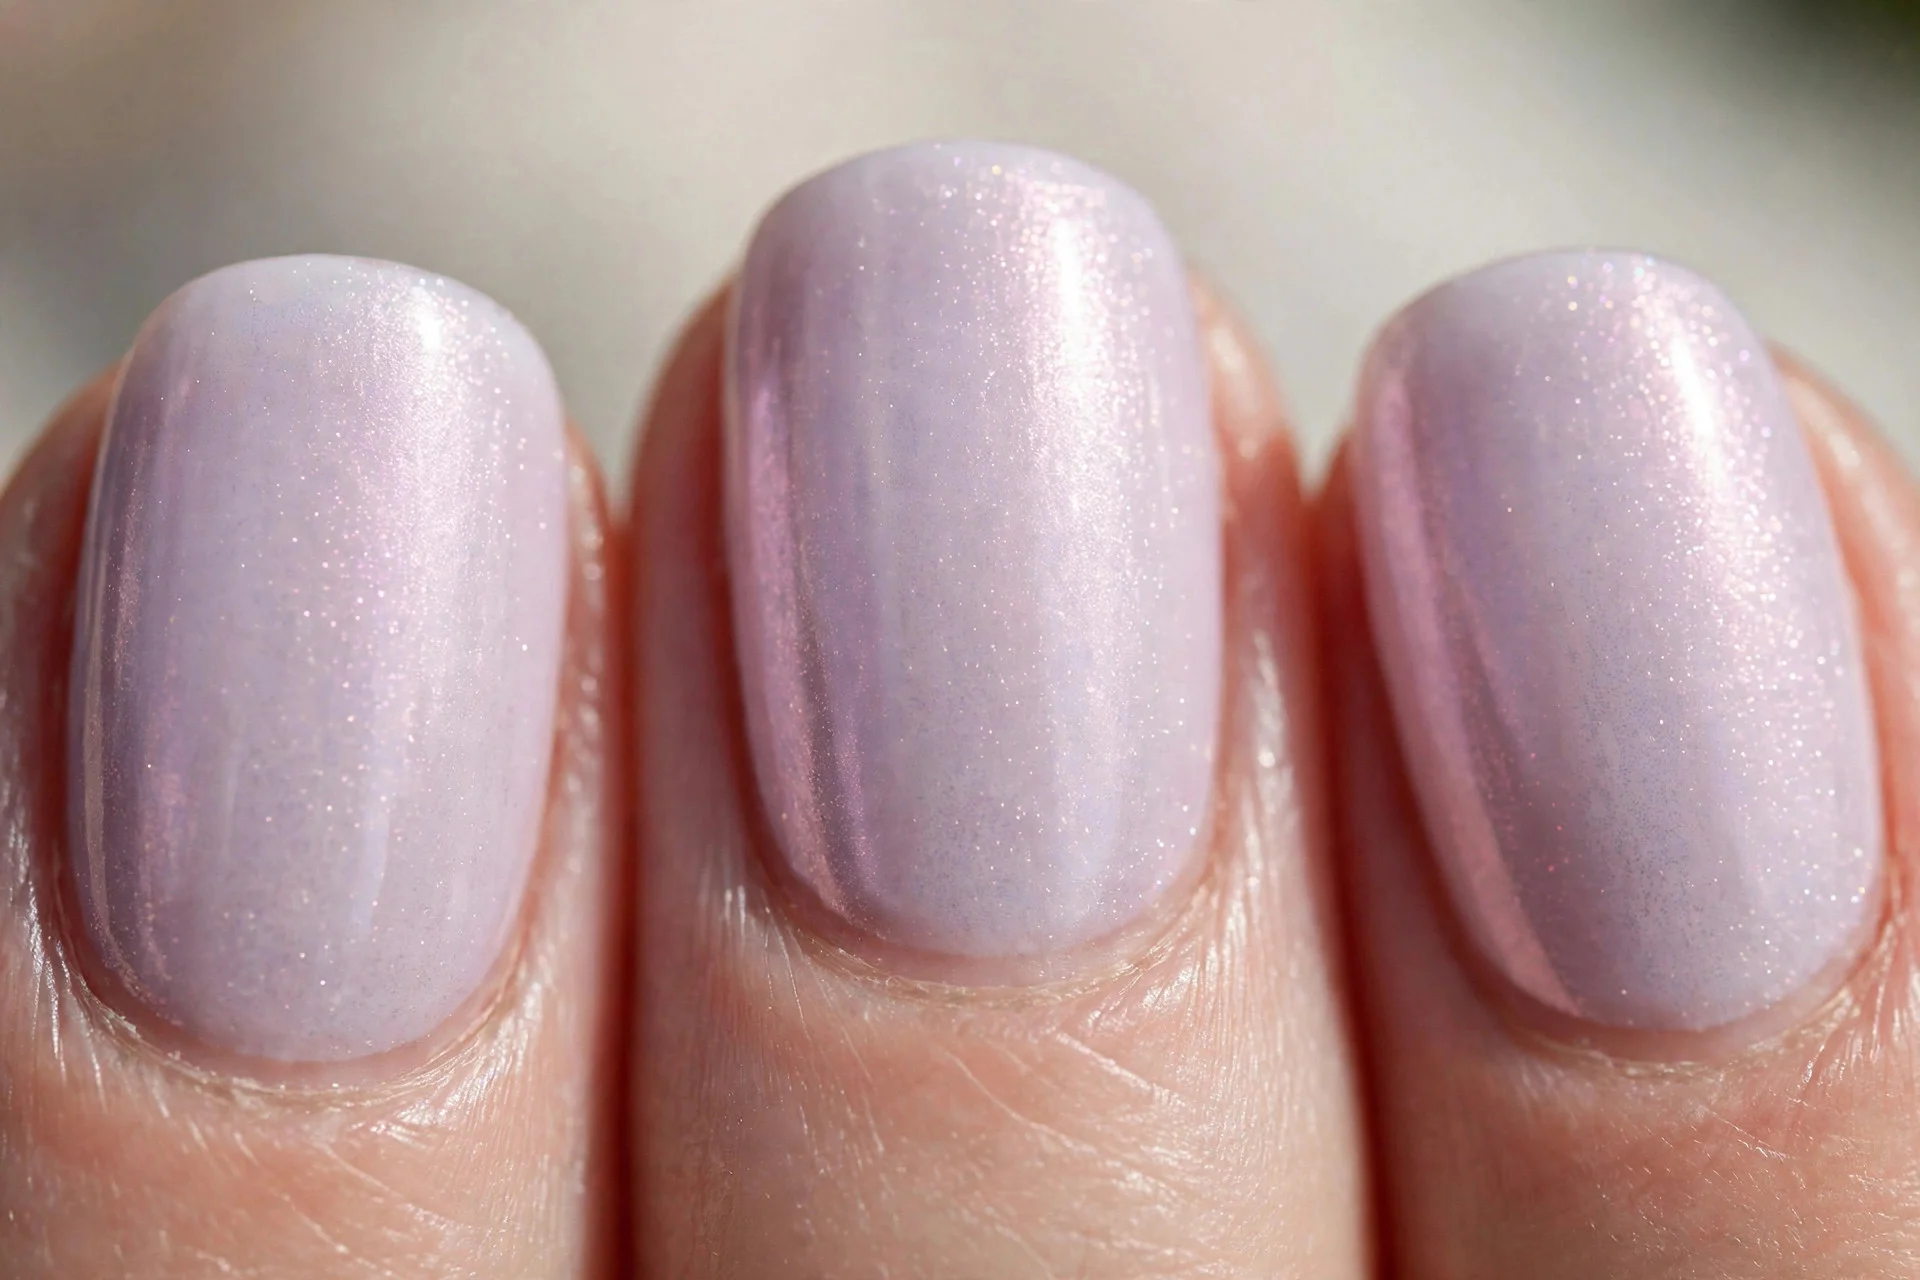
14. Soft Lilac Pearl
A pale lilac base with pearl shimmer is a gentle way to wear colour. Keep the finish glossy for the prettiest light play.
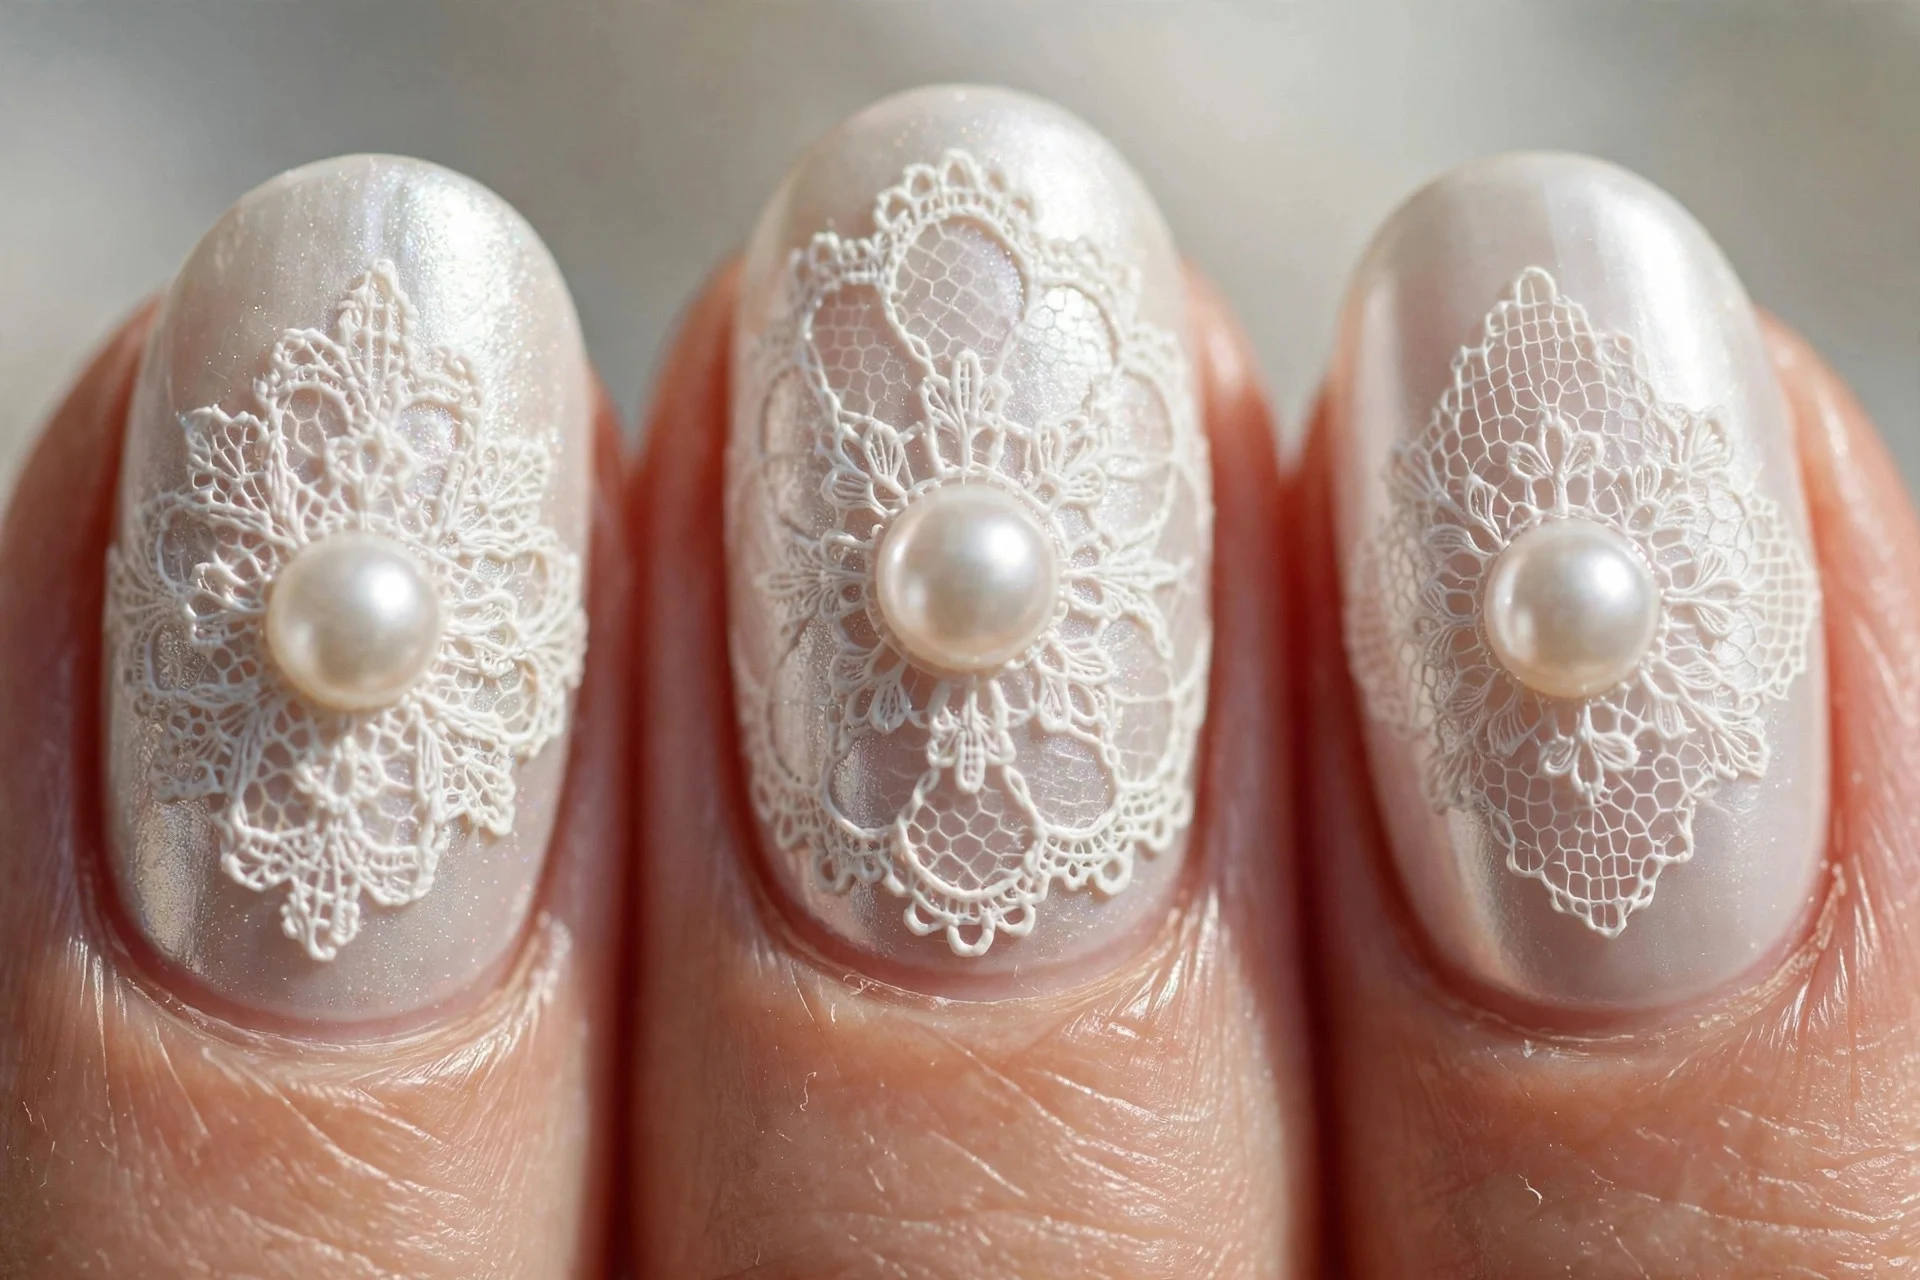
15. Pearl and Lace Effect
Stamp or paint a delicate white lace pattern over a pearl base, then add one pearl at its centre. Work on accent nails only to keep it wearable.
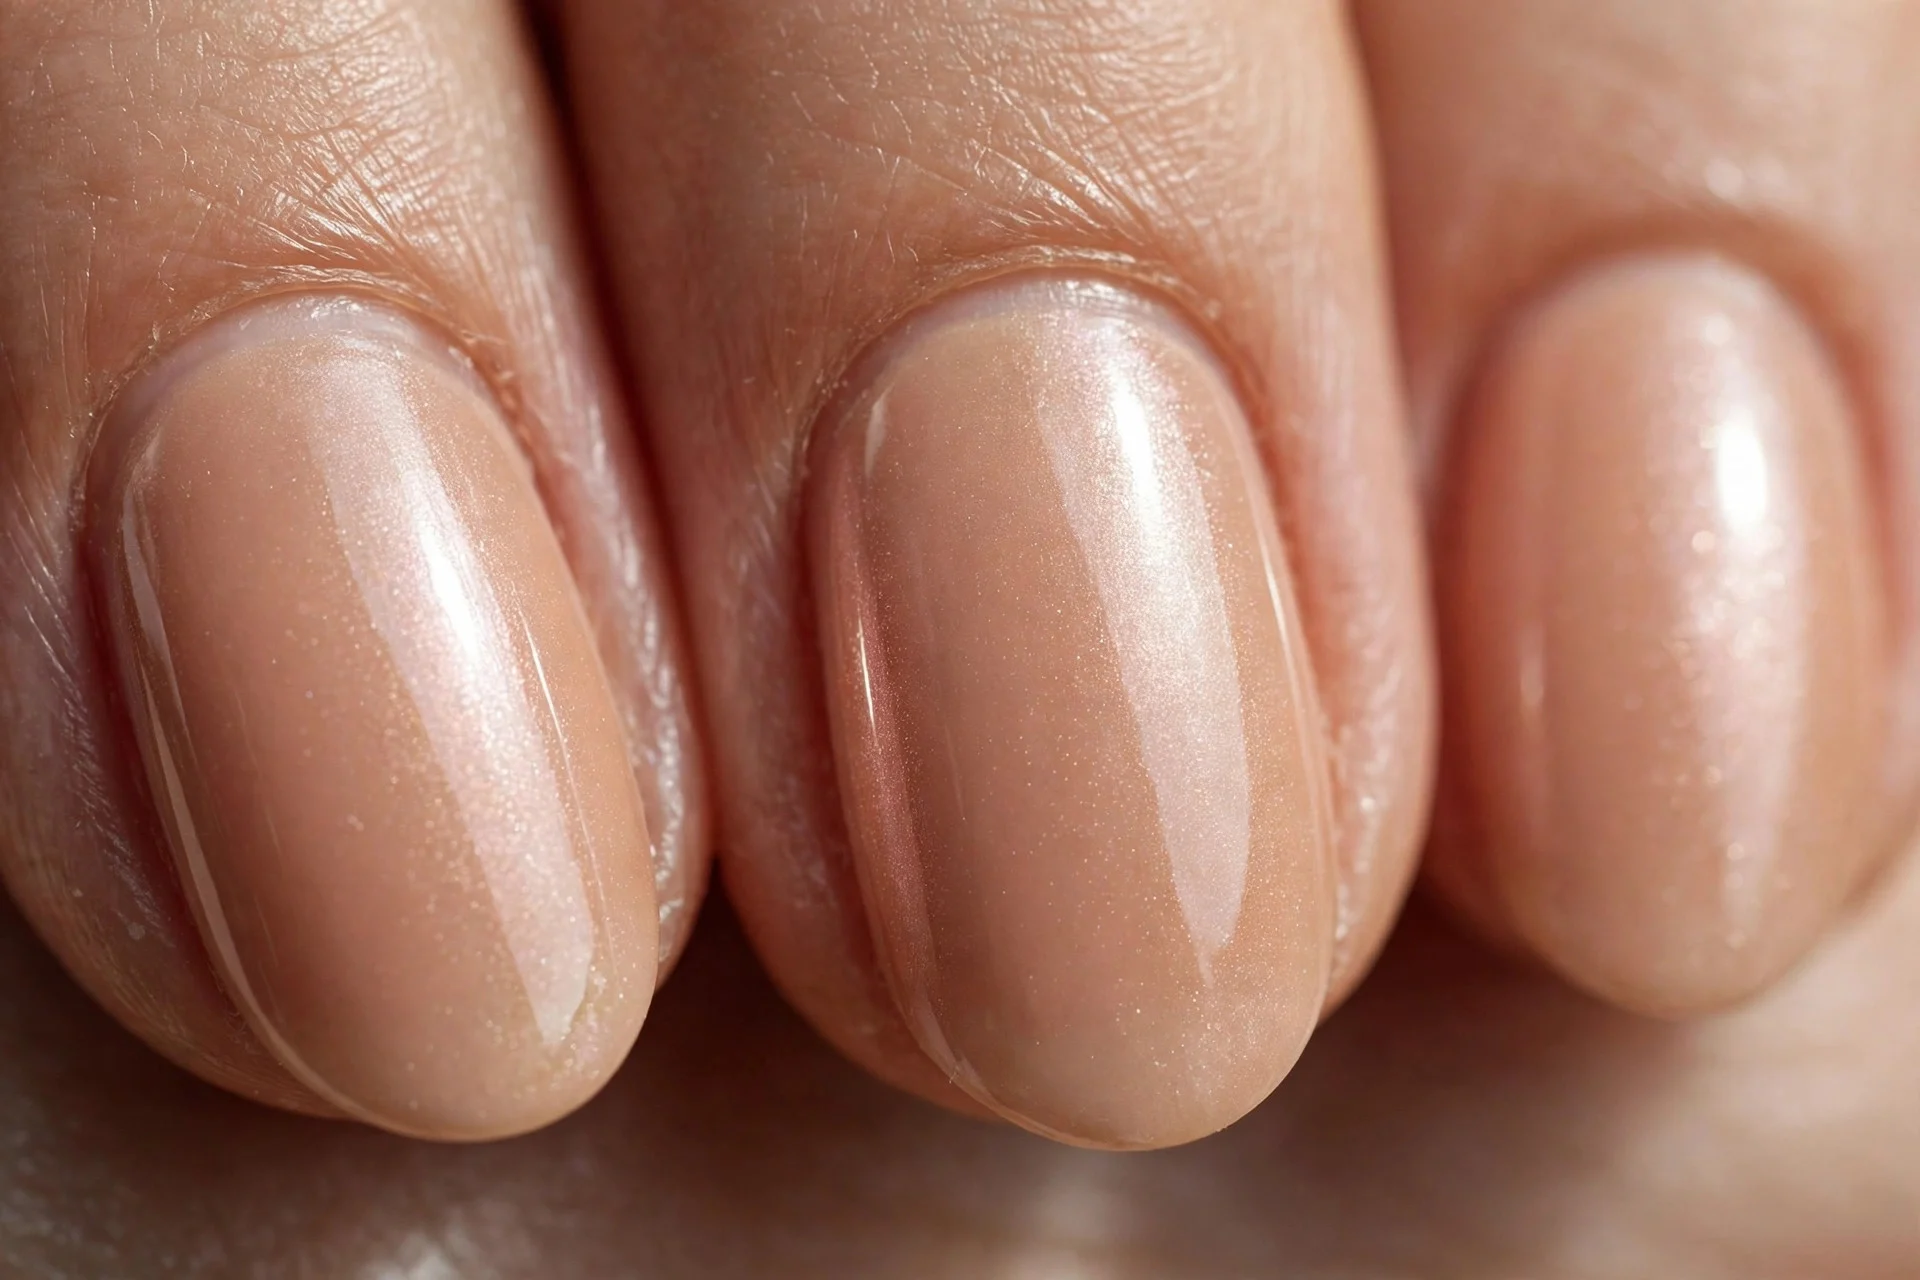
16. Nude Pearl Elegance
A warm nude base with a fine pearl glow is the most versatile design here. Choose a nude close to your skin tone for the most natural effect.
17. Pearl Confetti Party Nails
Mix pearls of two or three tiny sizes over a sheer pink base for a playful confetti effect, perfect for birthdays. A glossy top coat ties it together.
Frequently Asked Questions
How long do pearl nails last?
With proper glue and edge sealing, pearl accents usually last five to seven days, longer on gel. Wear gloves for washing up and avoid picking at them.
Can I do pearl nails at home?
Yes, absolutely. You need a base colour, small flat-backed pearls, nail glue, tweezers or a wax pencil, and glossy top coat. Start with one accent nail and keep pearls small.
Do pearls damage natural nails?
Pearls do not damage nails when glued on gently and removed with care. Soak in warm, soapy water, ease them off with an orange stick, then apply cuticle oil.
What nail shape suits pearl nails best?
Pearl designs suit almost every shape, but I favour almond and oval shapes, whose curves show off pearl detail well. Short, rounded nails also suit a single pearl accent.
I hope these ideas help you enjoy pearl nails without my early mistakes. Pick one design, keep pearls small, seal the edges, and let that soft glow do the talking.