
Magnetic nails are the technique behind the cat-eye craze: polish loaded with metallic particles, shaped by a magnet into bands, beams, and halos, then locked under a lamp. I have done this at home a dozen times and in salons three times — and the gap between muddy DIY and a glass-sharp salon band comes down to technique, not talent.
This is the deep dive: how the magnet works, which tools are worth buying, the step-by-step method, and 13 magnetic nail ideas for once your technique is solid.
The Tools: What to Buy
The polish. You need polish labelled "magnetic" or "cat eye." For DIY, magnetic gel plus a UV/LED lamp gives the real sharp effect; kits run $15–$30. Magnetic regular polish (no lamp) is a fine $8 experiment but softer and shorter-lived. Start dark — black, deep plum, navy — so you can see the particles move.
The magnet. This matters more than the polish brand. The wide rectangular bar magnet gives control; tiny round kit magnets are fiddly and weak. A strong neodymium bar costs a few pounds alone and upgrades any kit.
The lamp. Any 48W+ UV/LED lamp cures magnetic gel, and most at-home gel users already own one. No lamp means sticking to magnetic regular polish — the effect will be softer and shorter-lived, so manage expectations accordingly.
Nice to have: a thin detail brush for edge clean-up, cuticle oil (magnetic gel floods cuticles while you learn), lint-free wipes. Skip "cat eye top coats" — marketing, not magic.
The Technique: Step by Step
1. Prep normally. Shape, push back cuticles, dehydrate. Magnetic gel is still gel — prep decides longevity.
2. Base and background. Apply base coat and cure, then one coat of magnetic colour and cure fully. This is your background; the magic happens next.
3. The magnetic layer. Apply a second, slightly generous coat — and DO NOT cure yet. This wet layer is your working time.
4. Hold the magnet. Position the bar 2–3mm above the wet surface without touching. Hold 10–15 seconds and watch the band form. Angle the magnet to angle the band: parallel for classic, diagonal for a beam, centred for a halo.
5. Cure immediately. Under the lamp within seconds — particles drift back within a minute. Work one nail at a time; never magnetise two nails then cure both.
6. Top coat and cure. Seal, cure, wipe the tacky layer. Done.
The five rules that fix 90% of bad DIY: thin-ish working coat, magnet close (2–3mm), hold still the full 10–15 seconds, cure immediately, one nail at a time.
Salon vs DIY: An Honest Comparison
Salon magnetic nails ($55–$85 US, £45–£70 UK) buy stronger magnets, a tech with a thousand repetitions of the timing, and genuinely hard techniques like halos. DIY ($15–$30 kit) reaches 80% of salon quality on classic bands within just a few tries. My rule: DIY the classics, book the salon for aurora and halos. My aurora cat eye nails covers the salon-worthy variant; the nail trends 2025 round-up places magnetic finishes in the bigger picture.
13 Magnetic Nail Ideas
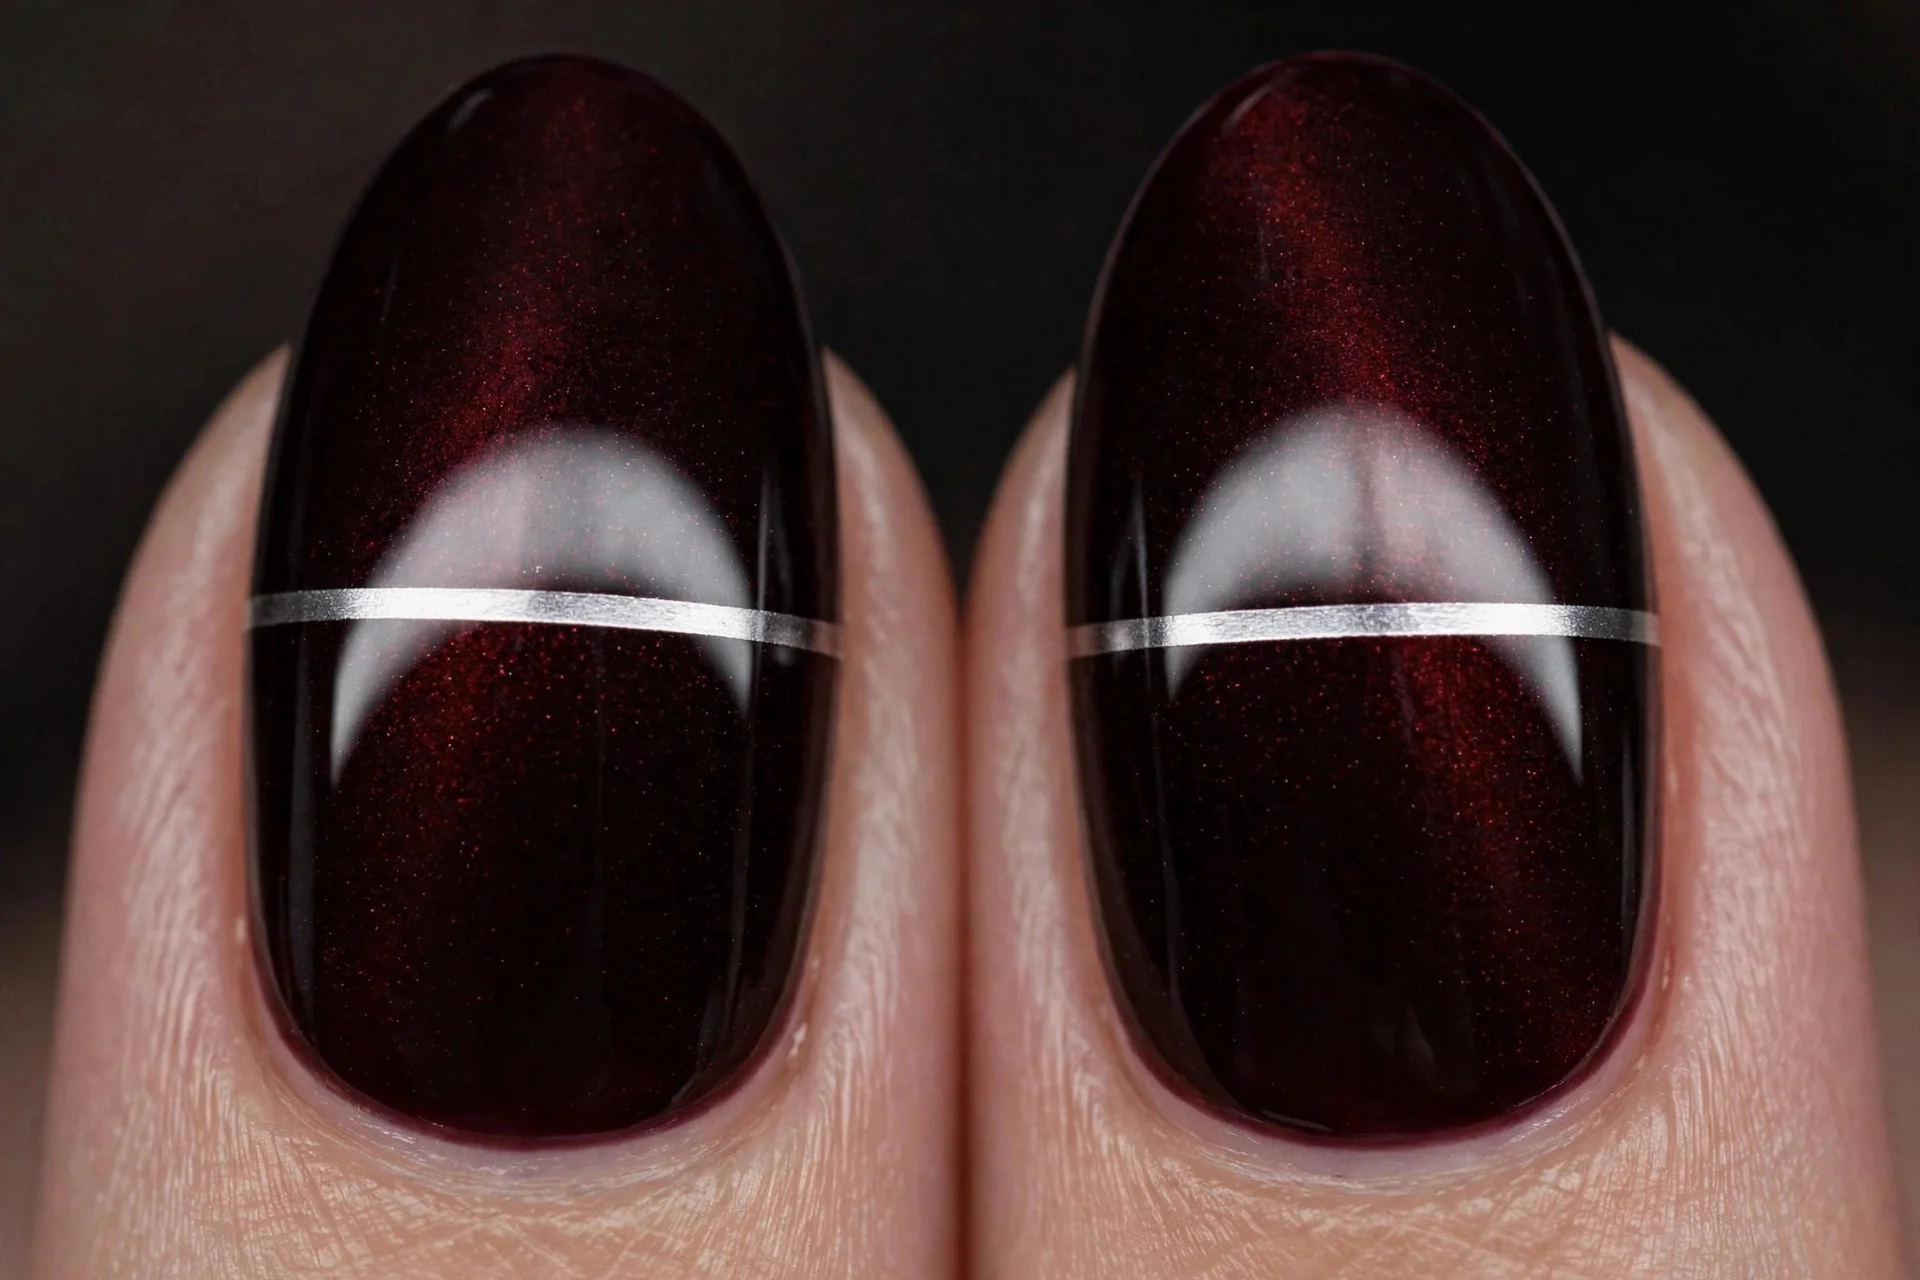
1. Classic Straight Band
Black-cherry magnetic gel, magnet parallel to the cuticle, one sharp silver band dead centre. Master this and your fundamentals are solid.
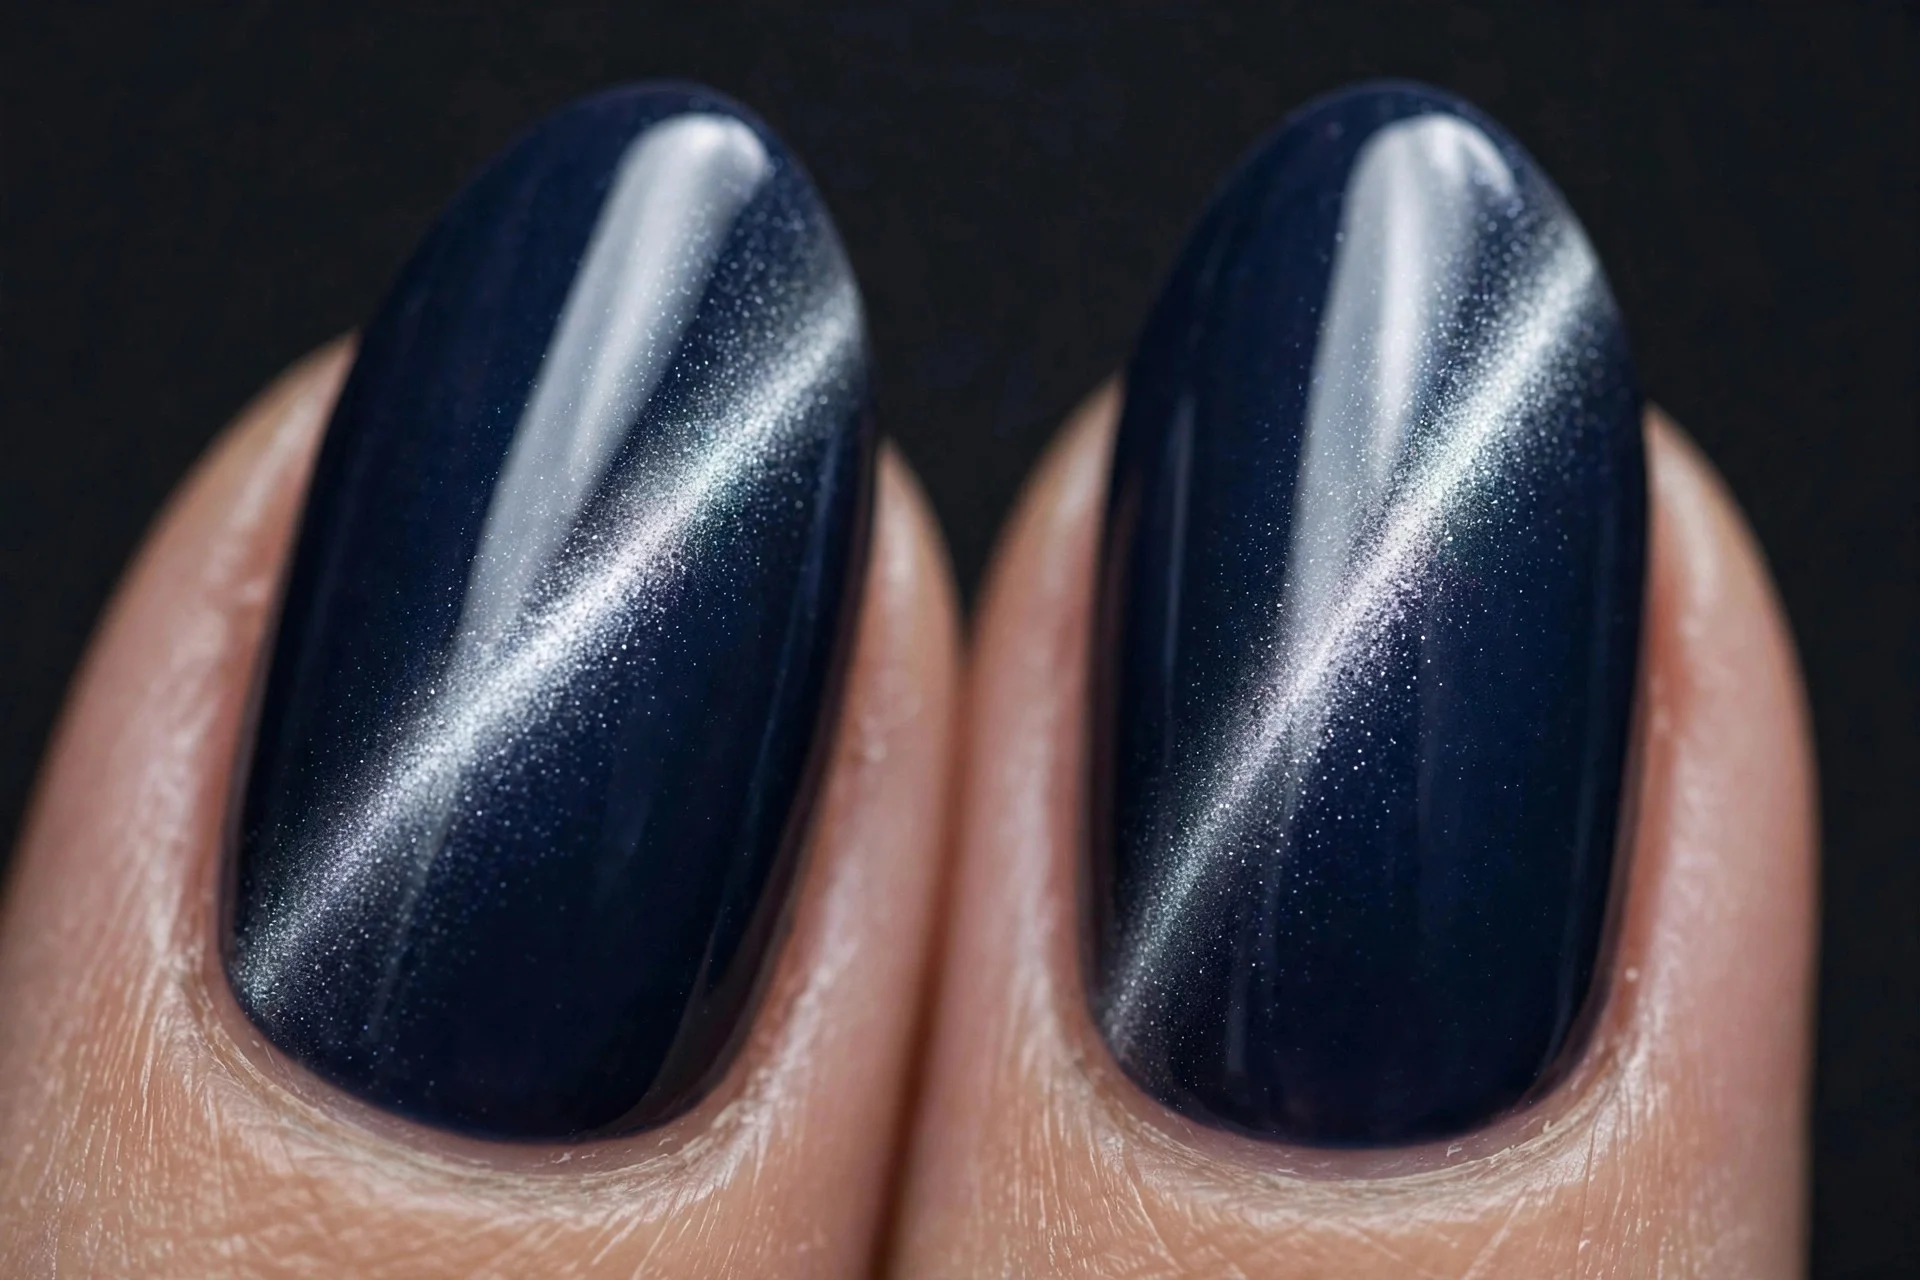
2. Diagonal Beam
Navy base, magnet at 45 degrees — the band slashes diagonally. Same difficulty as straight, twice the drama.
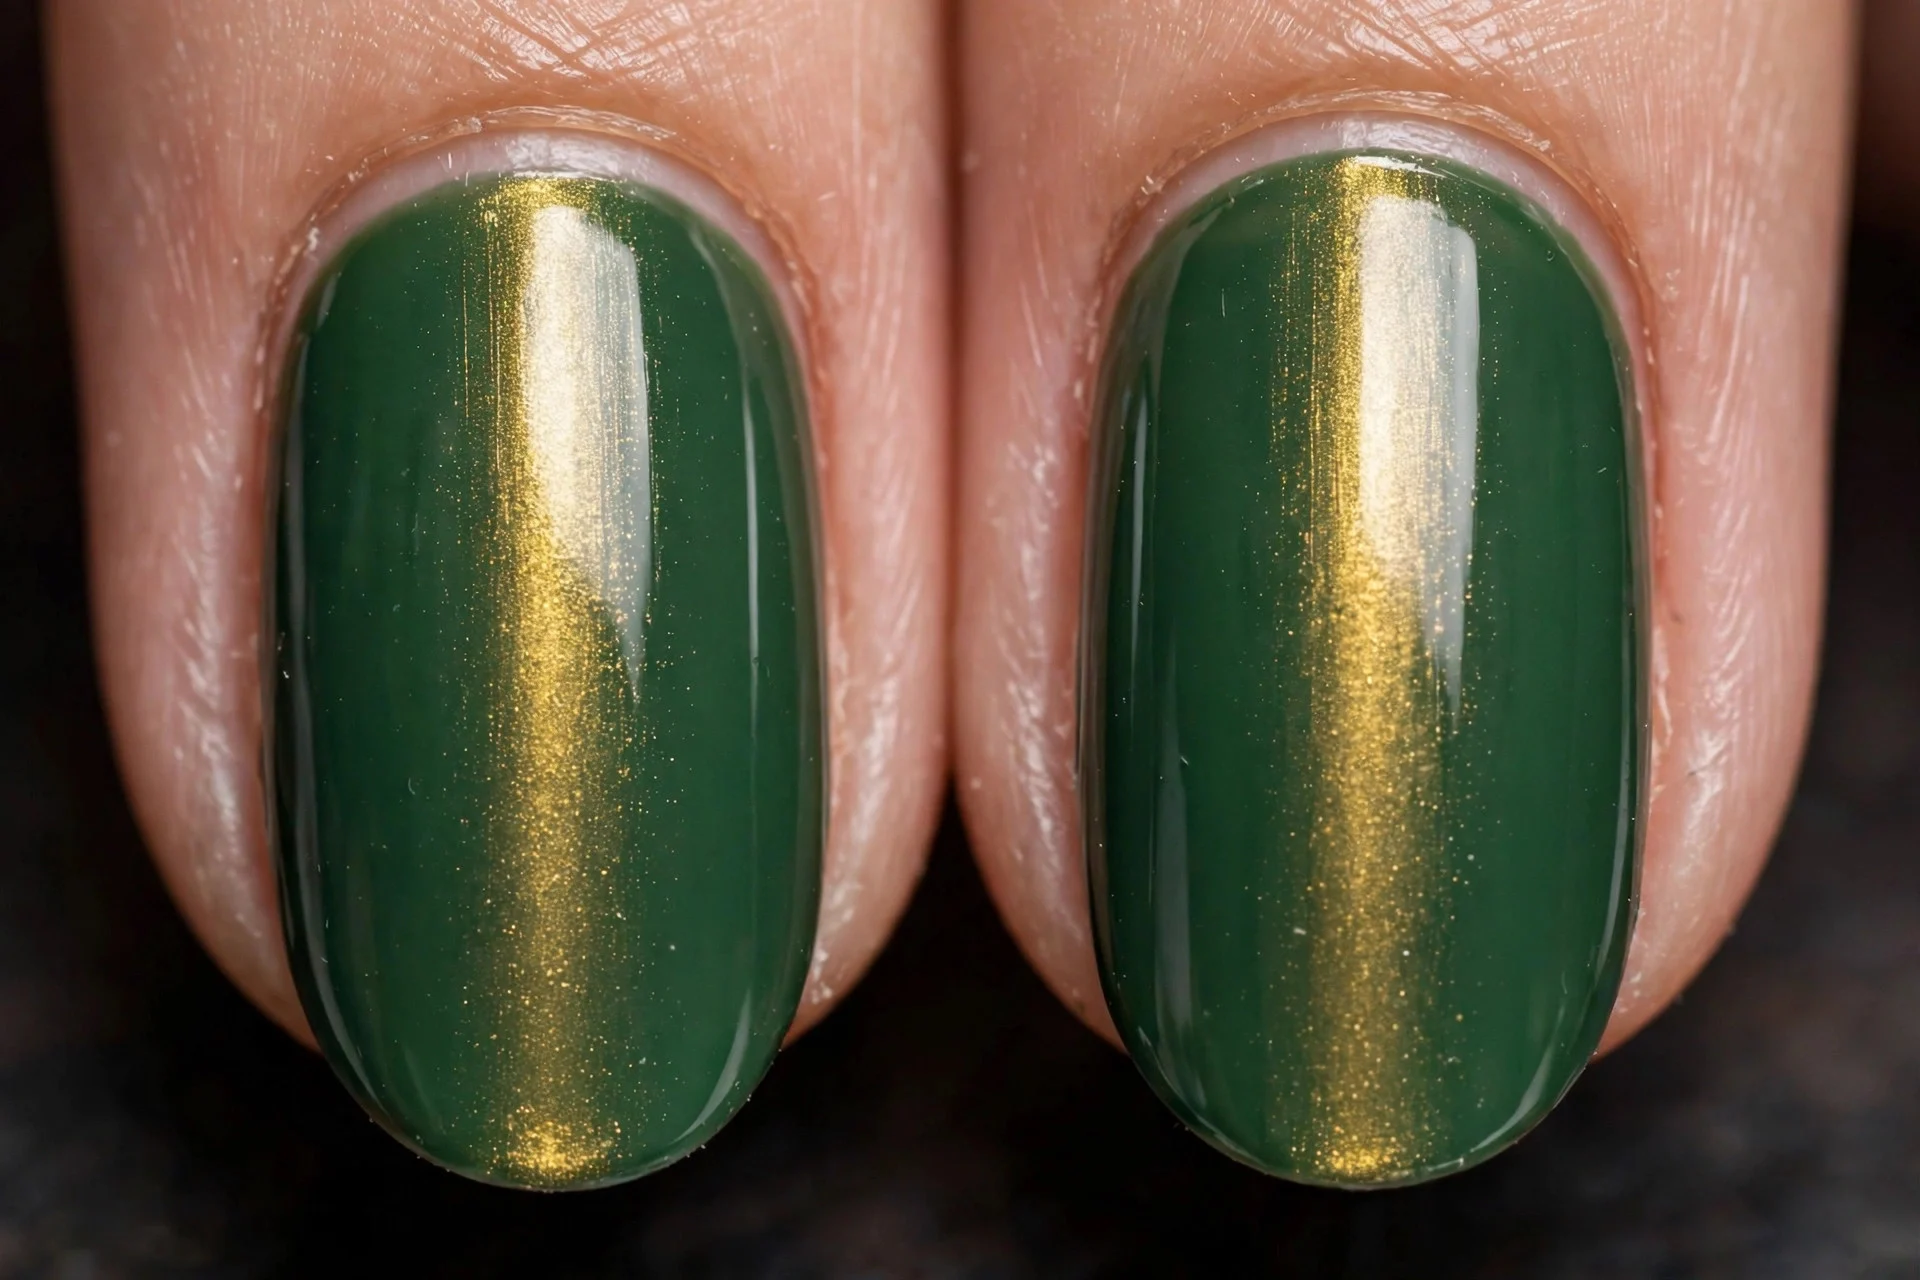
3. Halo Cat Eye
Magnet centred and slowly lifted to coax a ring of light. Genuinely hard at home — worth booking. On emerald it looks like a gemstone. Confirm your tech does halos first.

4. Velvet Diffusion
Magnet held 6–8mm away and swept slowly so particles scatter into a soft glow. Easier than the sharp band — distance is forgiving. Lovely in nudes and mauves.
5. French Tip Magnet
Nude base with the magnetic band at the tip only — hold the magnet over the free edge. A glowing French that reads modern. Lovely for weddings.

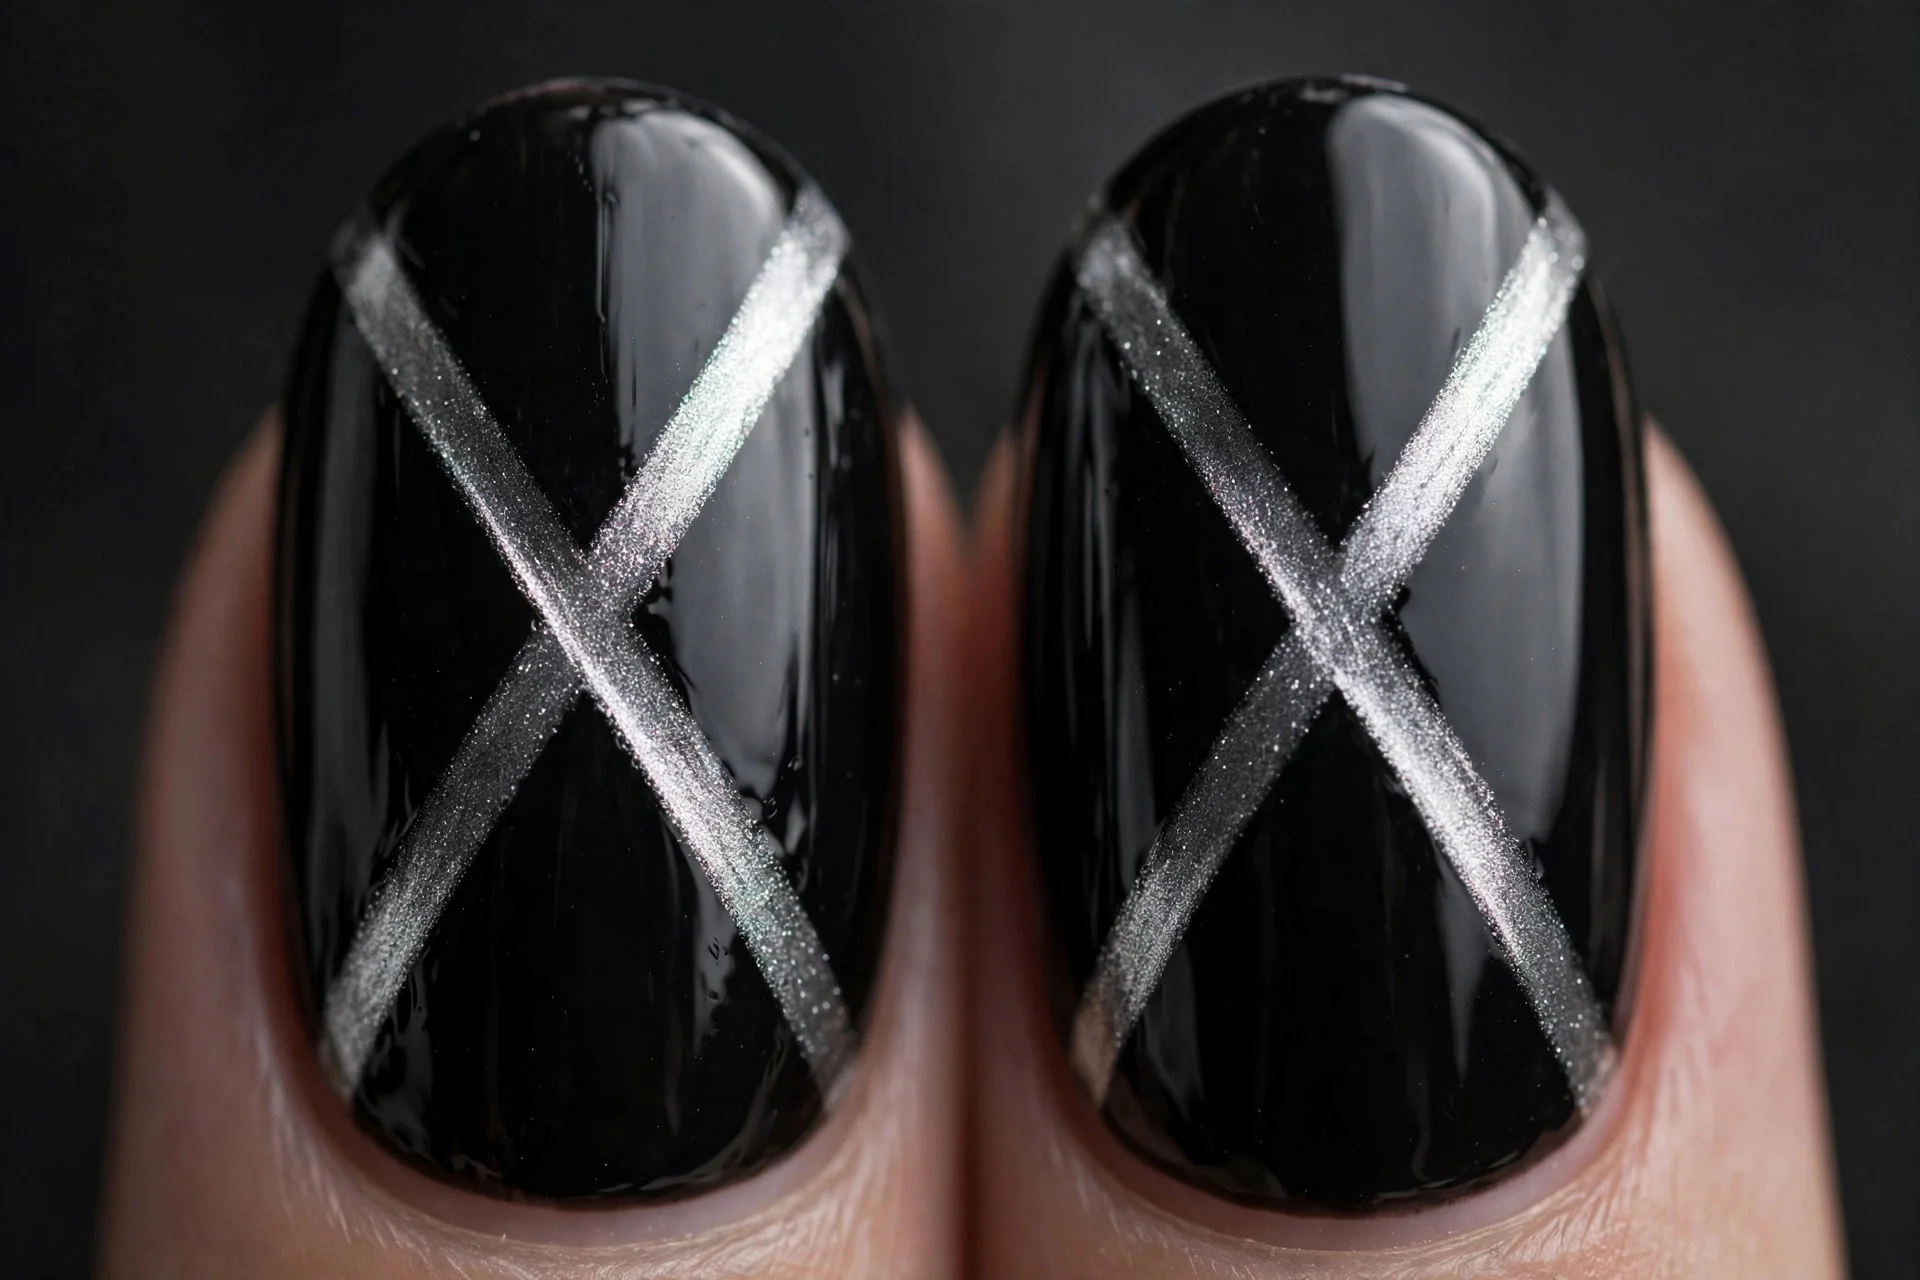
6. Double Band
Two parallel bands: magnetise near the cuticle, cure, add another thin coat, magnetise near the tip, cure. Like light refracting through glass — the second band must not disturb the first.
7. Magnetic Ombré Base
Ombré base (navy to black) with the band over it — two techniques stacked for depth behind the light. Salon territory: double timing is a lot at home.

8. Polka Dot Cat Eye Combo
Magnetic bands on most nails, one hand-painted polka-dot accent. The high-tech finish against playful dots is what makes it work. Full pairing in my polka dot cat eye nails.
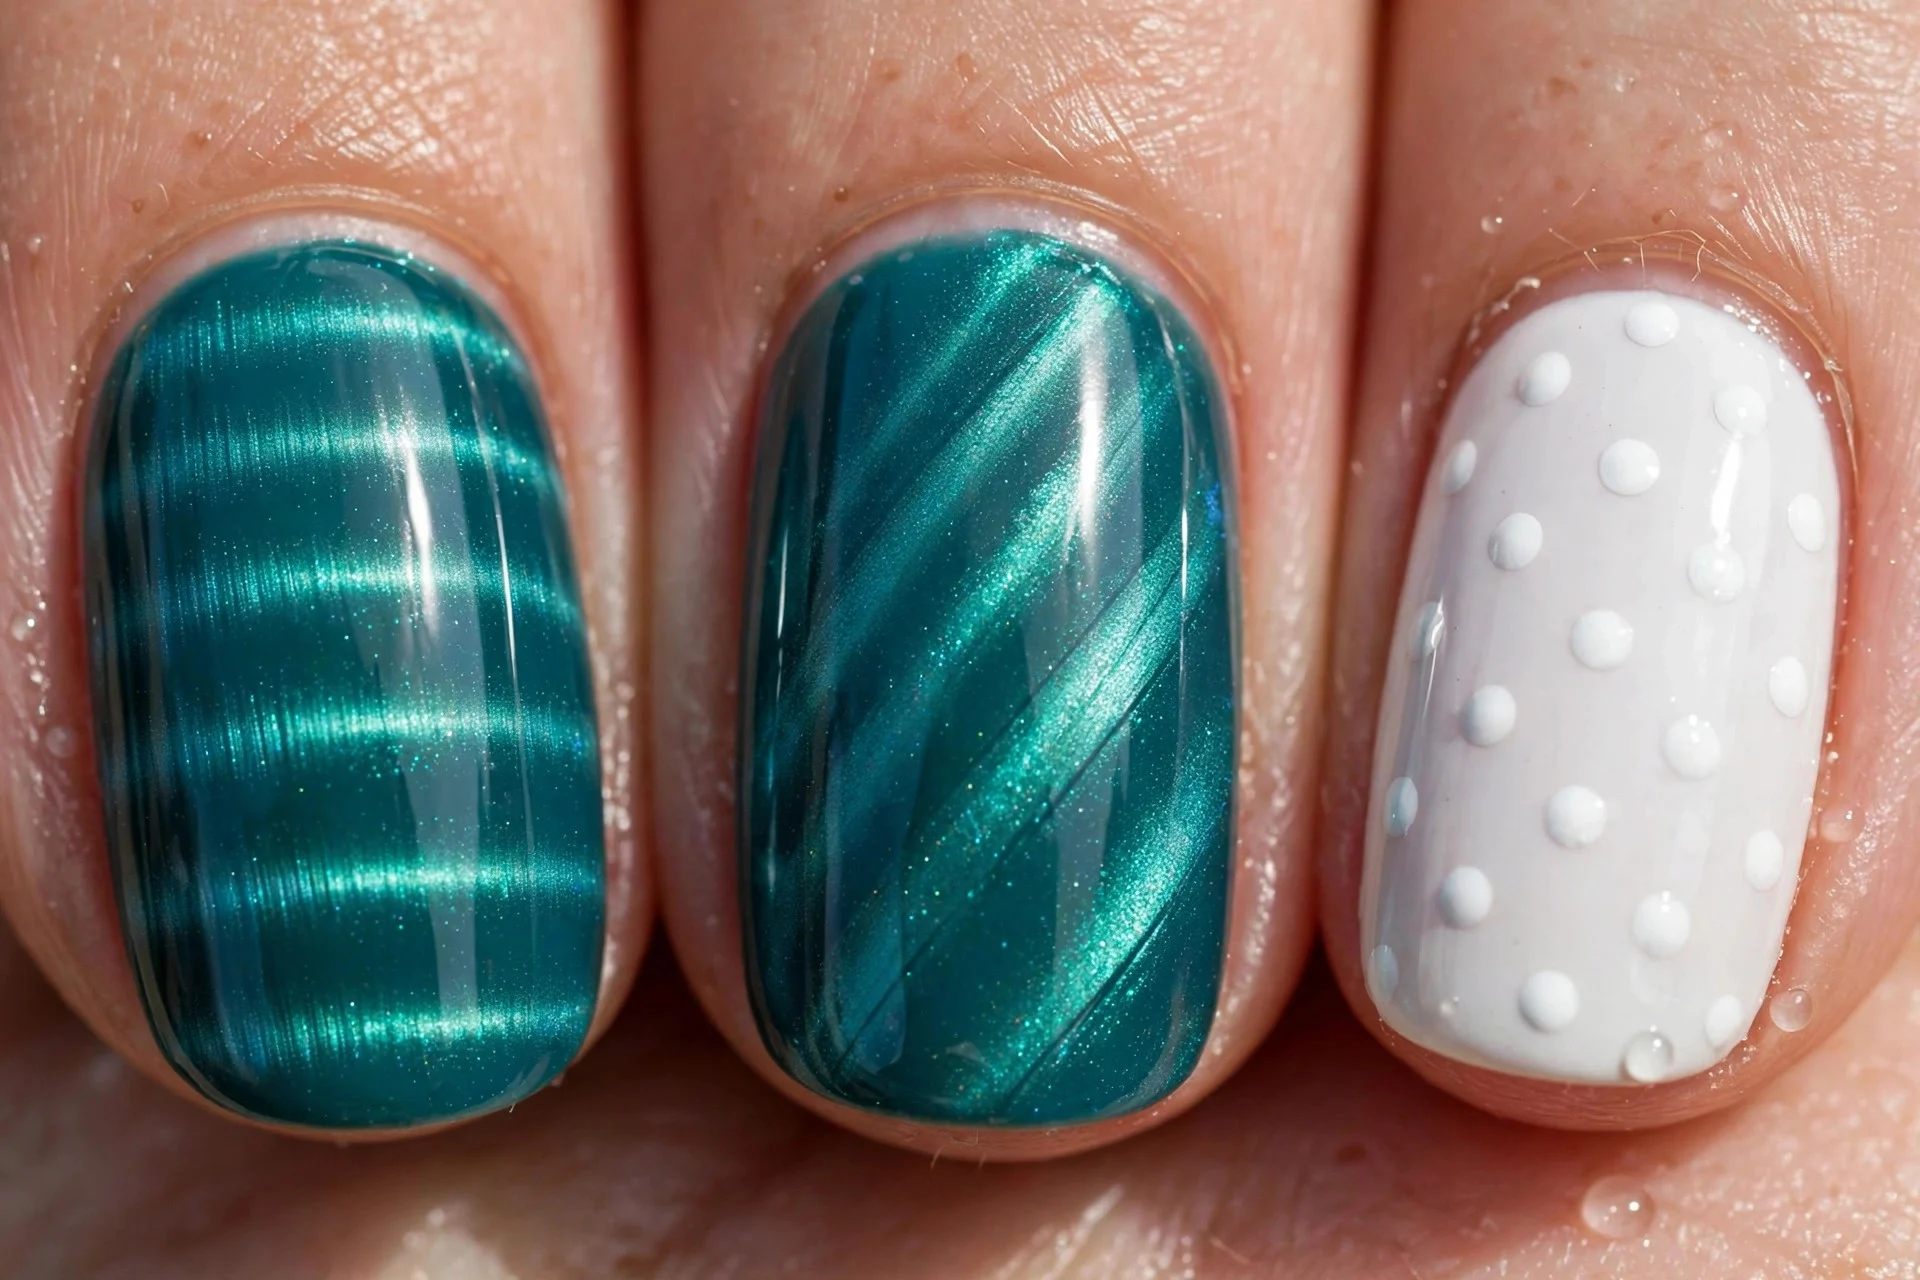
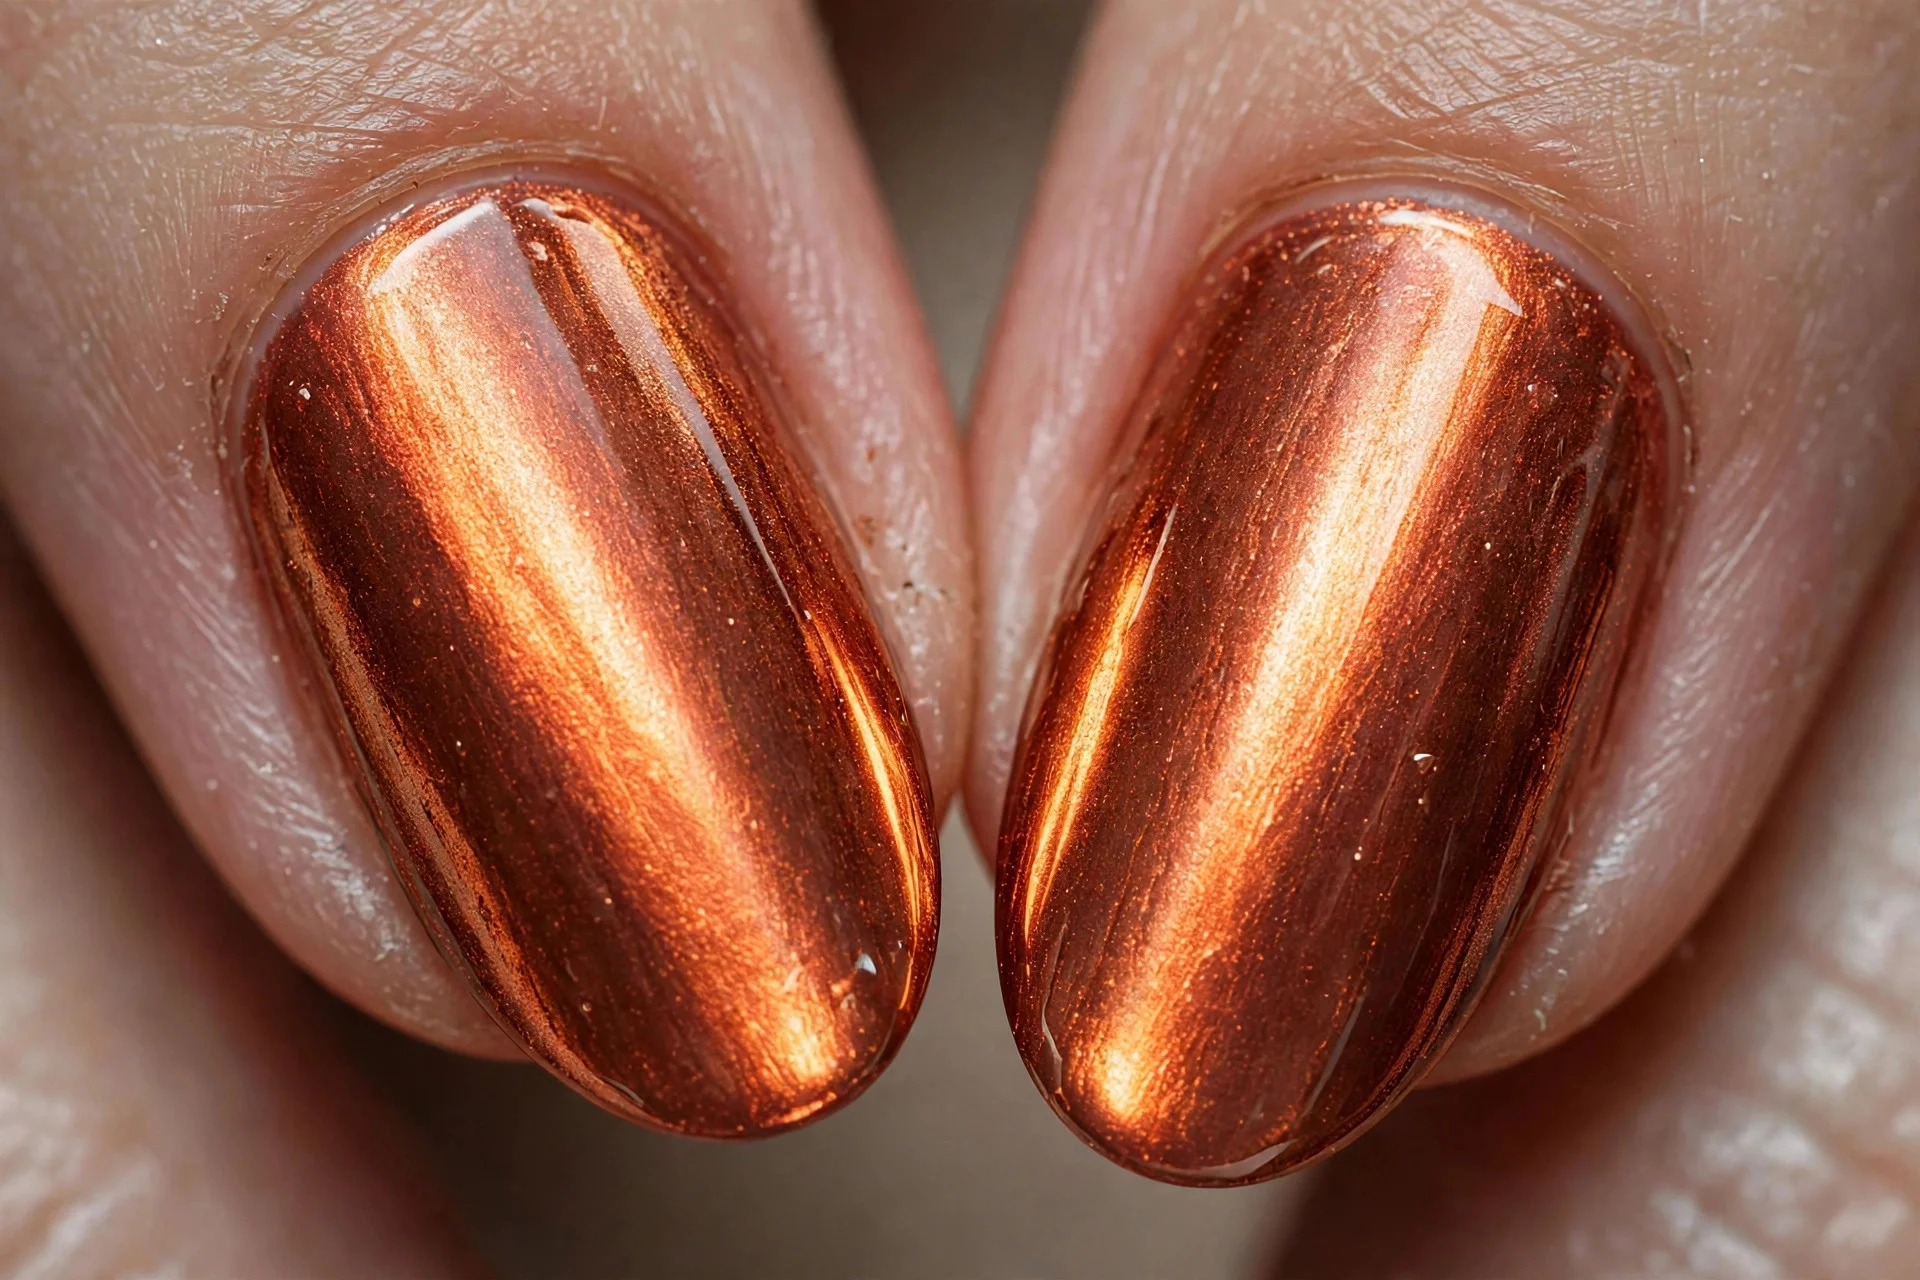
9. Copper Molten Band
Metallic copper with the brightest band achievable at home — copper particles respond dramatically. The most molten-metal look in this edit.
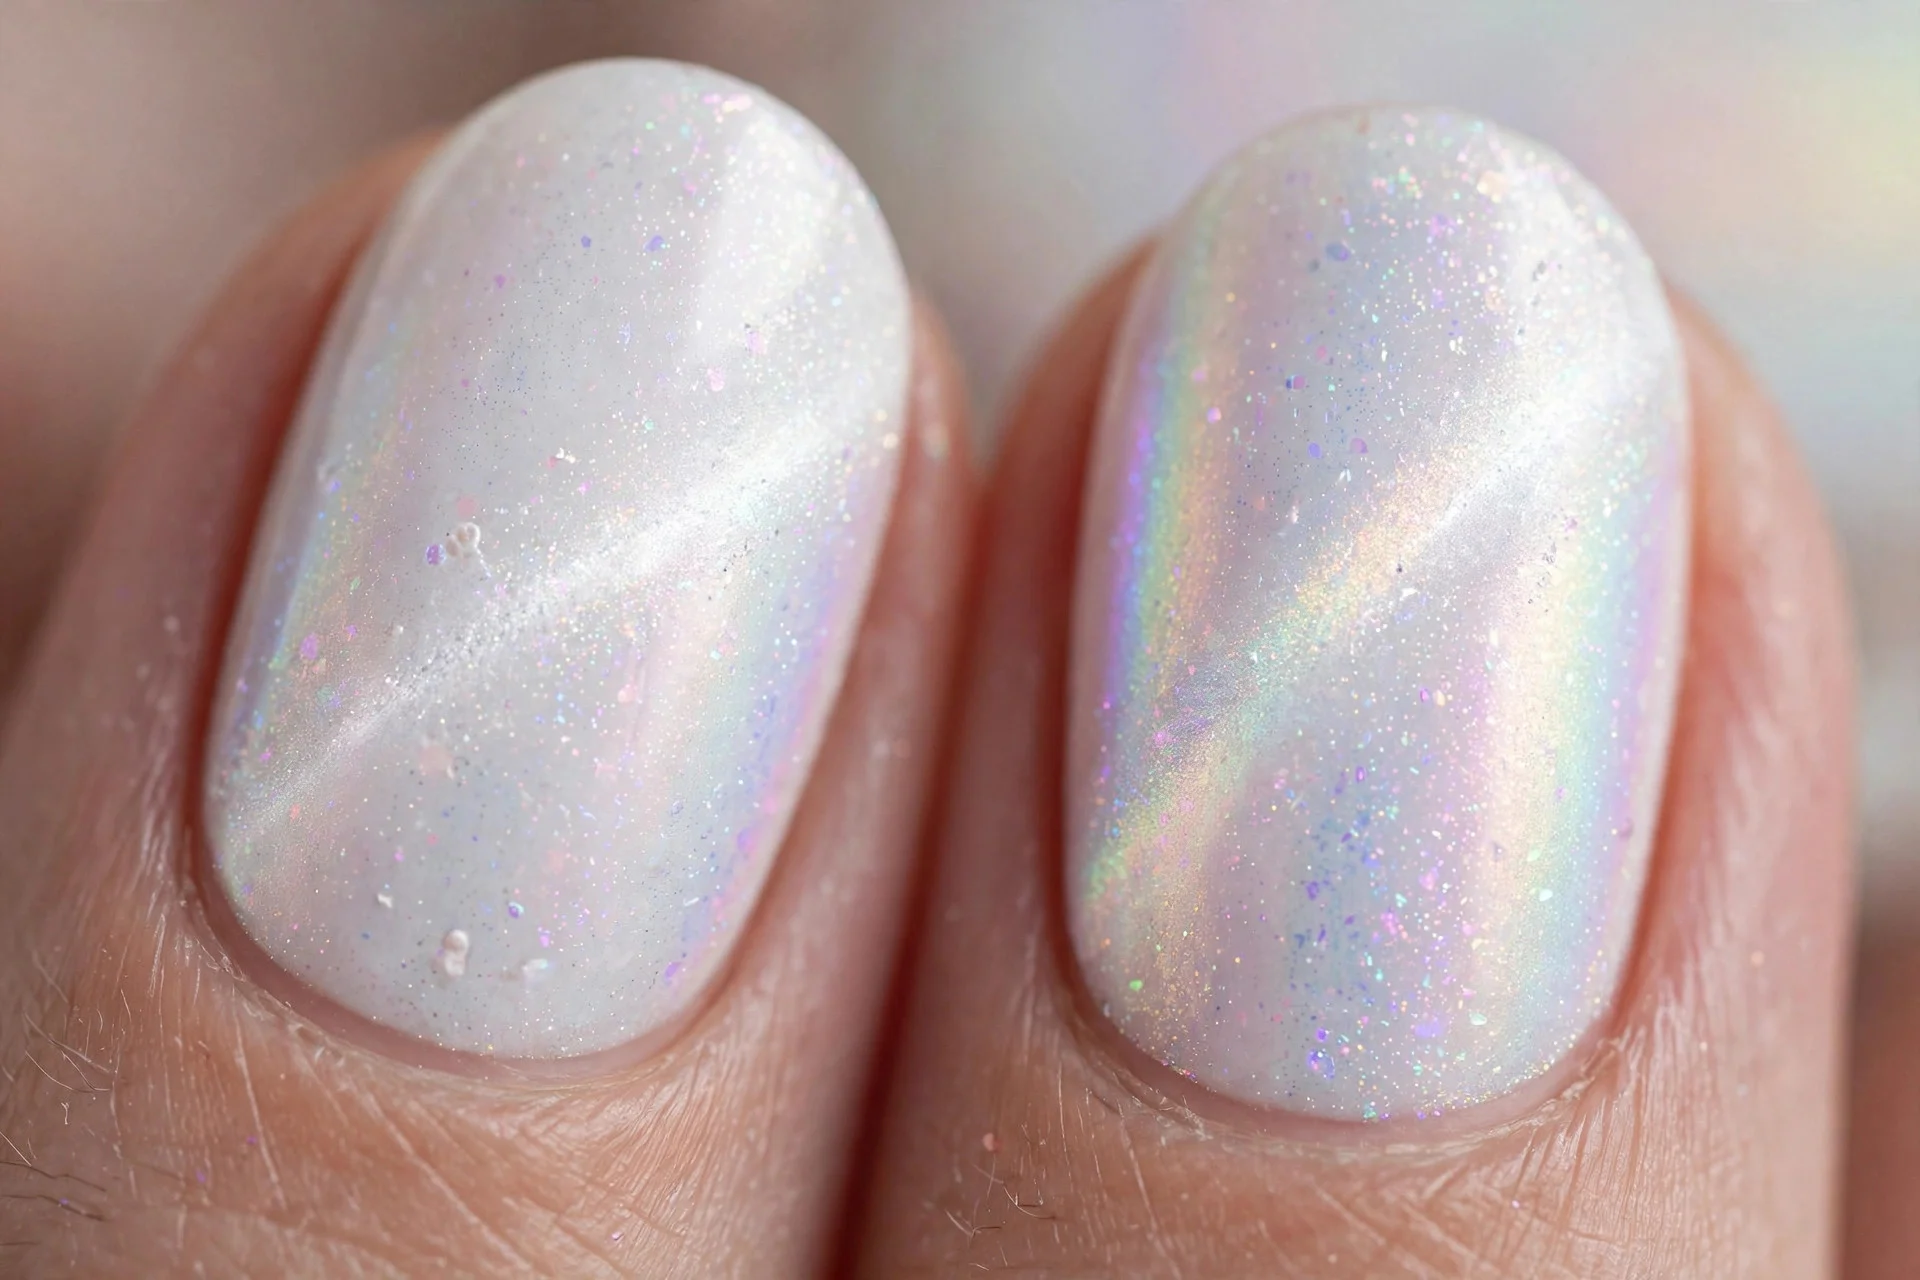
10. White Aurora Magnet
White-iridescent with aurora shimmer under the band — pastel rainbow in sunlight, clean white indoors. Keep the band soft; white shows every wobble.
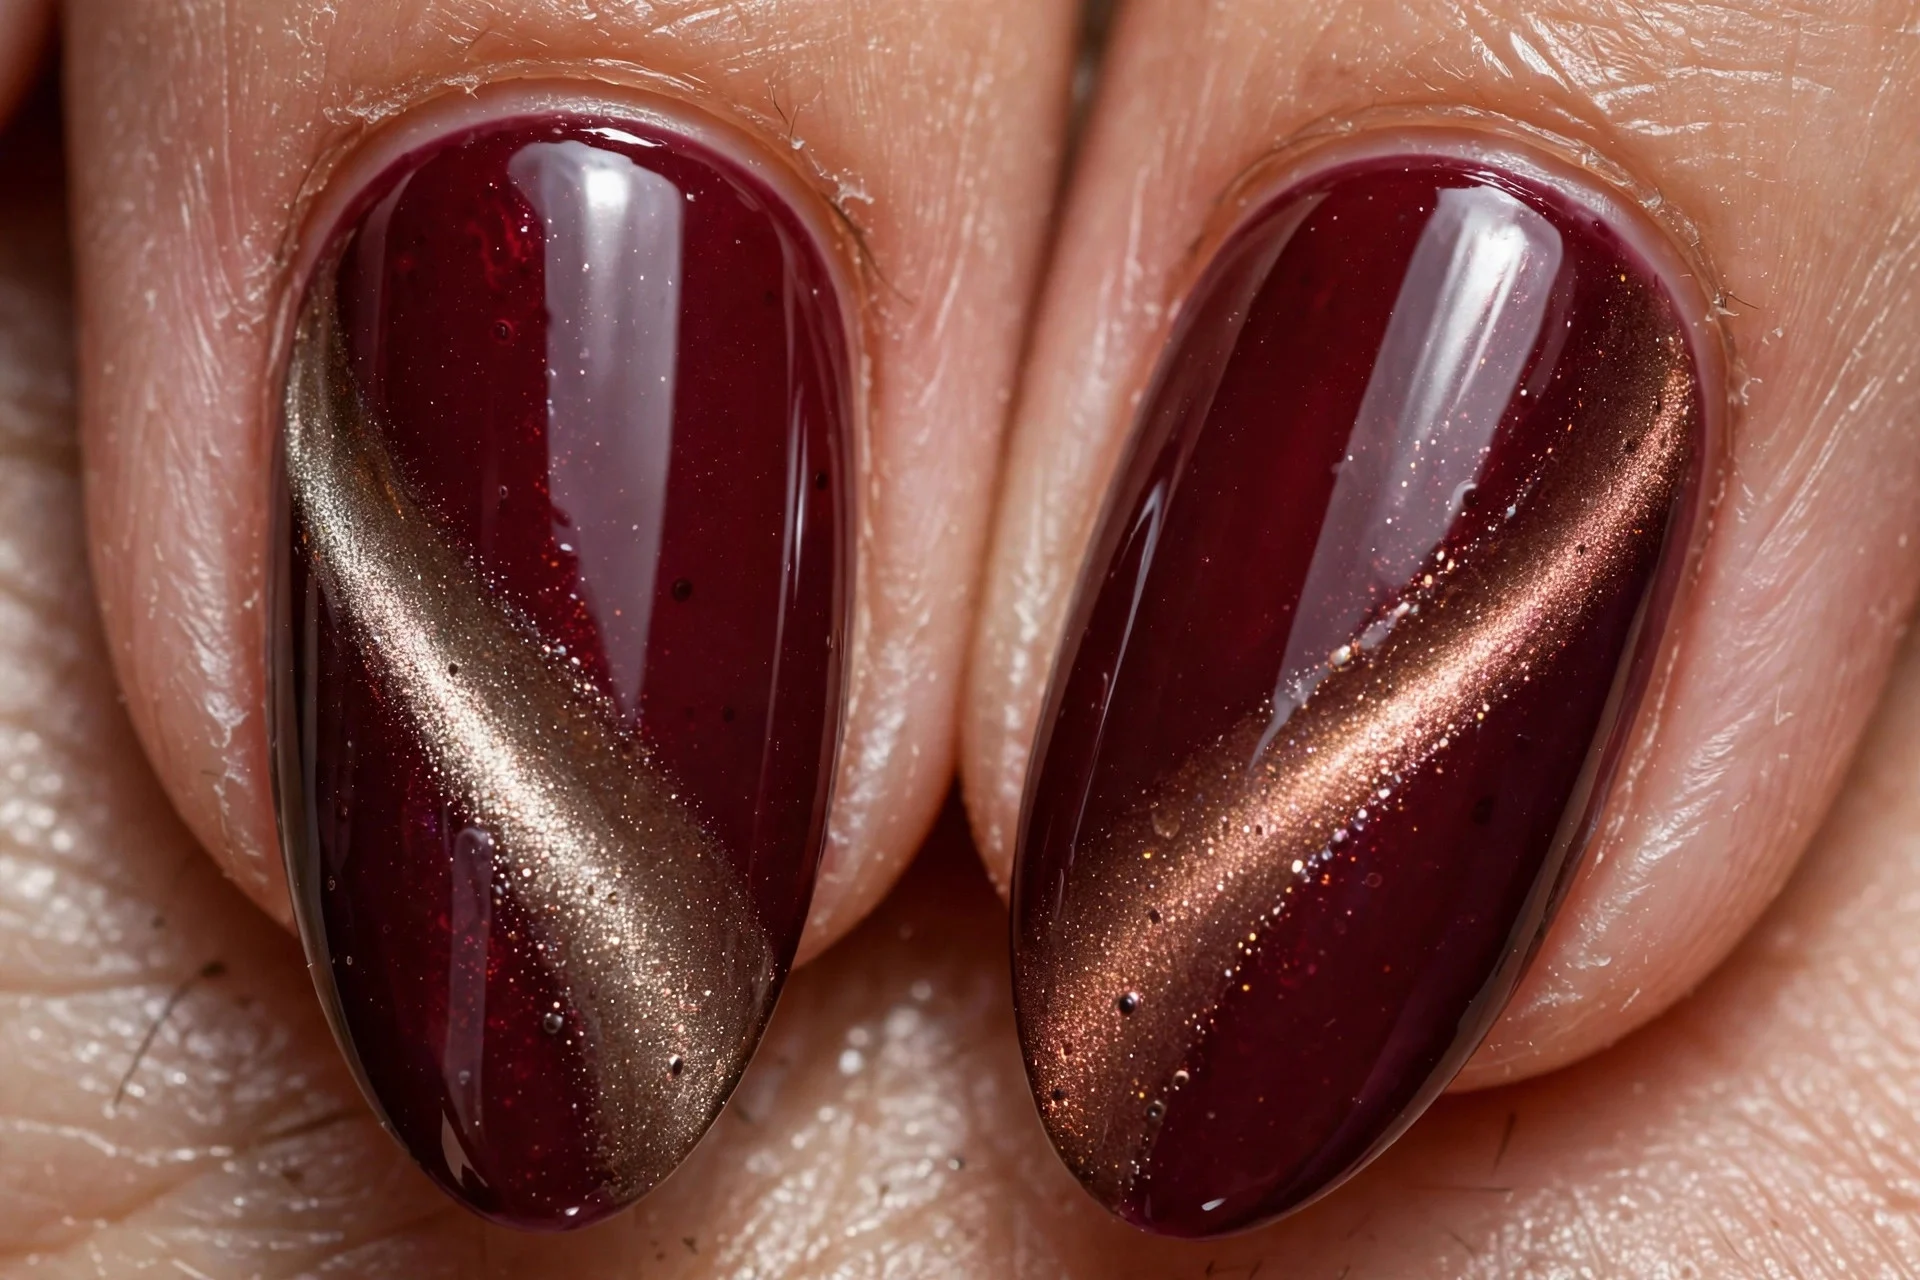
11. Side-Swept Beam
Magnet parked off-centre so the band hugs one side asymmetrically — like light falling from a window. Editorial feel, easier than it looks.
12. Magnetic Over Chrome
Chrome base (cured), then sheer magnetic colour, magnetised before curing. Chrome reflects while the band moves — silver chrome with blue overlay is otherworldly.

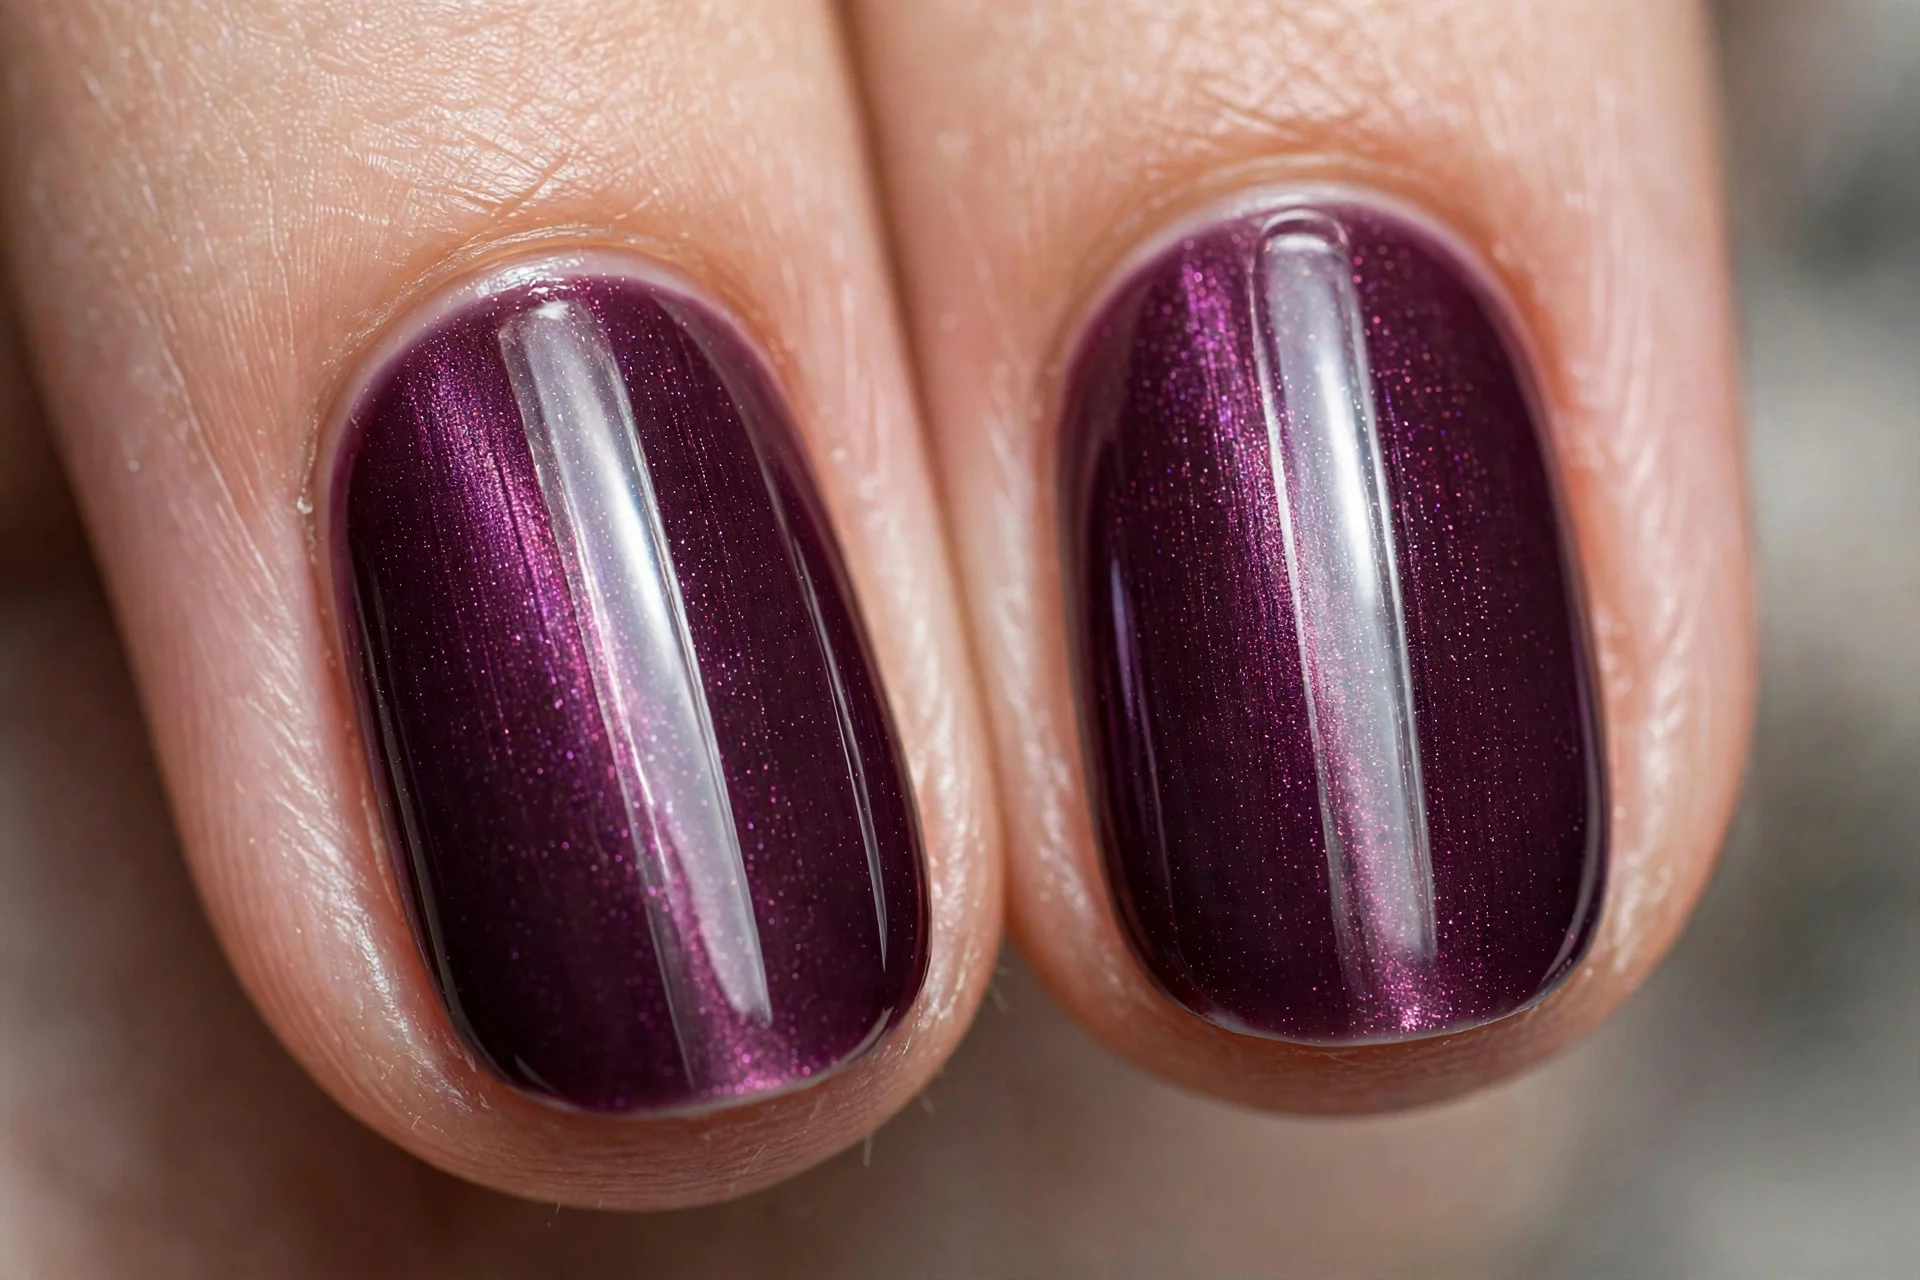
13. DIY Starter Plum
The recommended first attempt: deep plum gel, wide bar magnet, straight centre band, cure each nail immediately. Plum shows the particles clearly and forgives wobbles.
Frequently Asked Questions
What magnet do I need?
A wide rectangular bar magnet, ideally neodymium. Hold it 2–3mm above the wet polish for 10–15 seconds. Tiny round kit magnets work but are fiddly.
Why does my DIY look muddy?
Magnet too far, waited too long before curing, working coat too thick, or multiple nails before curing. Thin coat, magnet close, cure immediately, one nail at a time.
Can I use any magnet on normal polish?
No — the polish must be magnetic/cat eye formulated. Regular polish will not react to any magnet.
How long do they last?
Two to three weeks as gel — locked in at curing, no fading. Magnetic regular polish lasts days like any regular manicure.
Are magnetic polishes safe?
Yes — cosmetic-grade iron-based pigments, the same family as regular shimmer. They sit in the polish layer and never touch skin beyond normal wear.
Salon or DIY?
DIY the classic straight band; book the salon for halos, aurora finishes, and layered techniques, where timing and tools genuinely matter.
Final Thoughts
Magnetic nails reward technique over talent: the right bar magnet, the careful 2–3mm hover, one nail at a time. Start with the plum starter in idea 13 — once your bands are crisp and your timing is second nature, the whole magnetic menu opens up.