
17 Turquoise Nail Ideas
Turquoise nails are pure vacation colour — the shade of shallow water over white sand. The good news: turquoise is one of the most DIY-friendly colours in the drawer, because its best looks come from simple techniques rather than salon-only skills. These 17 turquoise nails are organised by technique — sponging, dotting, striping, stamping, and marbling — and every idea includes a brief how-to.
Sponged Turquoise Nails
Sponging is the easiest gradient technique: dab polish onto a makeup sponge and bounce it onto the nail. Turquoise blends beautifully, so first attempts look smooth.
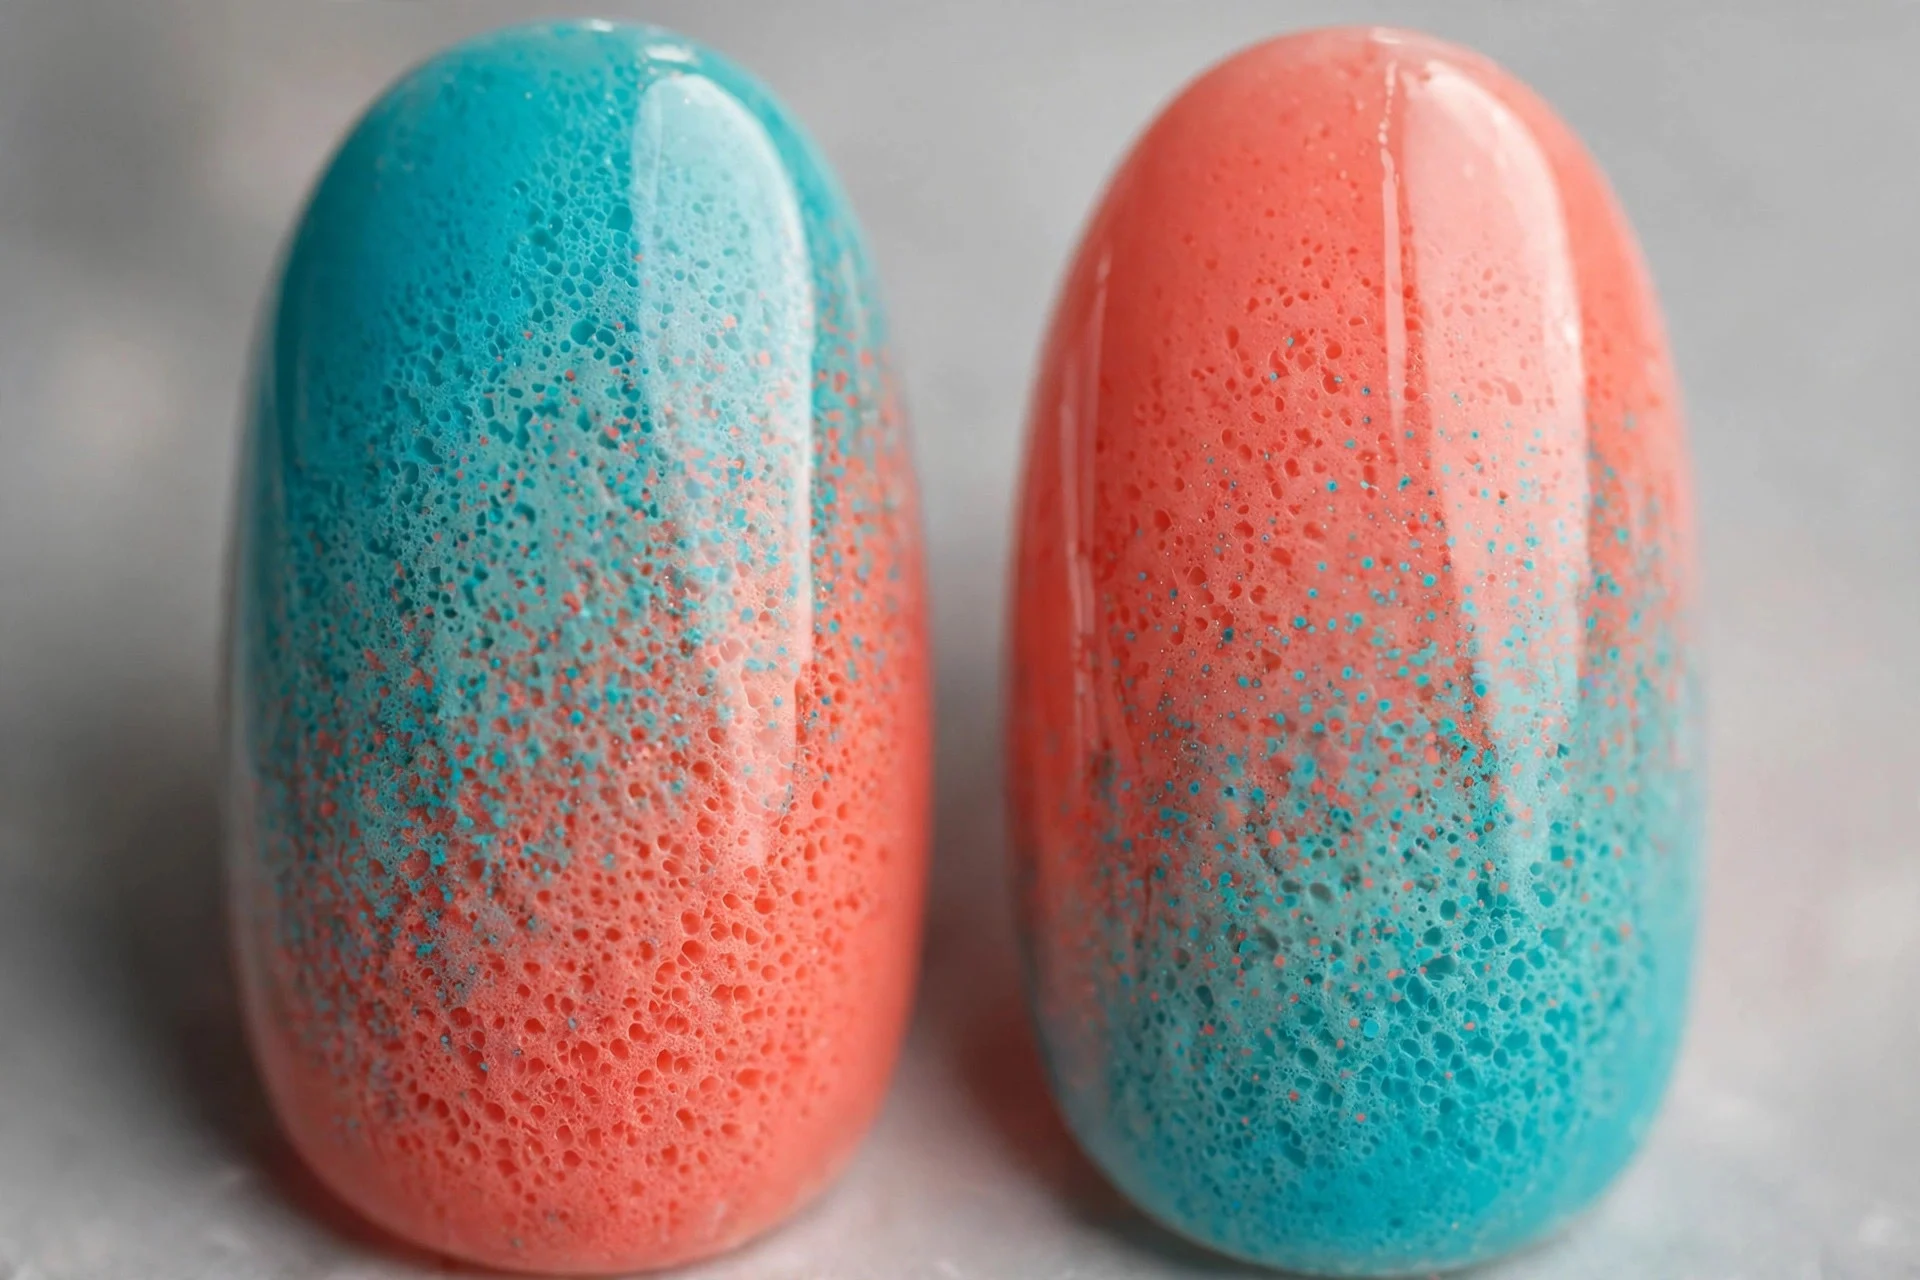
1. Turquoise Sunset Sponge
Turquoise sponged over a white base, fading into coral at the tips — a sunset over the sea. How-to: paint nails white, let dry, then sponge turquoise across the lower two-thirds and coral across the top third, overlapping to blend. Seal glossy. Lasts 7–10 days; salons charge $55–65. Ask for: “turquoise and coral sponged gradient.”
2. Deep-to-Light Turquoise Fade
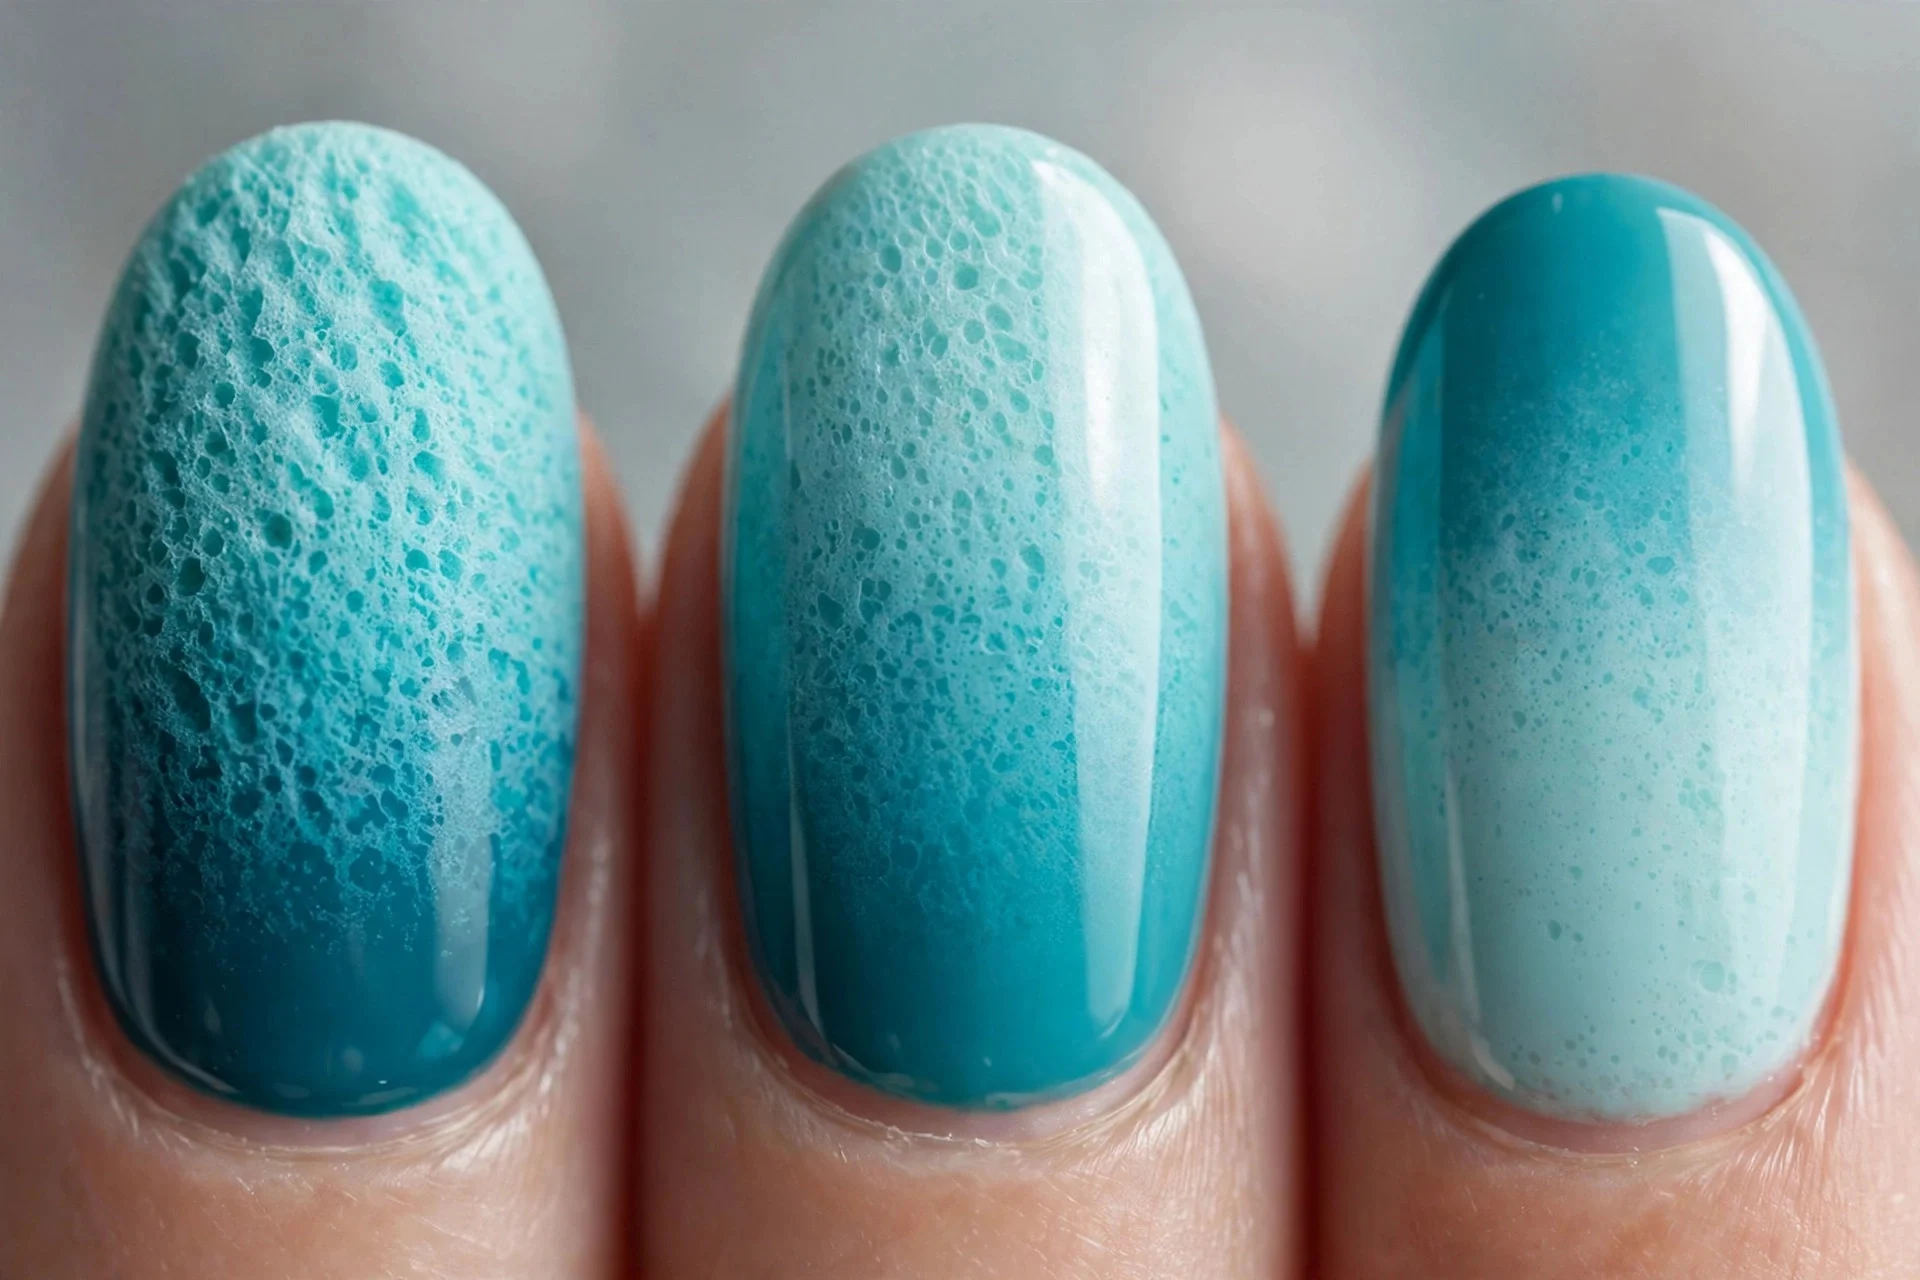
Dark teal-turquoise at the cuticle fading to pale turquoise at the tips — a water-depth gradient. How-to: paint the base pale turquoise, then sponge the darker shade over the bottom half, bouncing lightly. Two thin layers beat one heavy one. Lasts 7–10 days; salons charge $55–65. Ask for: “turquoise sponge gradient, dark to light.”
3. Turquoise Beach Haze
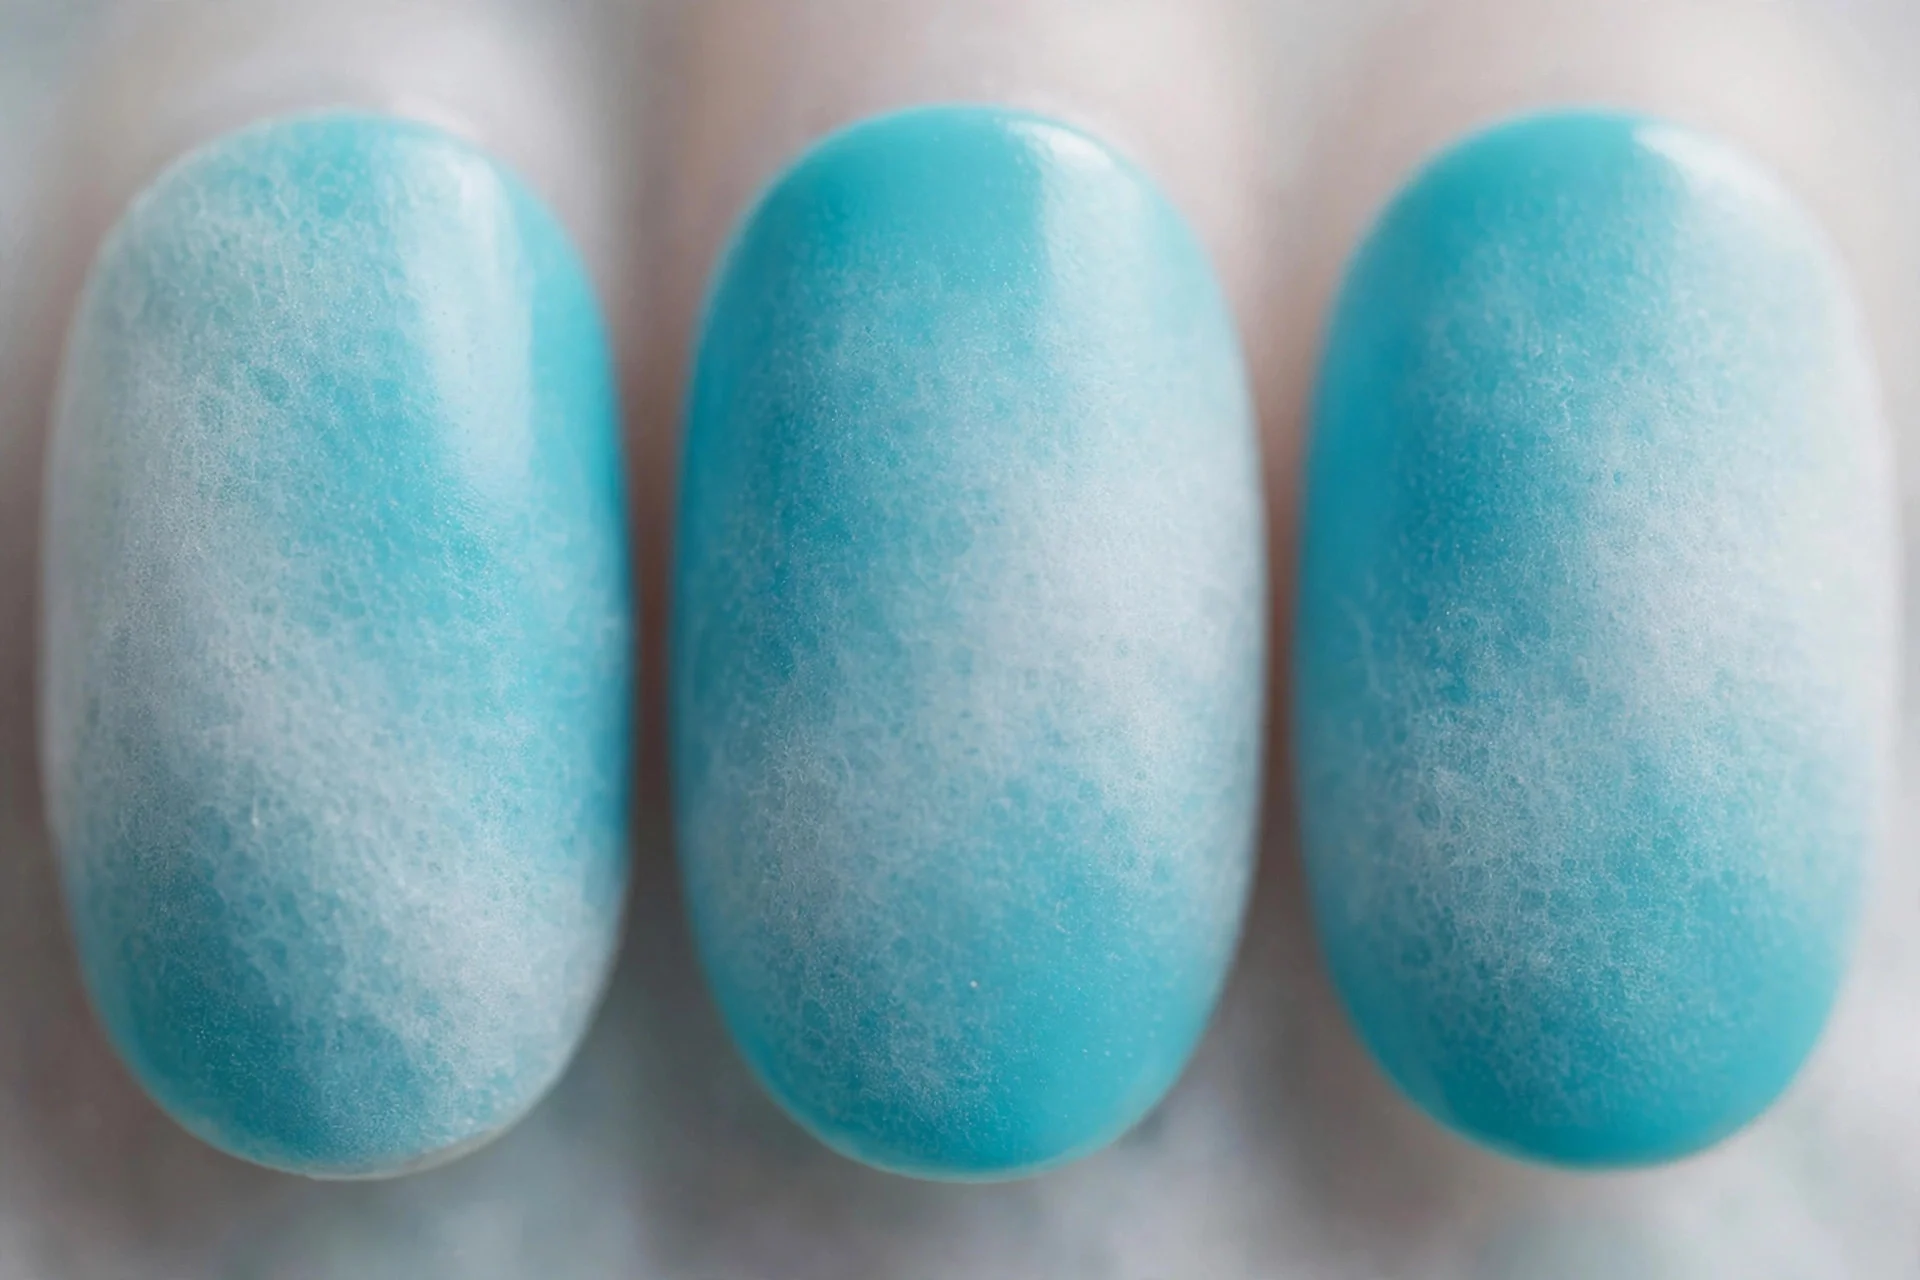
Sheer white sponged over bright turquoise — like sea mist over water. How-to: paint turquoise, let it dry fully, then lightly sponge sheer white over the nail, barely touching. Three light dabs, not ten. Lasts 7–10 days; salons charge $55–65. Ask for: “turquoise with white sponge haze.”
4. Sponged Turquoise Glitter Fade
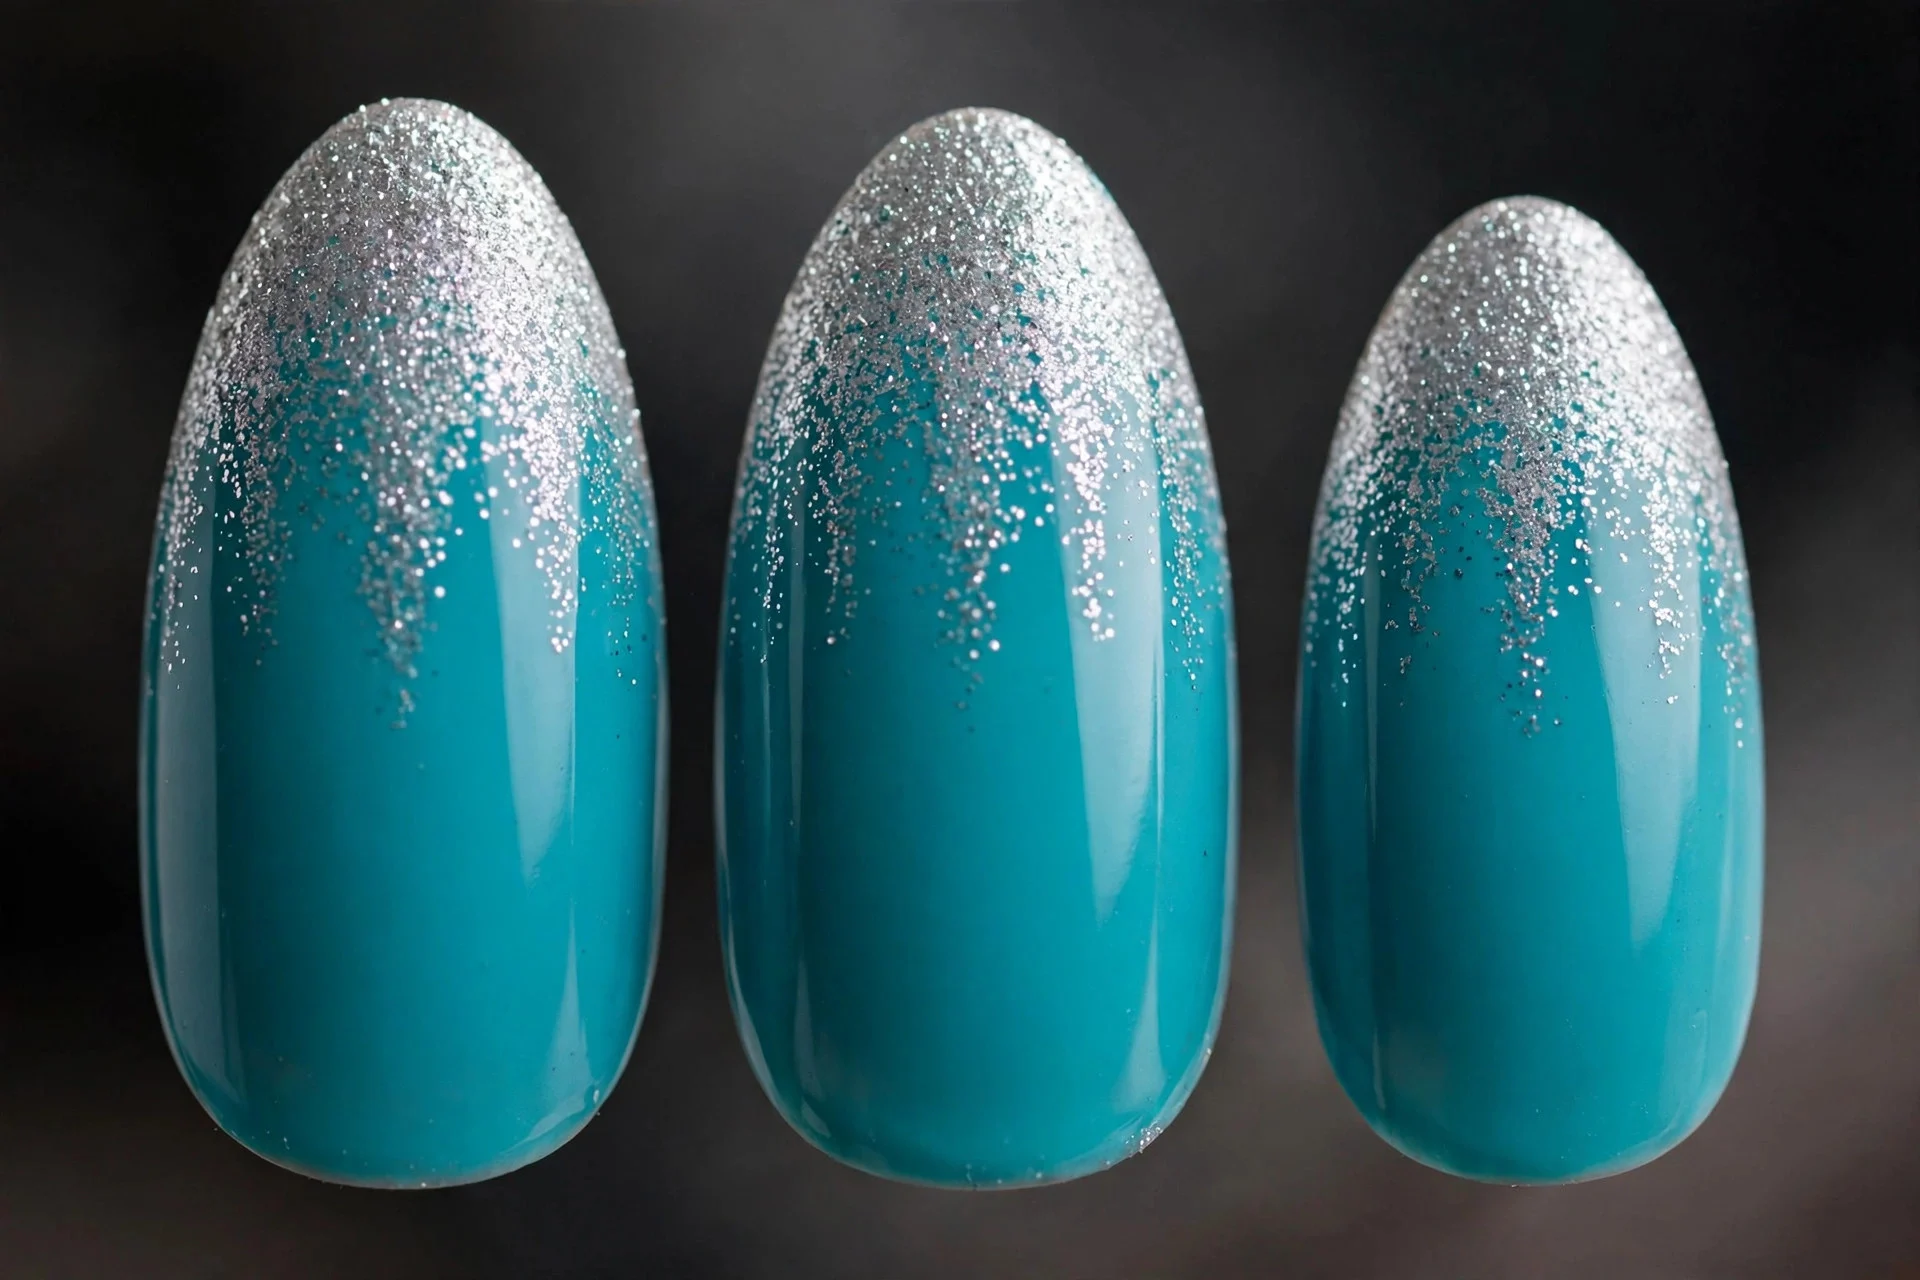
Turquoise base with silver glitter sponged from the tips downward — a sparkling shoreline. How-to: paint turquoise, then load the sponge edge with glitter polish and bounce it along the tips, fading pressure downward. Lasts 1–2 weeks; salons charge $60–70. Ask for: “turquoise with sponged glitter fade.”
Dotted Turquoise Nails
A dotting tool — or a bobby pin, or a toothpick — is all you need. Dots are forgiving: imperfect circles still read as charming.
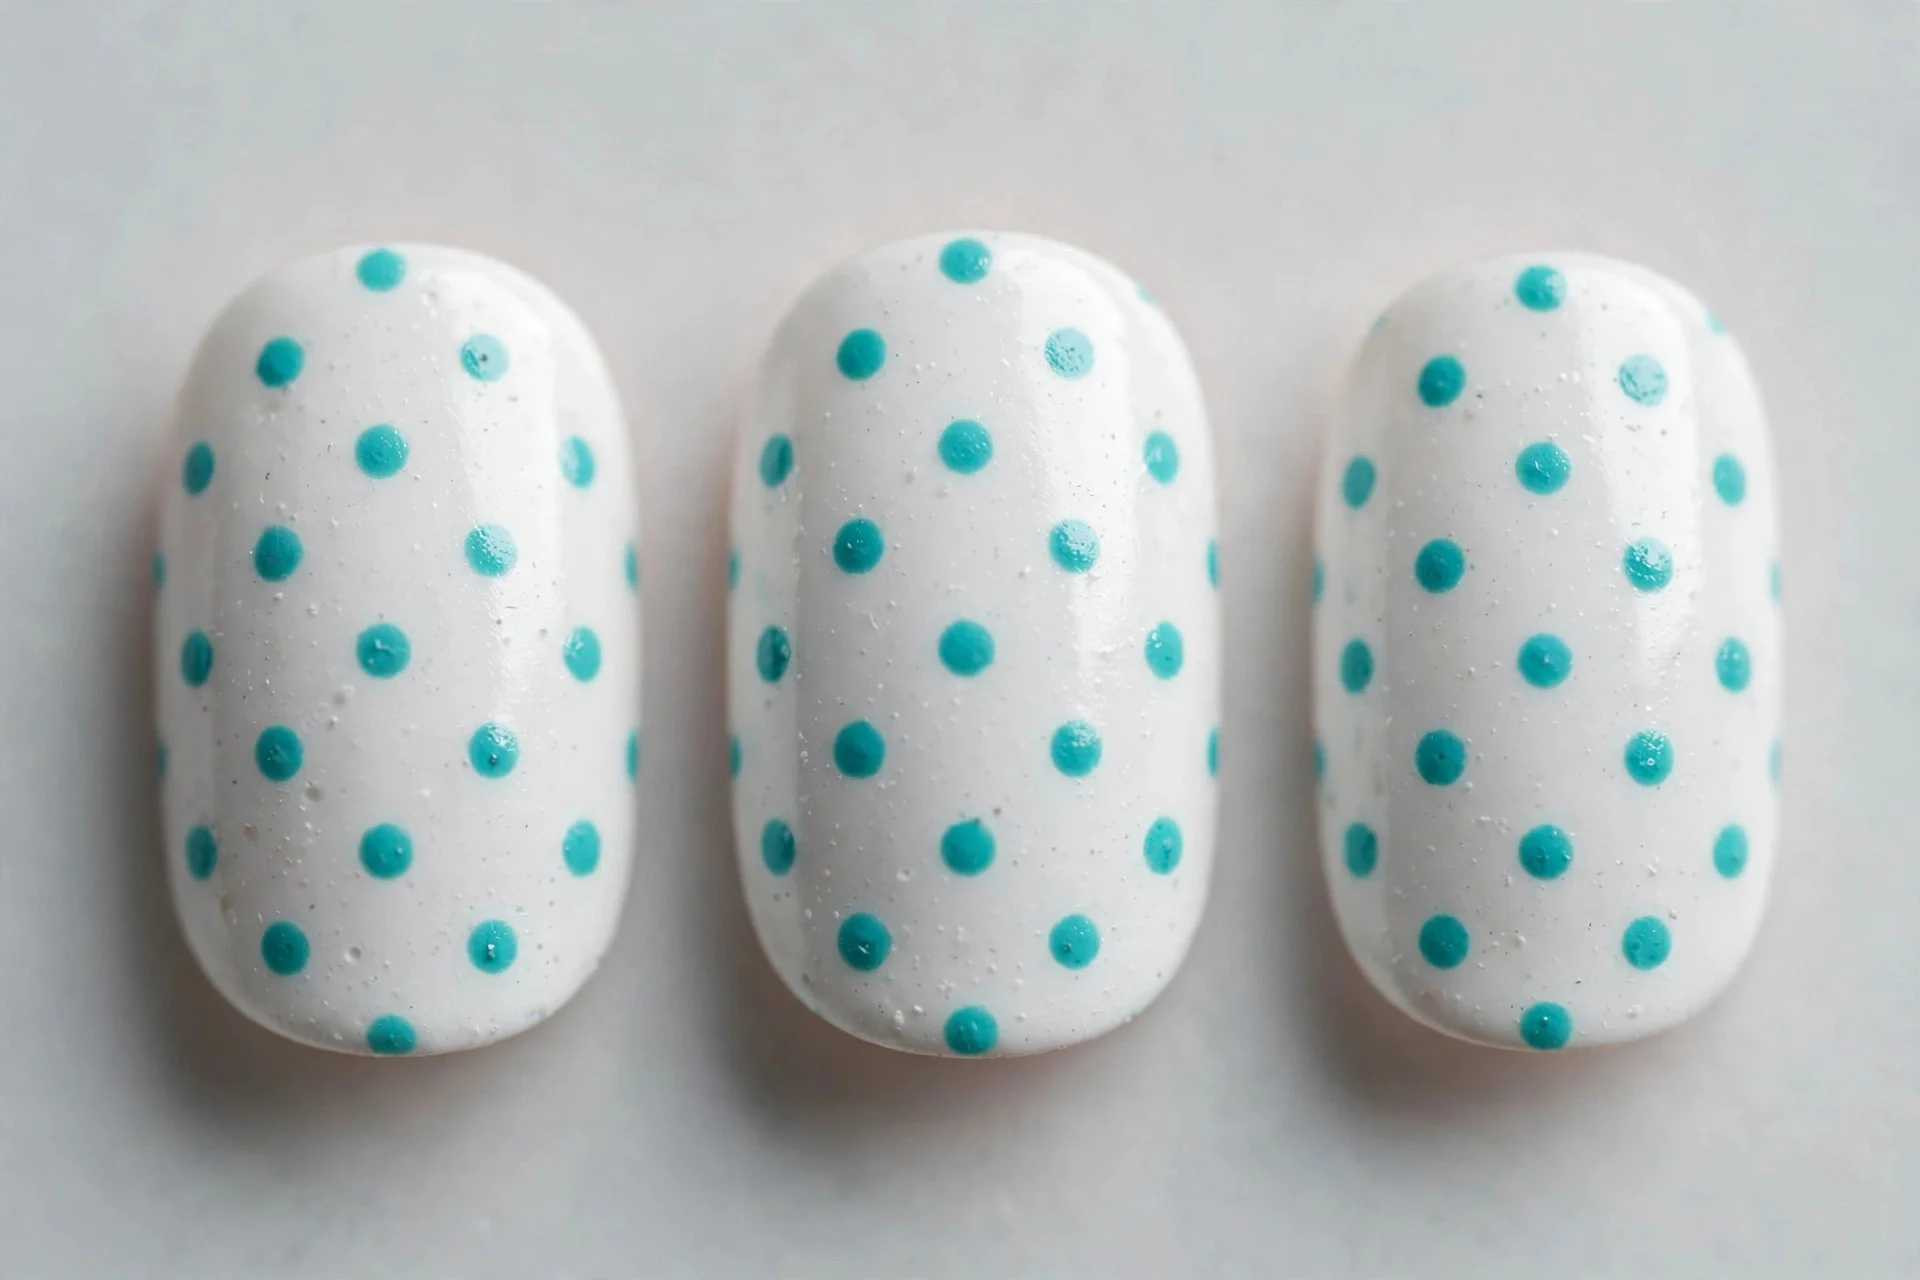
5. Turquoise Polka Dots
White base with turquoise polka dots in two sizes — the retro-vacation manicure. How-to: paint nails white, let dry, then press evenly spaced dots with the large end of a dotting tool, filling gaps with the small end. Lasts 7–10 days; salons charge $55–65. Ask for: “white with turquoise polka dots.”
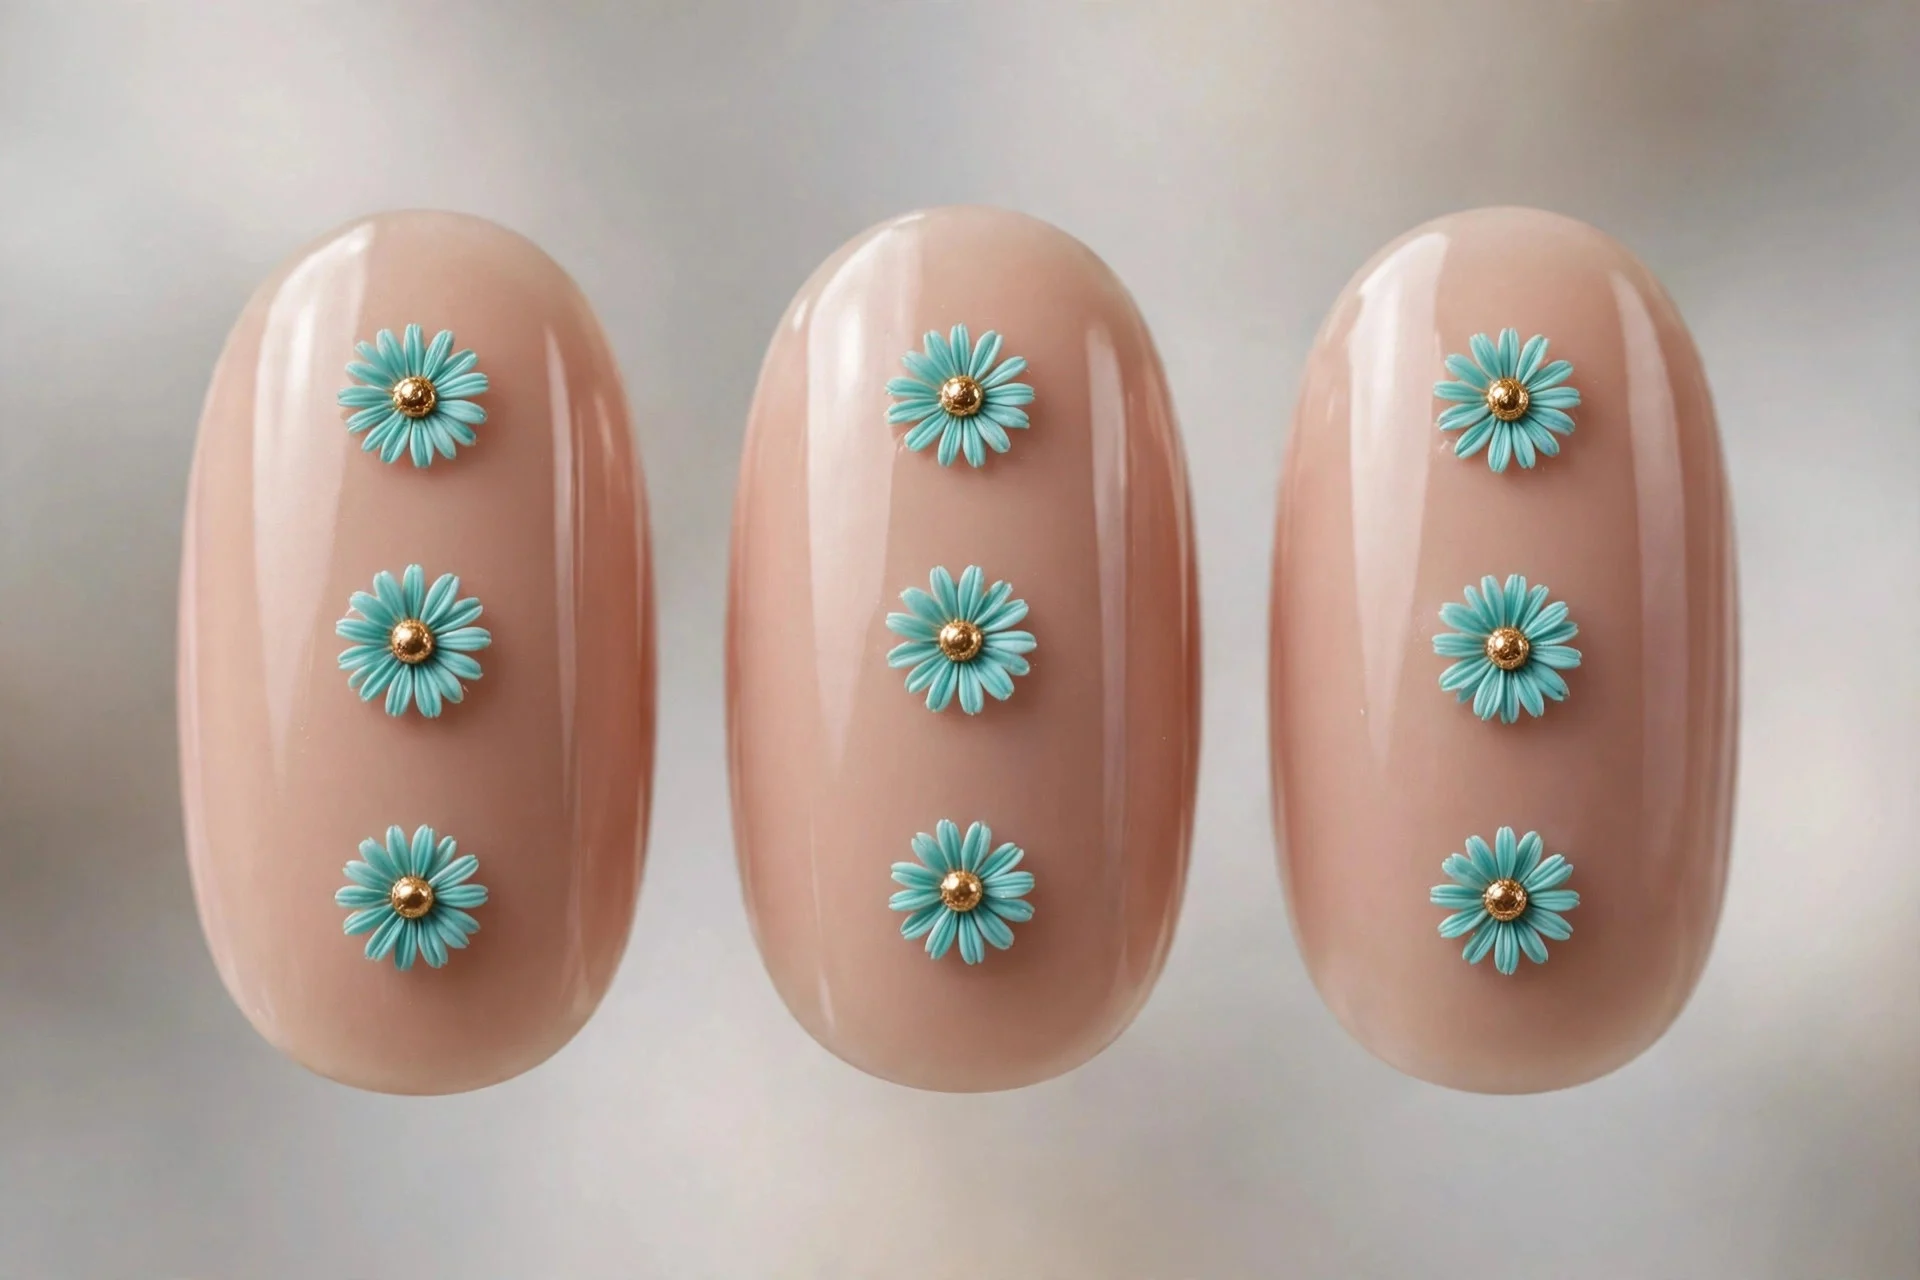
6. Turquoise Flower Dots
Five turquoise dots in a circle with a gold dot in the centre — instant daisies. How-to: place one gold dot for each flower’s centre, then dot five turquoise petals around it with the small end. Two flowers per nail is plenty. My fruit inspired nail ideas use the same dotting technique. Lasts 7–10 days; salons charge $55–65. Ask for: “turquoise daisy dot art.”
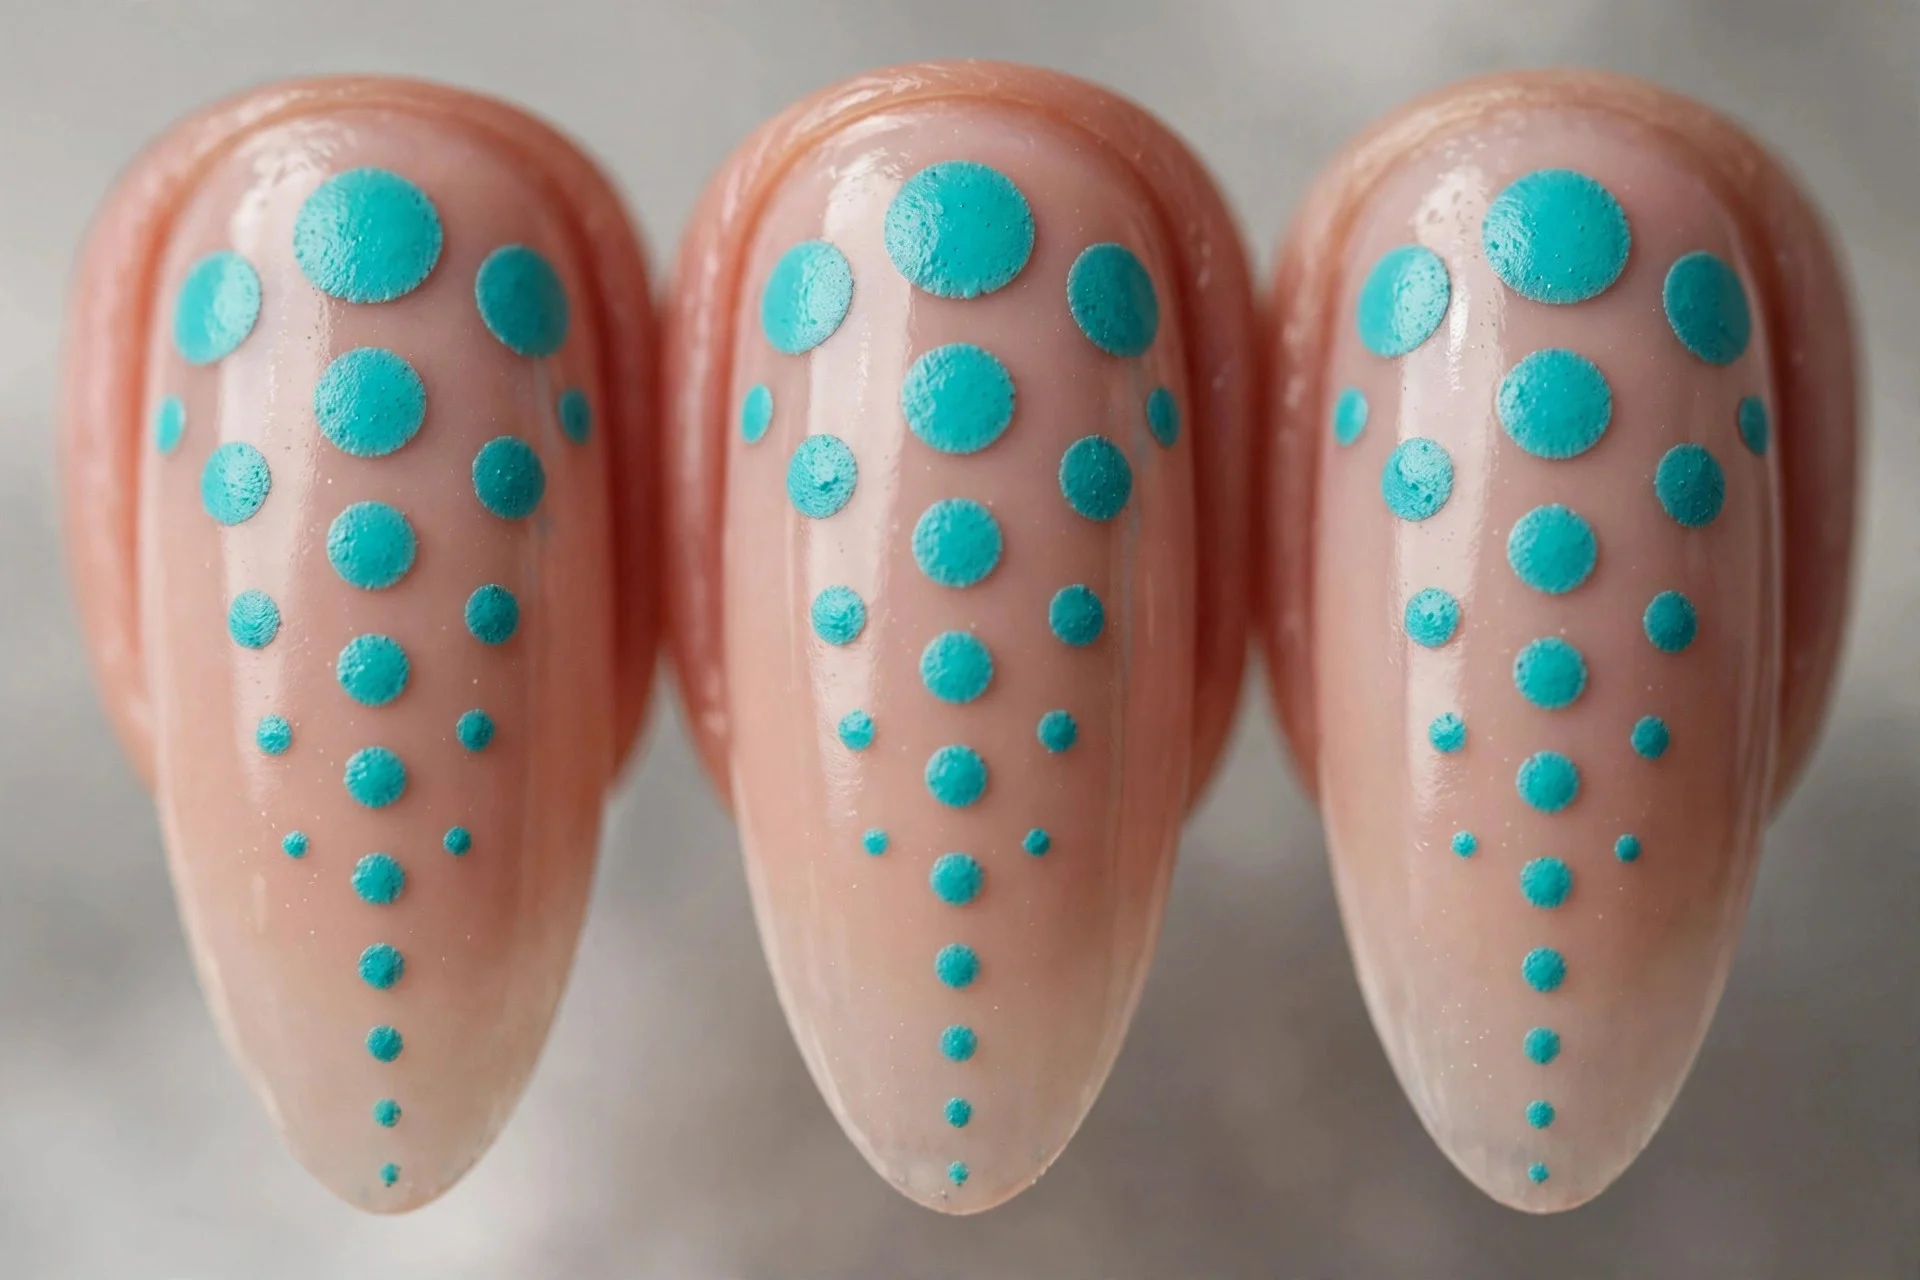
7. Turquoise Dot Fade
Turquoise dots shrinking from large at the cuticle to tiny at the tip — a dotted gradient. How-to: start with the large end of the dotting tool at the base and work upward, switching to smaller ends. Wipe the tool between sizes. Lasts 7–10 days; salons charge $55–65. Ask for: “turquoise dot gradient.”
Striped Turquoise Nails
Striping tape or a thin brush turns turquoise into graphic art. Stripes look hardest but are genuinely simple: the tape does the precision work.
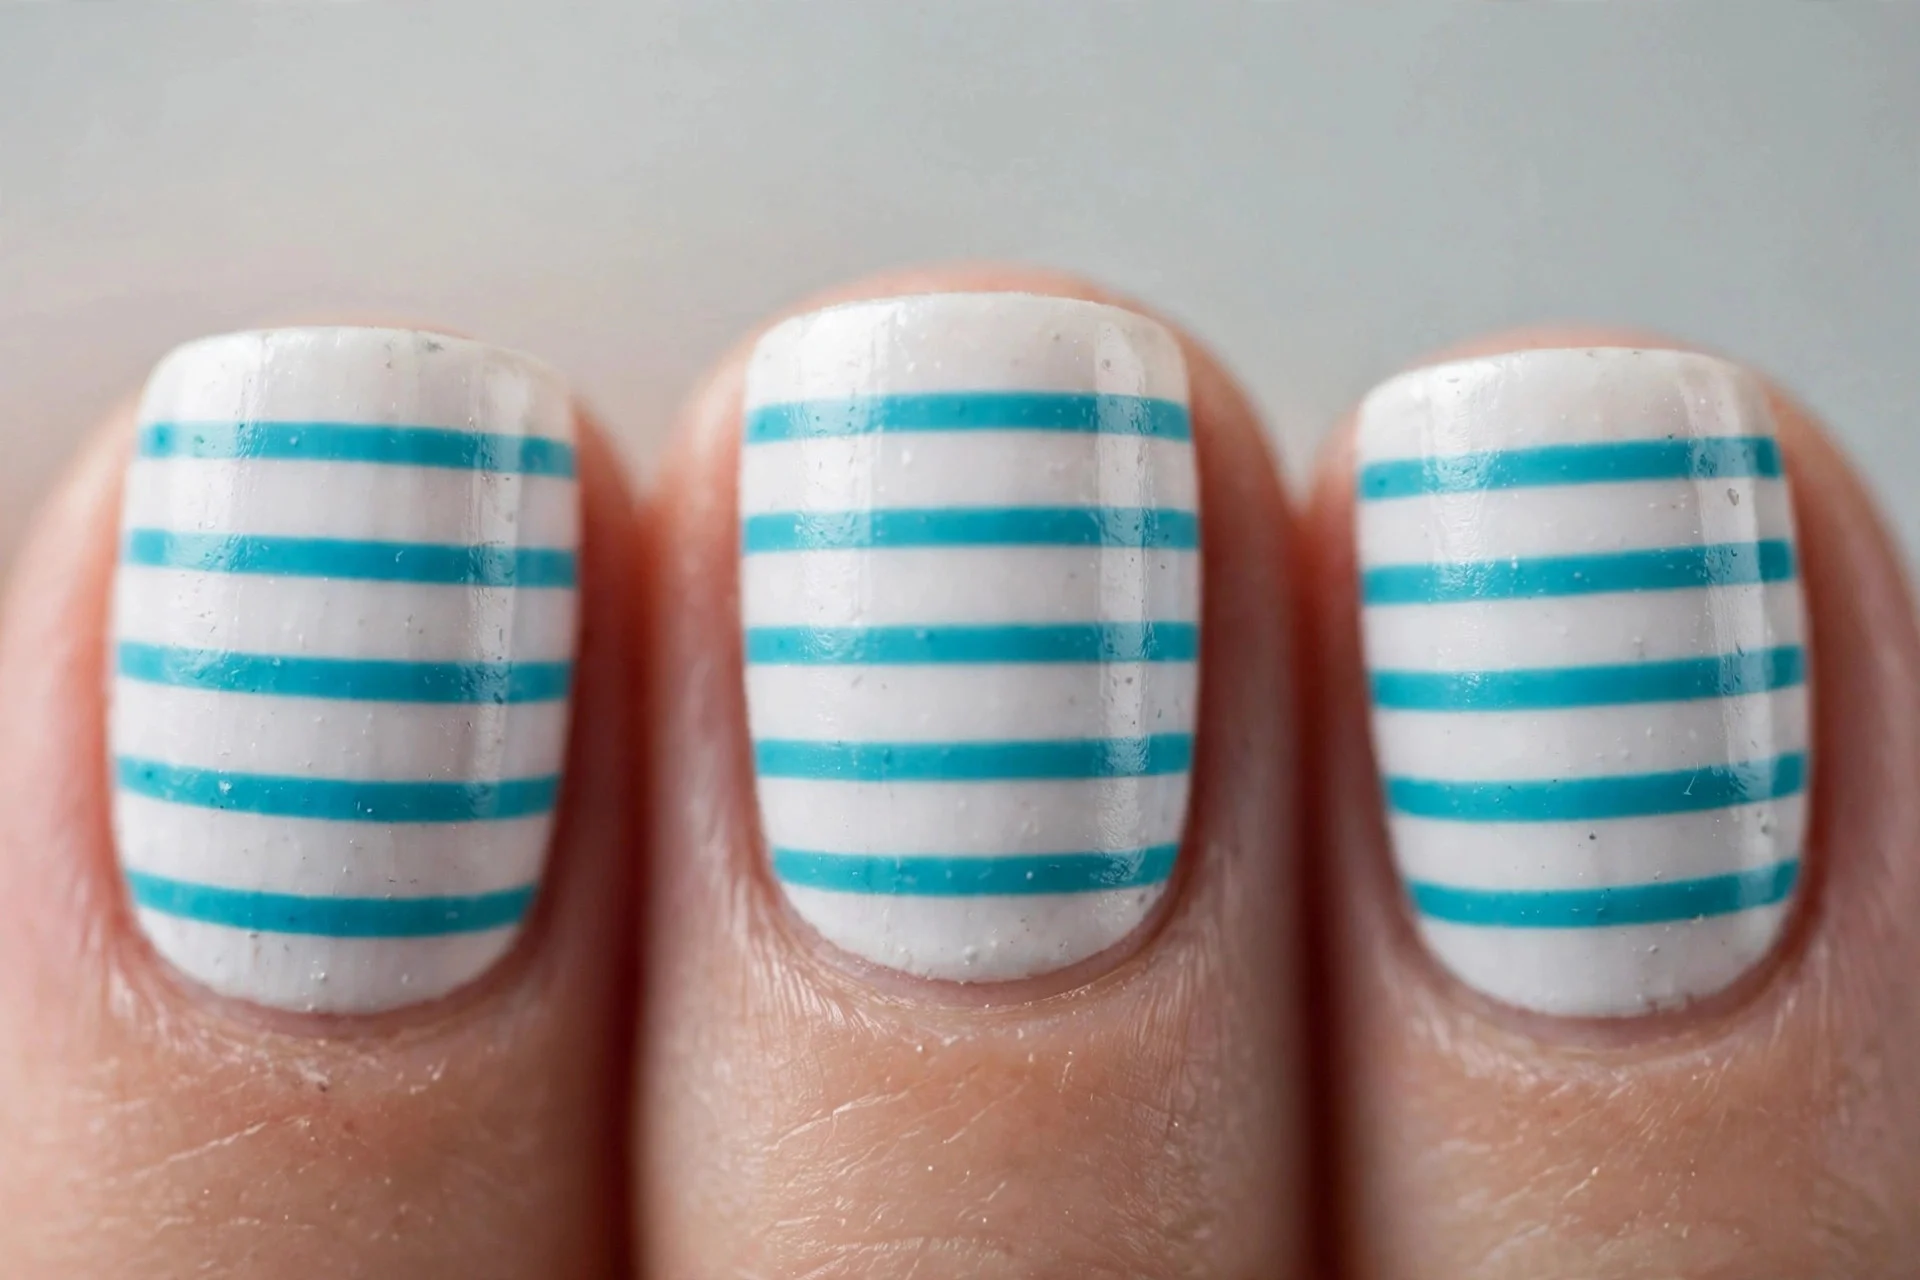
8. Turquoise Nautical Stripes
White base with crisp turquoise horizontal stripes — the sailor-stripe manicure. How-to: paint white, let dry completely, lay thin striping tape in even lines, paint turquoise over the top, then peel while slightly wet. Lasts 7–10 days; salons charge $60–70. Ask for: “turquoise nautical stripes.” For more blue-and-white pairings, see my blue nail ideas.
9. Gold Stripes on Turquoise
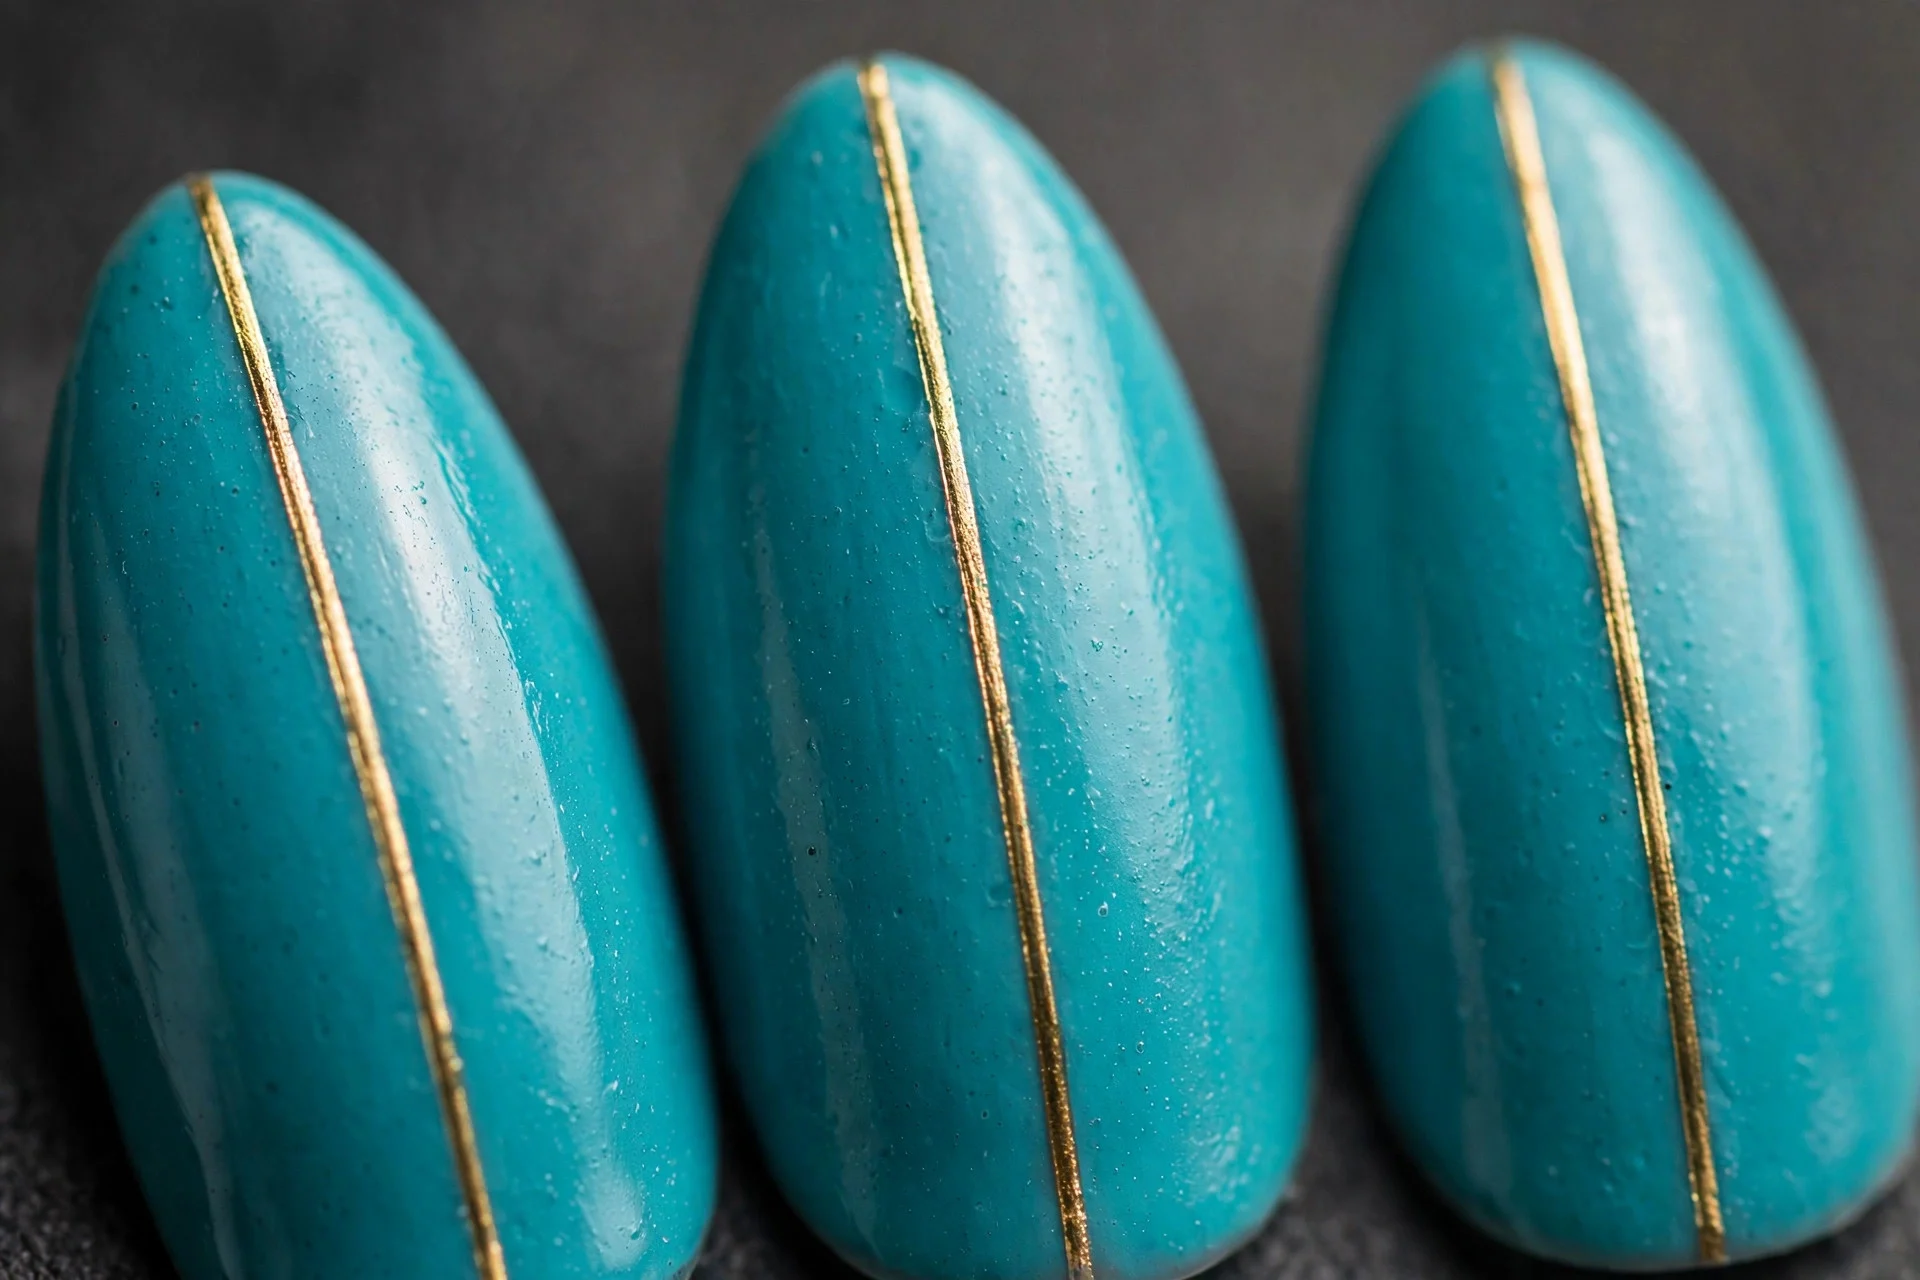
Turquoise base with one thin gold stripe down the centre of each nail — minimal and expensive-looking. How-to: paint turquoise, let dry, then draw one straight line with a striping brush loaded with gold polish, or lay gold tape. Lasts 7–10 days; salons charge $60–70. Ask for: “turquoise with gold centre stripe.”
10. Turquoise Chevron Tips
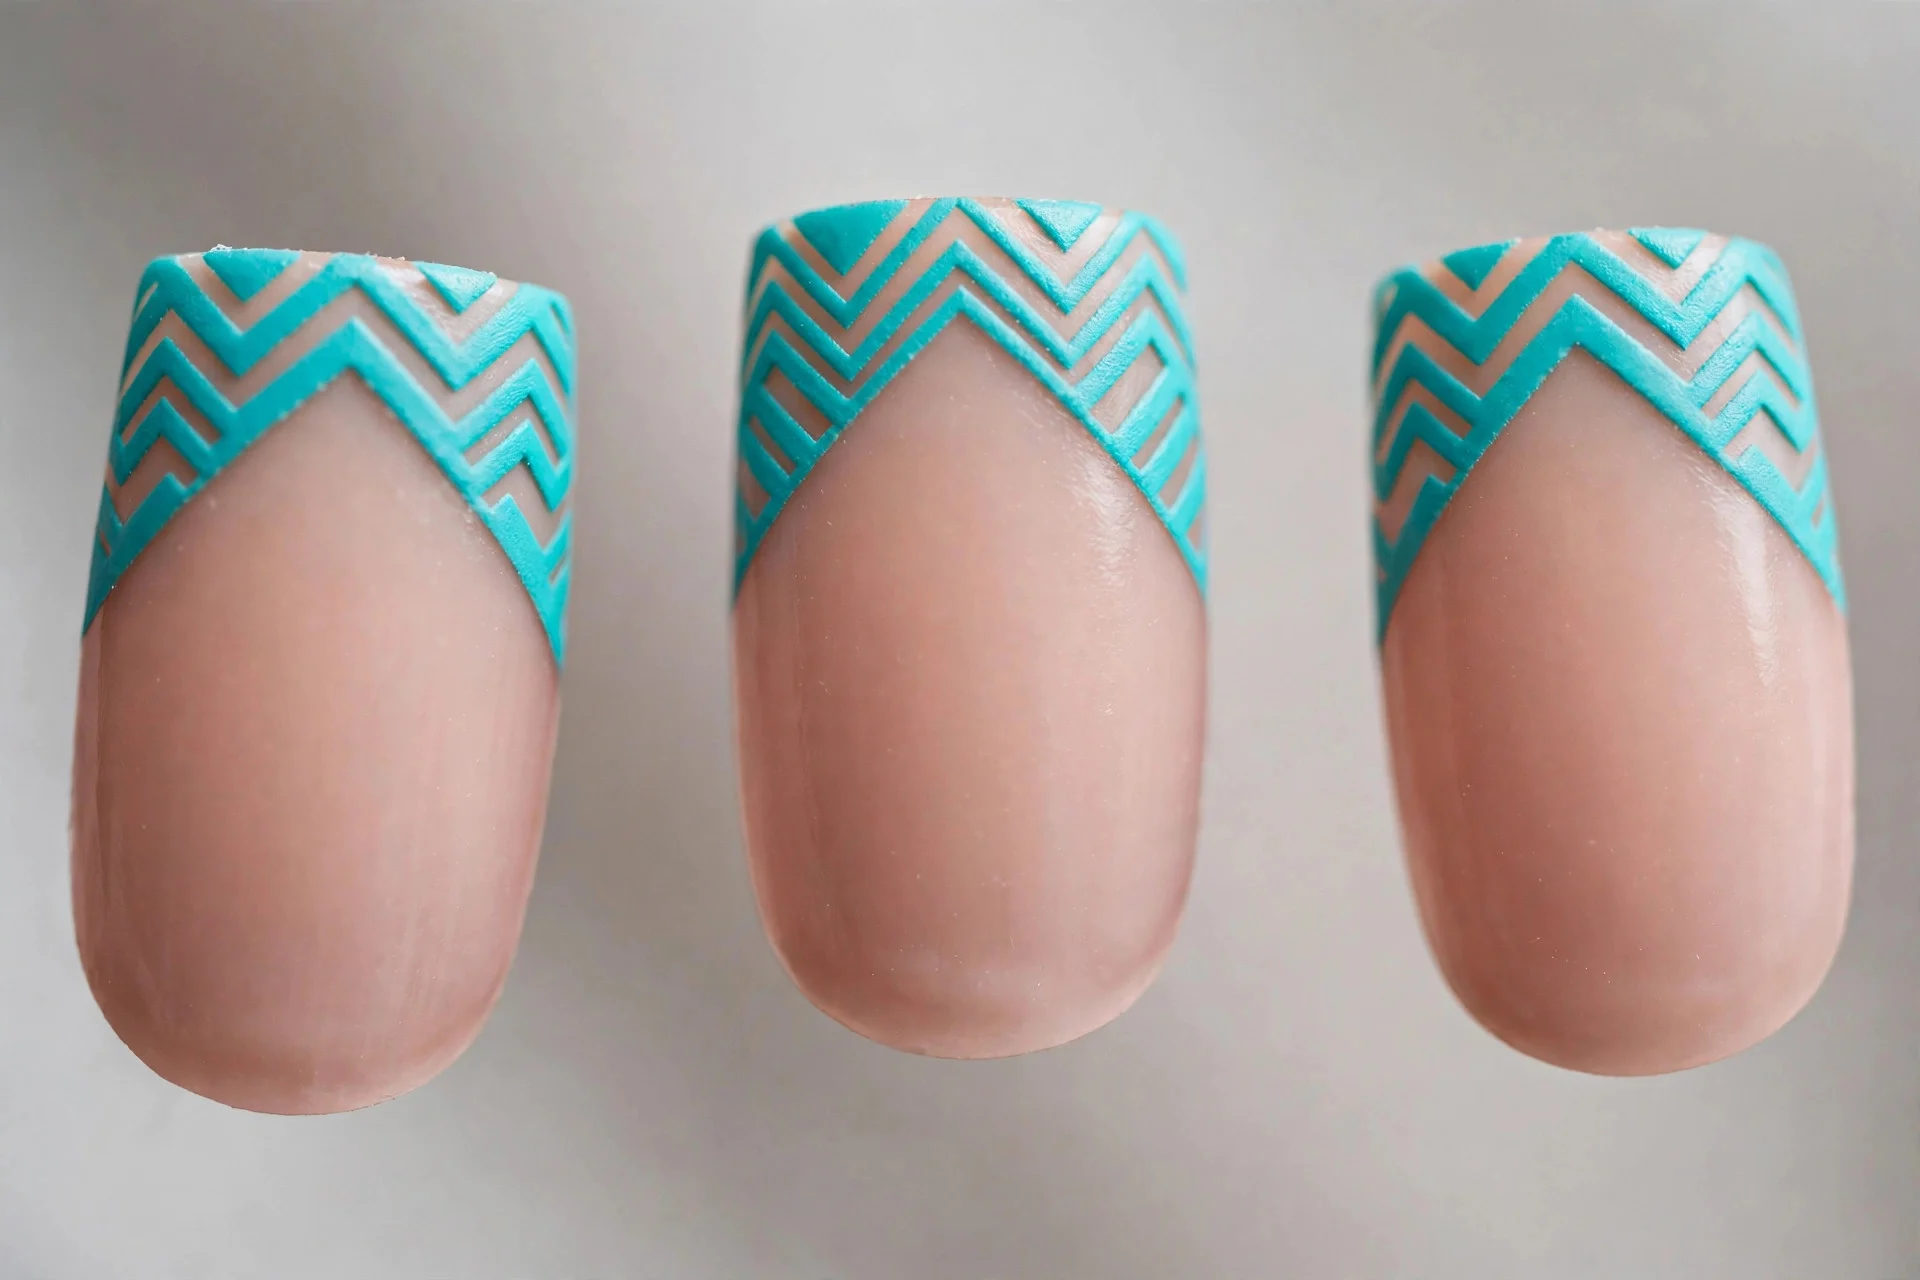
Chevron zigzag tips in turquoise on a nude base — a graphic French with vacation energy. How-to: paint nude, place two small pieces of tape in a V at each tip, paint turquoise over the V, and peel while wet. Lasts 7–10 days; salons charge $60–70. Ask for: “turquoise chevron French tips.”
Stamped Turquoise Nails
Stamping plates transfer perfect patterns in seconds — the shortcut to salon-looking art. A clear stamper places the design exactly.
11. Stamped Turquoise Waves
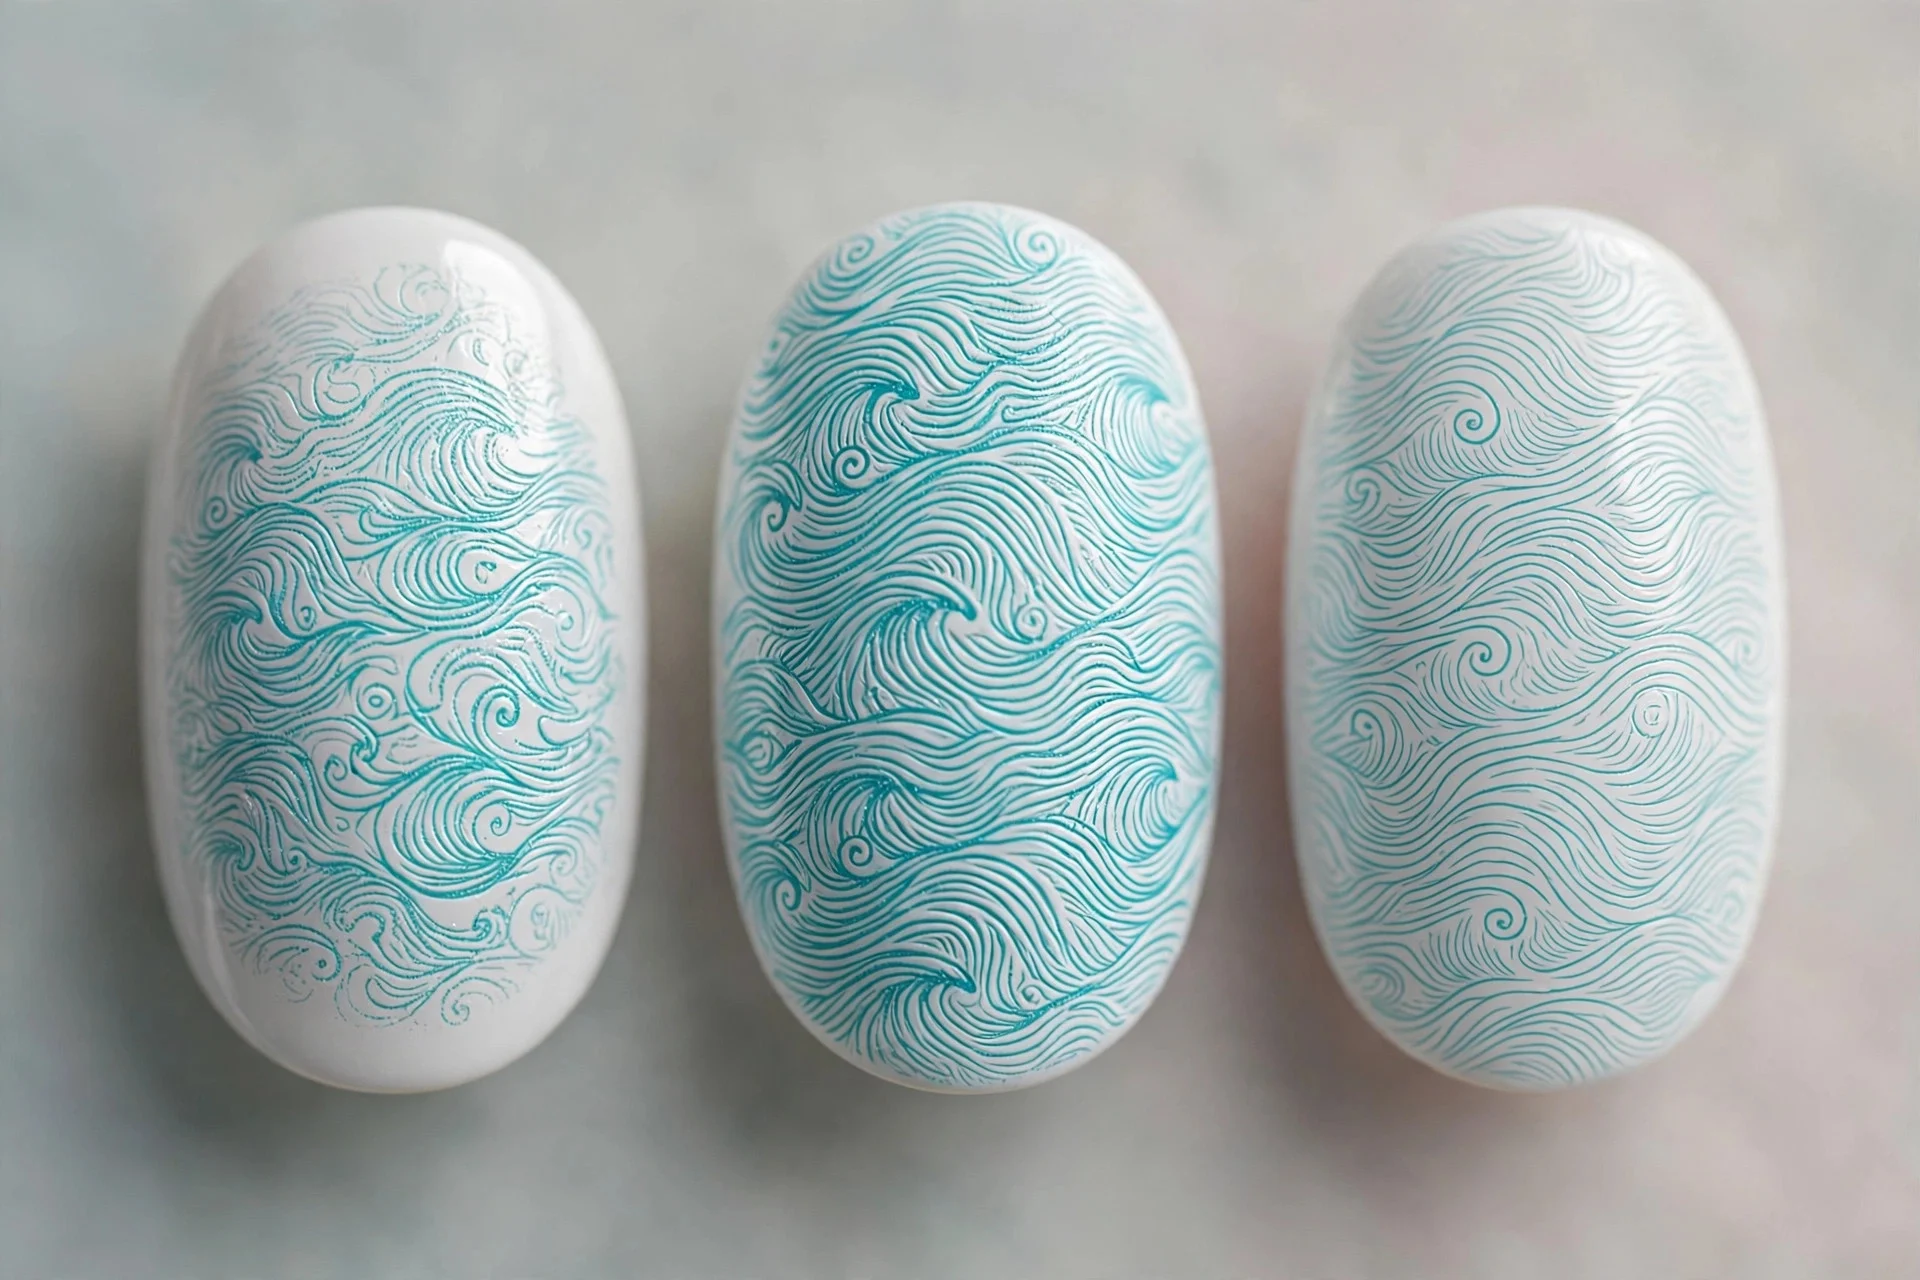
White base with turquoise wave patterns stamped across — instant ocean. How-to: paint white, pick a wave-pattern plate, scrape turquoise polish across it, and roll the stamper over each nail. Stamp while the plate polish is wet. Lasts 7–10 days; salons charge $60–70. Ask for: “stamped turquoise wave pattern.”
12. Stamped Palm Leaves
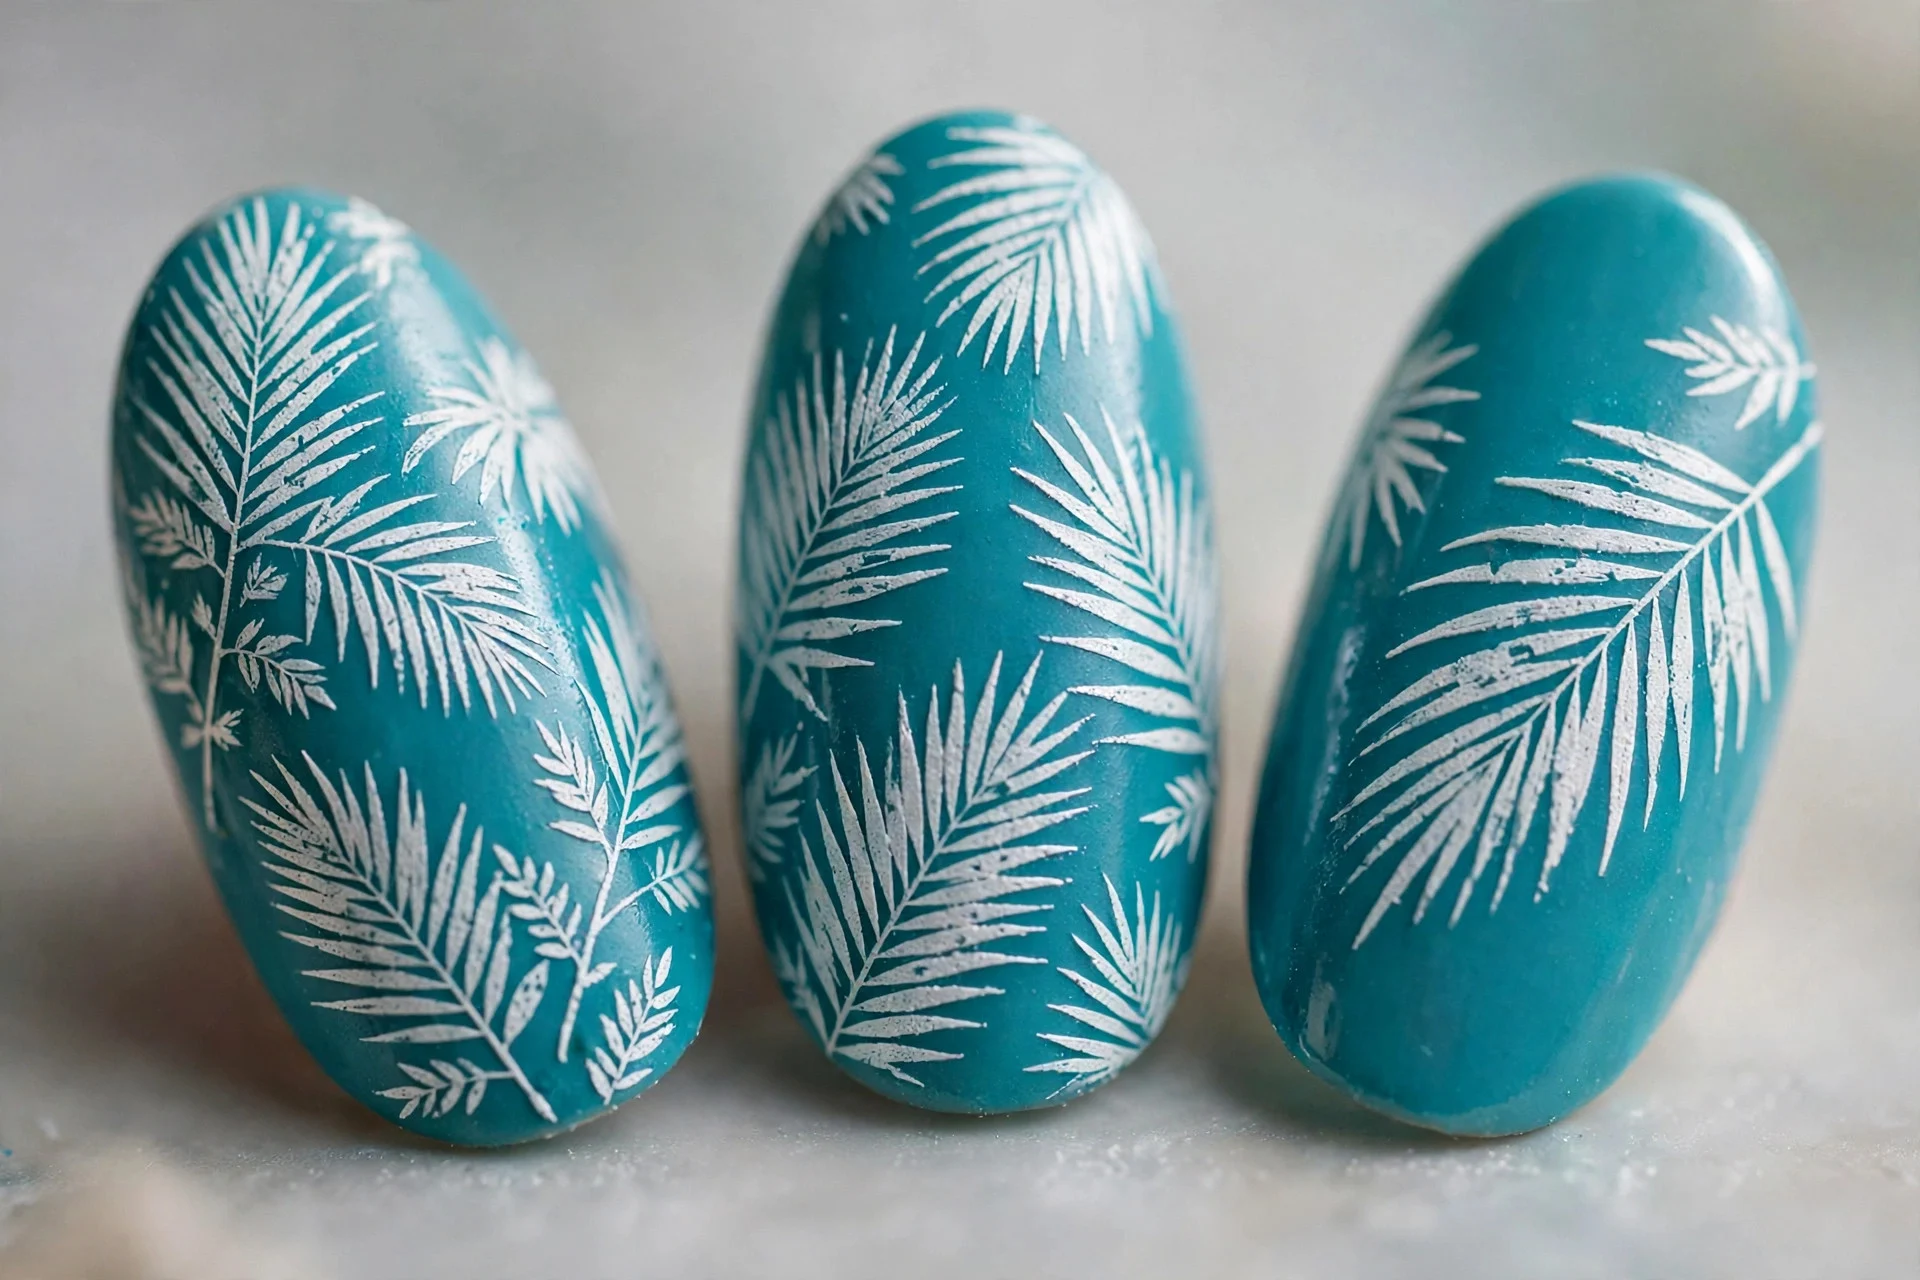
Turquoise base with white palm-leaf silhouettes stamped on top — the postcard manicure. How-to: paint turquoise, let dry, then stamp white palms from a leaf plate, one leaf per nail, placed off-centre. Lasts 7–10 days; salons charge $60–70. Ask for: “turquoise with stamped white palms.”
13. Stamped Turquoise Lace
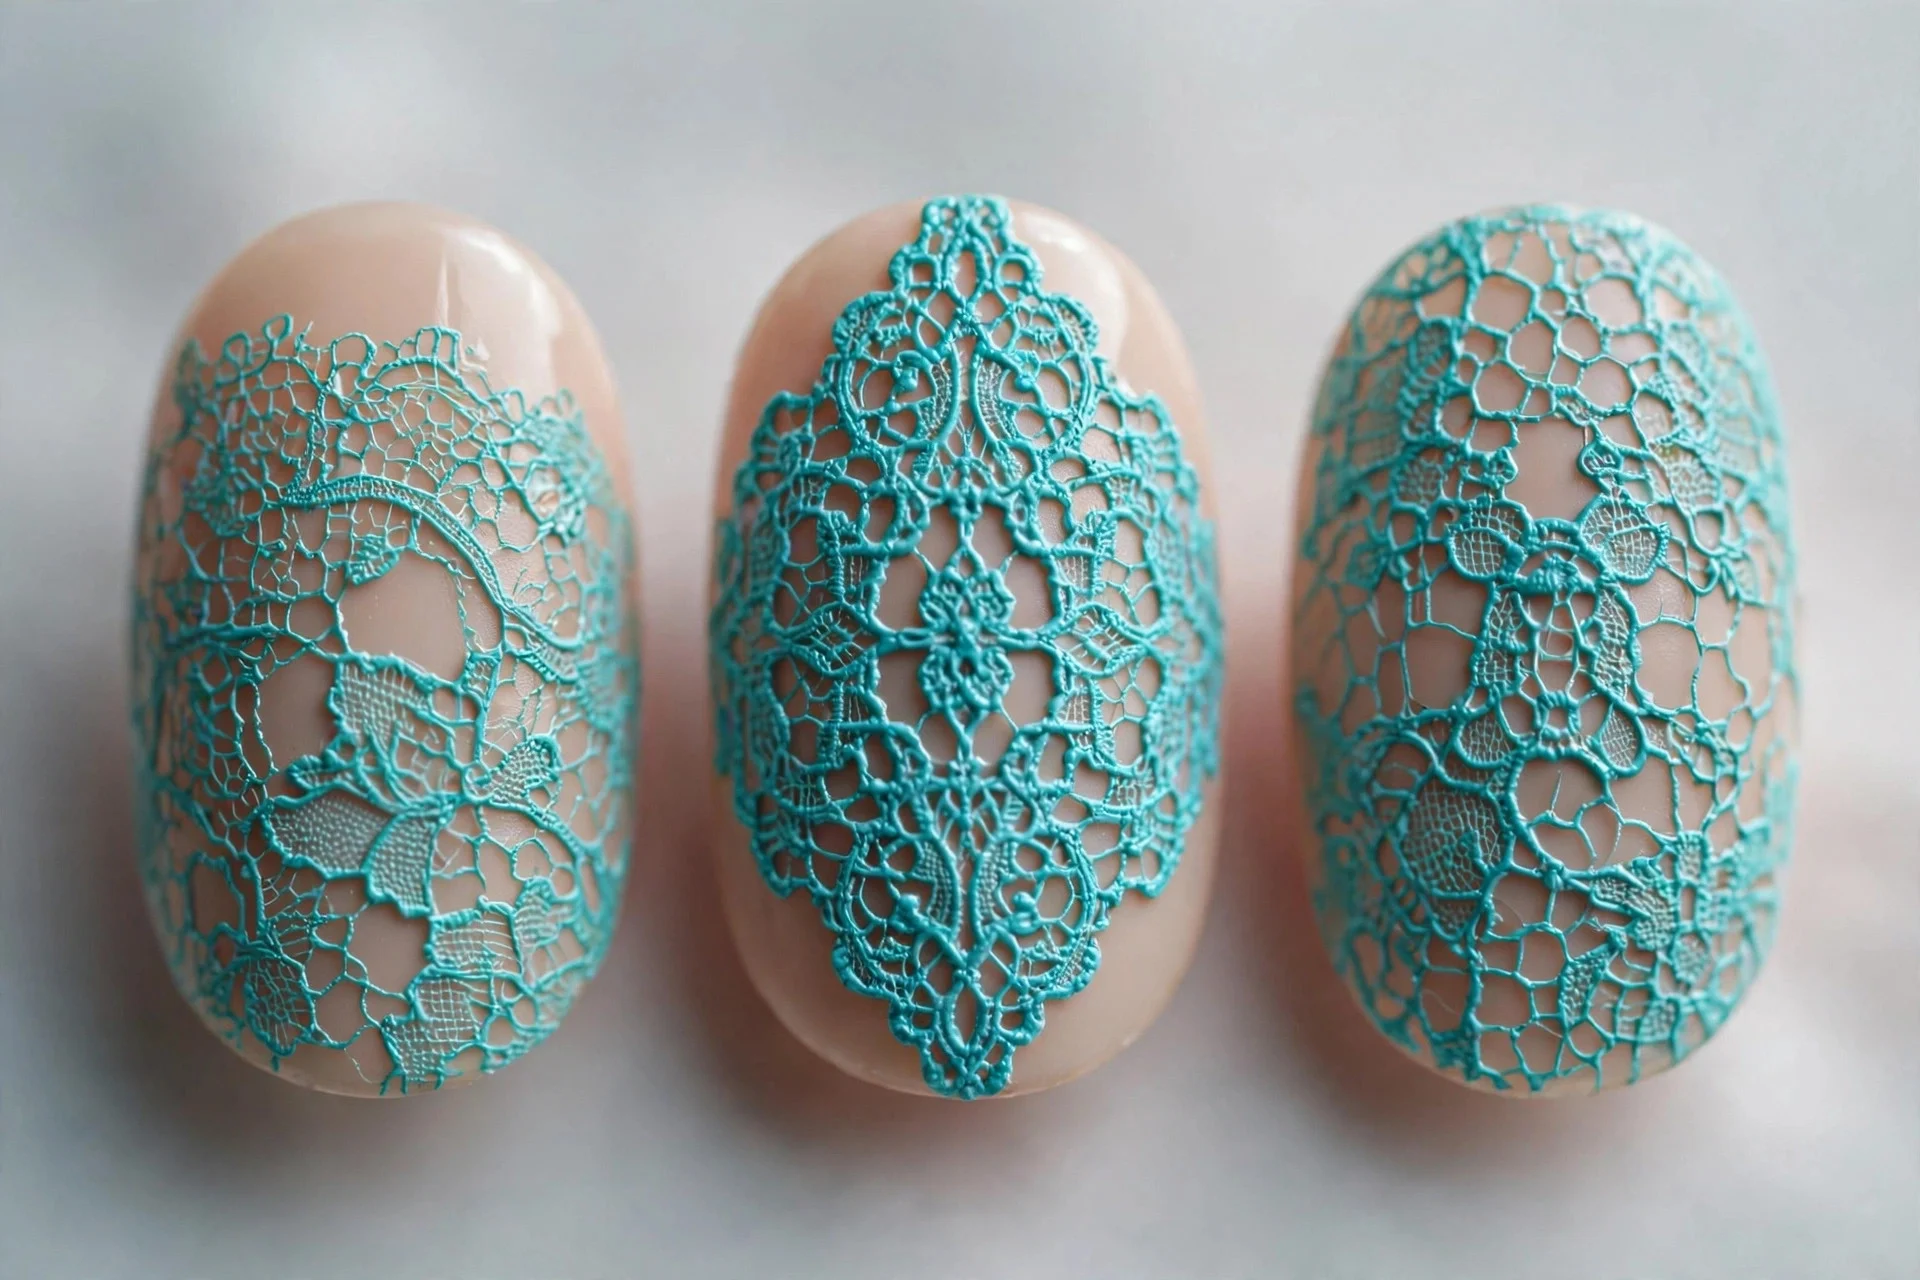
Sheer nude base with turquoise lace stamped over — delicate and detailed. How-to: paint a sheer nude, stamp turquoise lace designs, and seal with two coats of top coat. Lace stamping looks intricate but takes minutes. Lasts 7–10 days; salons charge $60–70. Ask for: “stamped turquoise lace on nude.”
Marbled Turquoise Nails
Water marbling looks like sorcery and is genuinely just polish dropped in water. Turquoise marbles beautifully with white and gold.
14. Turquoise Water Marble
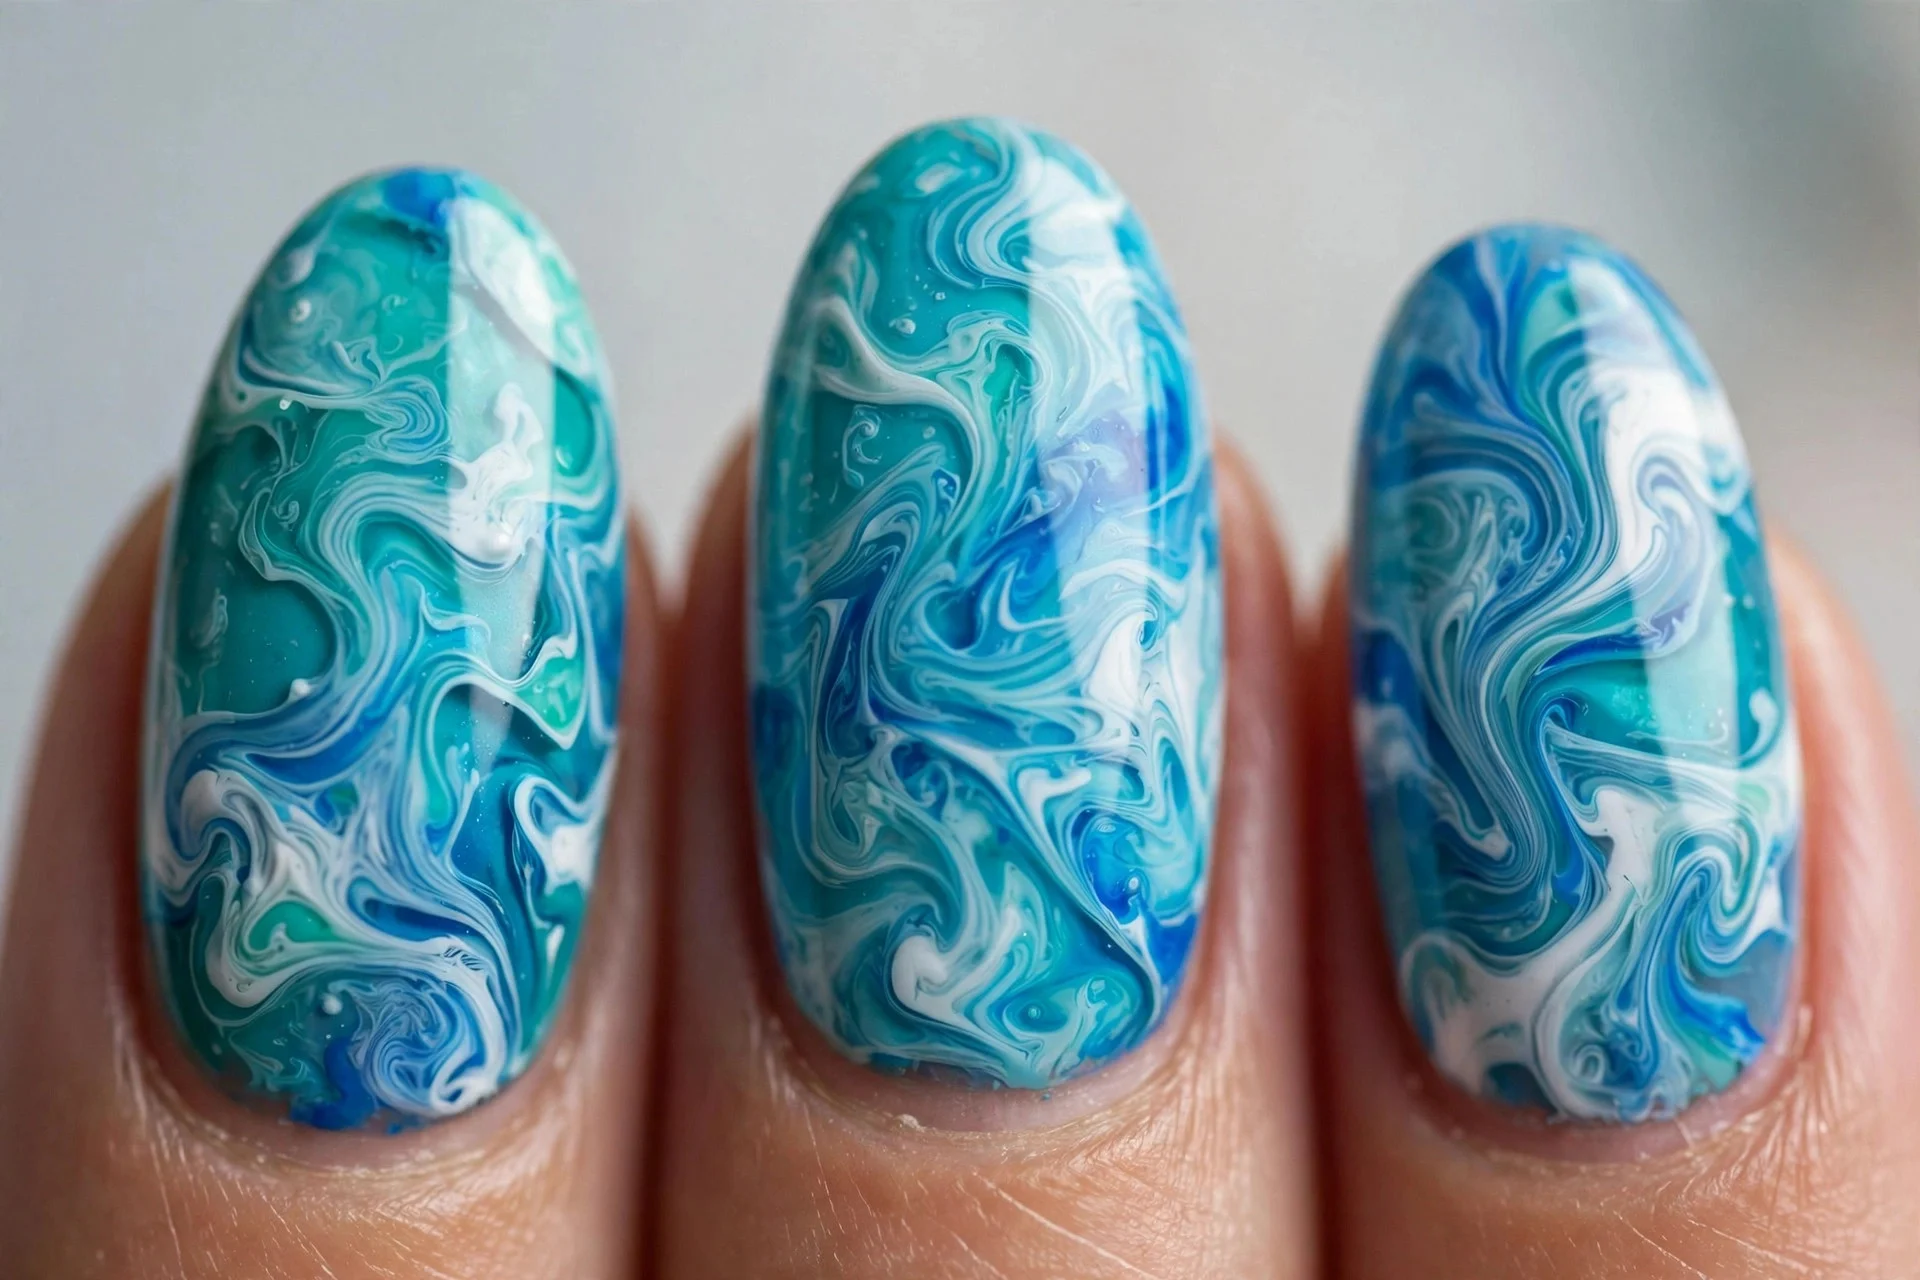
Turquoise, white, and sky blue swirled in water and dipped — every nail a one-of-a-kind ocean. How-to: drop alternating colours into room-temperature water, swirl with a toothpick, then dip each nail straight through the film. Tape around nails first. Lasts 7–10 days; salons charge $65–75. Ask for: “turquoise water marble.”
15. Turquoise & Gold Marble
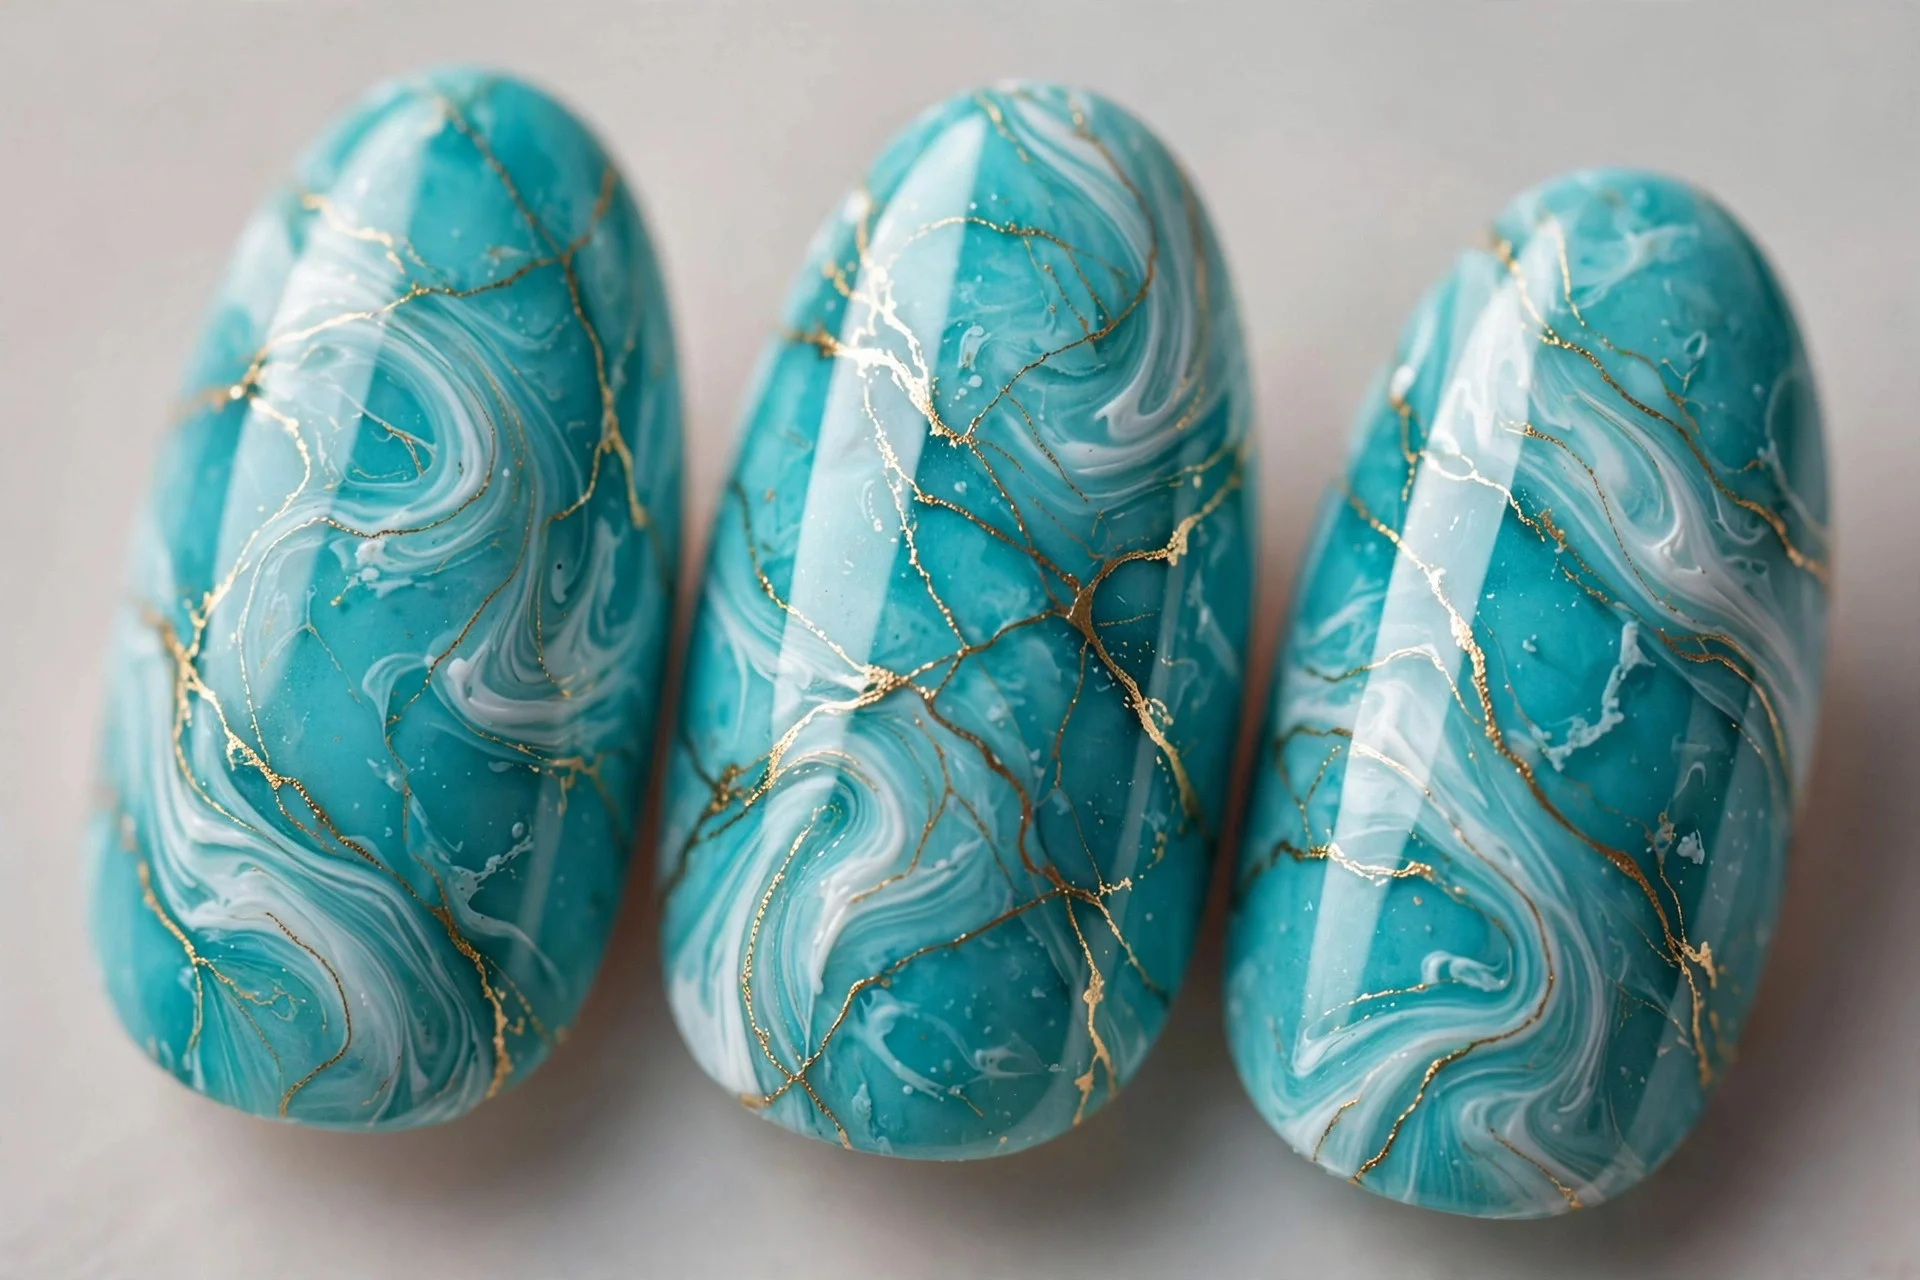
Turquoise marbled with white and veined with gold — like expensive stone. How-to: marble turquoise and white as above, let it set, then drag thin gold lines through with a detail brush before sealing. My white nail ideas show how white sharpens marbled designs. Lasts 7–10 days; salons charge $65–75. Ask for: “turquoise marble with gold veining.”
16. Dry Marble Turquoise
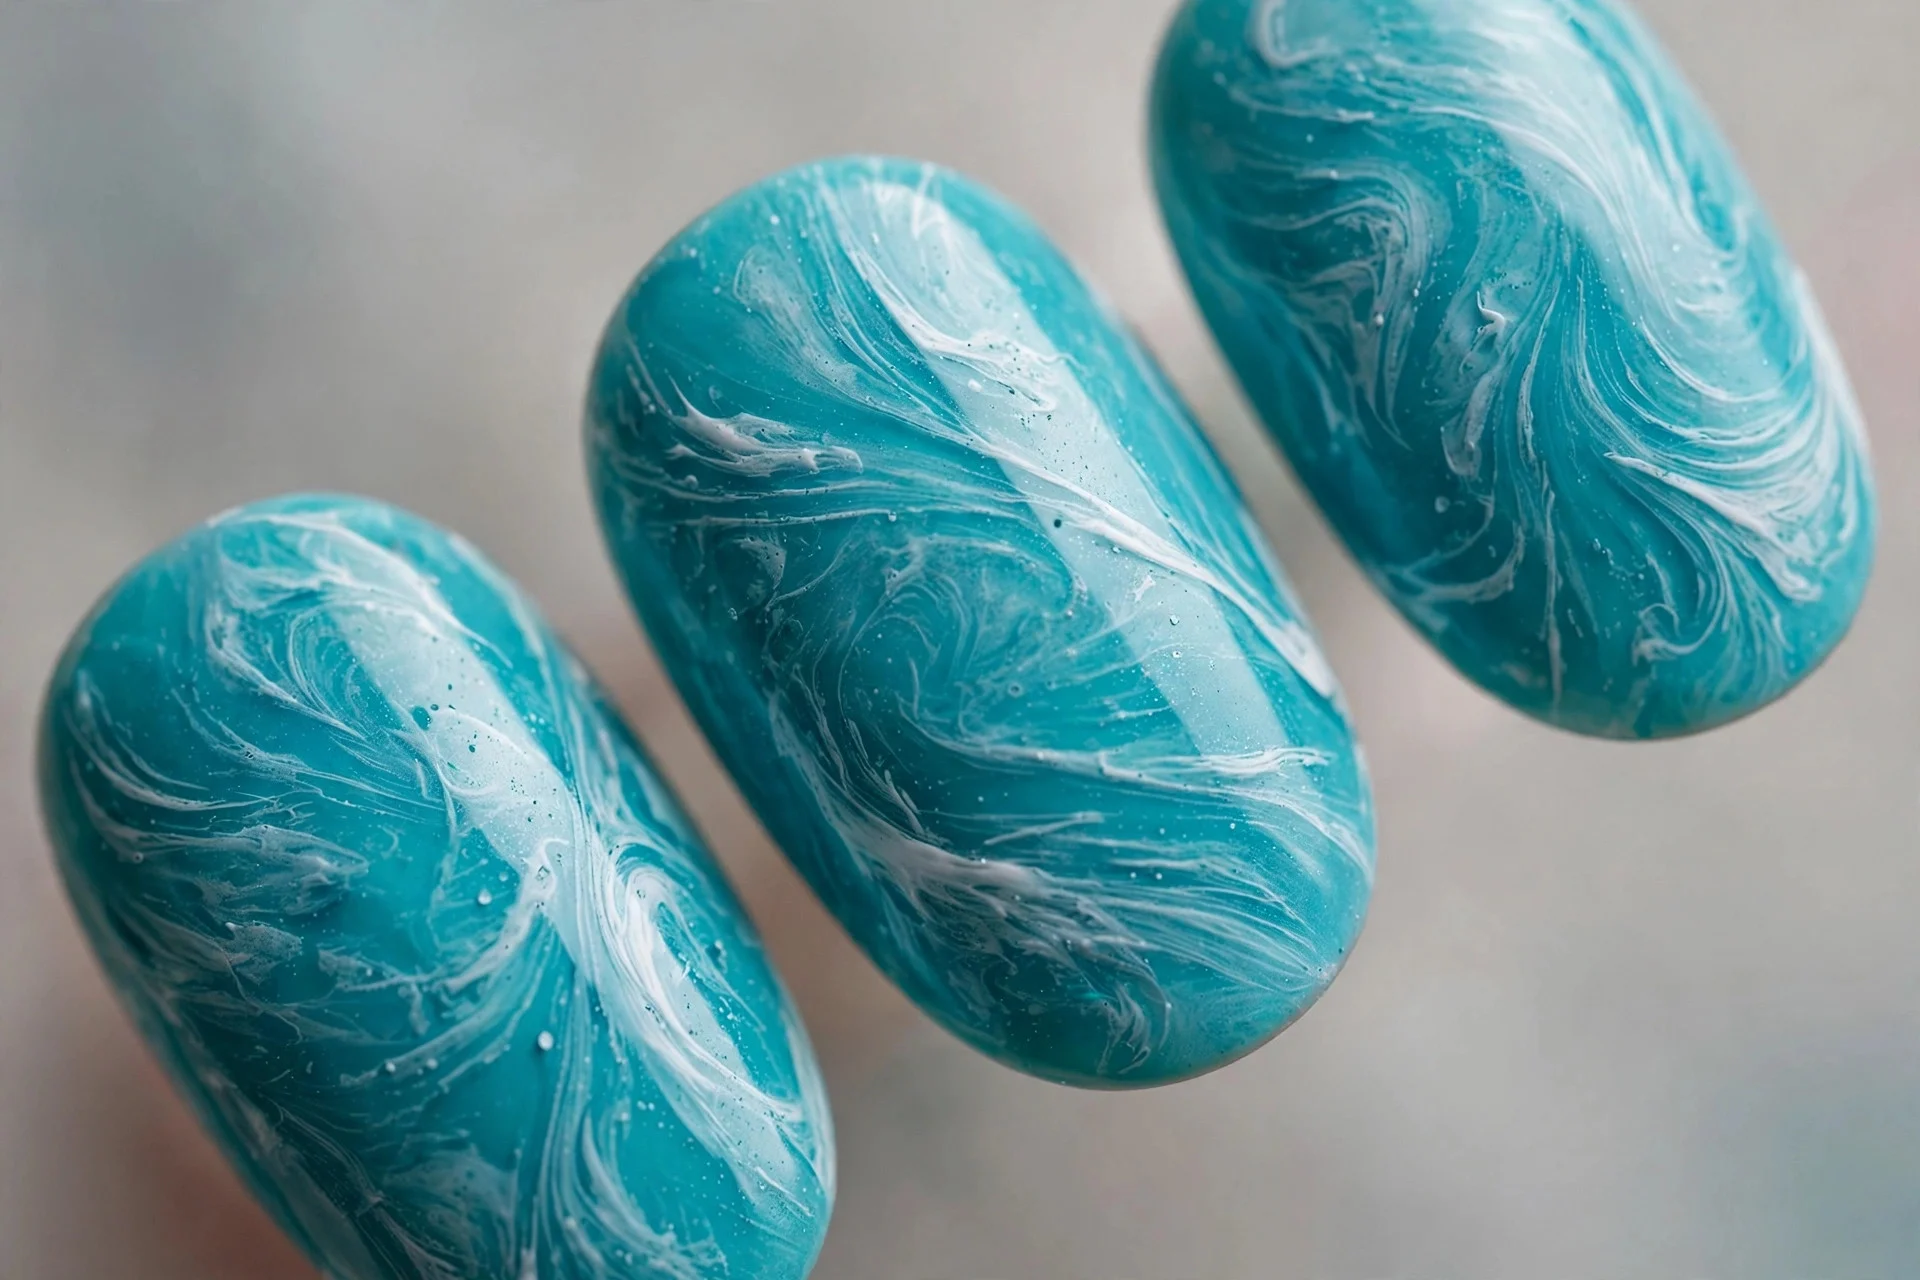
The no-water version: turquoise and white blobs swirled directly on the nail with a detail brush. How-to: paint turquoise, then while wet, dot white polish on top and drag a clean brush through in S-curves. Ten minutes total. Lasts 7–10 days; salons charge $60–70. Ask for: “dry-brush turquoise marble.”
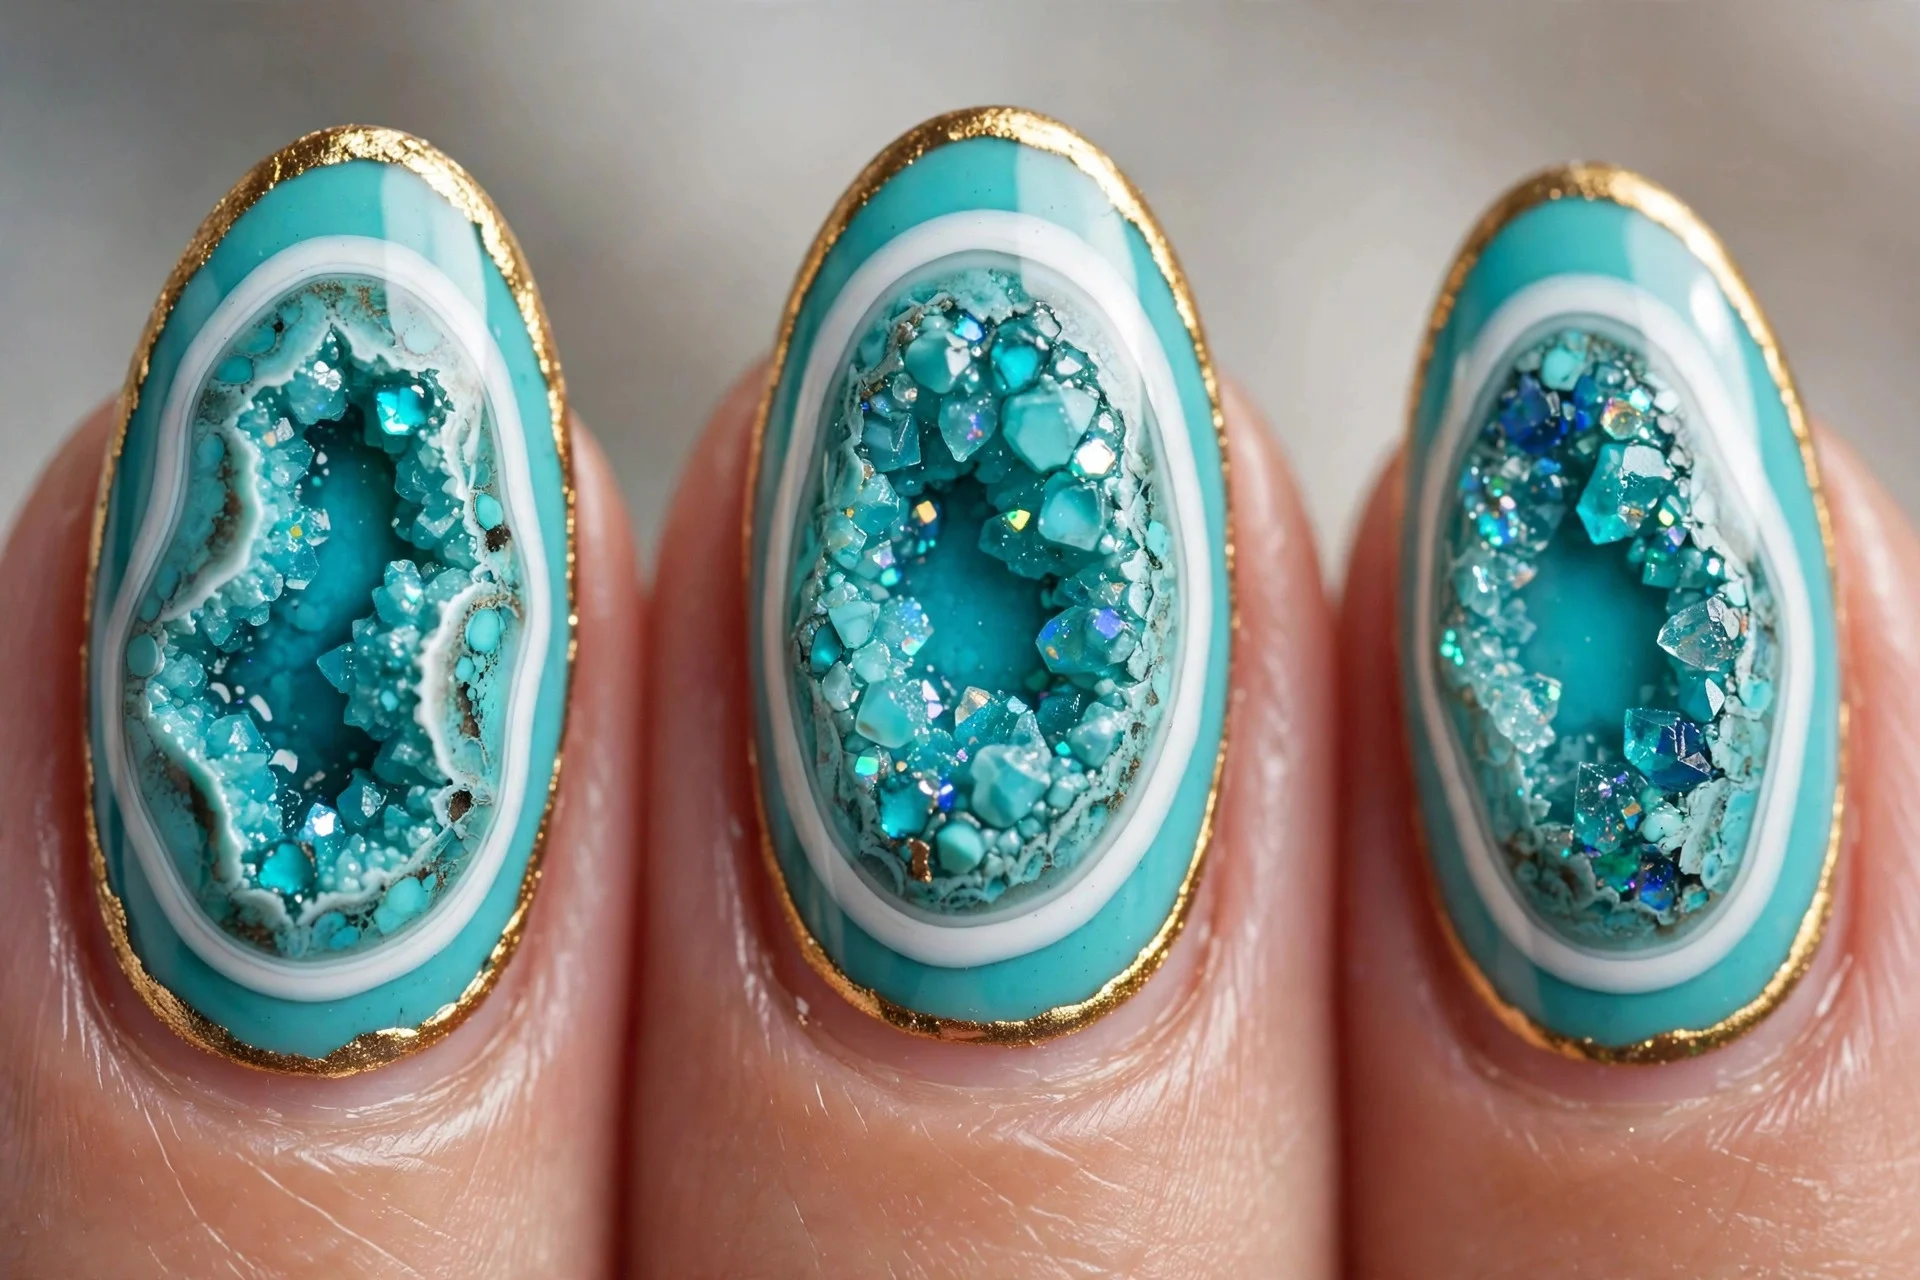
17. Turquoise Geode
Turquoise centre ringed with white and edged in gold — the geode look. How-to: paint a turquoise blob in the centre of each nail, ring it with white, then outline the white with a thin gold line. Irregular shapes look most like real stone. Lasts 7–10 days; salons charge $65–75. Ask for: “turquoise geode nail art.”
Turquoise Nails FAQ
Is turquoise easy to DIY at home? Yes — one of the most forgiving DIY colours. Sponging, dotting, and dry marbling all hide imperfections well, and turquoise blends so smoothly that first attempts look polished.
What do I need for turquoise nail art at home? A makeup sponge, a dotting tool (or bobby pin), thin striping tape, and a detail brush cover nearly everything here. A stamping plate and clear stamper open up the stamped designs.
How long do DIY turquoise nails last? Home manicures with regular polish last 5–7 days; with a good base and top coat, 7–10 days. Salon gel versions of these designs last 2 weeks.
How much do turquoise nails cost at a salon? Single-colour gel turquoise costs $40–50. Sponged gradients, dots, stripes, and stamped art run $55–70. Water marble and geode designs cost $65–75 for the hands-on time.
What colours pair best with turquoise? White and nude are turquoise’s best friends — they let the colour glow. Gold warms it up; coral and peach echo a sunset palette; navy grounds it. Silver keeps it cool and modern.
Turquoise rewards the brave beginner — pick a technique, keep the how-to beside you, and pour yourself something cold while the top coat dries.