
Aura nails are the dreamiest DIY-friendly trend I have come across in years. That soft, glowing centre — like a halo of colour blooming inside the nail — looks salon-only, but it is not. I have done aura nails on myself four times, and the sponge technique is genuinely forgiving. Here is the full tutorial, the tools that matter, the colour combinations that work, and all 17 of my favourite aura nail ideas.
What Aura Nails Actually Are
Aura nails get their name from aura photography — those portraits where a person's "energy" shows as a soft glow of colour around their head. On nails, the effect is a blurred radial gradient: a colour that is deepest at the centre of the nail and fades softly into the base shade at the edges. Think of an airbrushed sunset shrunk onto your fingertip.
The look started in salons with airbrush machines, but the sponge method — dabbing eyeshadow or pigment onto the nail with a small makeup sponge — gives almost the same result at home. That is why aura nails exploded: for once, the viral trend was one ordinary people could copy without expensive equipment.
The DIY Tutorial: Aura Nails at Home
What you need
You do not need much: a gel or regular base colour, loose eyeshadow pigment (or crushed eyeshadow) in your aura colour, a small wedge makeup sponge or silicone eyeshadow applicator, a UV lamp if you are using gel, and a no-wipe top coat. My total starter spend was under £15. Use eyeshadow you already own — pigment is pigment.
Step by step
Start with your base colour applied and fully cured (or fully dry, for regular polish). For classic aura nails, the base is usually white, nude, or milky pink. Cut a small piece from a wedge sponge — a flat edge works better than a big fluffy one. Pick up a little pigment on the flat edge, tap off the excess, then dab it gently onto the centre of the nail in a small circular area.
Here is the key move: build slowly. Dab, check, dab again. The centre should be the most saturated part; let the pigment fade naturally as you move outward. Do not drag or wipe — dabbing only. Once you like the gradient, seal it with two thin layers of top coat. The top coat deepens the pigment and melts everything together. Cure between coats for gel.
For regular polish, the same method works, but do the pigment step after the base is completely dry, and be gentle — wet polish will smear. I actually prefer gel for aura because the pigment sits on a hard surface and cannot disturb the base.
Tools That Matter (and Ones That Do Not)
The sponge matters more than the pigment. A small, dense wedge gives you control; a big fluffy sponge deposits colour everywhere and ruins the fade. Silicone eyeshadow applicators work well too and are easy to clean.
The pigment does not need to be fancy. Drugstore eyeshadow, loose pigment pots, even chalk pastels scraped with a knife all work. What matters is that it is finely milled — chunky glitter will not blend. And always, always seal with a good top coat. Unsealed pigment will stain everything you touch, and the gradient will look chalky instead of glowing.
Mistakes to Avoid
The number one mistake is too much pigment. Beginners load the sponge and stamp a hard-edged circle that looks like a sticker. Start with barely any pigment and build up — you can always add more, but removing excess disturbs the gradient.
Third: skipping the tap-off. Excess powder on the sponge falls onto the nail in blobs. Tap the sponge against the back of your hand before touching the nail. Fourth: one thick coat of top coat can drag the pigment; two thin coats keep the gradient crisp.
17 Aura Nail Ideas
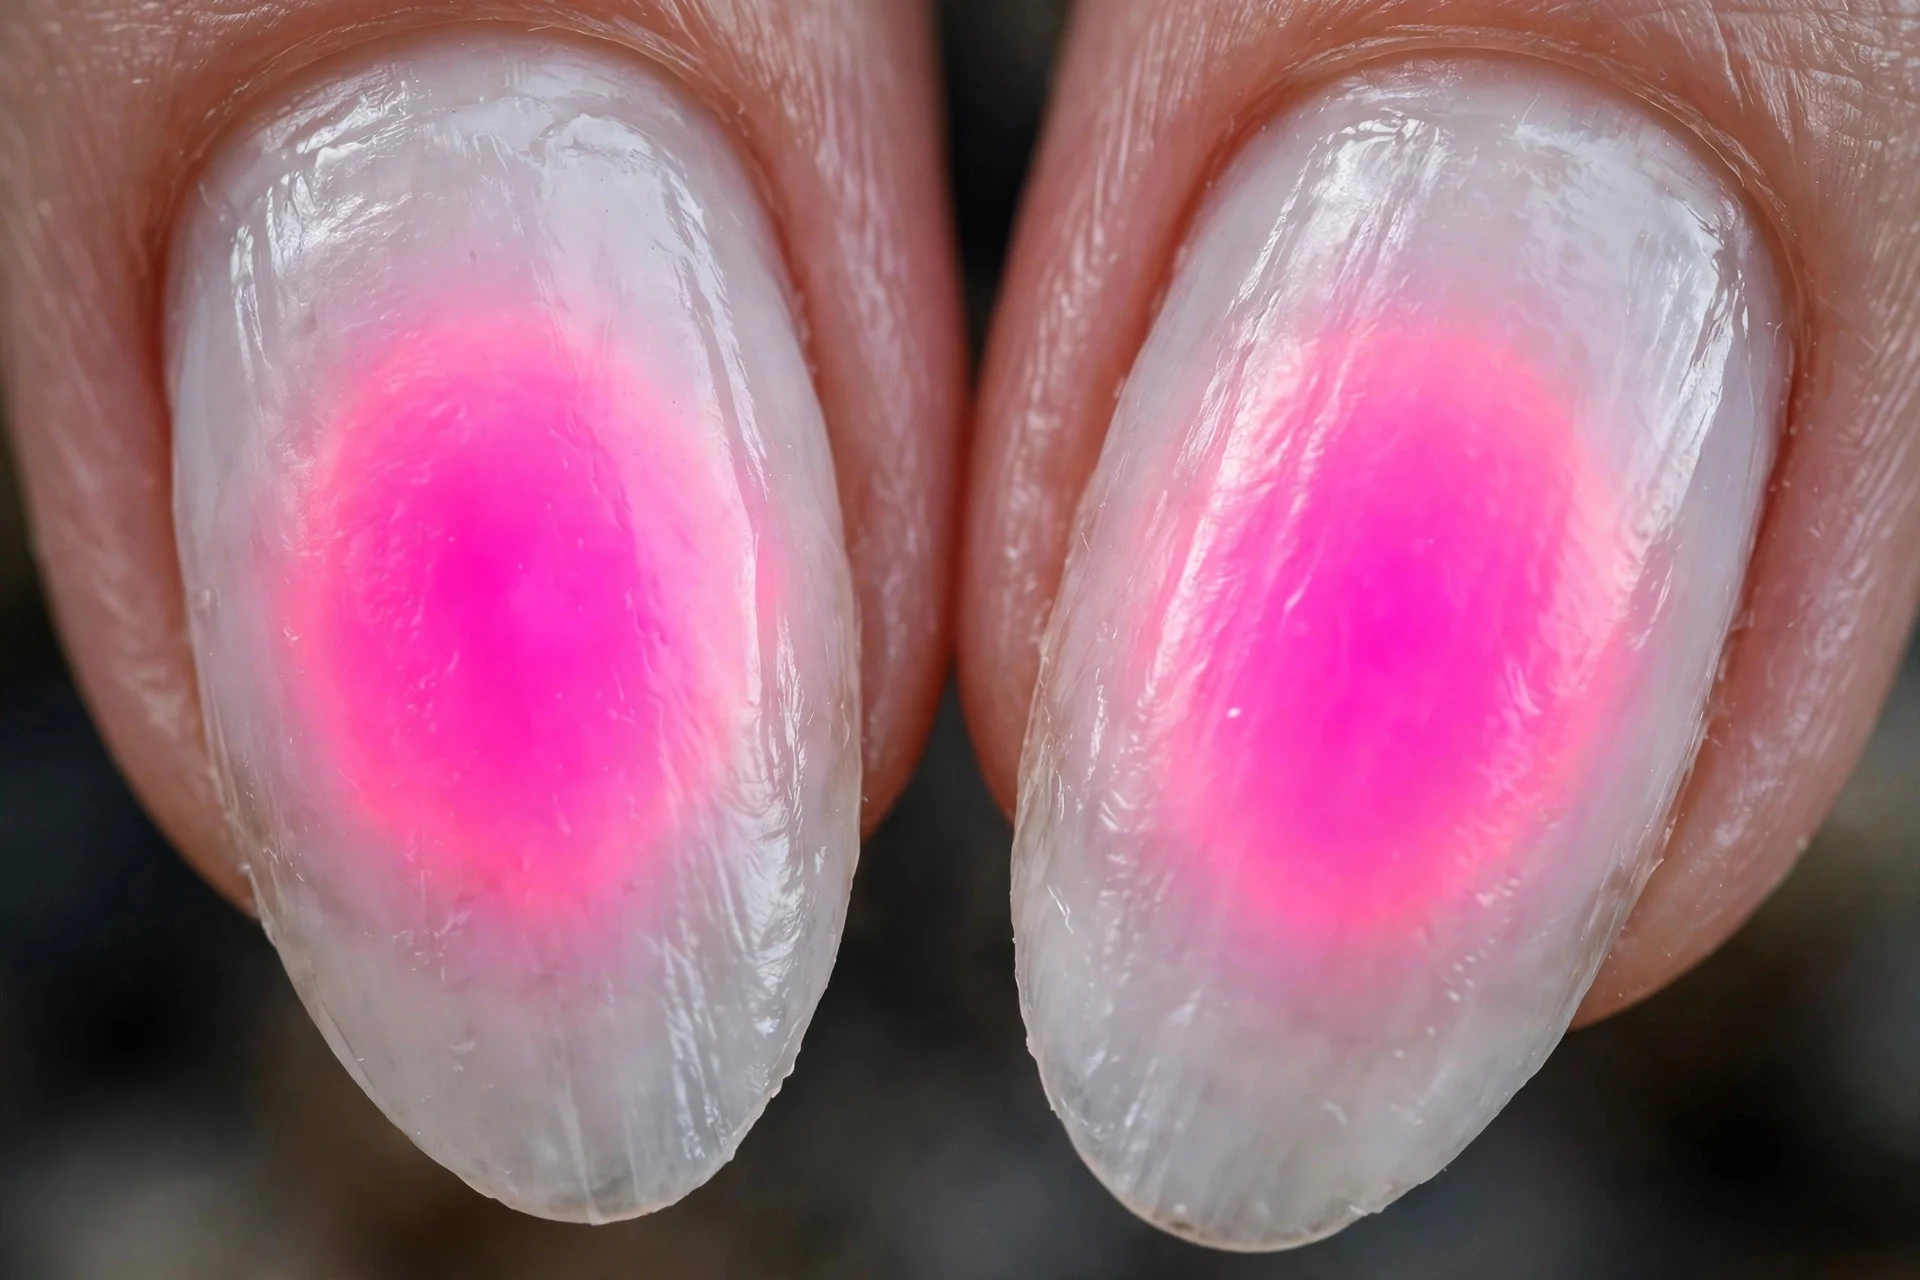
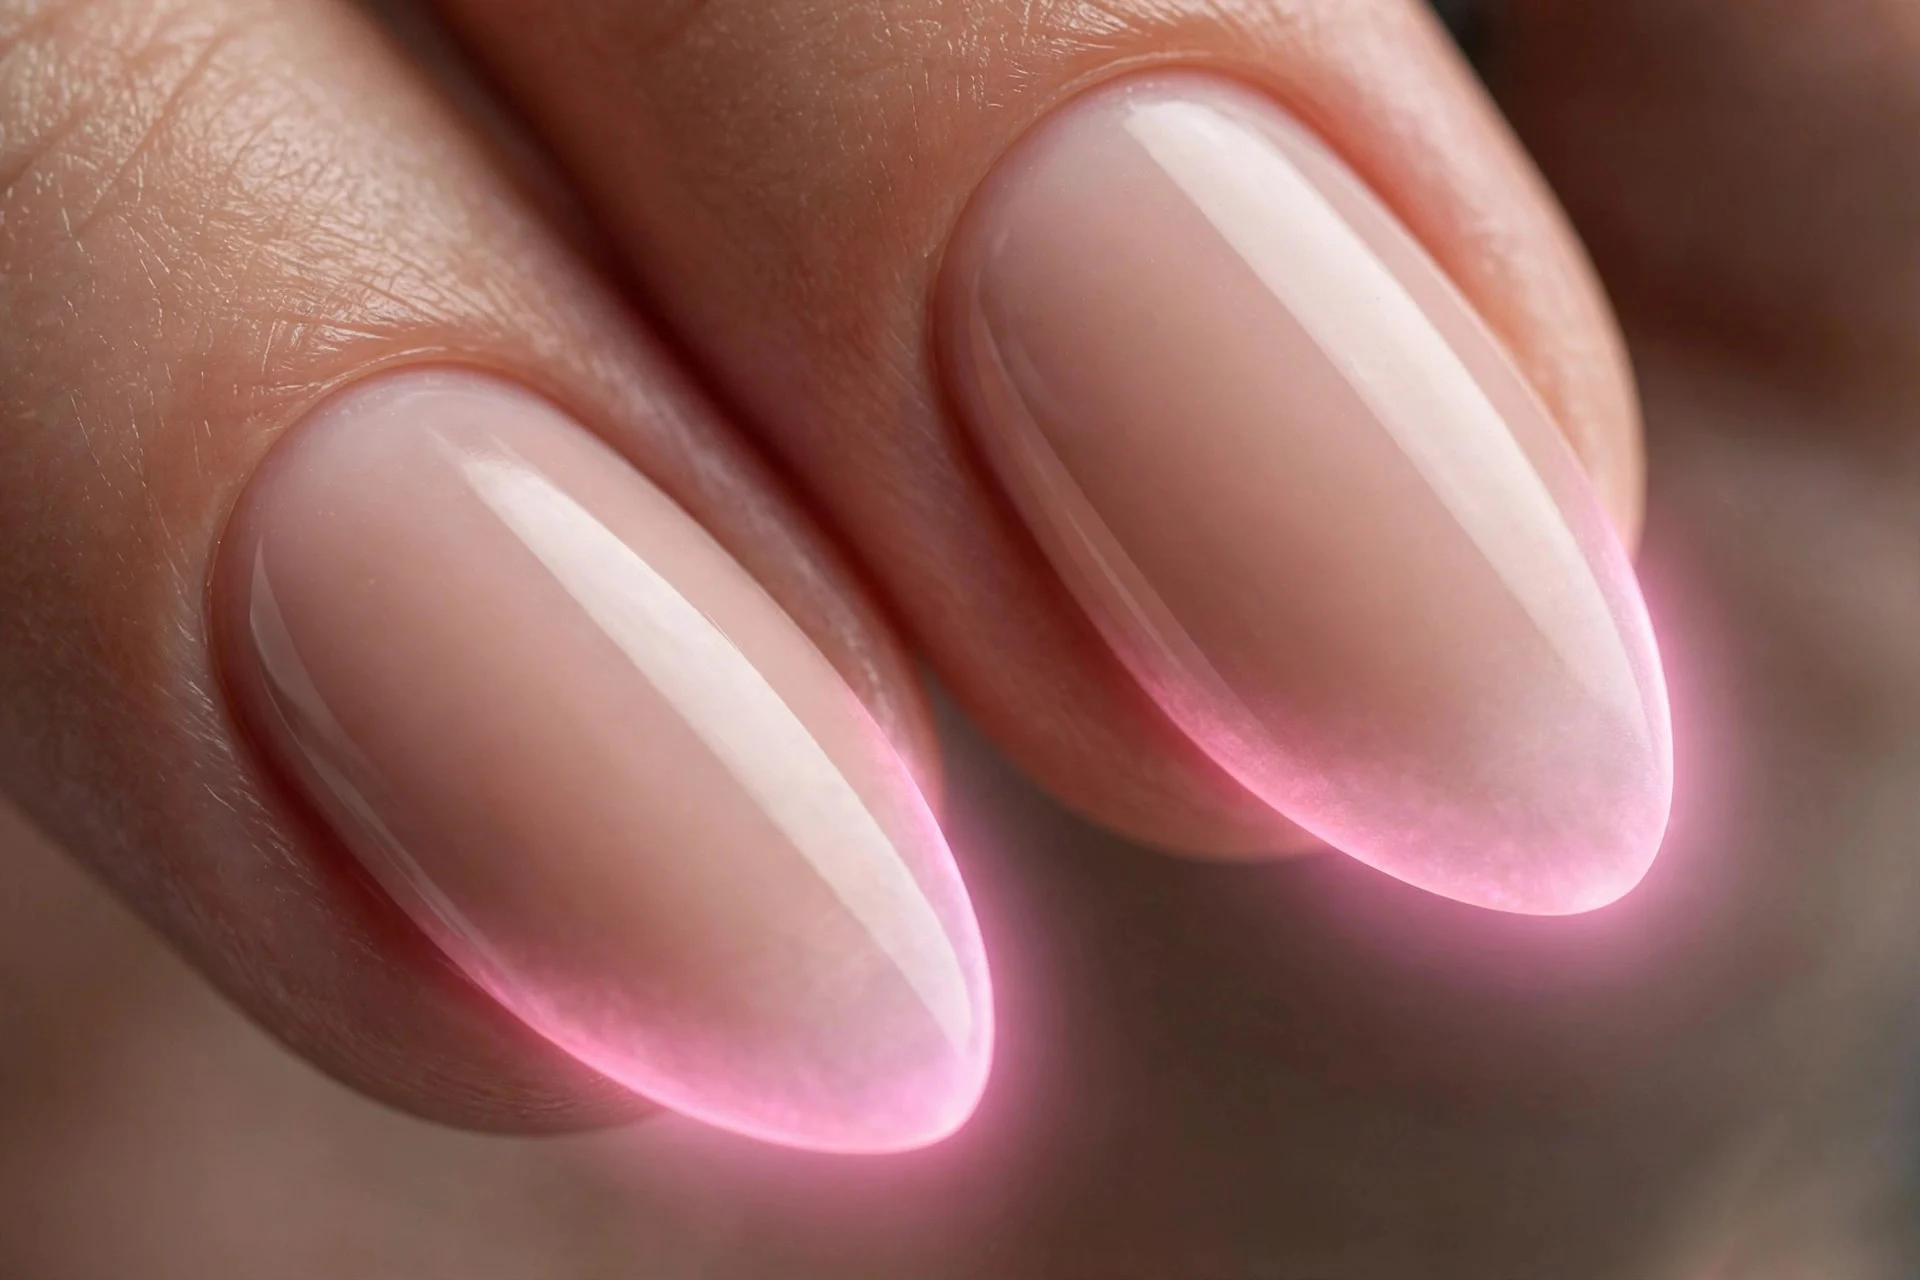
1. Classic Pink Aura
Milky white base, hot pink pigment dabbed in the centre. The original aura nail and still the most requested. It suits every skin tone and reads soft rather than neon once the top coat goes on.
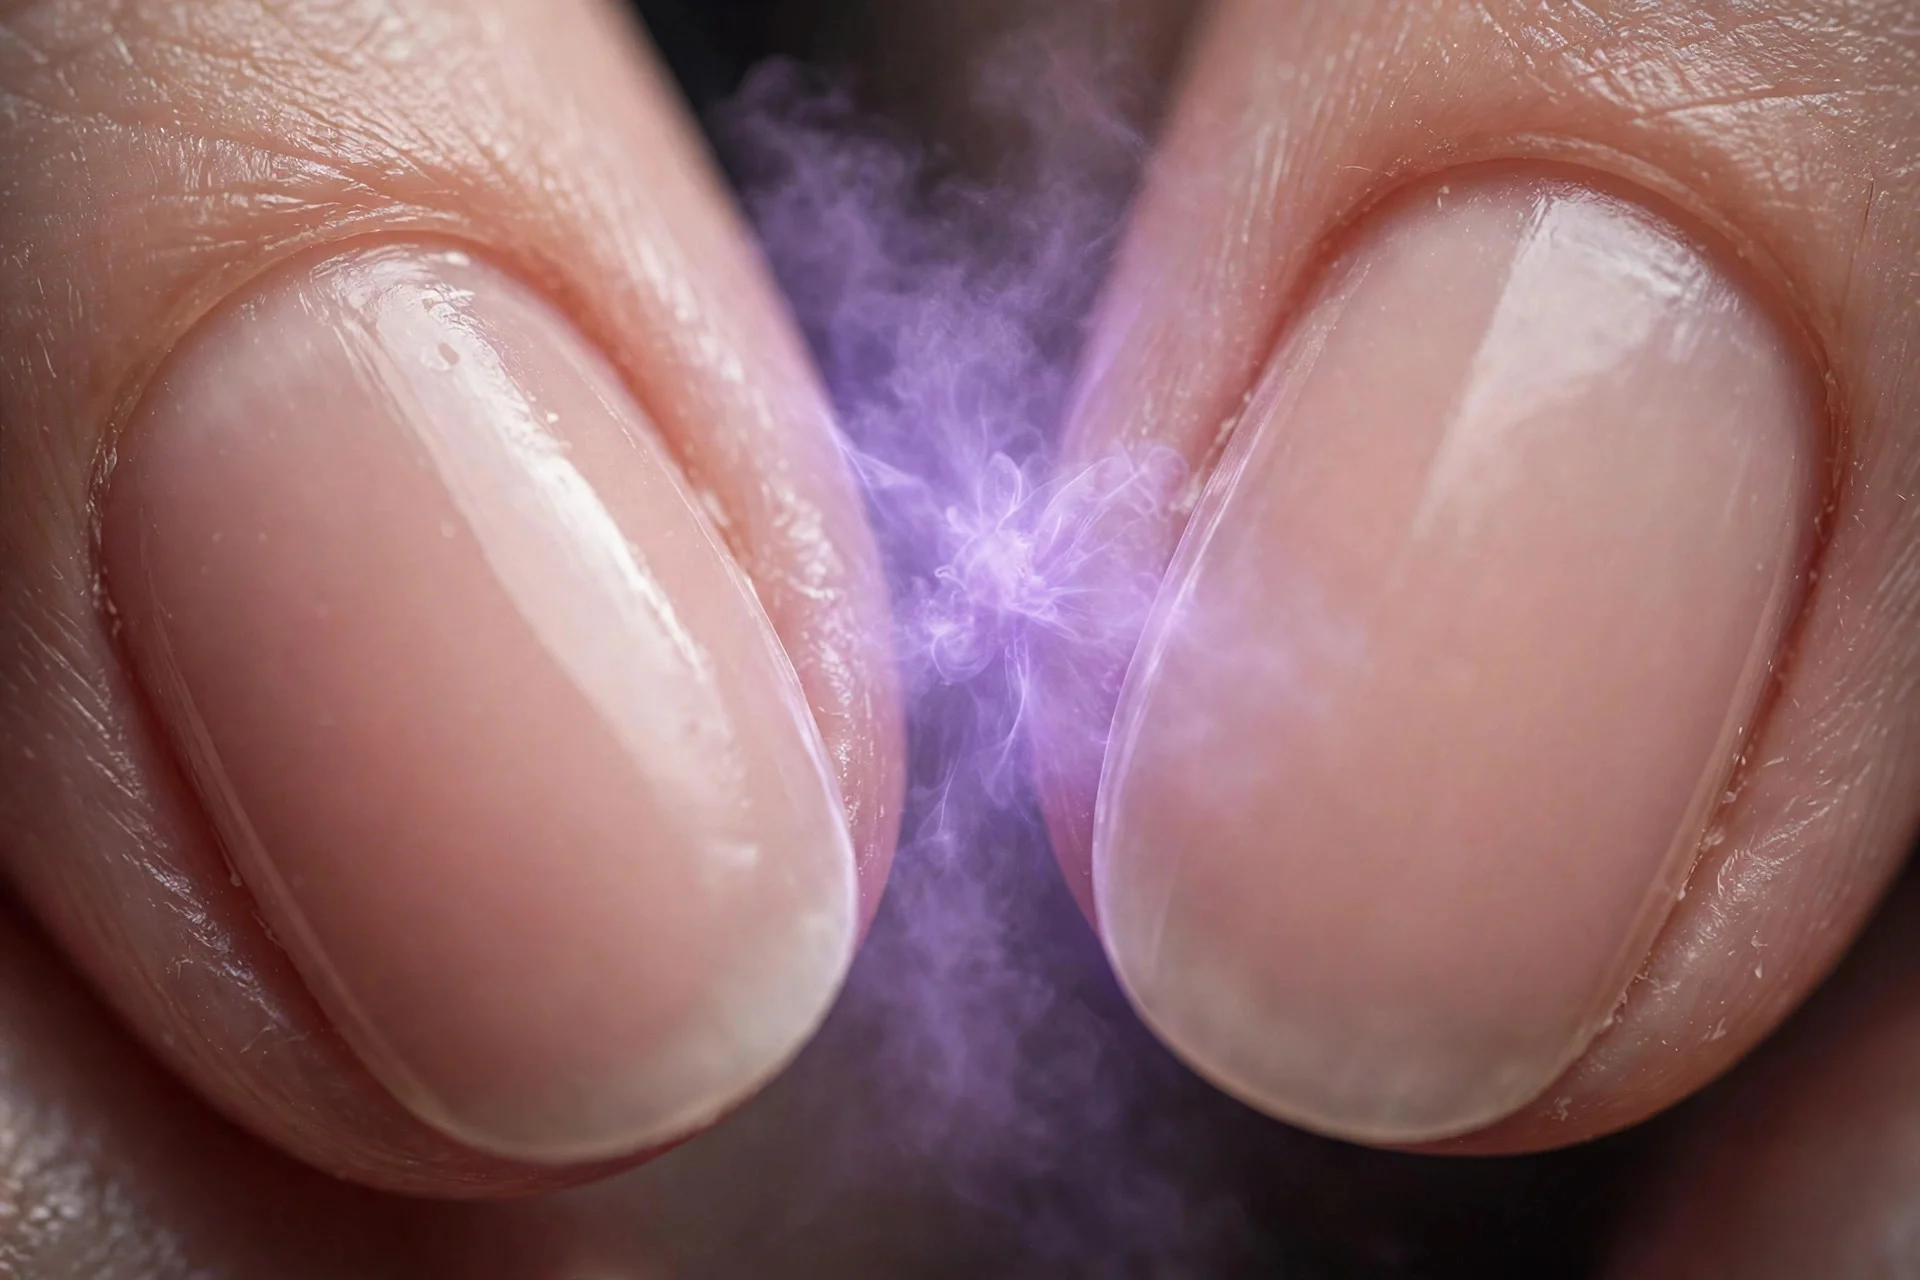
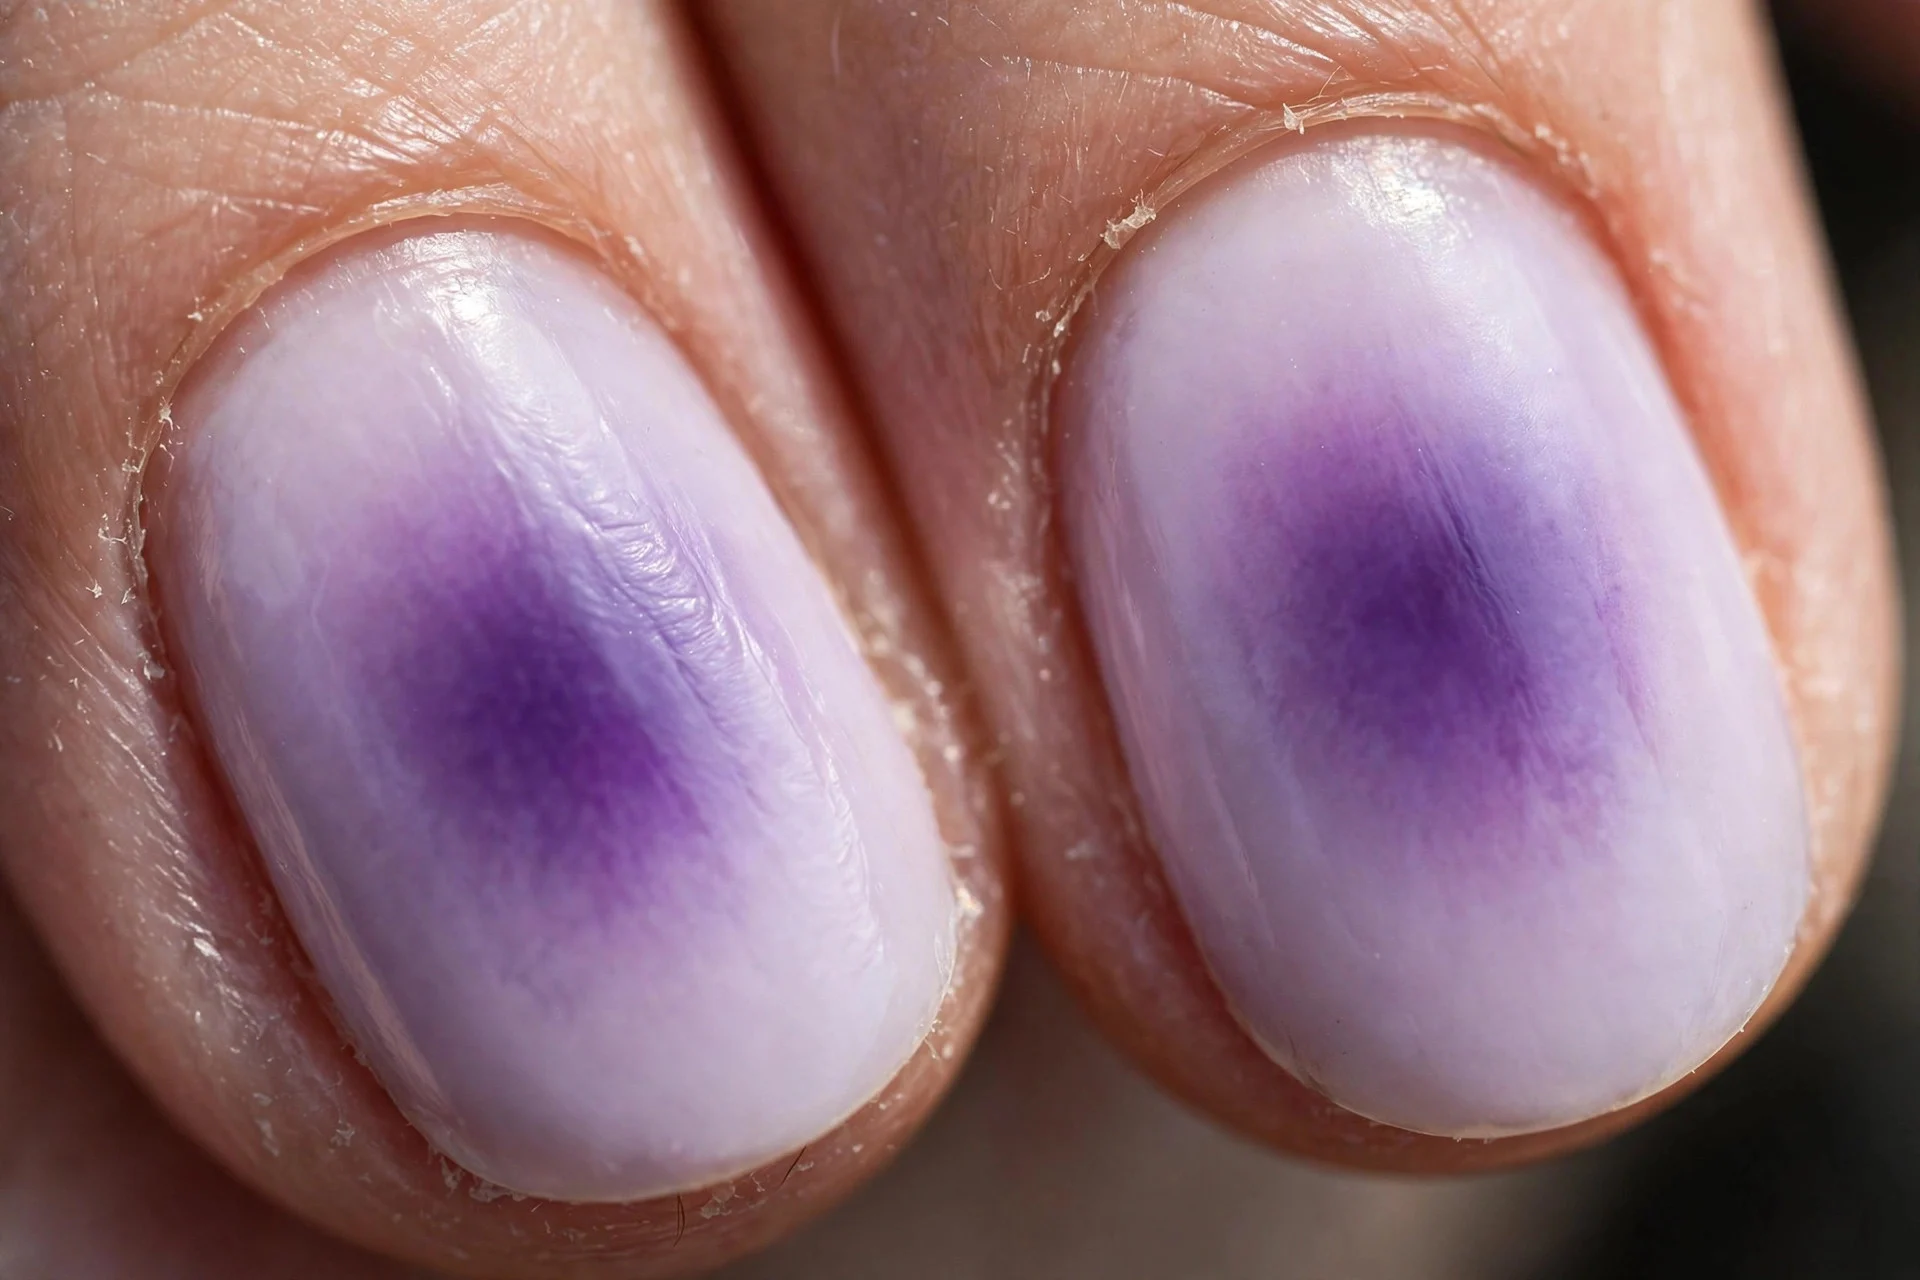
2. Purple Dream Aura
Nude base with a purple aura centre — moody, a little mystical, and gorgeous under the glossy top coat. Purple pigment blends beautifully, making this a forgiving first attempt.
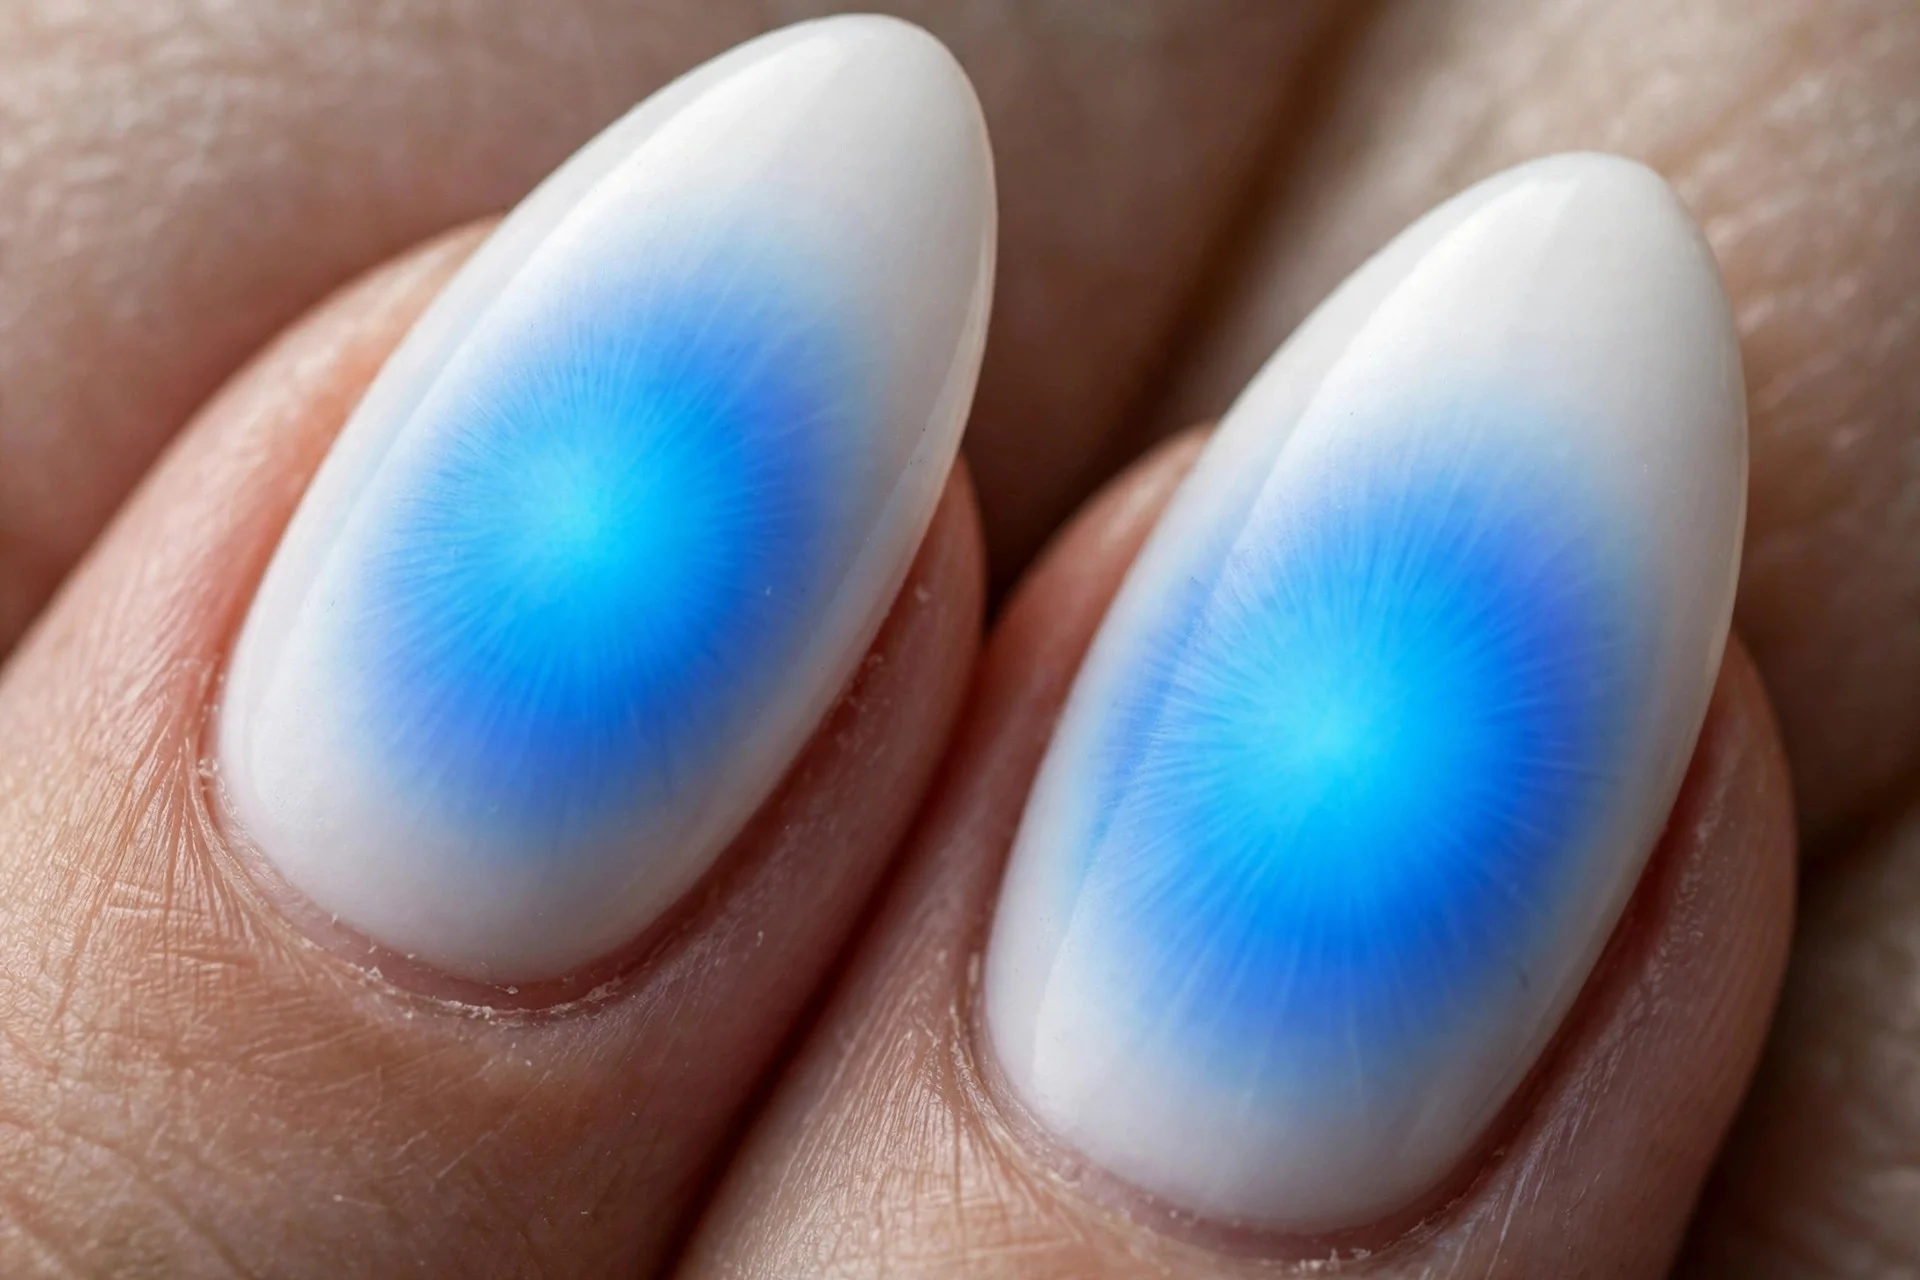
3. Blue Aura
White base with cobalt or sky-blue centre. The coolest aura in the collection — like a tiny storm cloud on each nail, in the best way.
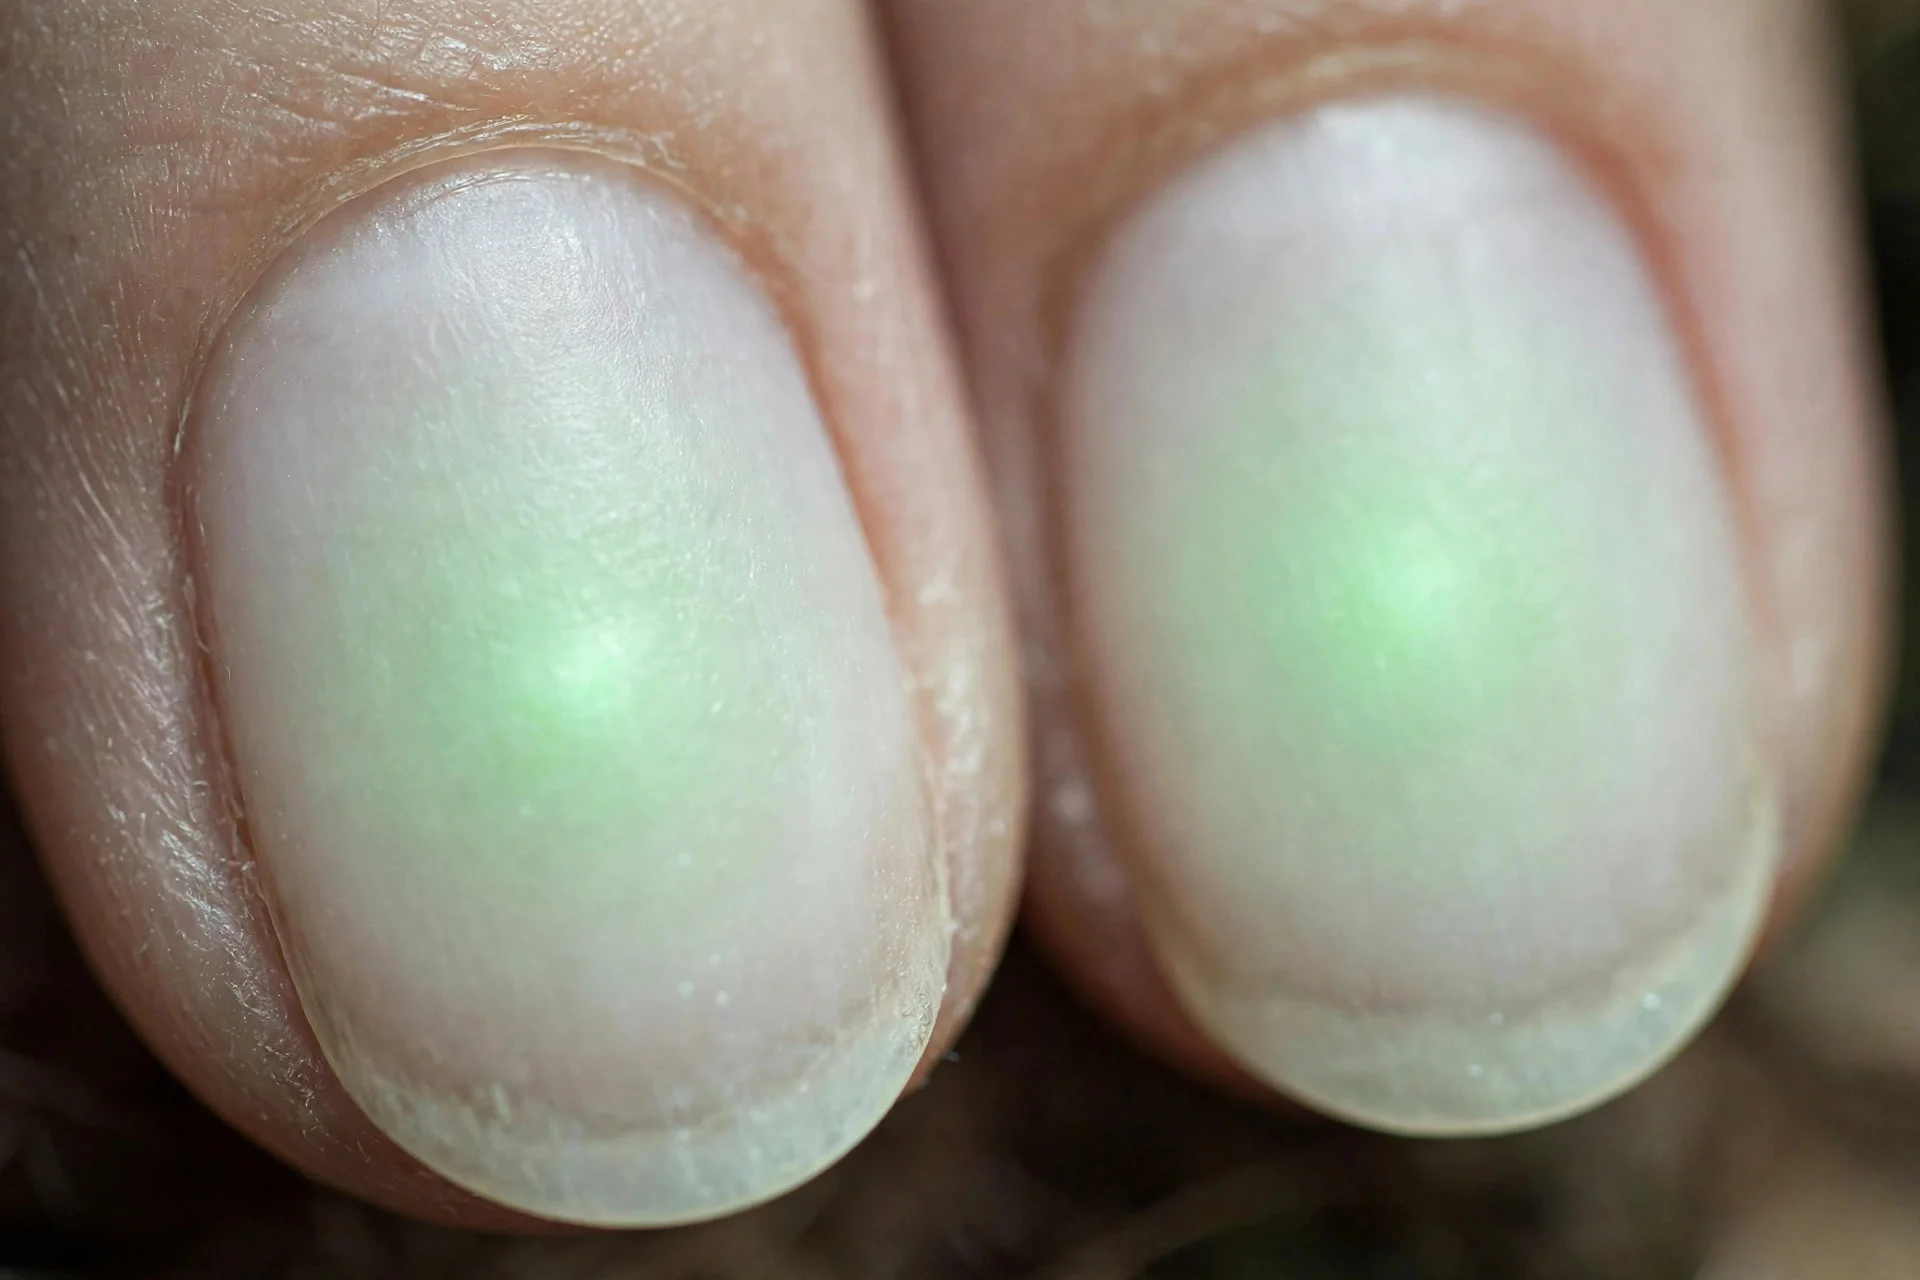
4. Green Aura
Milky base with a sage or emerald centre. Green aura nails feel fresh and a little unexpected; emerald is dramatic, sage is wearable. Both photograph strikingly.
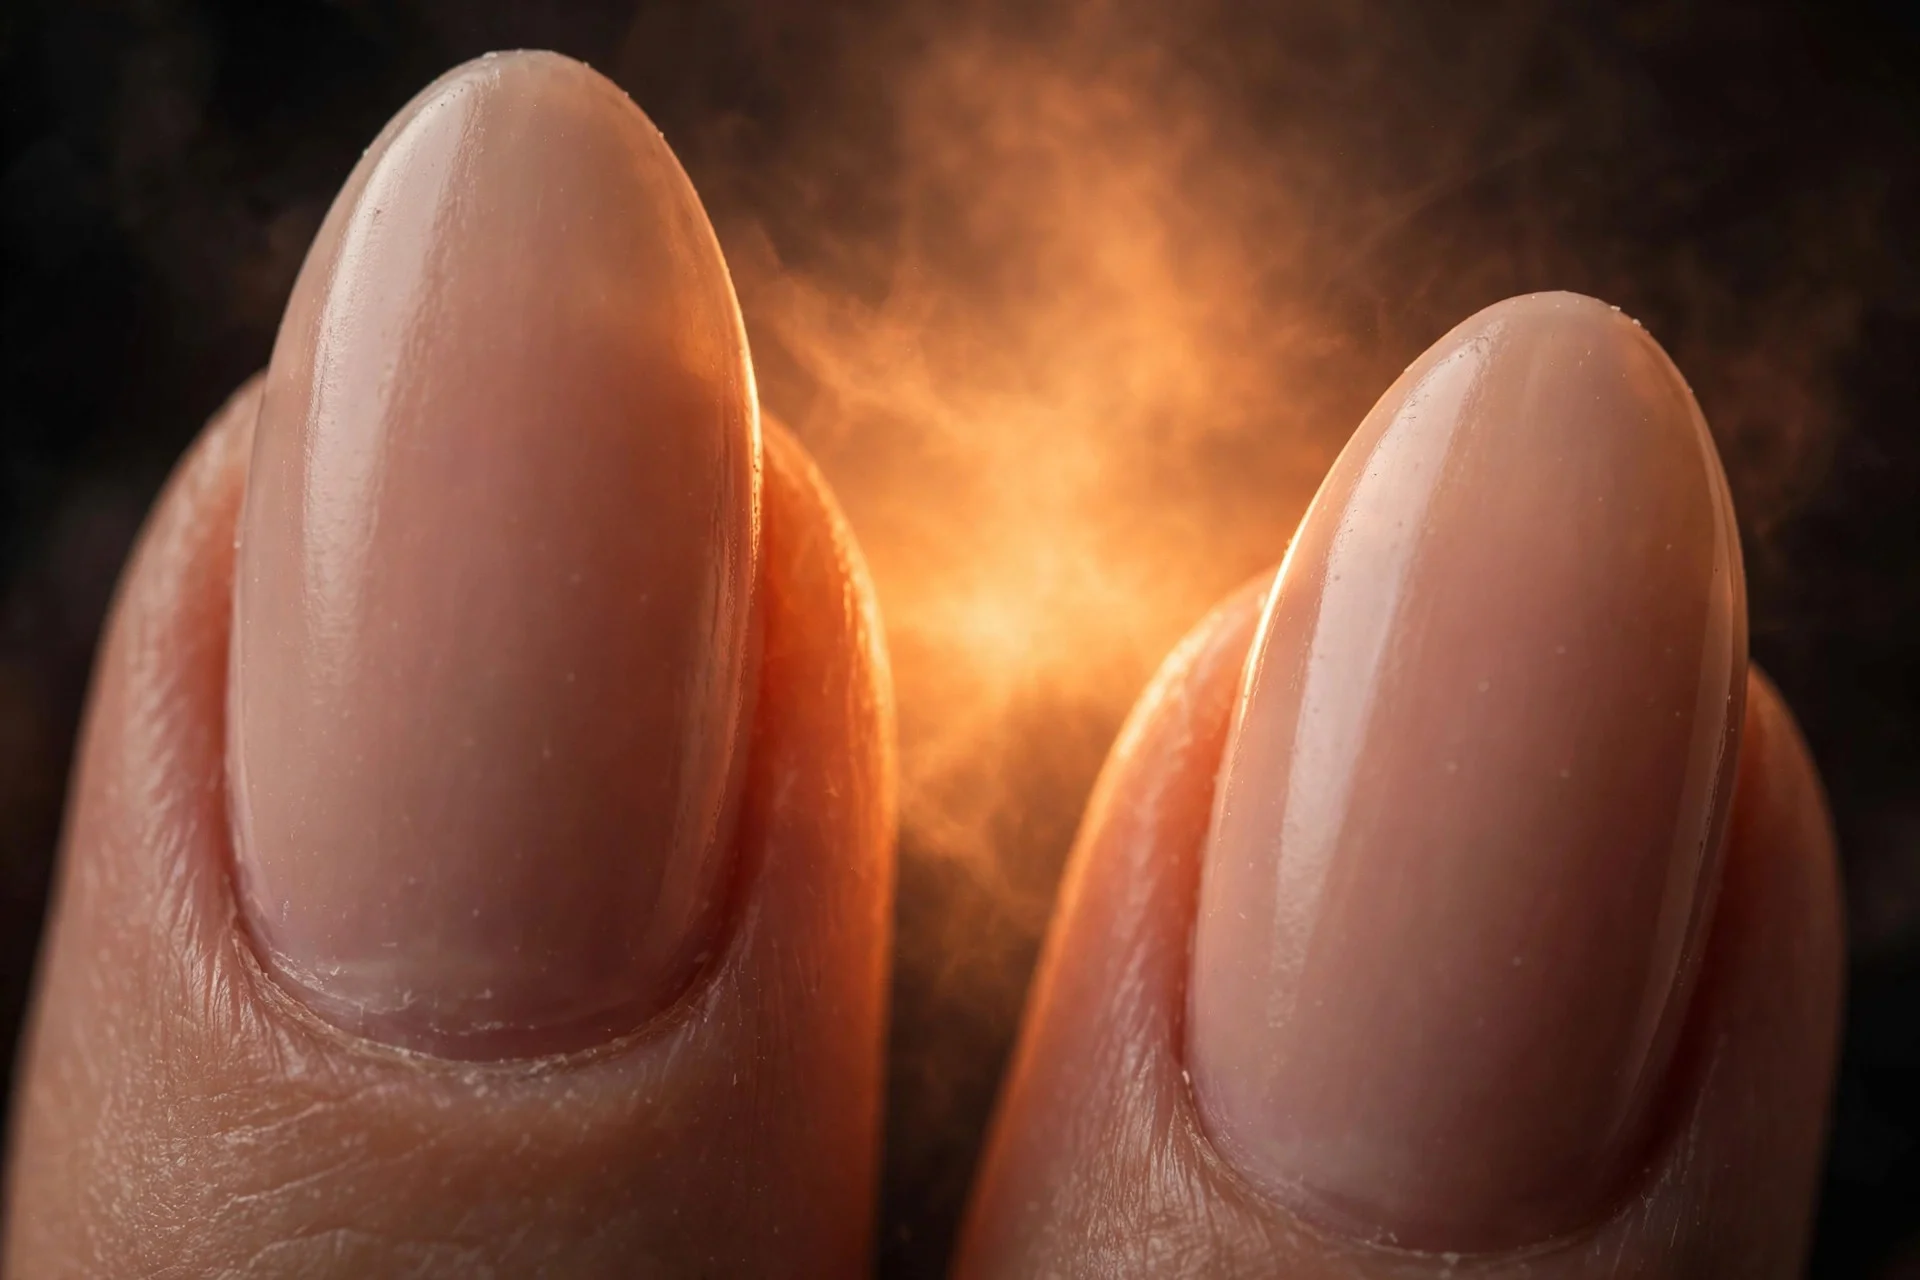
5. Orange Sunset Aura
Nude base fading from a warm orange centre — like a tiny sunset. This is the aura version of a summer manicure, and it looks incredible on warm skin tones.
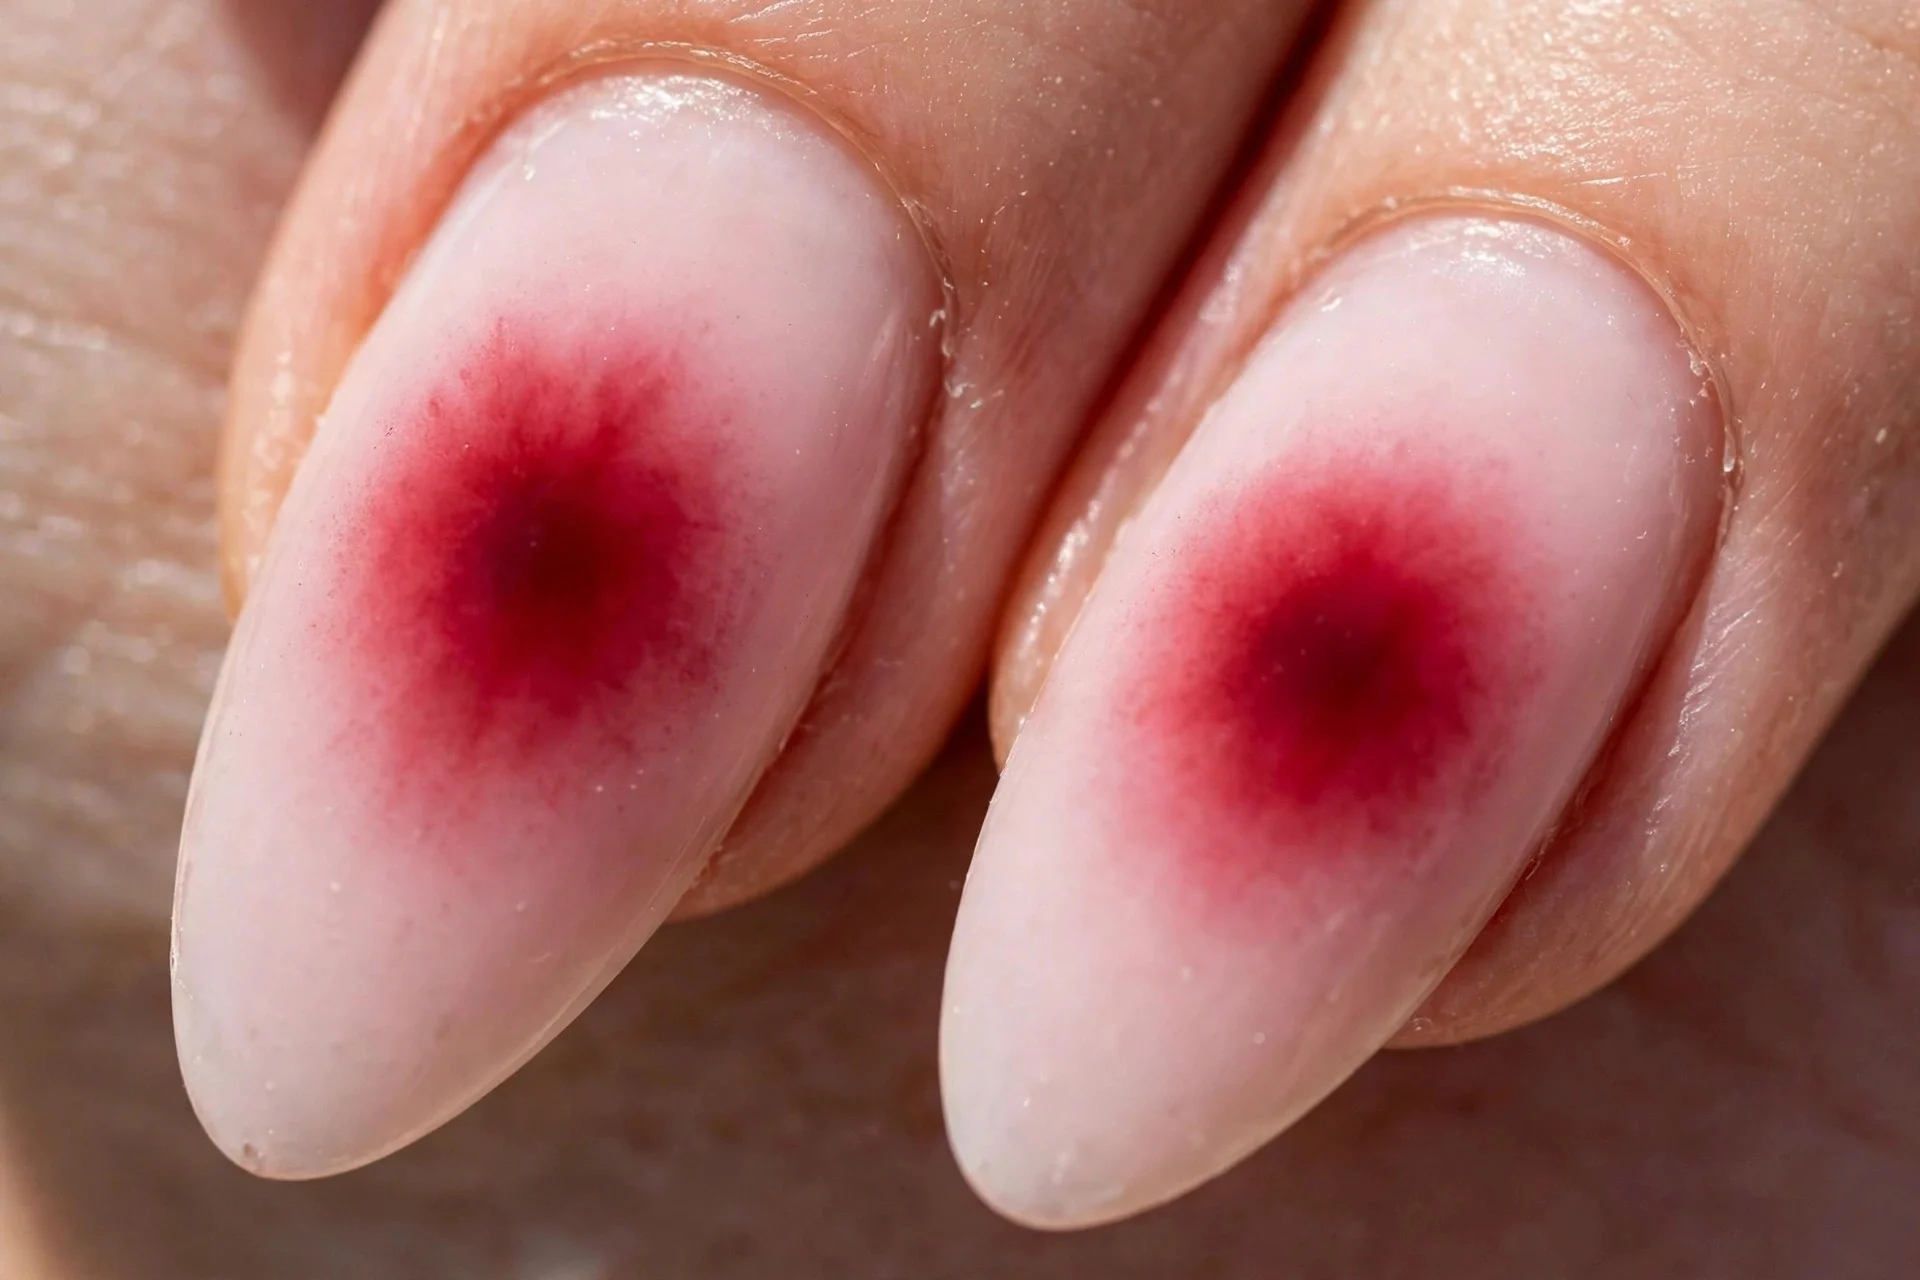
6. Red Aura
White base with a deep red centre. Bold, a little fiery, and surprisingly wearable because the edges fade so softly. A strong choice if pink aura feels too sweet for you.

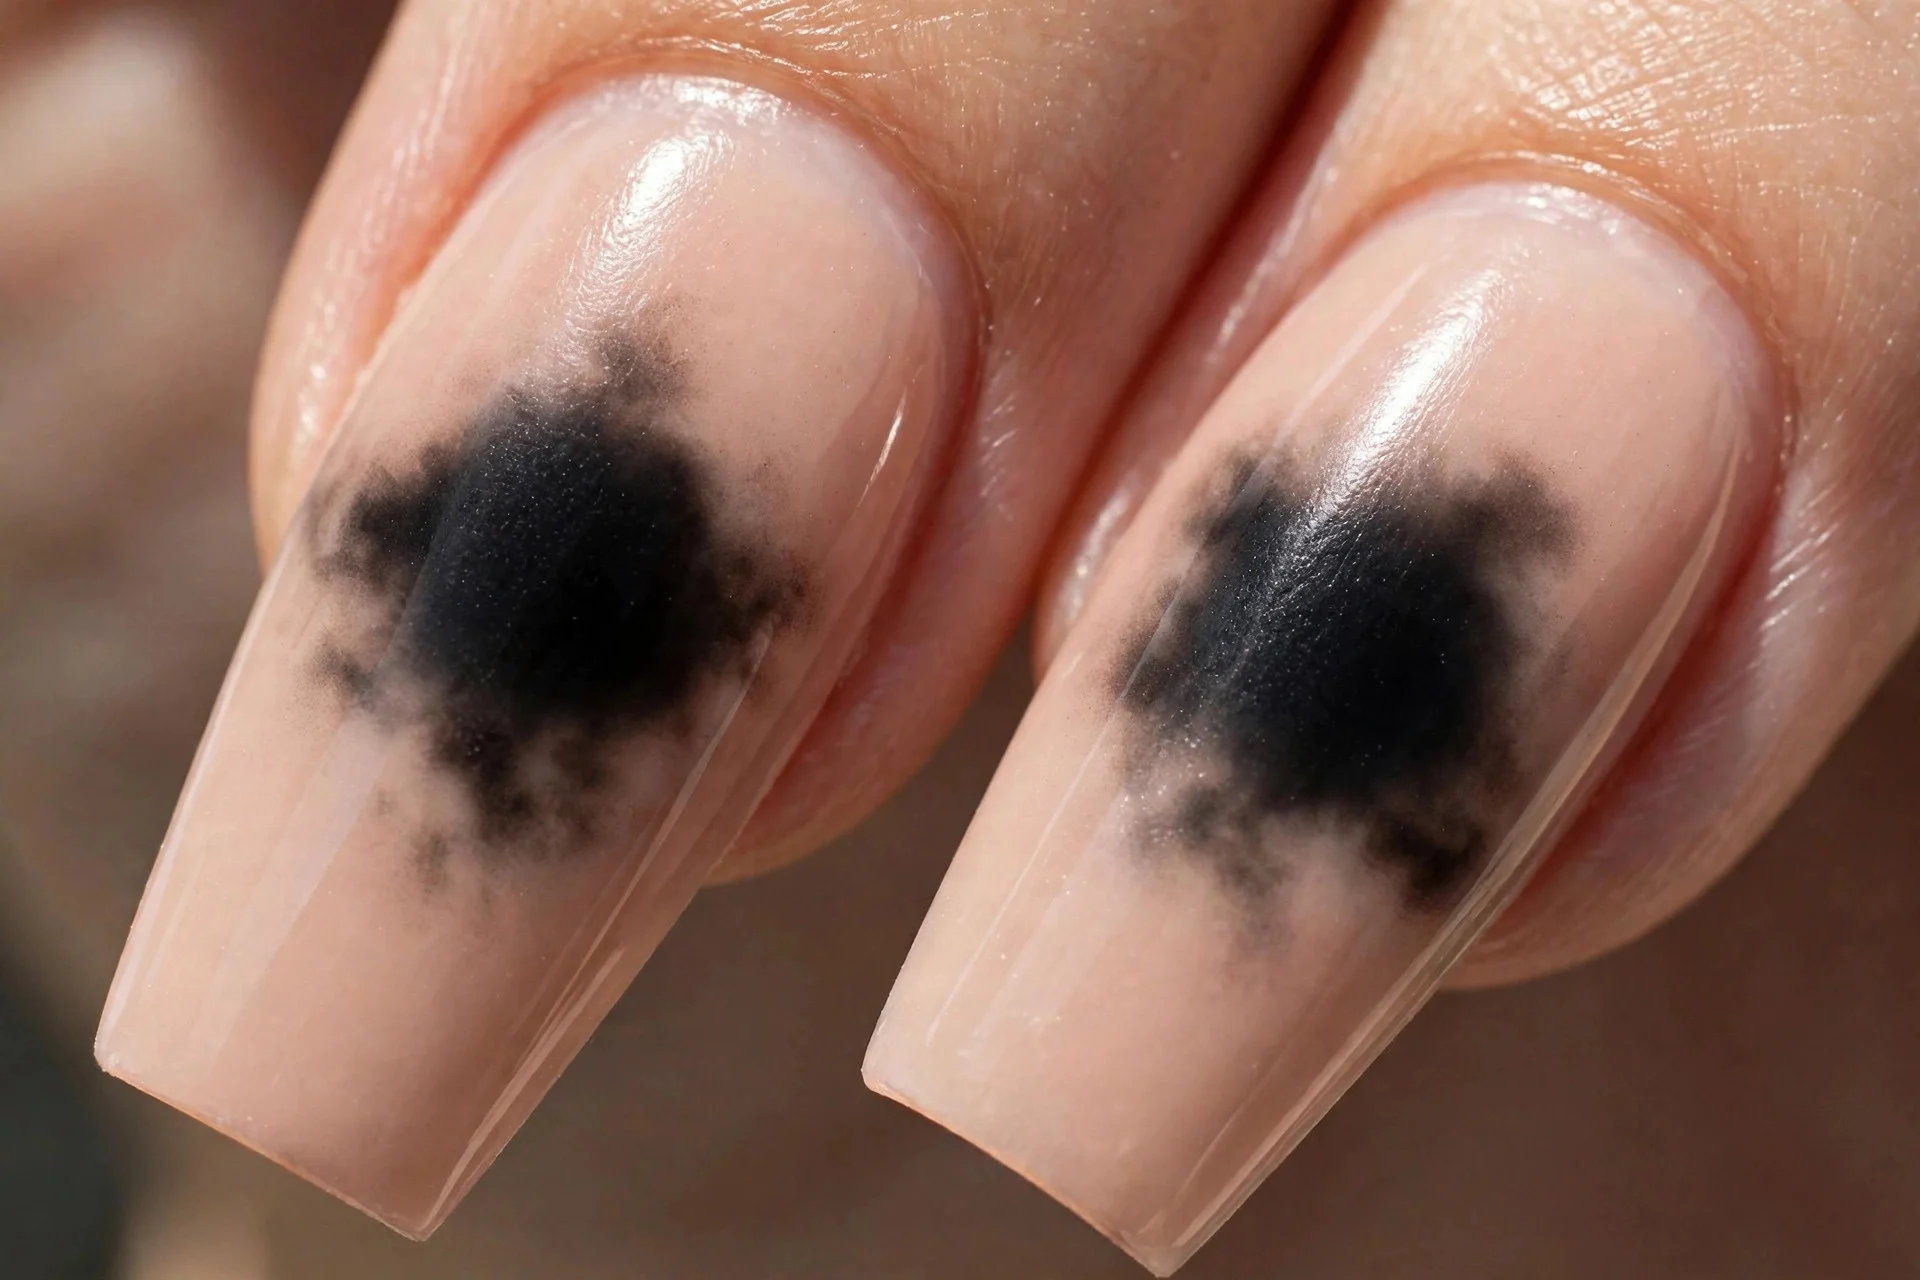
7. Black Aura
Nude or grey base with a black pigment centre. The most dramatic aura here — the dark centre against pale edges looks almost like an eclipse. Best on medium to long nails where the fade has room to breathe.
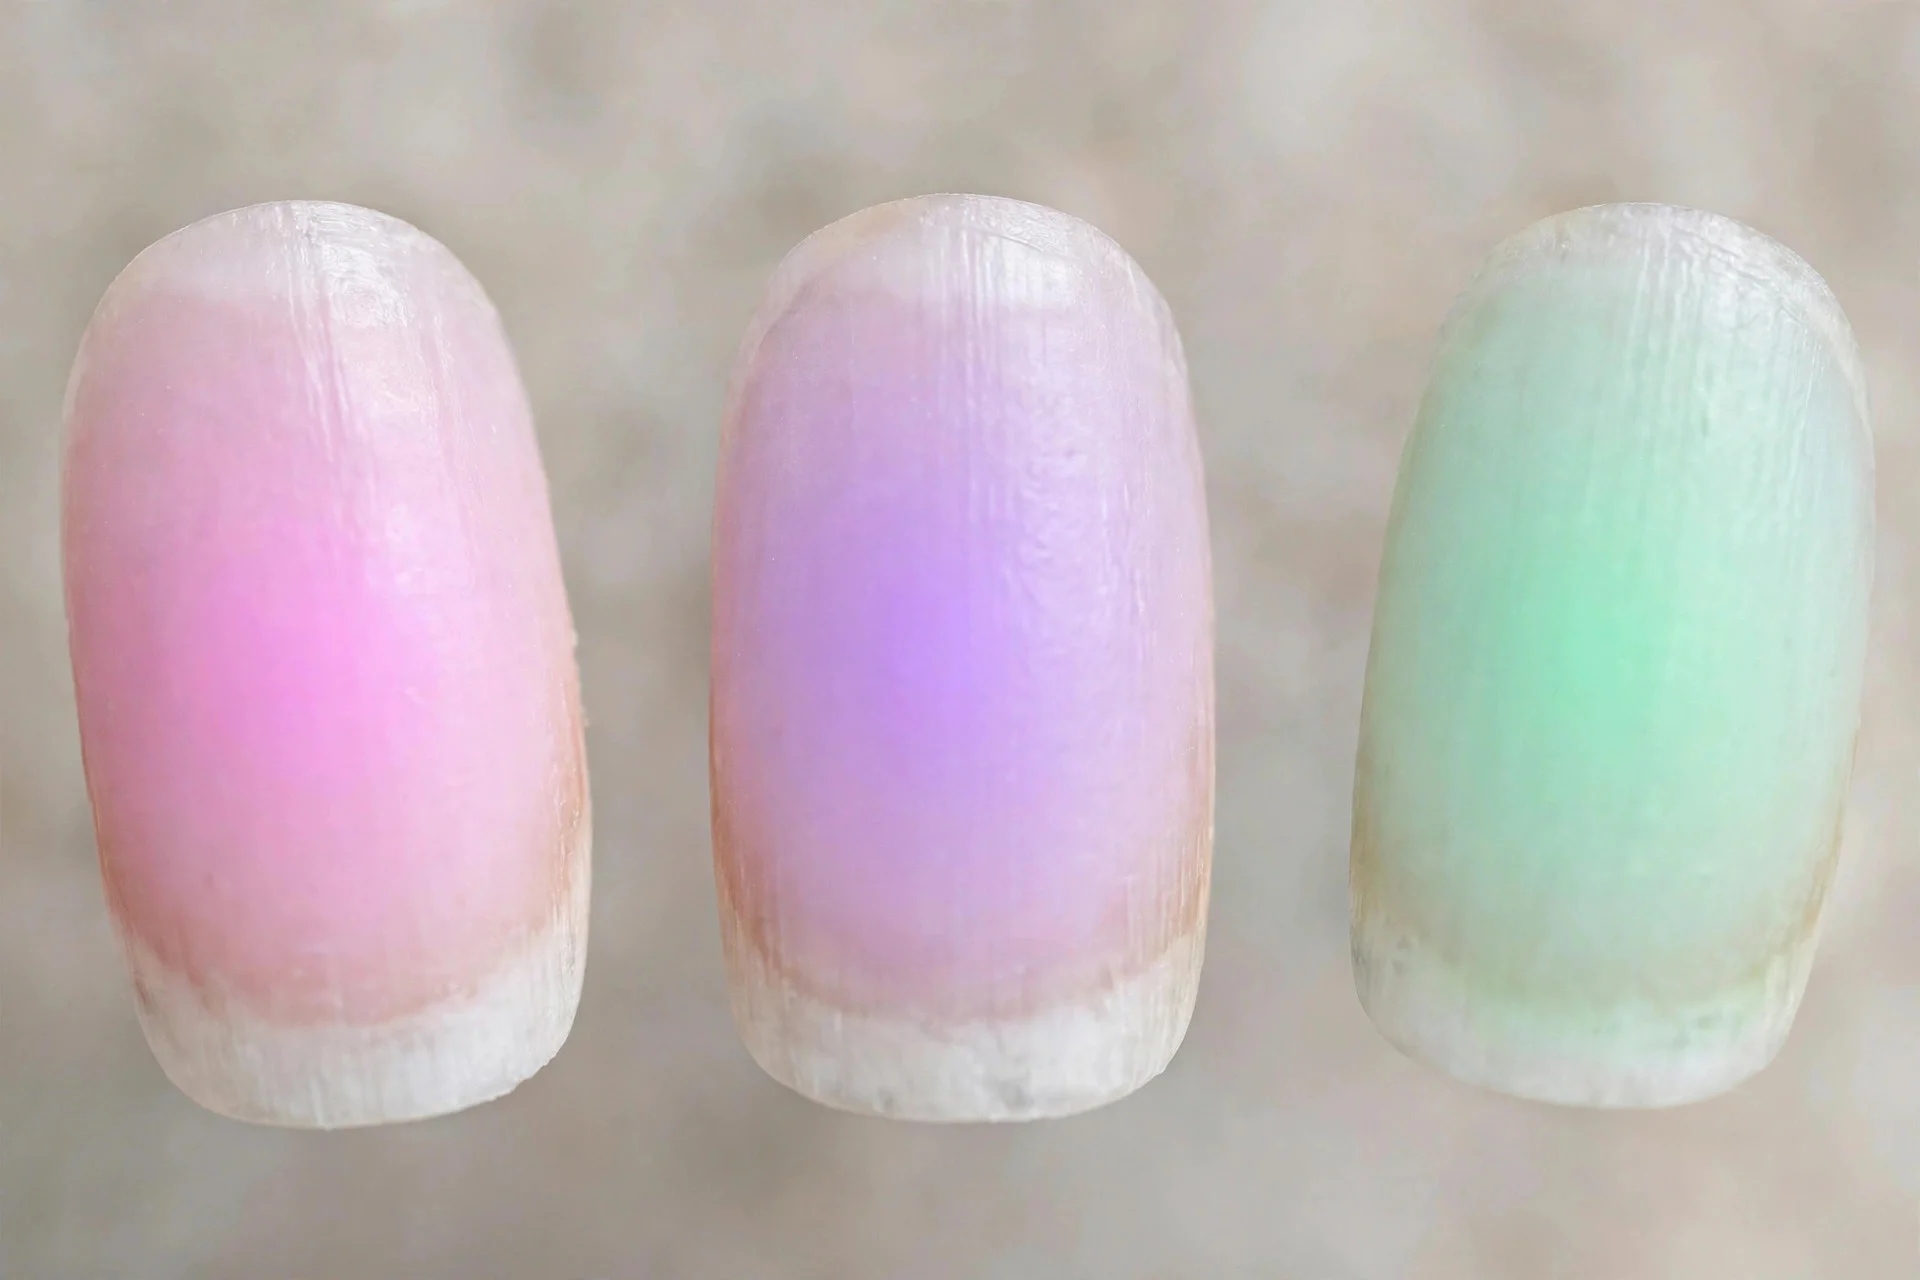
8. Pastel Rainbow Aura
White base with a different pastel pigment on each nail — pink, lilac, mint, blue, peach. The ultimate aura sampler, and each nail needs only one colour. For more soft colour ideas, see my pastel nail ideas.
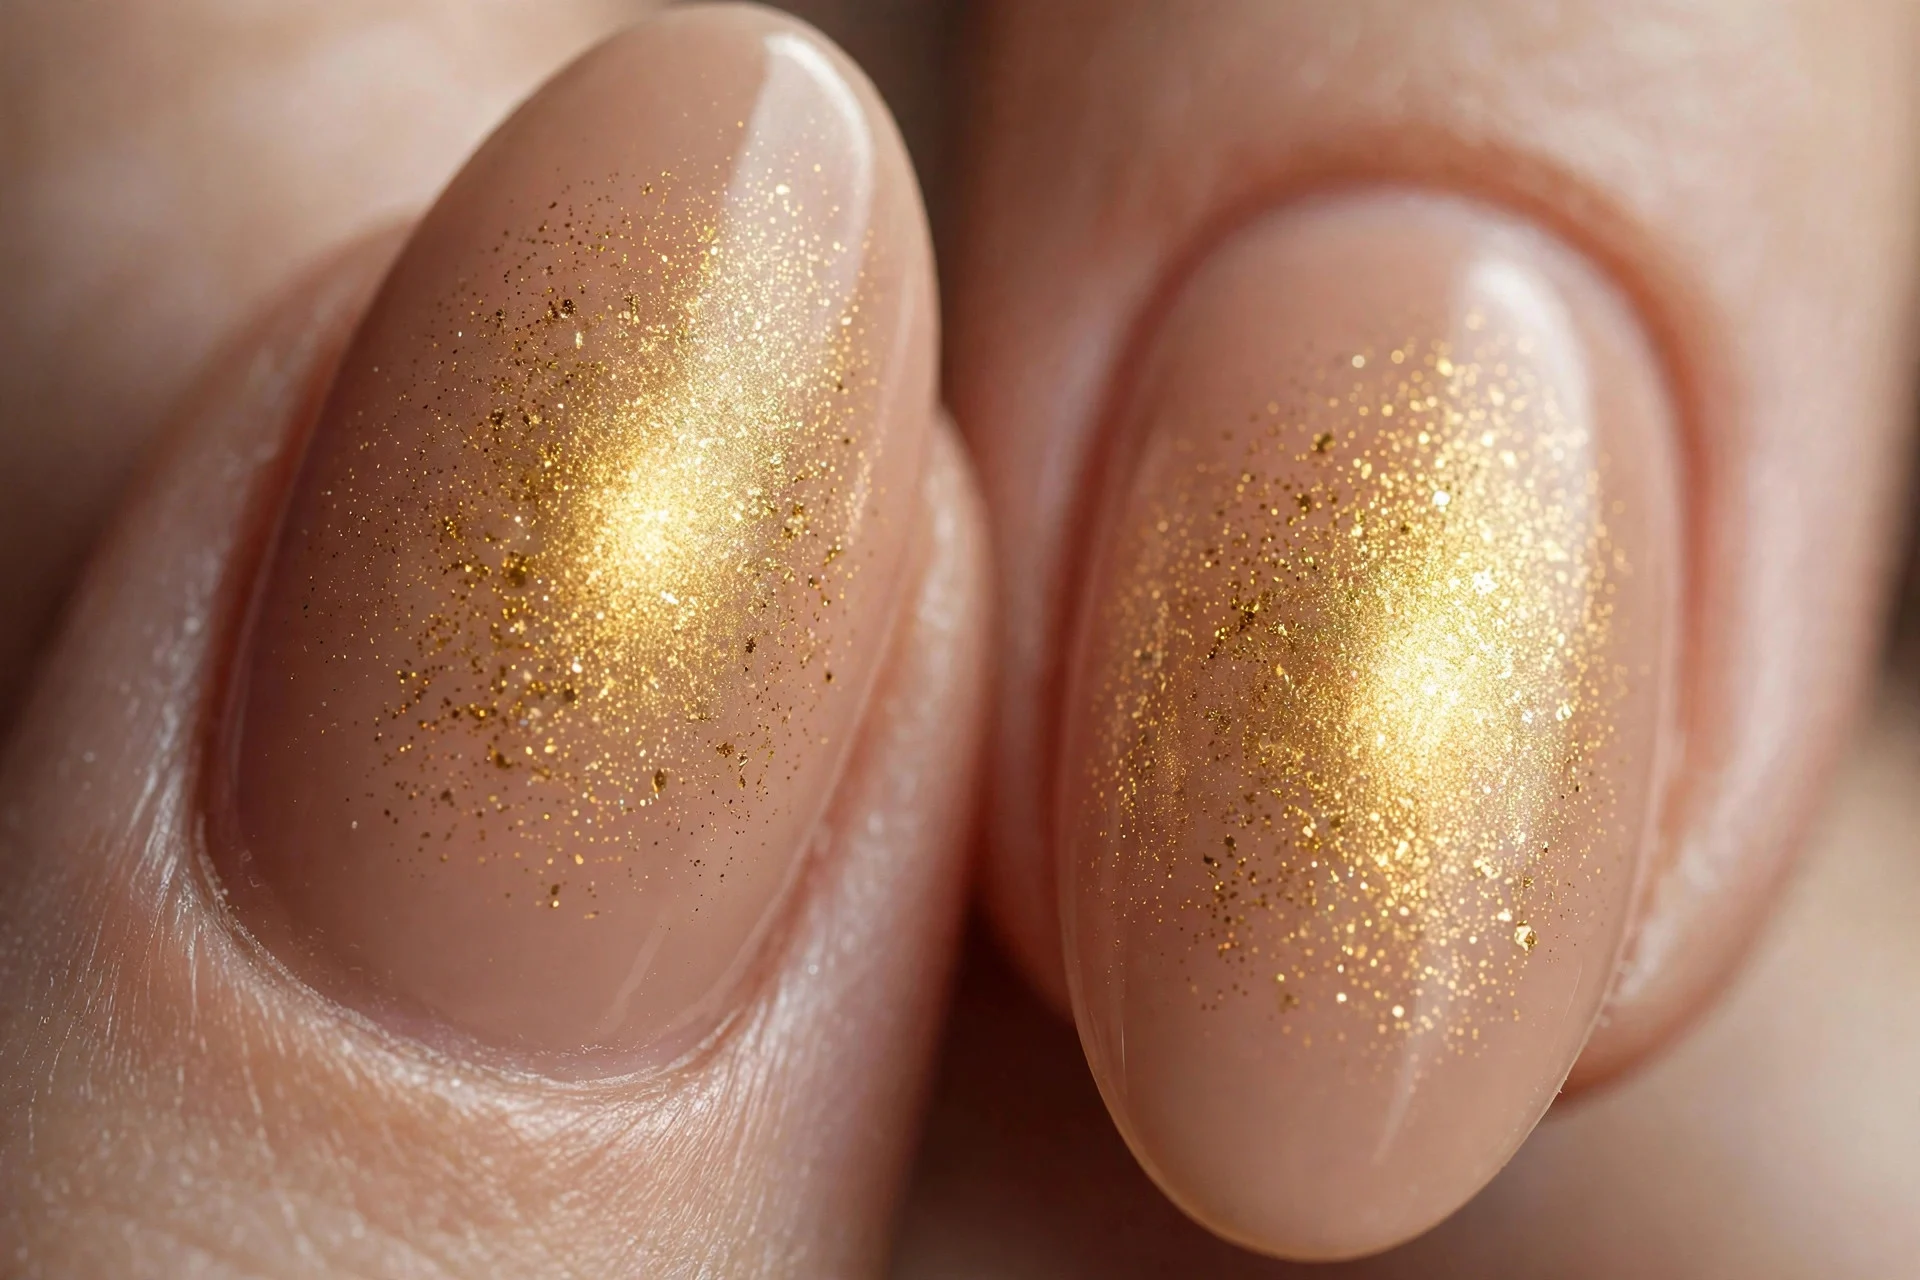
9. Gold Aura
Warm nude base with gold pigment at the centre. Subtle, expensive-looking, and the most office-friendly aura on this list. Metallic pigment gives a glow that flat colour cannot match.
10. Lavender Mist Aura
Milky lavender-white base with a slightly deeper purple centre. The softest aura here — barely-there colour that still catches the light. Perfect if you want to try the trend quietly.
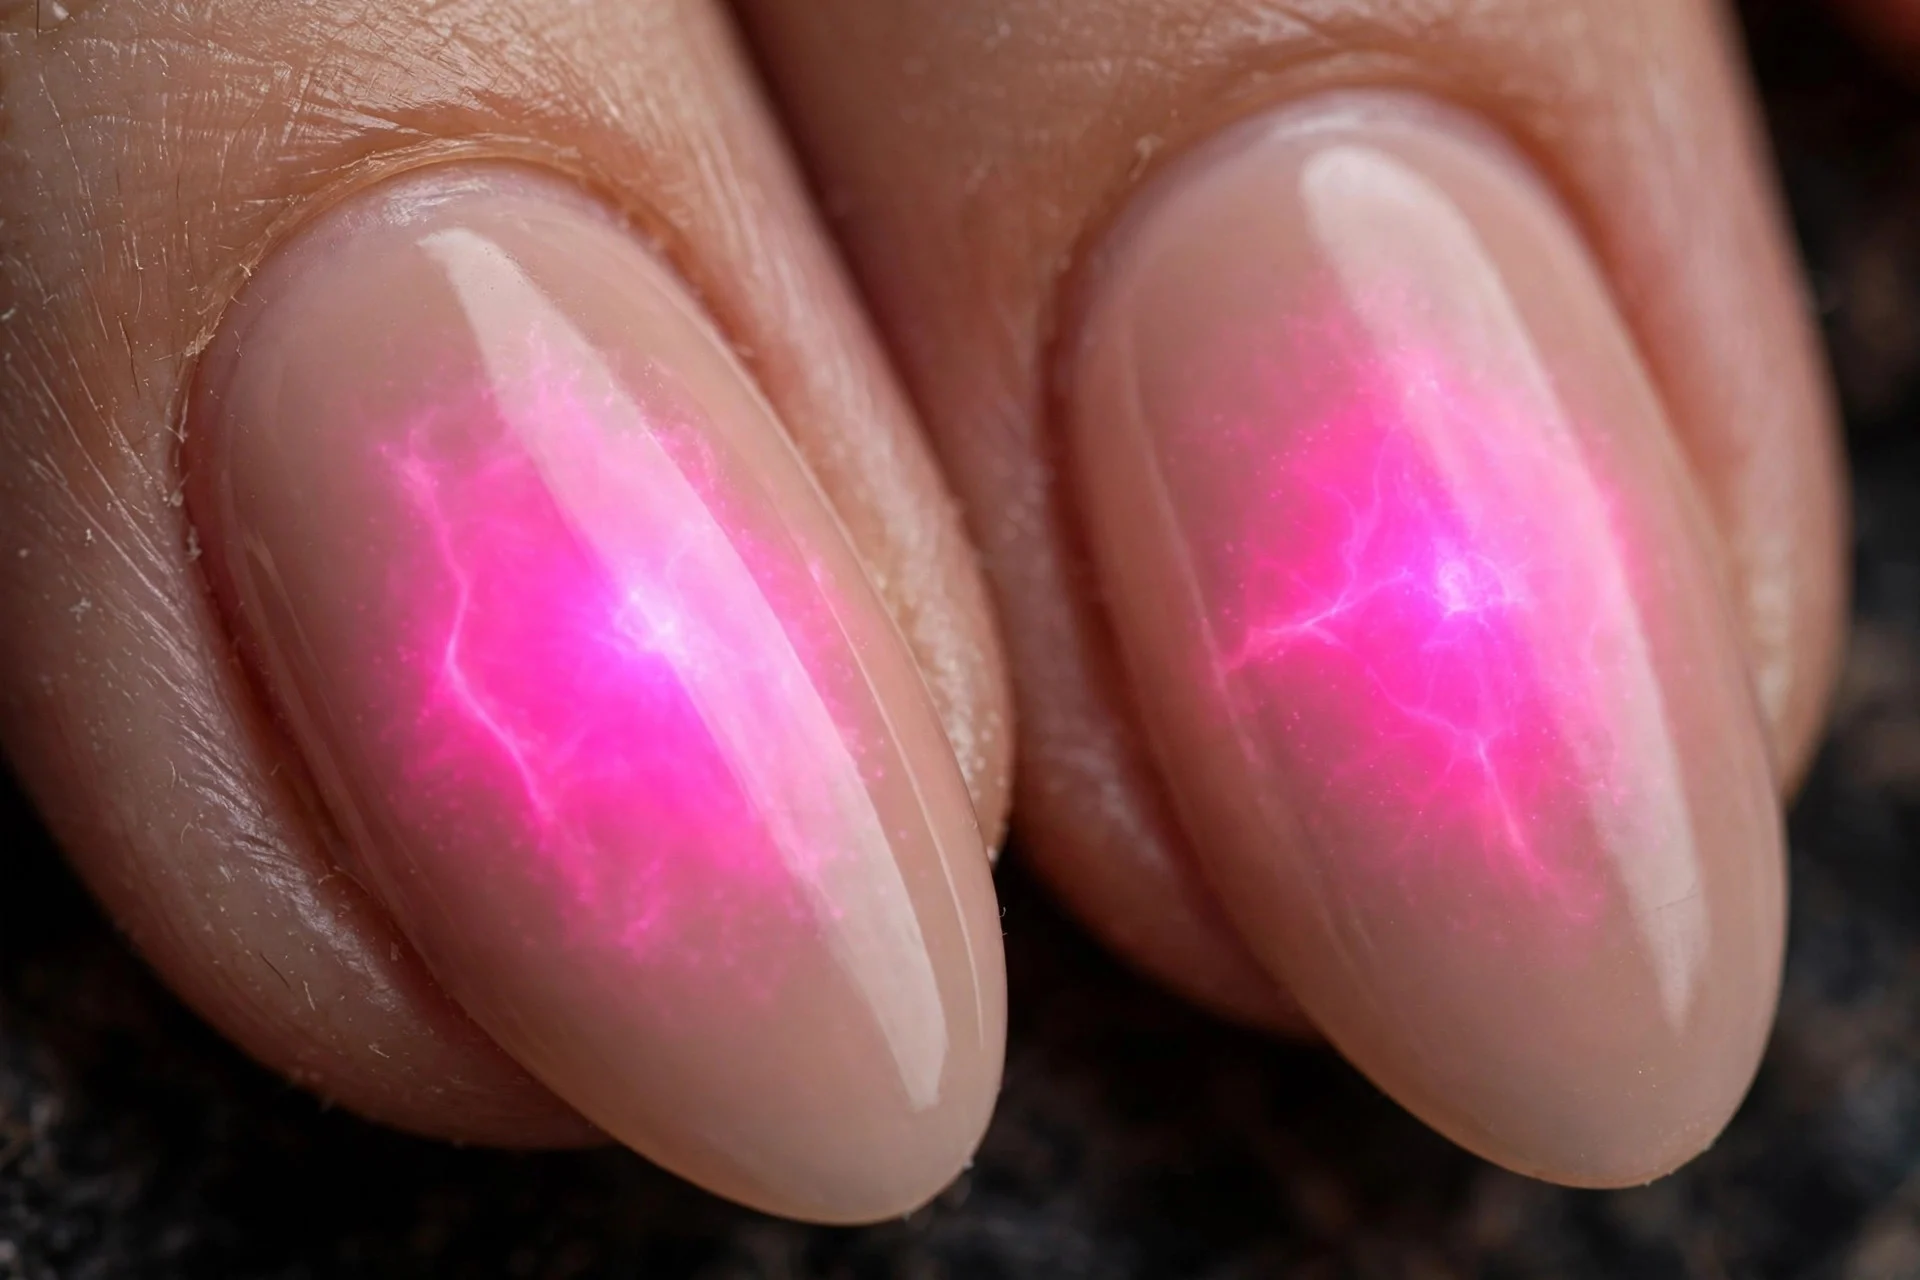
11. Neon Aura
Clear or nude base with neon pigment — hot pink, electric orange, lime. The boldest version, and the most forgiving to blend because neon is so vivid.
12. Cherry Aura
Milky pink base with deep cherry-red centre. Sweet at the edges, dramatic in the middle — this is the aura I wore most last year. It bridges cute and grown-up nicely.
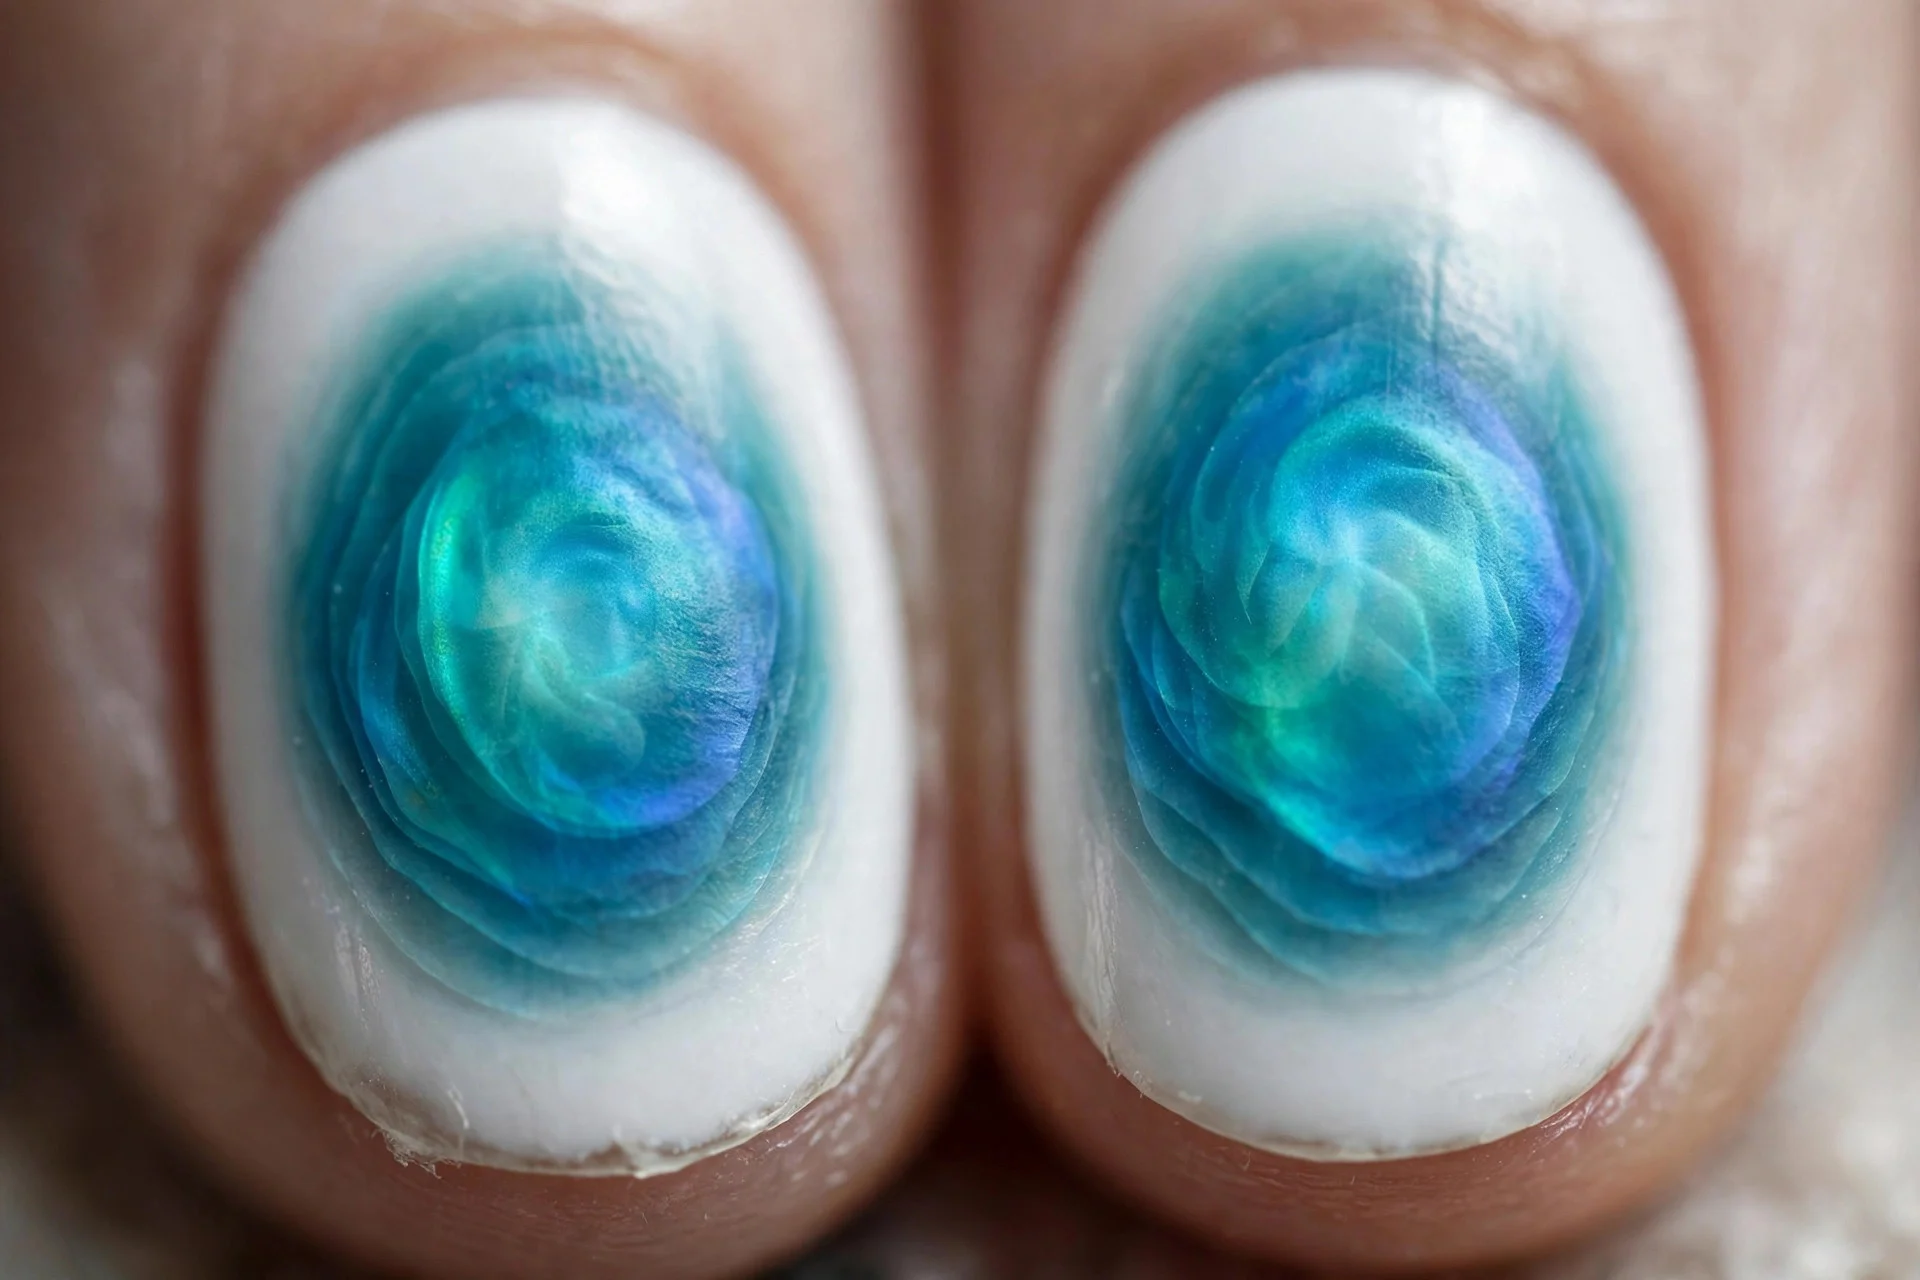
13. Ocean Aura
White base with teal-to-blue pigment. Layer two blues — teal at the very centre, a softer blue around it — for real depth. The layered version looks airbrushed even with the sponge method.
14. Aura French Tips
Nude base with the aura pigment placed at the tip instead of the centre. A glowing coloured tip that fades into the nail — like a French manicure from a dream. Easier than a crisp French line, too.
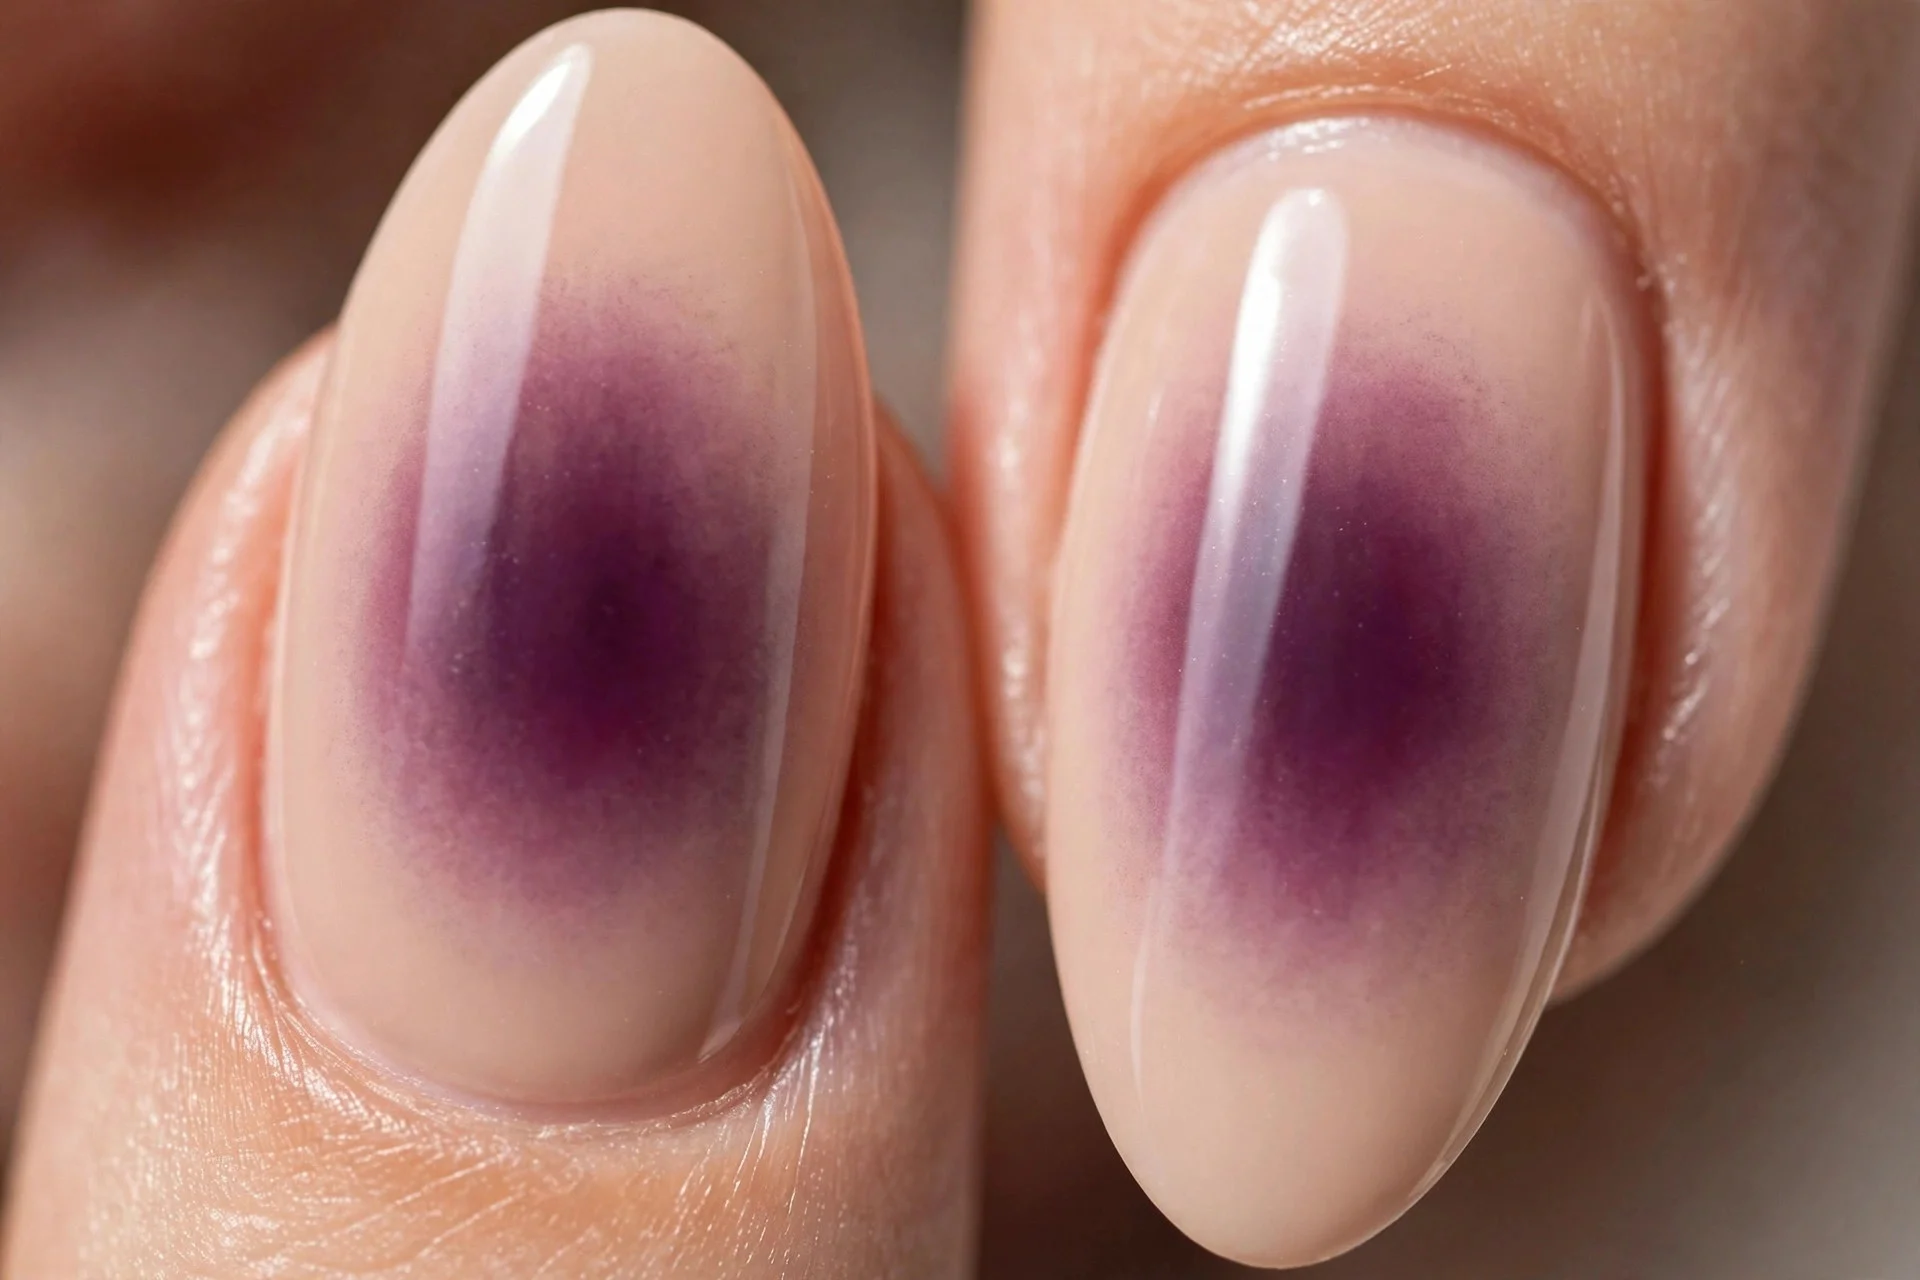
15. Dark Plum Aura
Nude base with deep plum centre. The autumn version of pink aura — rich, moody, and flattering on deep skin tones. Plum pigment blends like a dream.
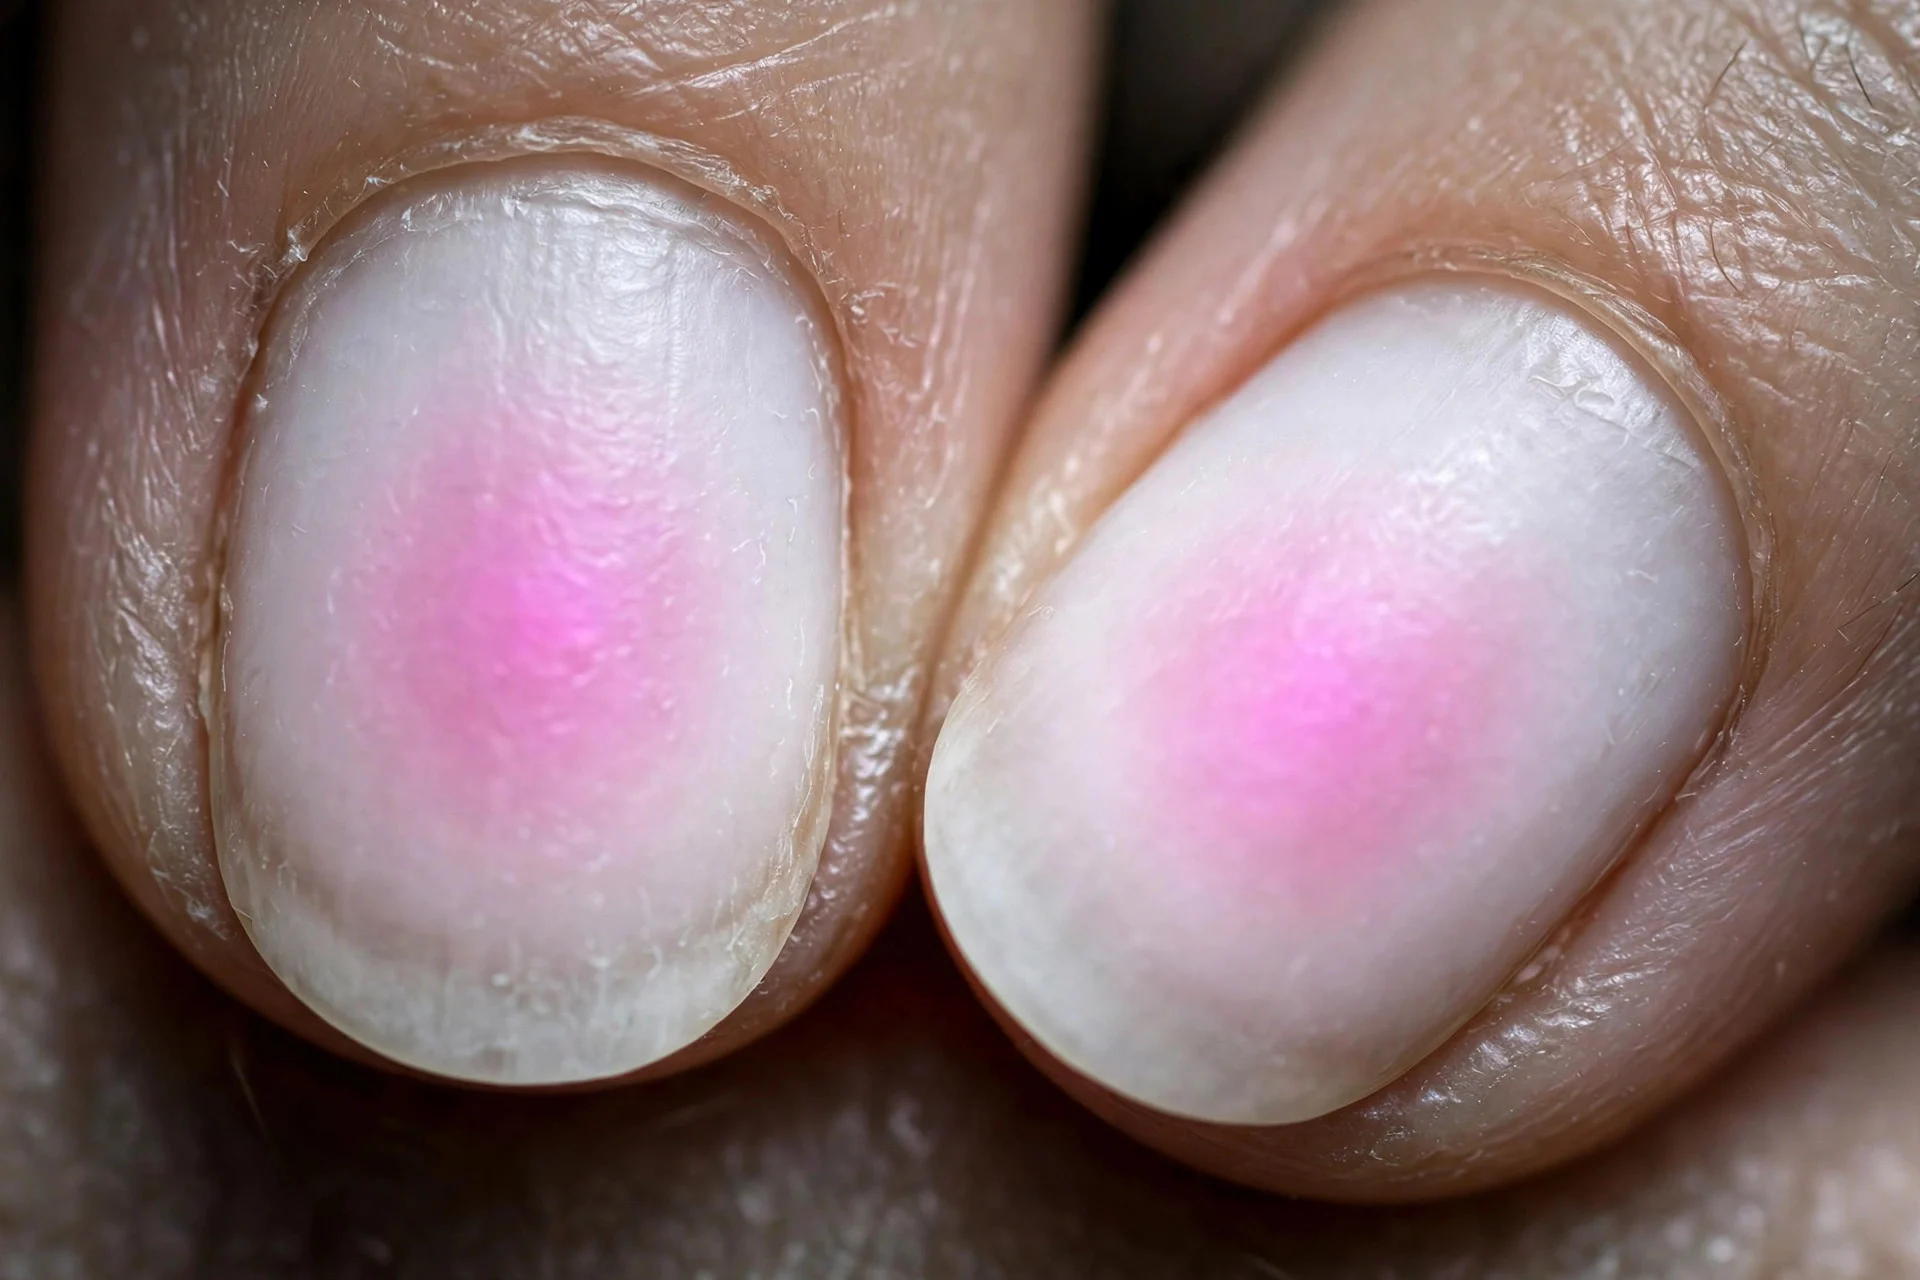
16. Aura on Short Nails
Short oval nails, milky base, small concentrated aura centre. Keep the centre tight and the fade short — on small nails, less pigment goes further. Proof the trend works at any length.
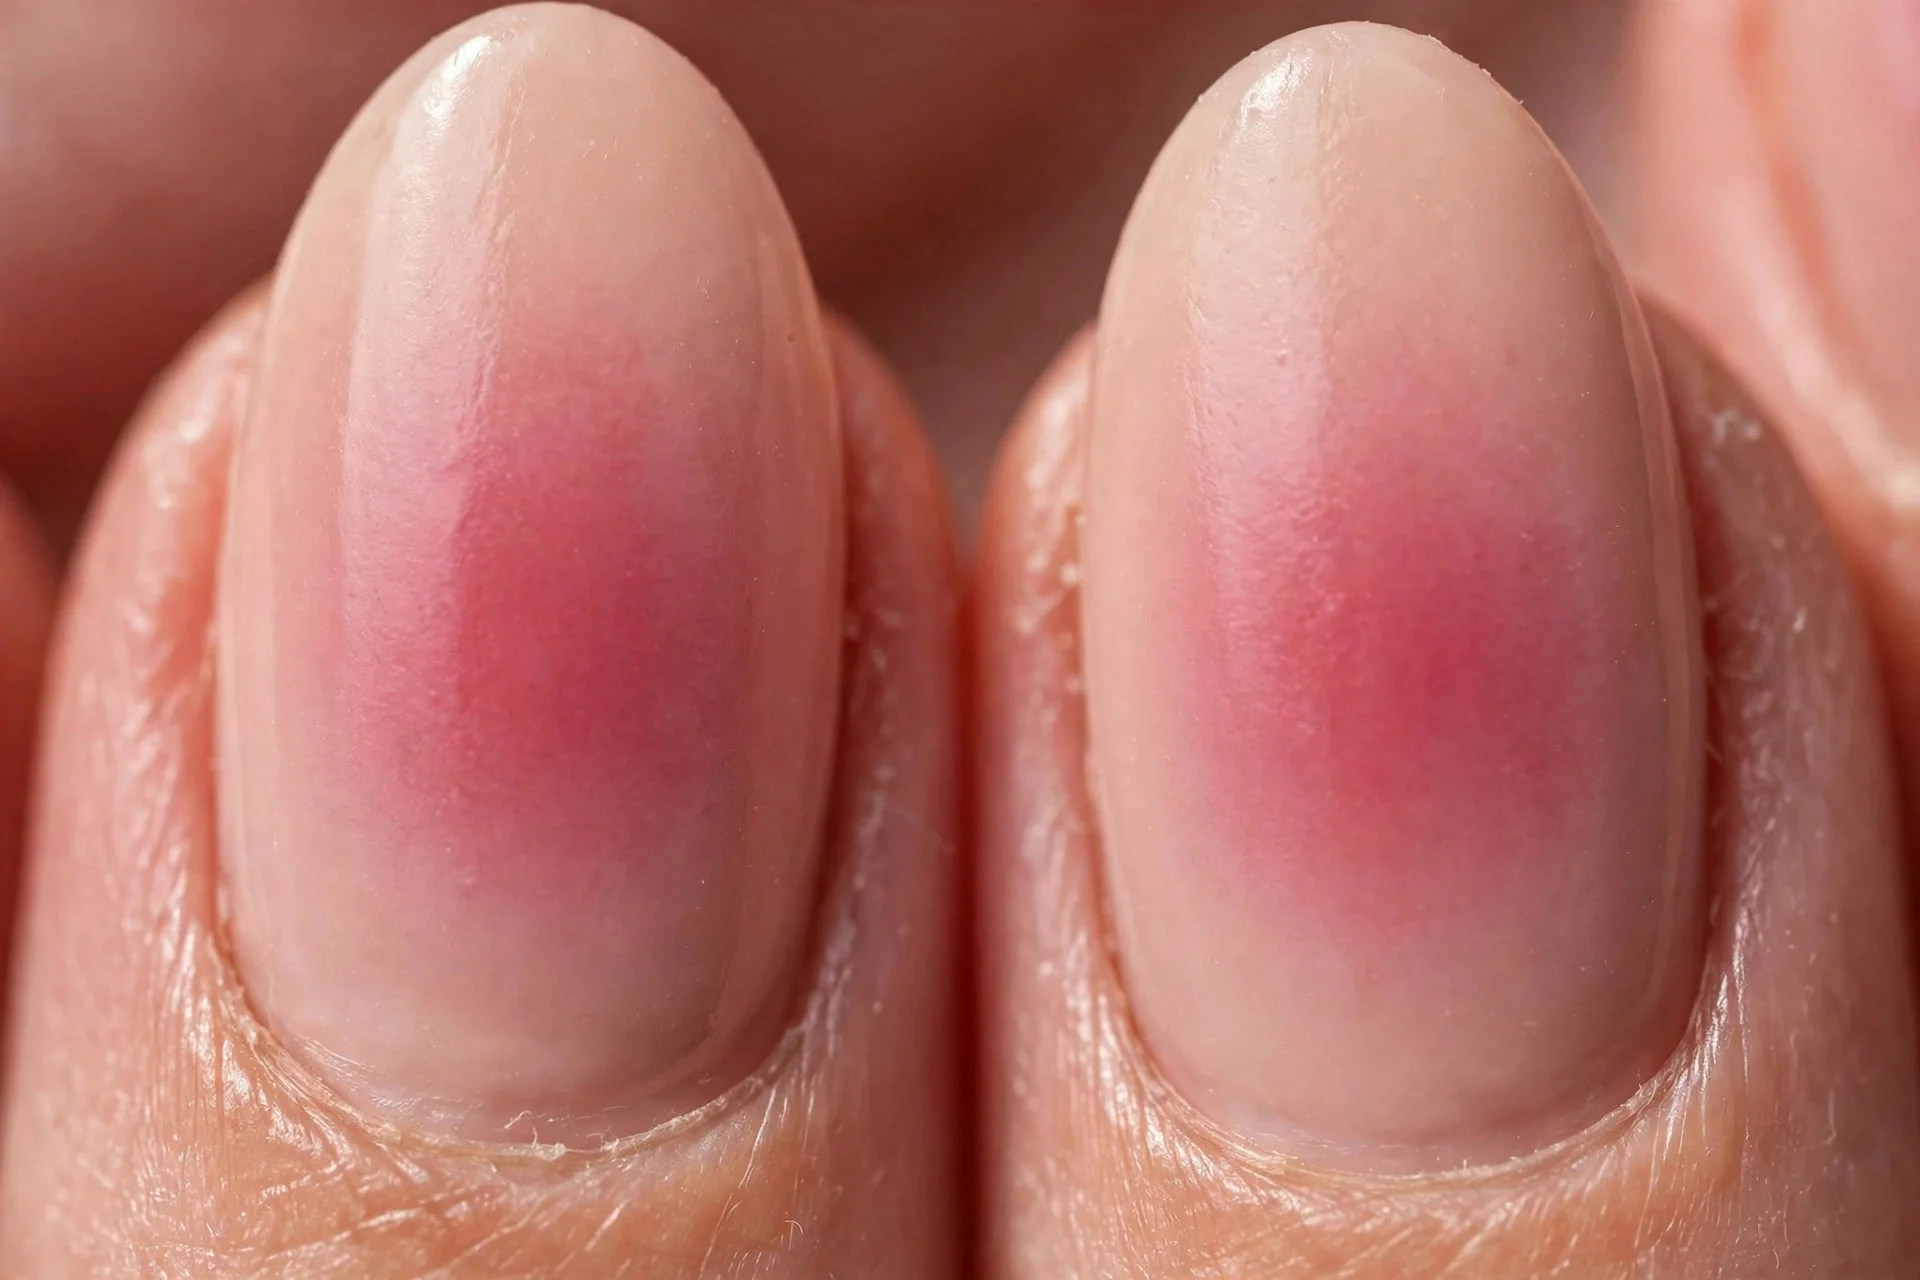
17. Ombré Aura Combo
The advanced move: an ombré base (pink fading to nude) with an aura centre in a deeper shade on top. Two gradients in one nail. If you love gradient looks generally, my ombre nail ideas are worth a look — and for pink lovers, the pink nail ideas collection pairs well.
Frequently Asked Questions
What do I need for DIY aura nails?
A base polish, loose eyeshadow or pigment, a small wedge makeup sponge, and a top coat. A UV lamp is needed only if you use gel polish. The whole kit costs under £15 if you already own eyeshadow.
Why does my aura look patchy?
Patchiness comes from too much pigment in one dab or from dragging the sponge. Dab lightly with minimal pigment, tap off the excess first, and build the colour in several light layers instead of one heavy one.
Can I do aura nails with regular polish?
Yes. Apply the pigment after the base is completely dry, dab gently, and seal with top coat. Gel is easier because the hard cured base cannot be disturbed, but regular polish works with a light hand.
How long do aura nails last?
As long as your base manicure lasts — two to three weeks for gel, about a week for regular polish. The pigment itself is sealed under top coat, so it will not wear off independently.
What is the best base colour for aura nails?
Milky white, nude, or sheer pink show the pigment most clearly. Dark bases mute the effect — the pale base against a saturated centre is what makes it glow.
Can I use real eyeshadow for aura nails?
Yes — that is the standard DIY method. Any finely milled eyeshadow works. Avoid chunky glitter shadows, which will not blend into a smooth gradient.
Final Thoughts
Aura nails are the rare trend where the DIY version genuinely rivals the salon one. Grab a wedge sponge, pick one colour, and start light — your first set might not be perfect, but by the third nail you will have the dabbing rhythm down. Start with the classic pink aura, and once you are confident, the whole colour wheel is yours.