
Marble nails look effortless and luxurious — those soft grey veins drifting through white polish like real Carrara stone. The reality? Marble is one of the easiest nail designs to mess up and one of the hardest to fix mid-manicure. I have ruined my fair share of marble sets before I worked out what was actually going wrong. So this post is two things at once: 19 gorgeous marble nail ideas to try, and an honest troubleshooting guide for every marble nail mistake I have made or seen, with the fix that actually works.
What Marble Nails Are (and the Two Ways to Get Them)
Marble nails mimic the veining of natural stone — most often white marble with grey veins, but the technique works in any colour combination. There are two main methods. Water marbling: dropping polish into room-temperature water, swirling it with a stick, and dipping the nail through the pattern. It is the classic technique and the one most tutorials show, but it is temperamental — water temperature, polish formula, and timing all matter.
The second method is dry marbling: paint the base, then drag a thin brush or toothpick through wet polish to draw the veins by hand. It is slower but far more controllable, and it is the method I recommend to beginners.
The Mistakes That Ruin Marble Nails — and How to Fix Each
Mistake 1: The colours bleed into mud
This is the classic water-marble failure. You drop your colours into the water, swirl, and everything merges into a grey-brown sludge. The cause is almost always polish that is too old or too thick. The fix: use fresh, thin-formula polish. Test a drop first — it should spread into a wide thin ring within seconds. If it sinks or holds its blob shape, that bottle is dead for marbling.
Mistake 2: The pattern smears when you dip
You get a beautiful pattern on the water, dip your finger, and pull out a smeared mess. Two causes. First, dipping too slowly — the polish skin starts setting and drags. Commit and dip in one smooth, confident motion. Second, and more common: you waited too long after swirling. Swirl, then dip immediately — a fresh pattern takes 30 seconds and beats a smeared nail.
Mistake 3: Veins that are too thick and blobby
In dry marbling, thick veins happen when the brush carries too much polish or the base is too wet. The fix: let the base colour get tacky — not wet, not dry — before drawing veins. Use a fine detail brush, wipe most of the polish off it, and draw with a light hand. Thin veins read as marble; thick veins read as abstract art.
Mistake 4: The water is the wrong temperature
Cold water makes polish sink and clump; hot water makes it spread too fast and skin over before you can swirl. Room temperature — around 20-22°C — is the sweet spot. If your polish keeps sinking in little balls, the water is too cold.
Mistake 5: Air bubbles under the pattern
Bubbles appear when you dip too fast or at a bad angle, trapping air under the polish film. Dip at a slight angle, nail first, and go steadily. If bubbles appear anyway, dab a tiny dot of base colour over the hole once dry and seal with top coat.
Mistake 6: The design looks flat, not like stone
Real marble has depth — veins at different opacities, some sharp, some ghostly. Flat-looking marble usually means all your veins are the same grey and width. Fix it by layering: bold veins first, then fainter thinner ones, finished with a sheer white wash to melt everything together. This single trick transforms amateur marble into convincing stone.
Mistake 7: Polish sticks to the skin, not the nail
In water marbling, the pattern wraps the whole fingertip. That is normal — tape around the nail or apply liquid latex before dipping, then peel it away after. Trying to clean wet marbled polish off skin with a brush is how you smear the nail itself.
19 Marble Nail Ideas
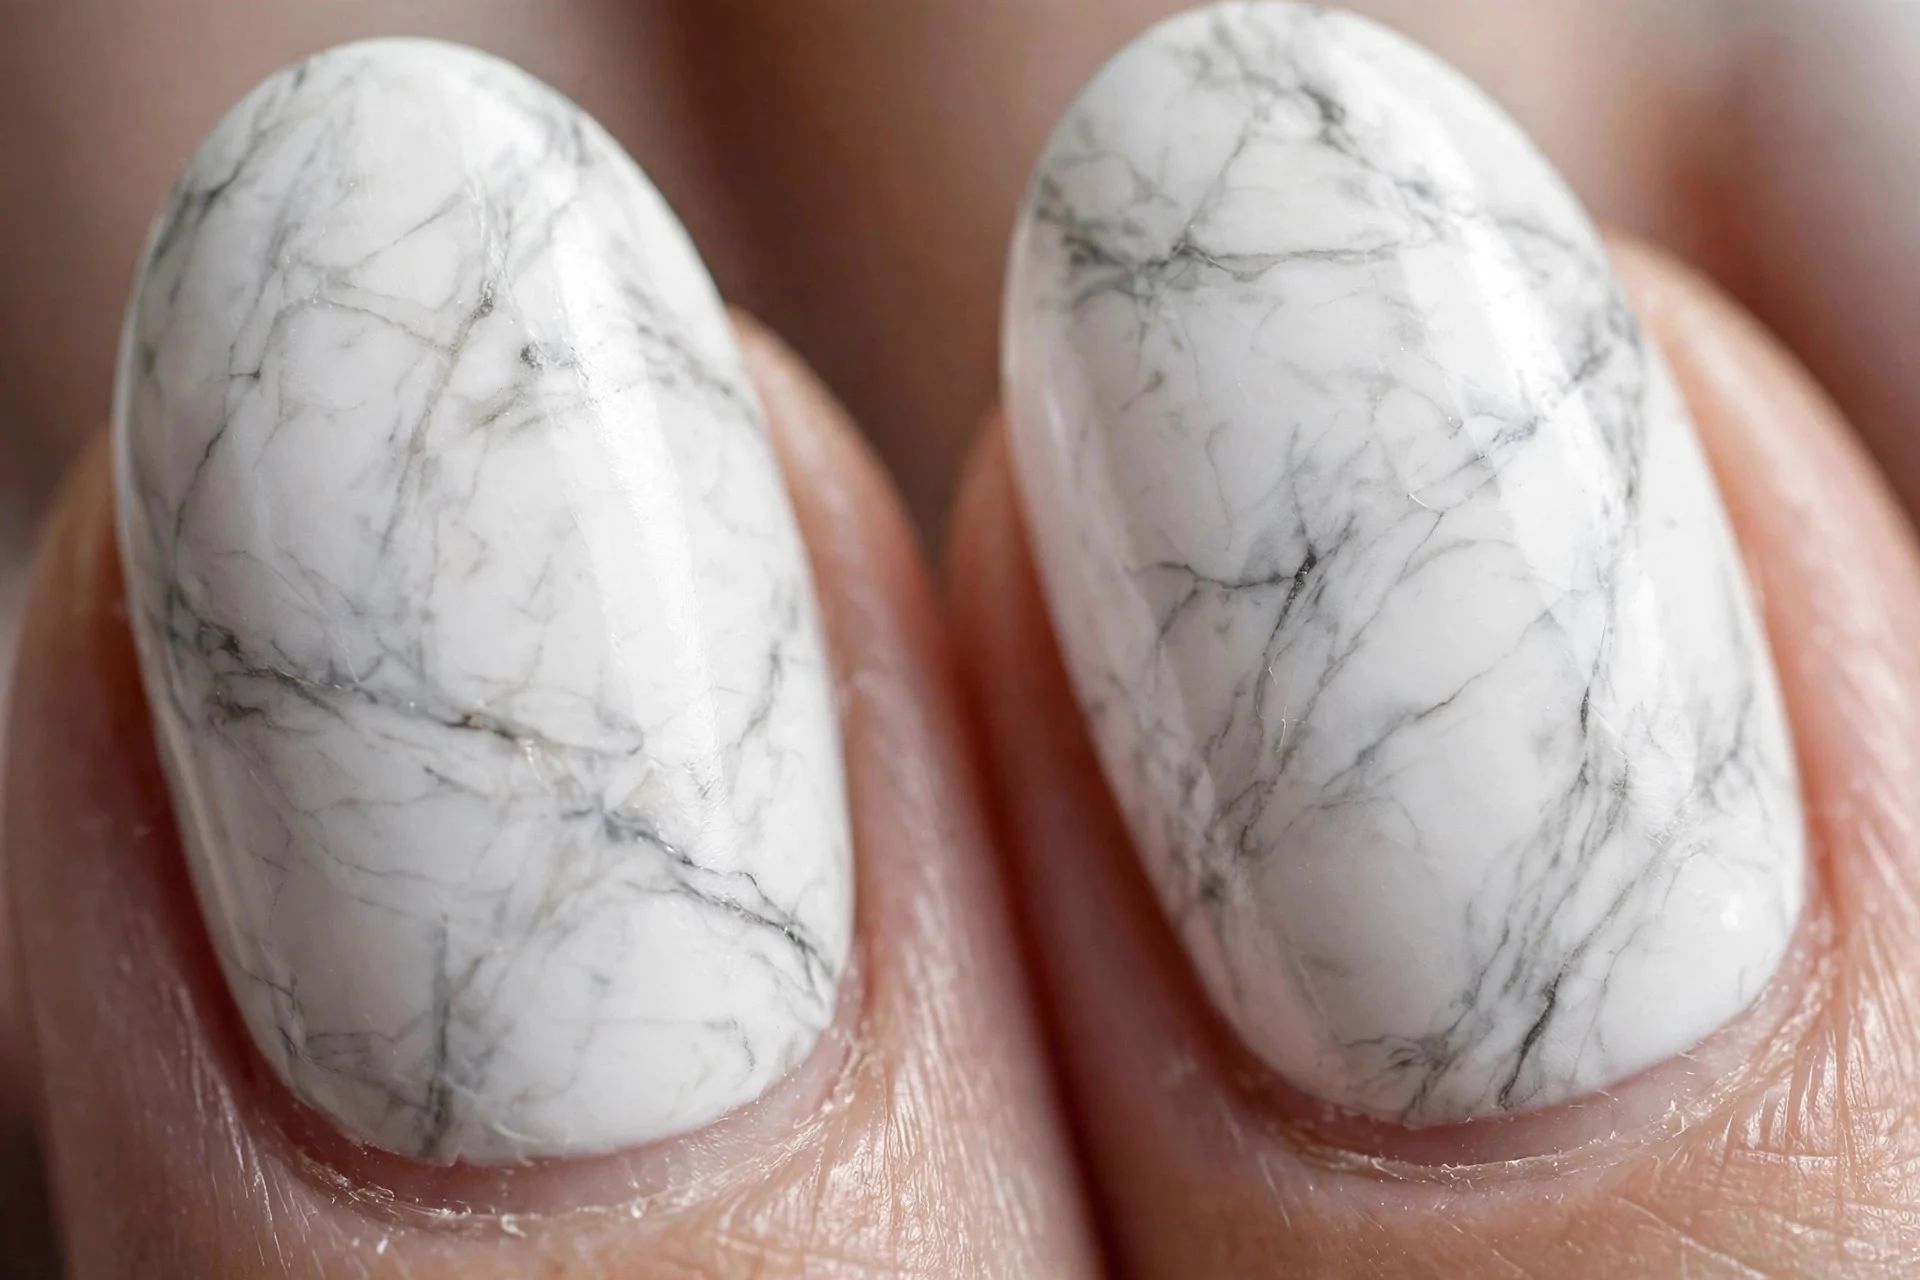
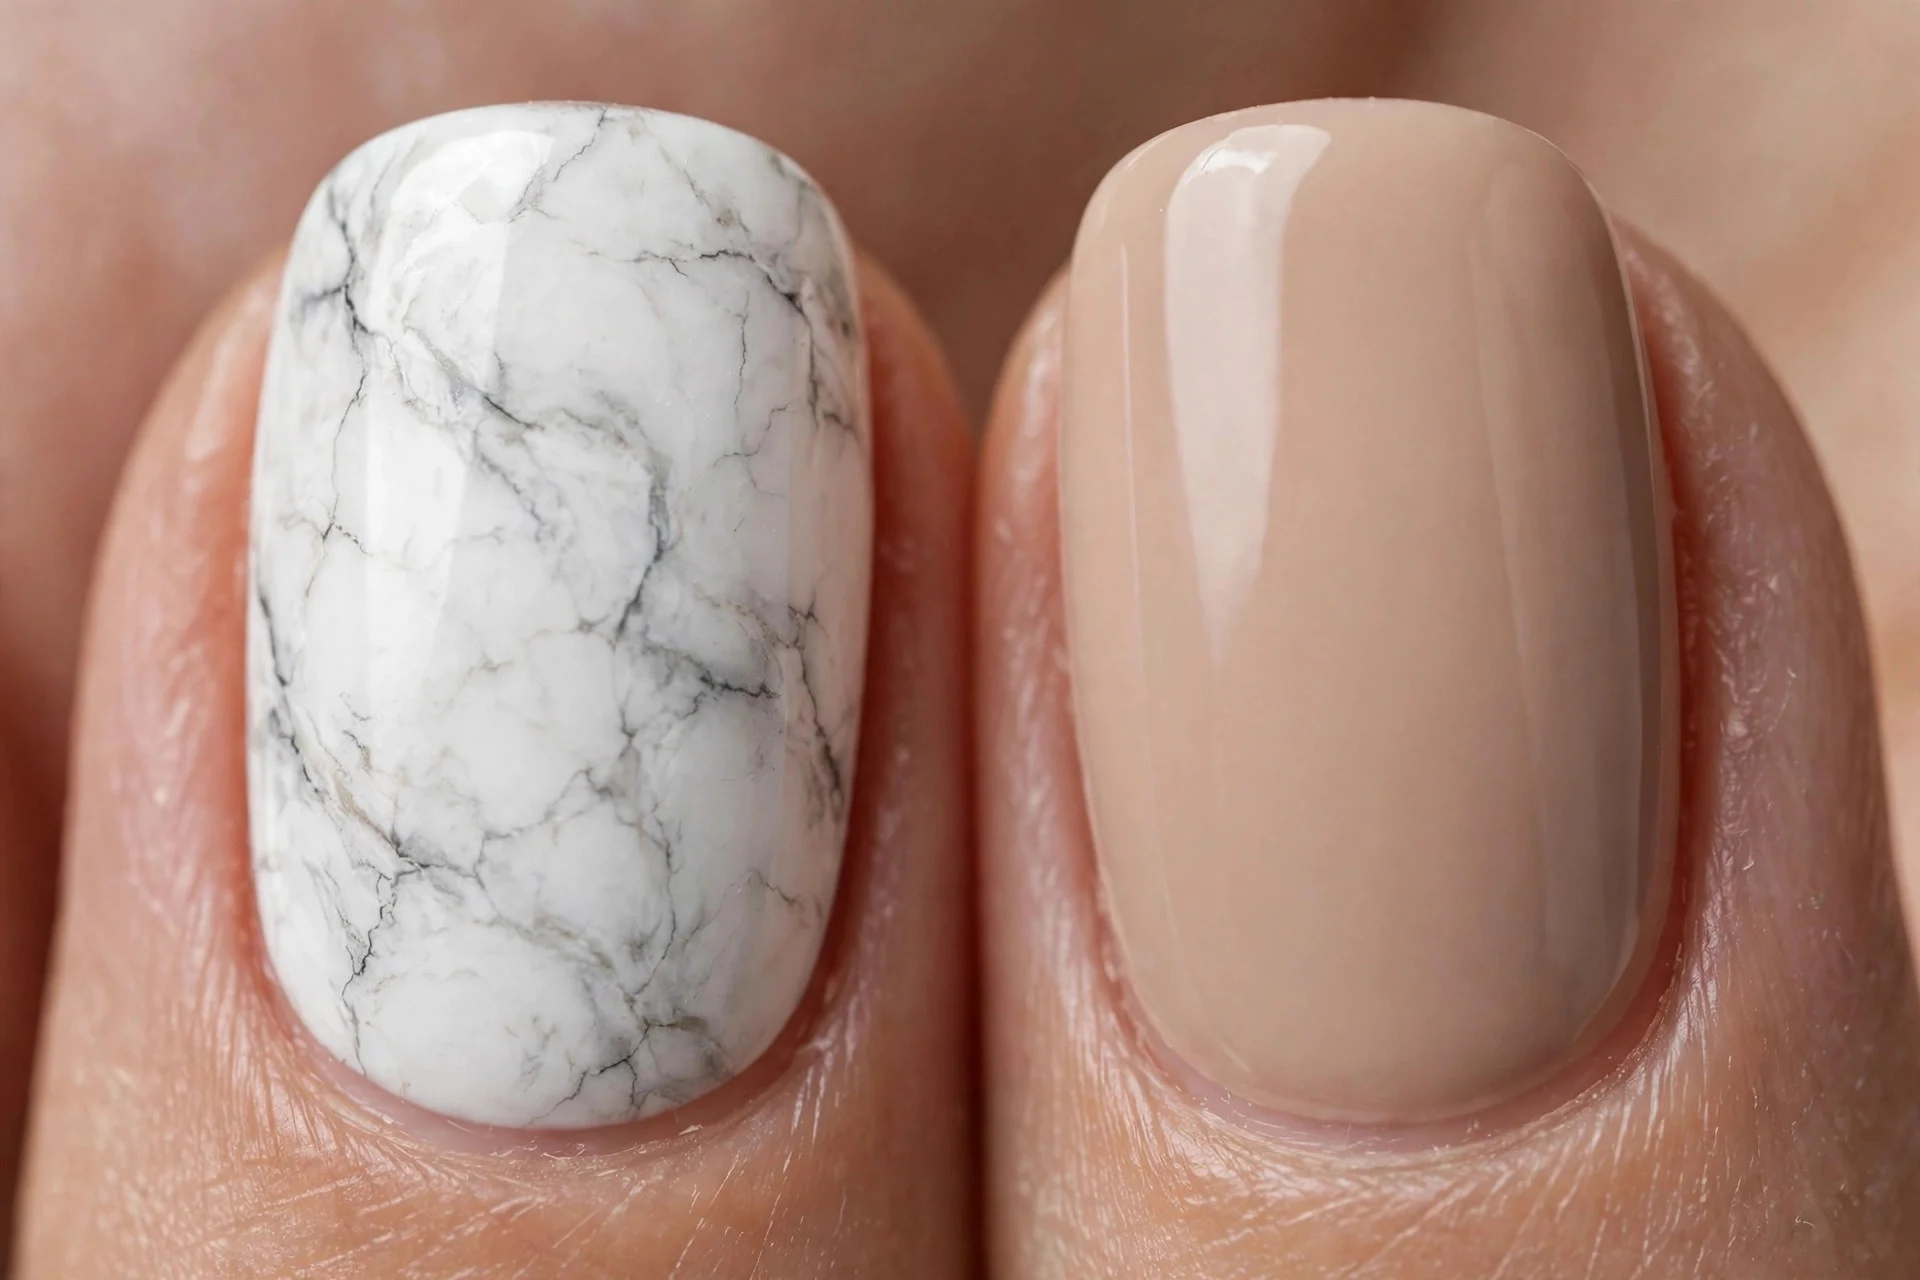
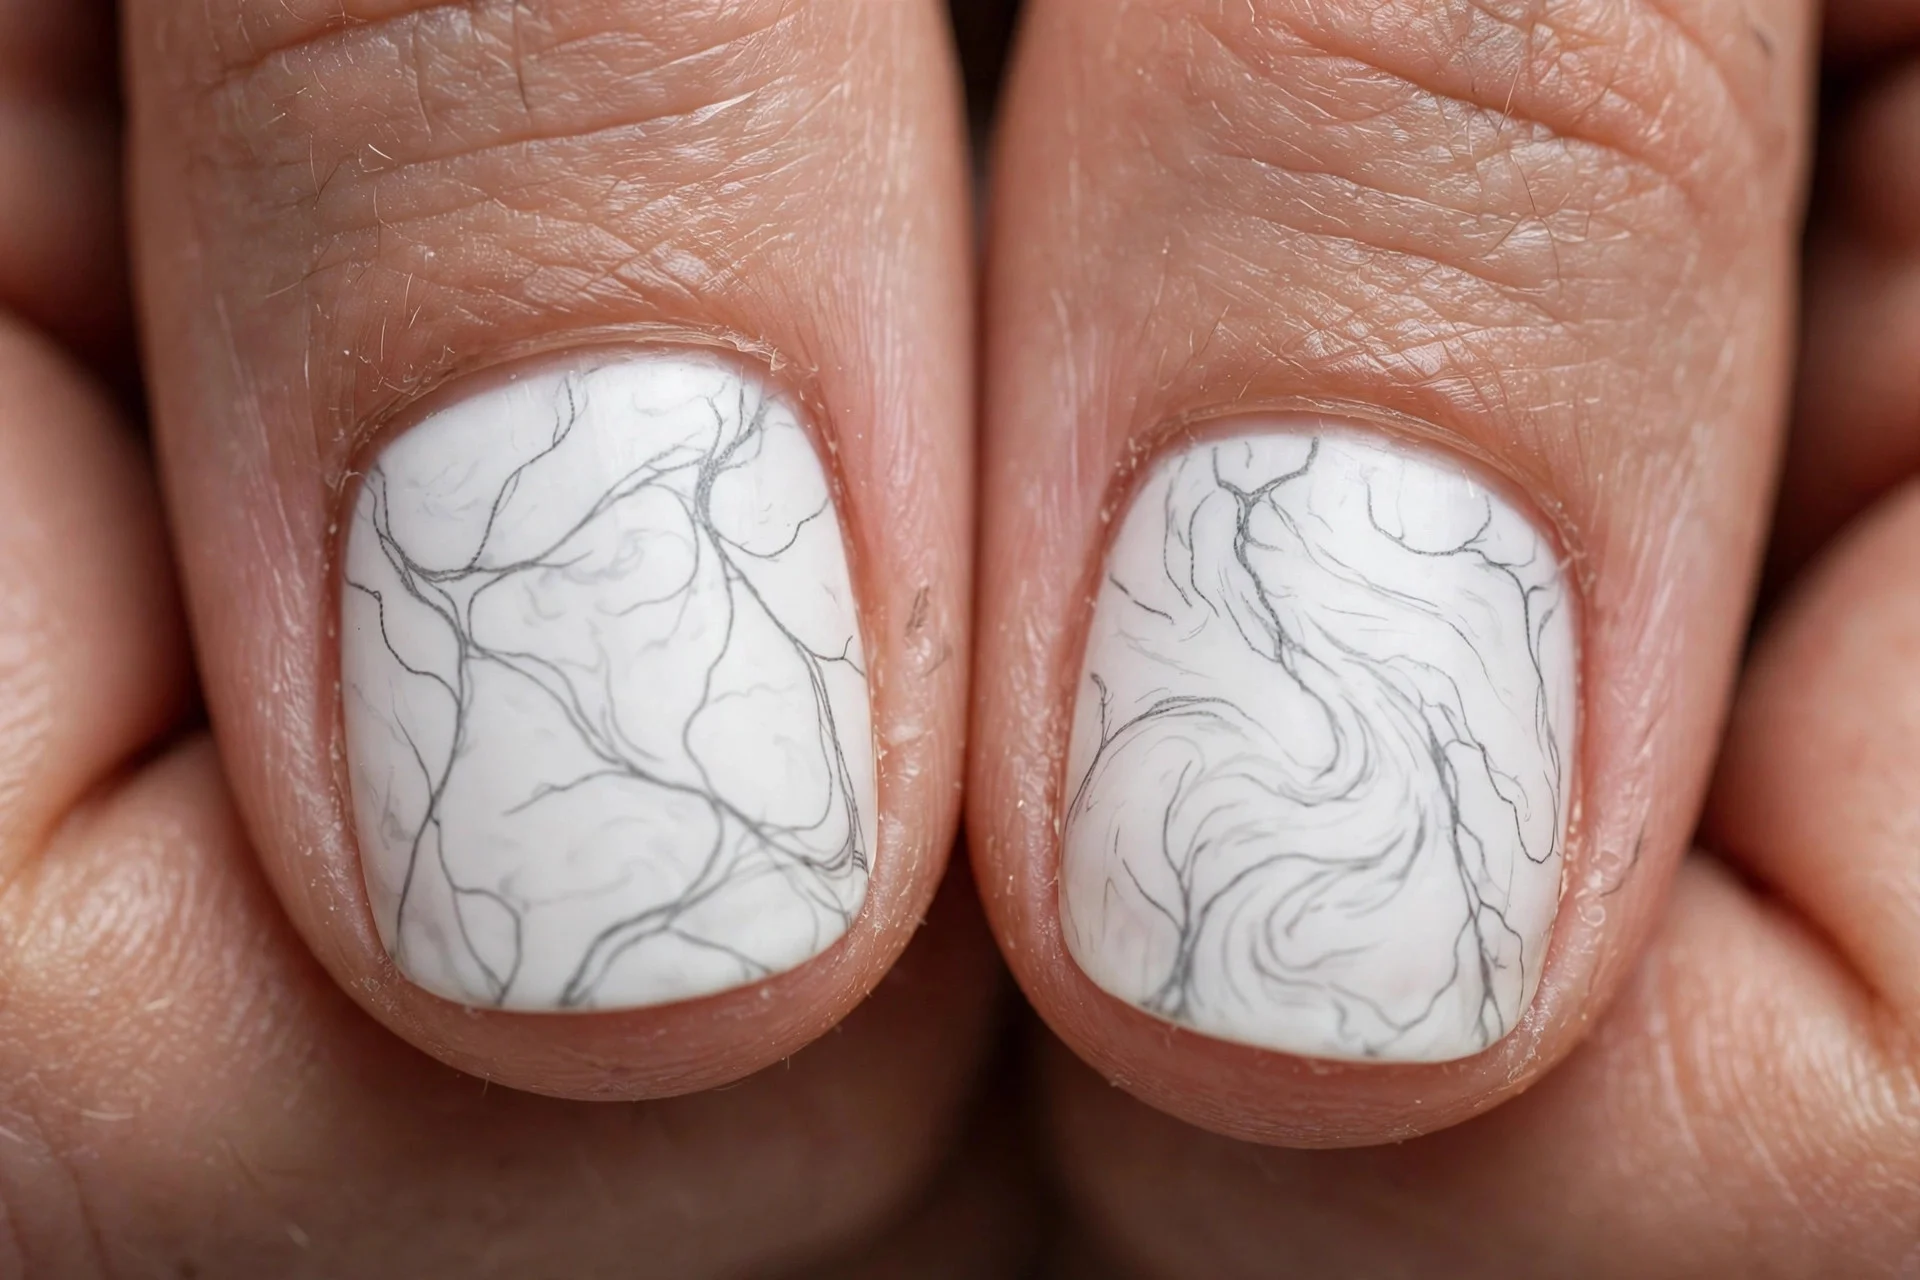
1. Classic White Carrara Marble
White base, soft grey veins, glossy top coat — the timeless one. Thin veins, a little asymmetry, and that sheer white wash for depth. If you try one marble, make it this.
2. Grey Stone Marble
Mid-grey base with white and darker grey veins. Moodier than white marble and more forgiving — imperfections hide in the darker base.

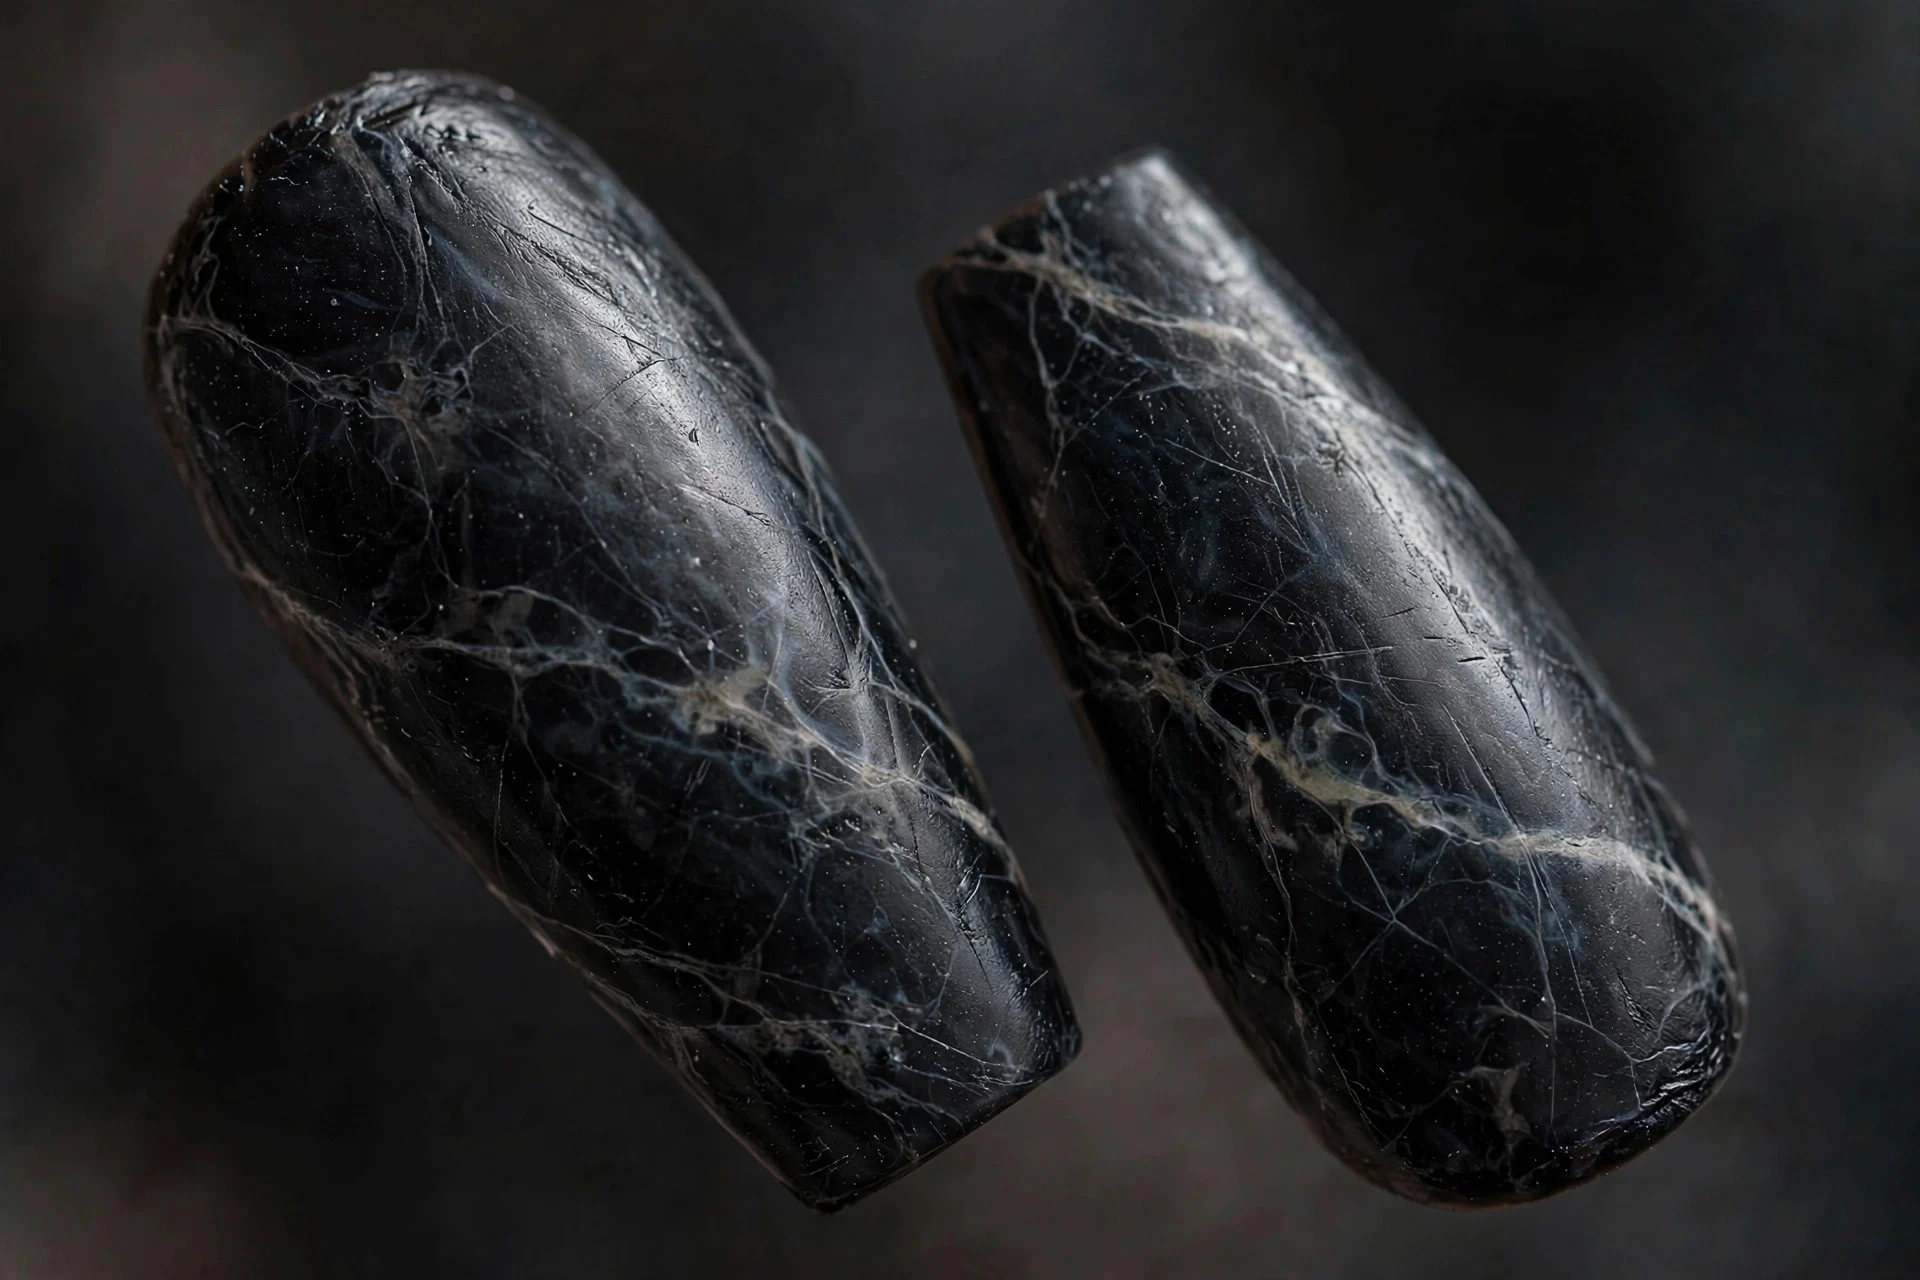
3. Black Marble
Black base with white and grey veins — dramatic and expensive-looking. The high contrast means veins need to be thin; thick white veins on black look cartoonish.
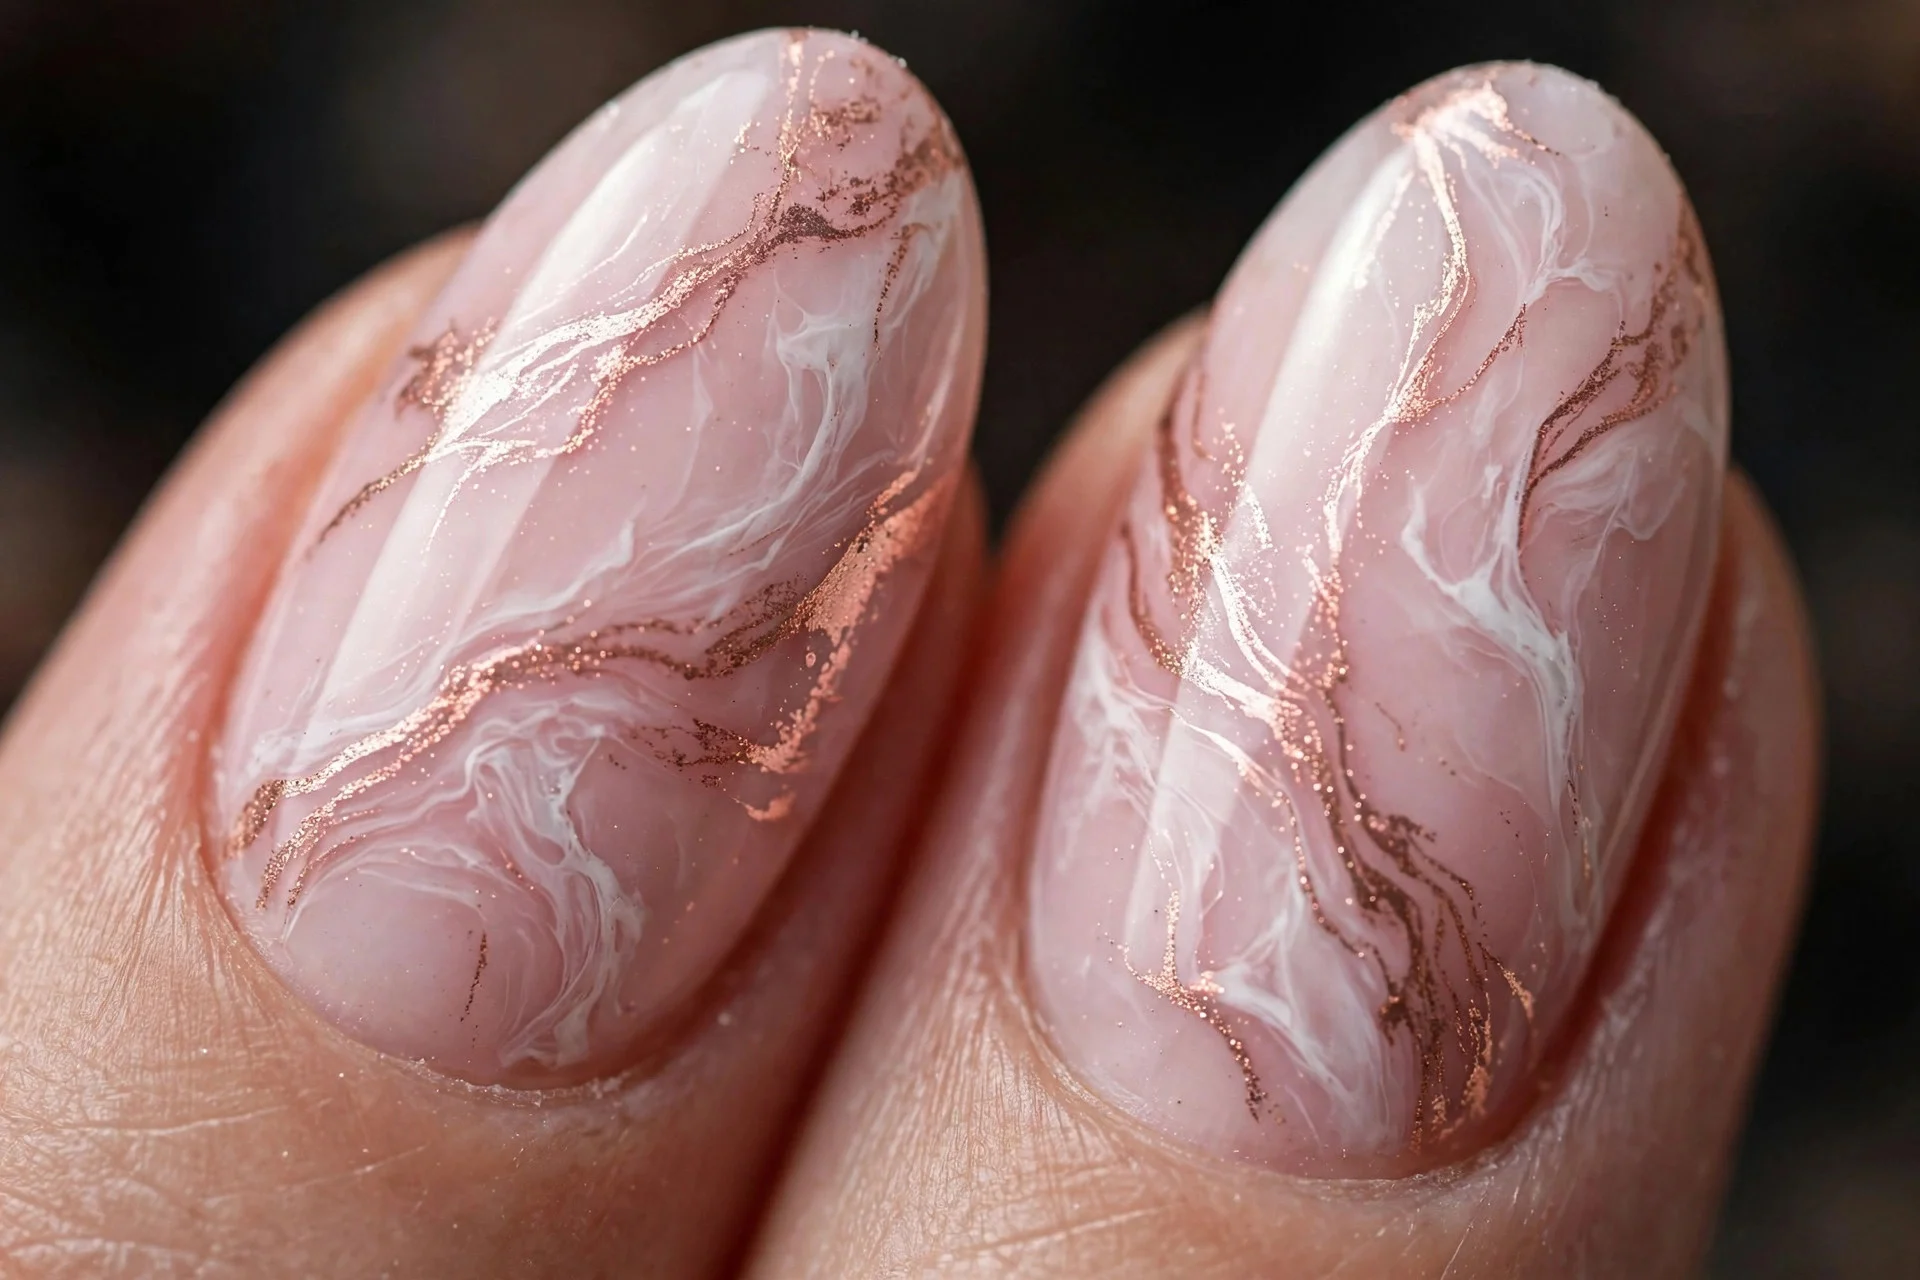
4. Rose Quartz Marble
Milky pink base with white and rose-gold veins. Soft, feminine, and one of the most requested marble variations in salons.
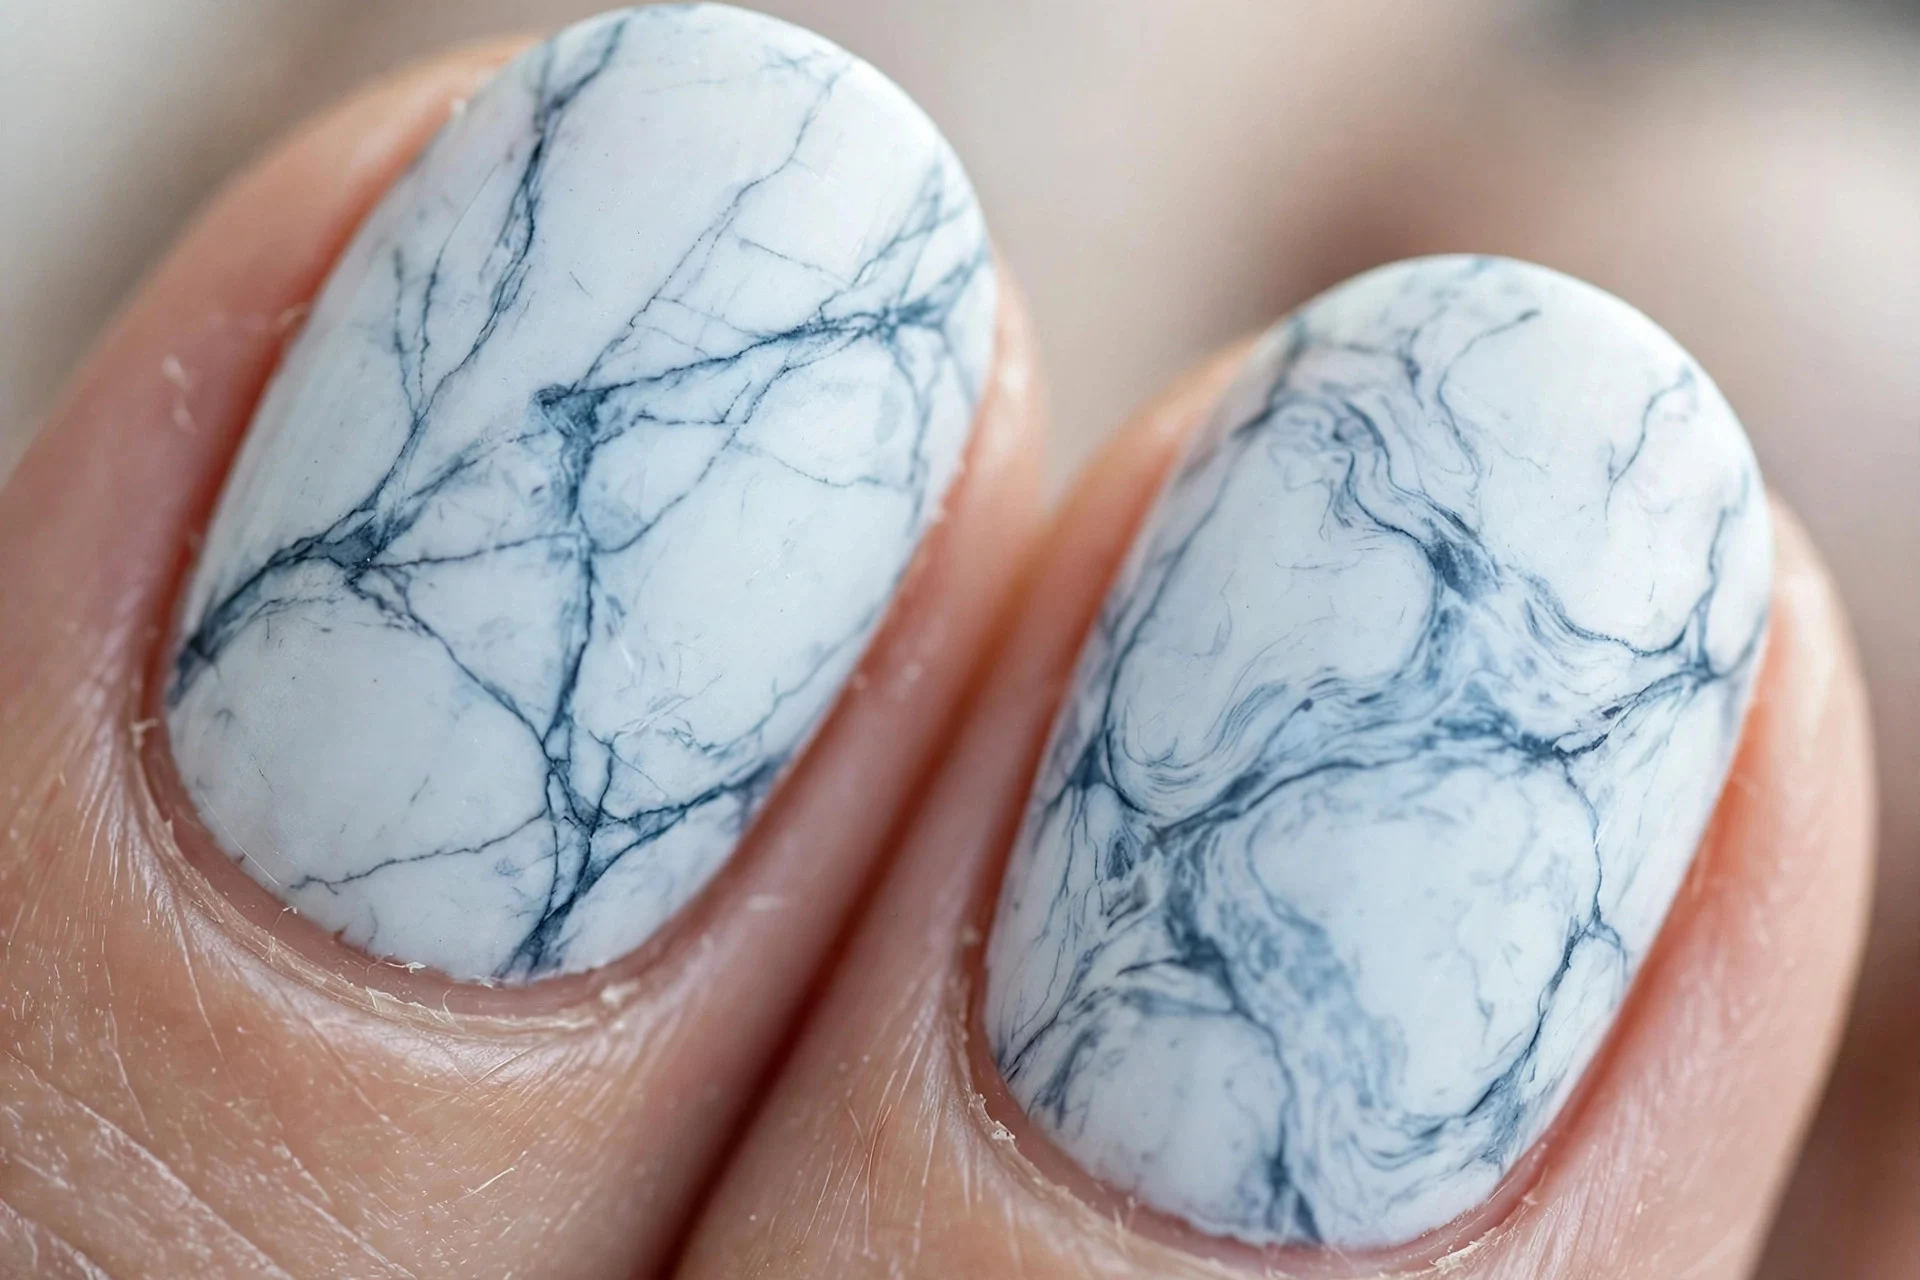
5. Blue Marble
White or pale blue base with slate-blue veins. Cool and fresh — deeper blue veins over a pale base give the best contrast.
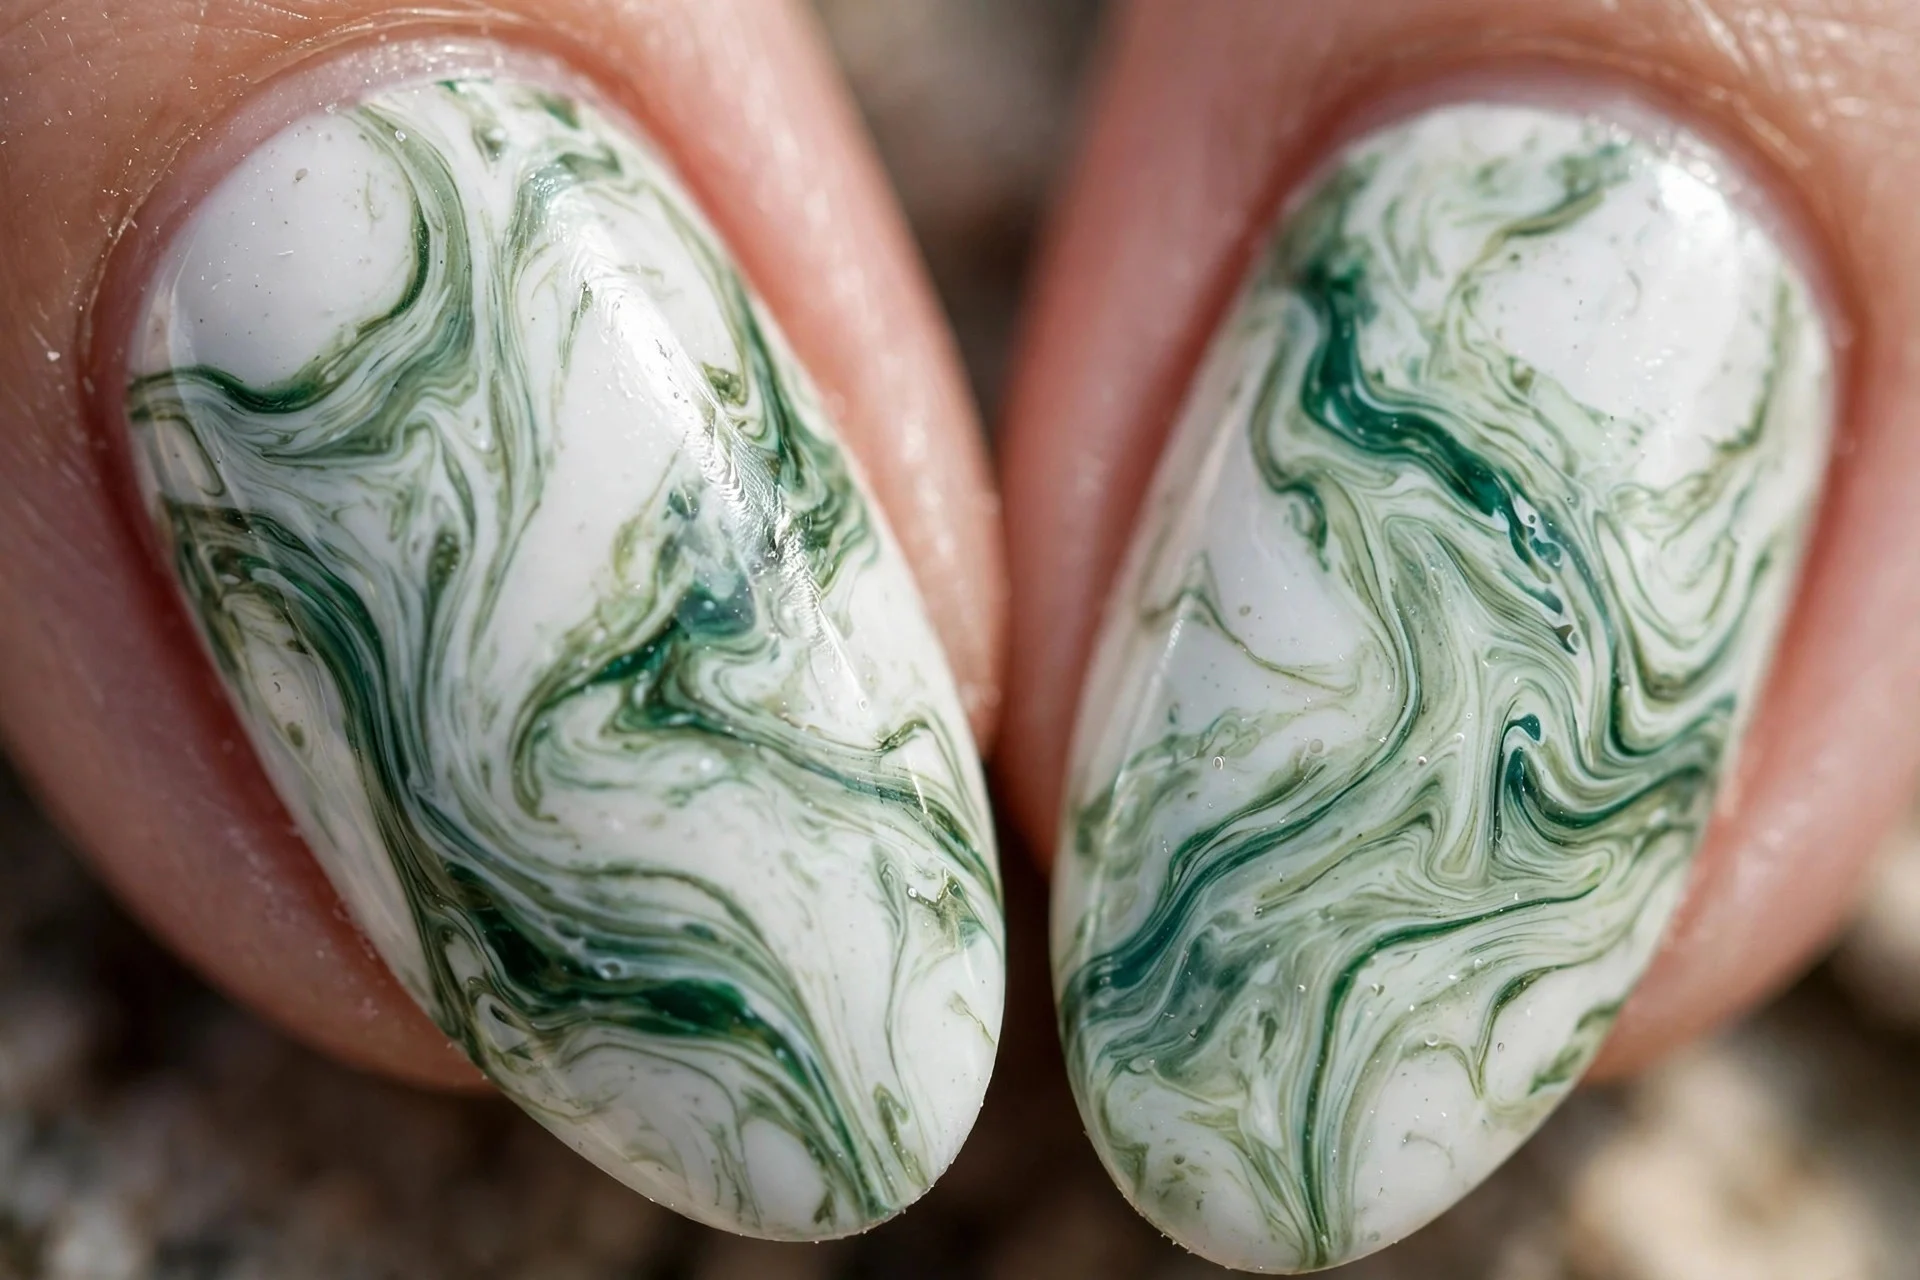
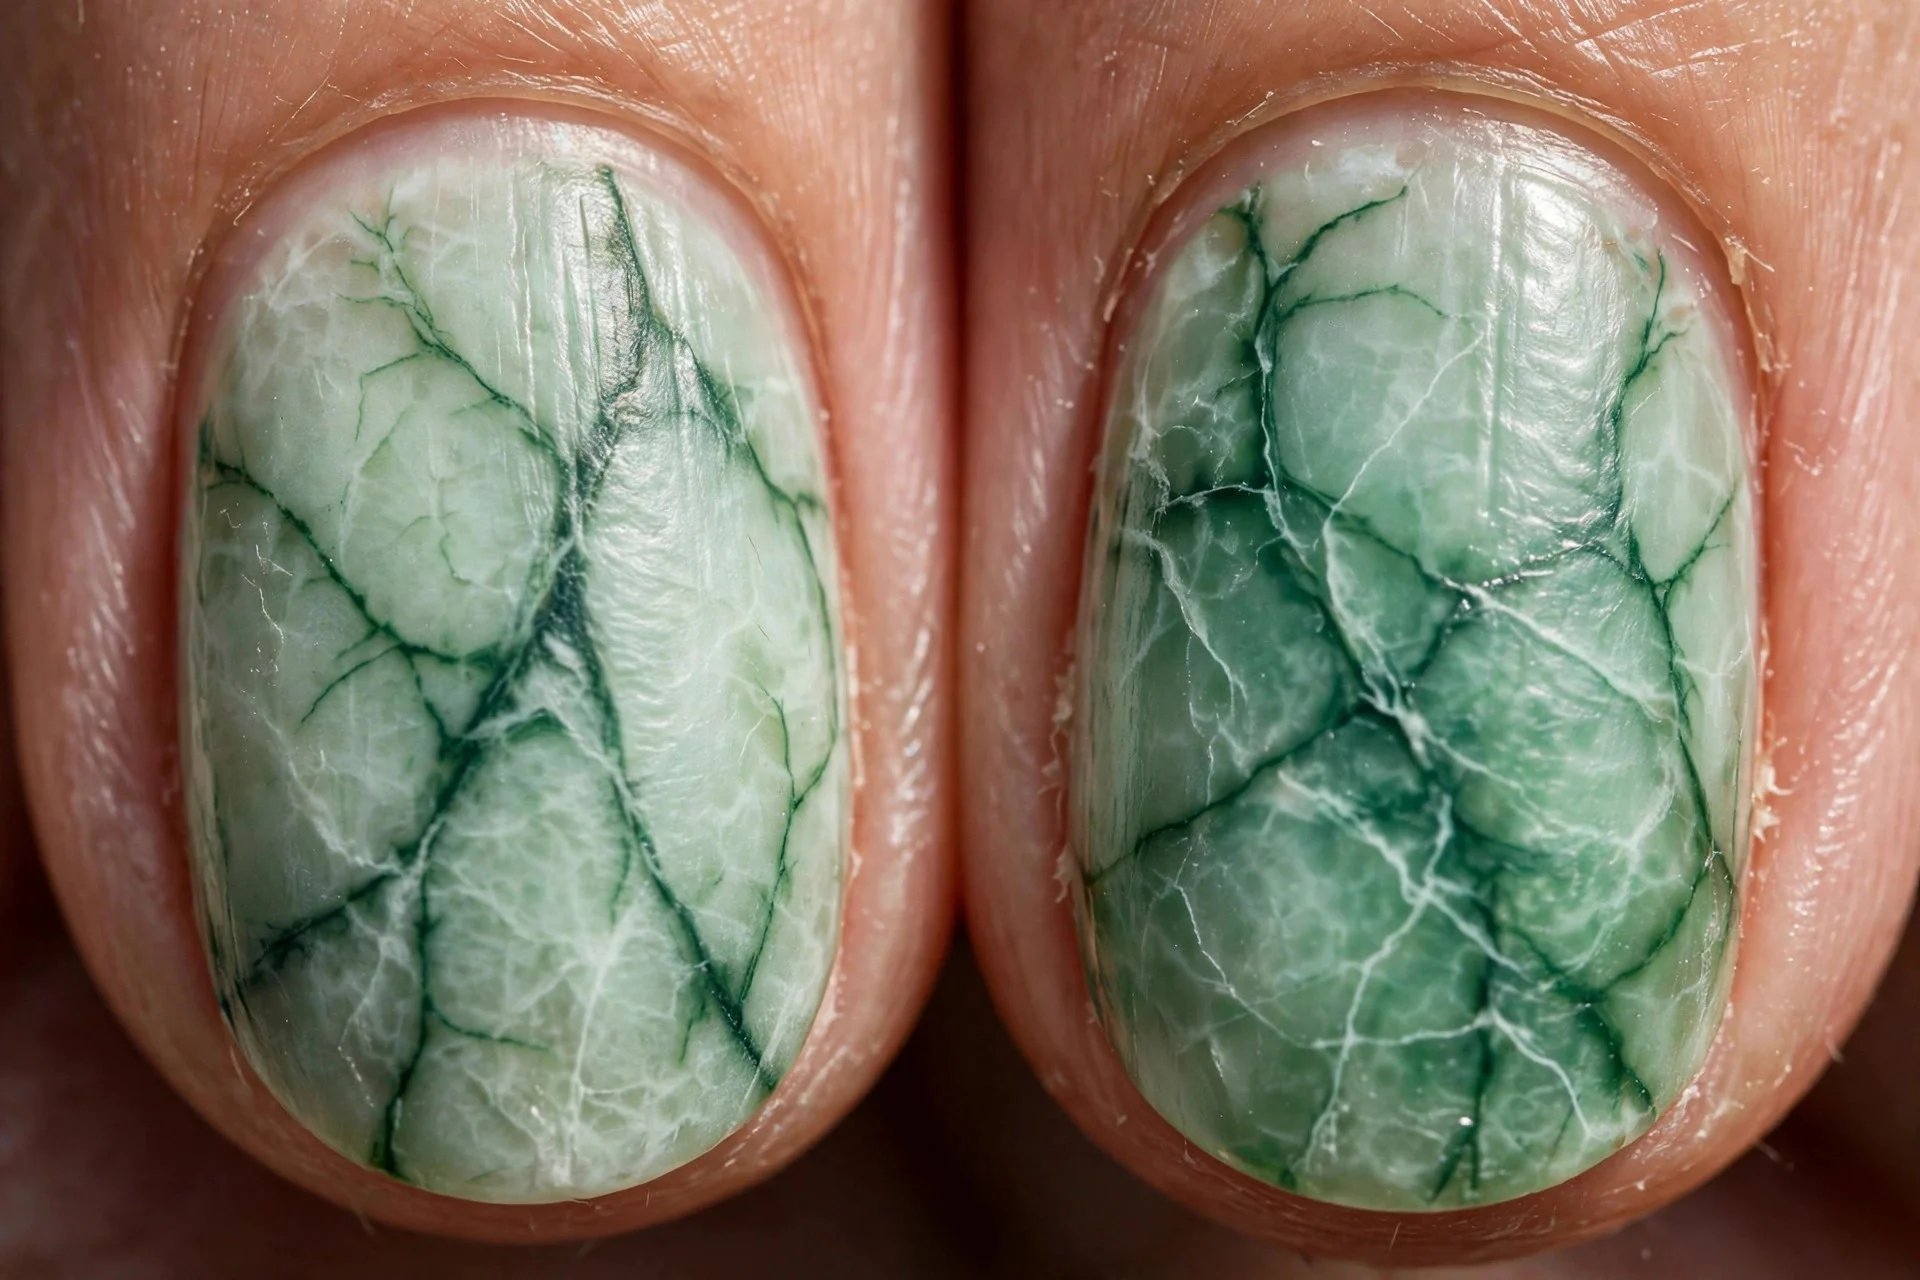
6. Green Marble
White base with sage and emerald veins. Unexpected and gorgeous — keep veins delicate, since green can overpower fast.
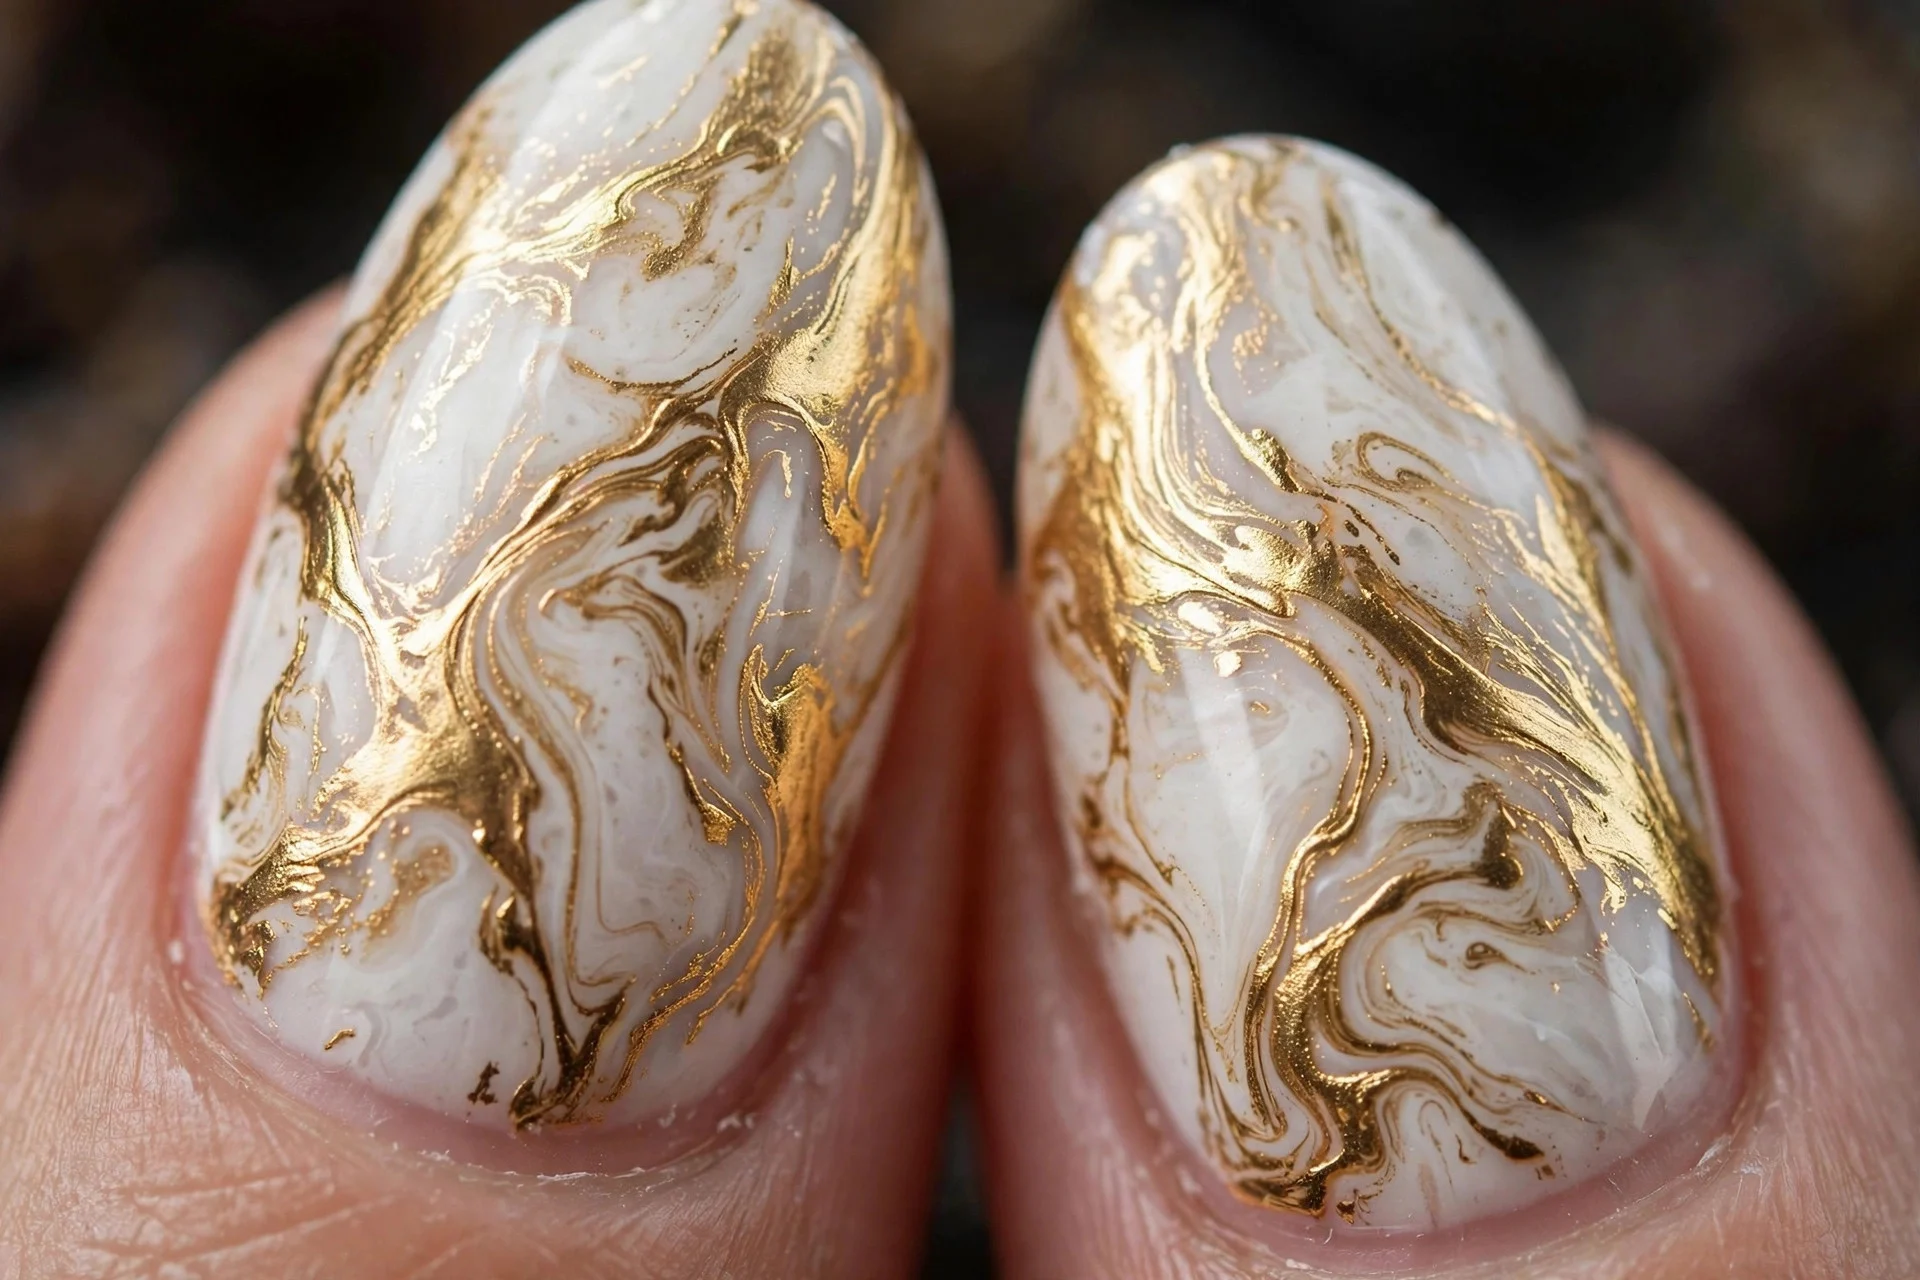
7. Gold Vein Marble
White marble with metallic gold veins instead of grey — the luxury version. Use a metallic gold striping polish and a steady hand; for more gold inspiration see my glass nail ideas for a similar translucent-luxe feel.
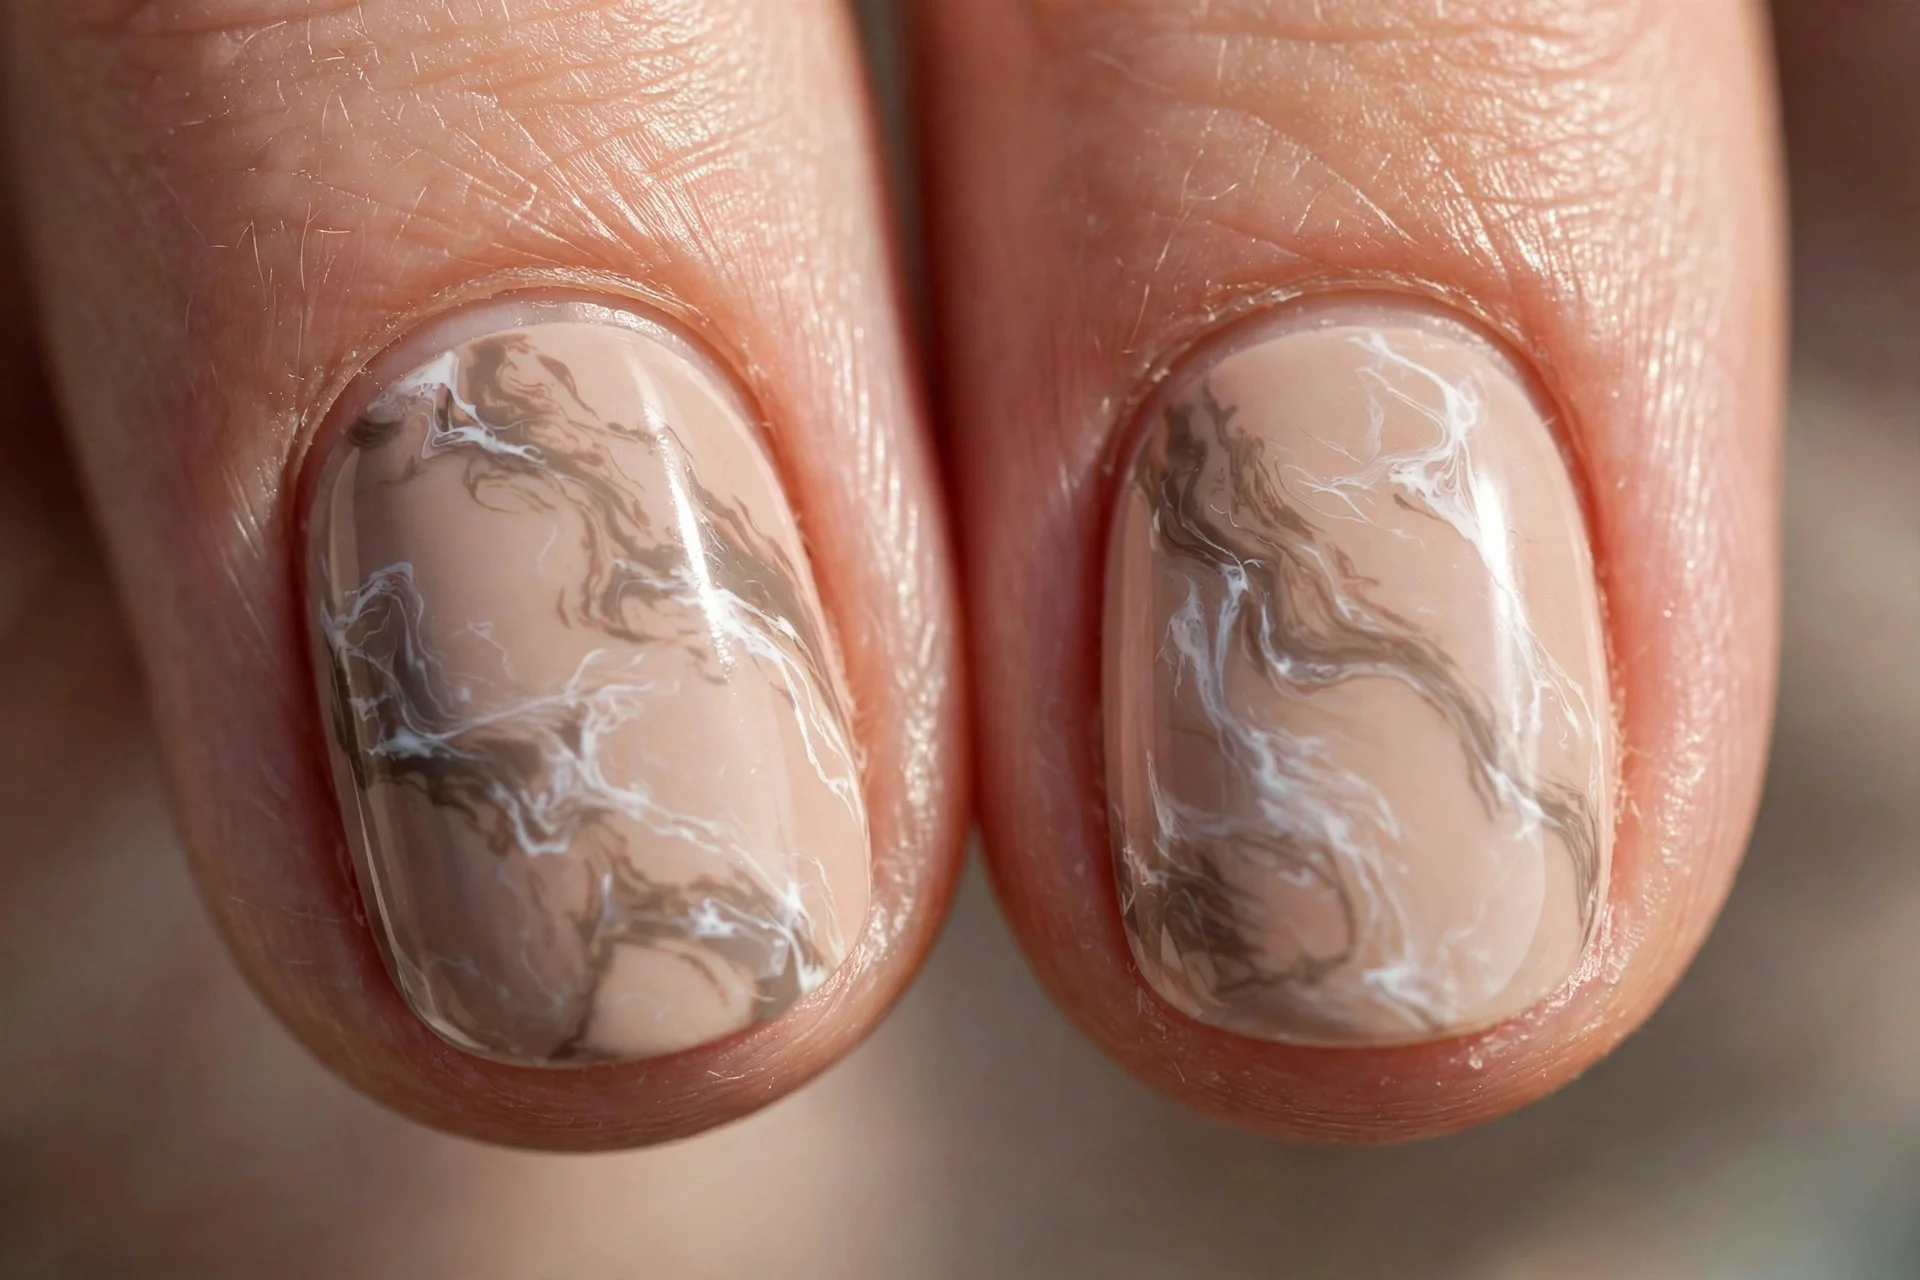
8. Nude Marble
Nude base with taupe and white veins. The most wearable marble — subtle enough for conservative offices, interesting enough to get compliments.
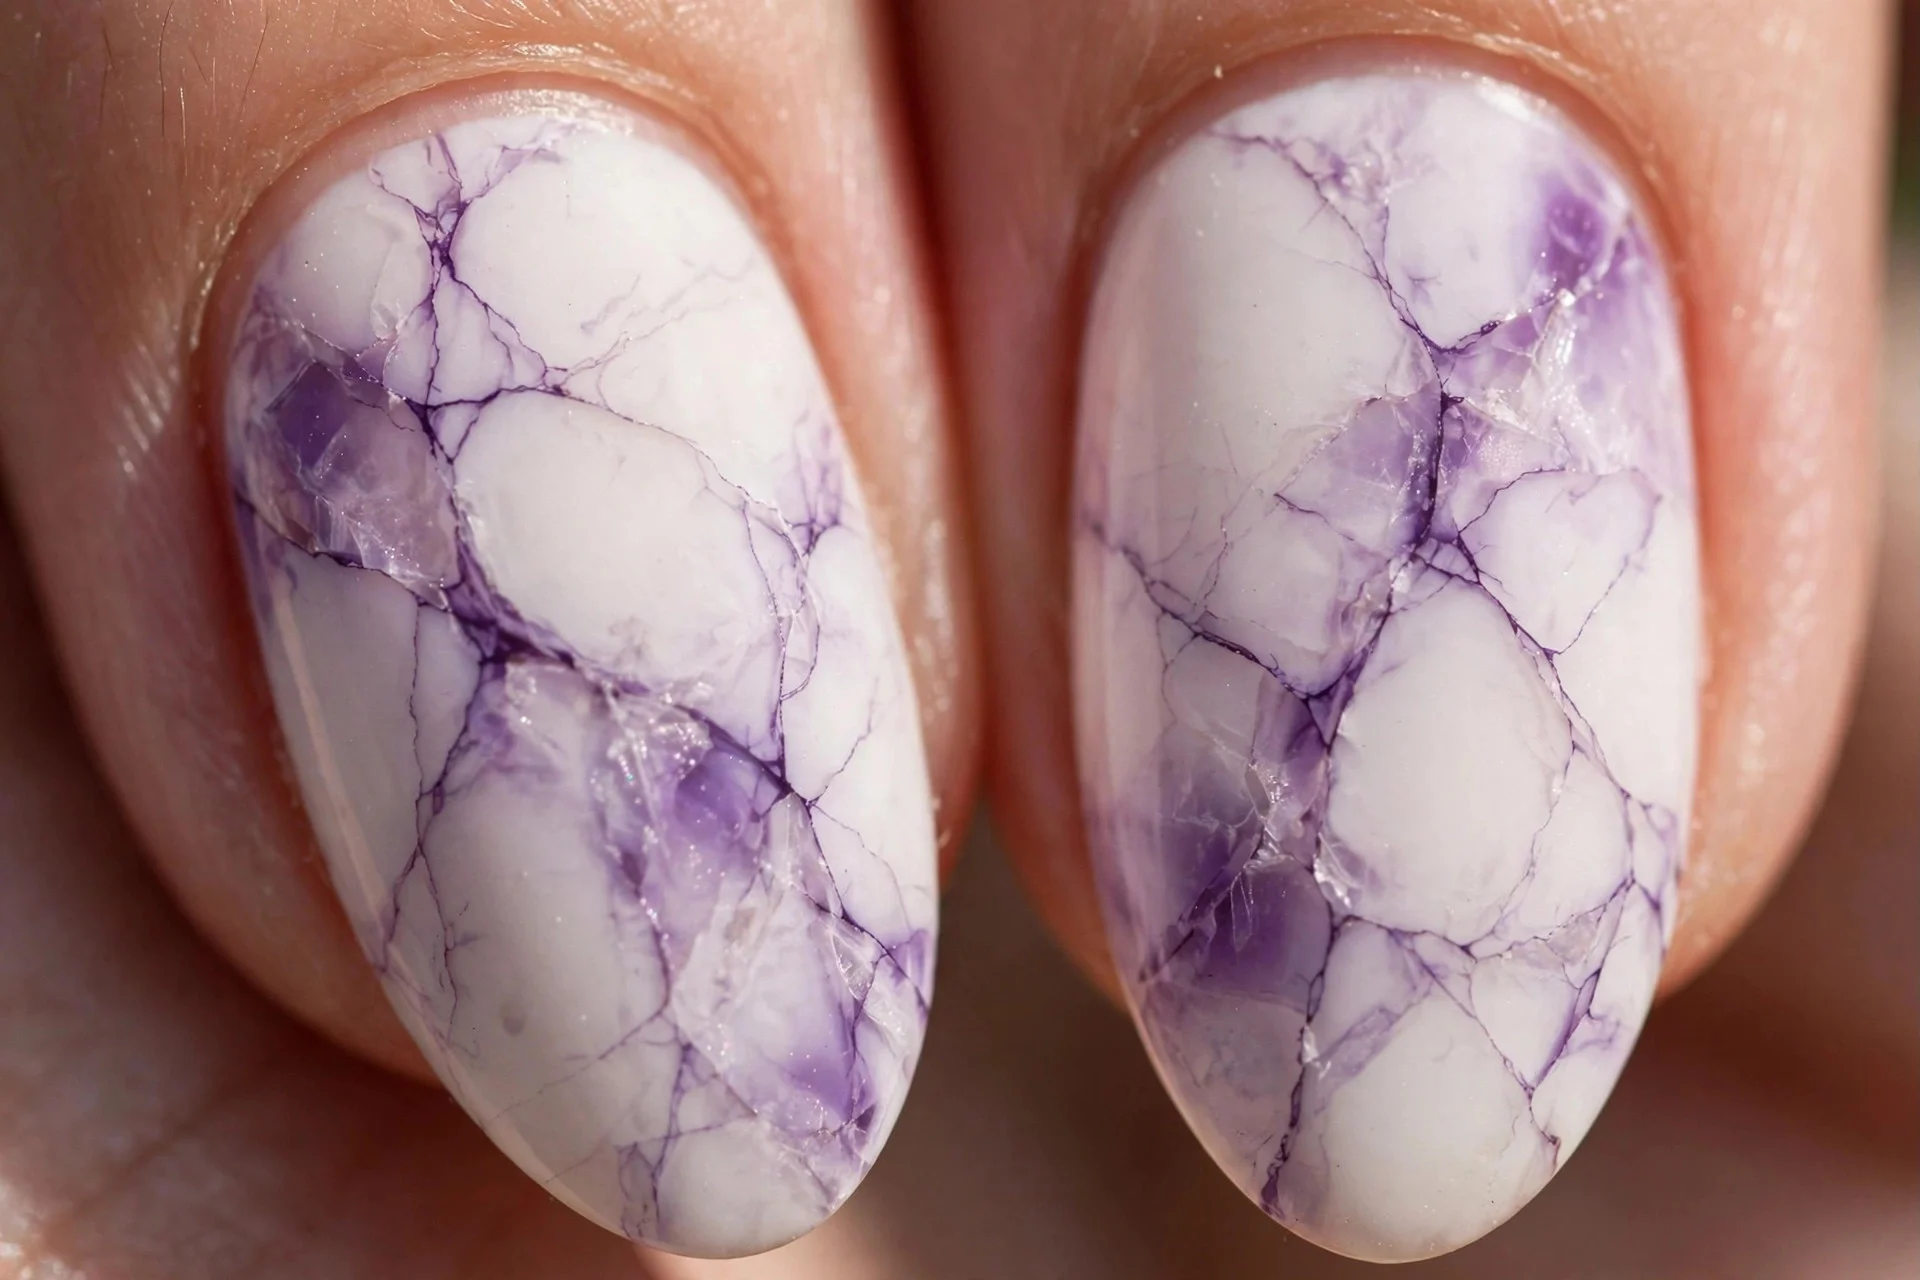
9. Purple Amethyst Marble
White base with purple and lilac veins, like sliced amethyst — layer deep purple under a sheer lilac wash for gemstone depth.
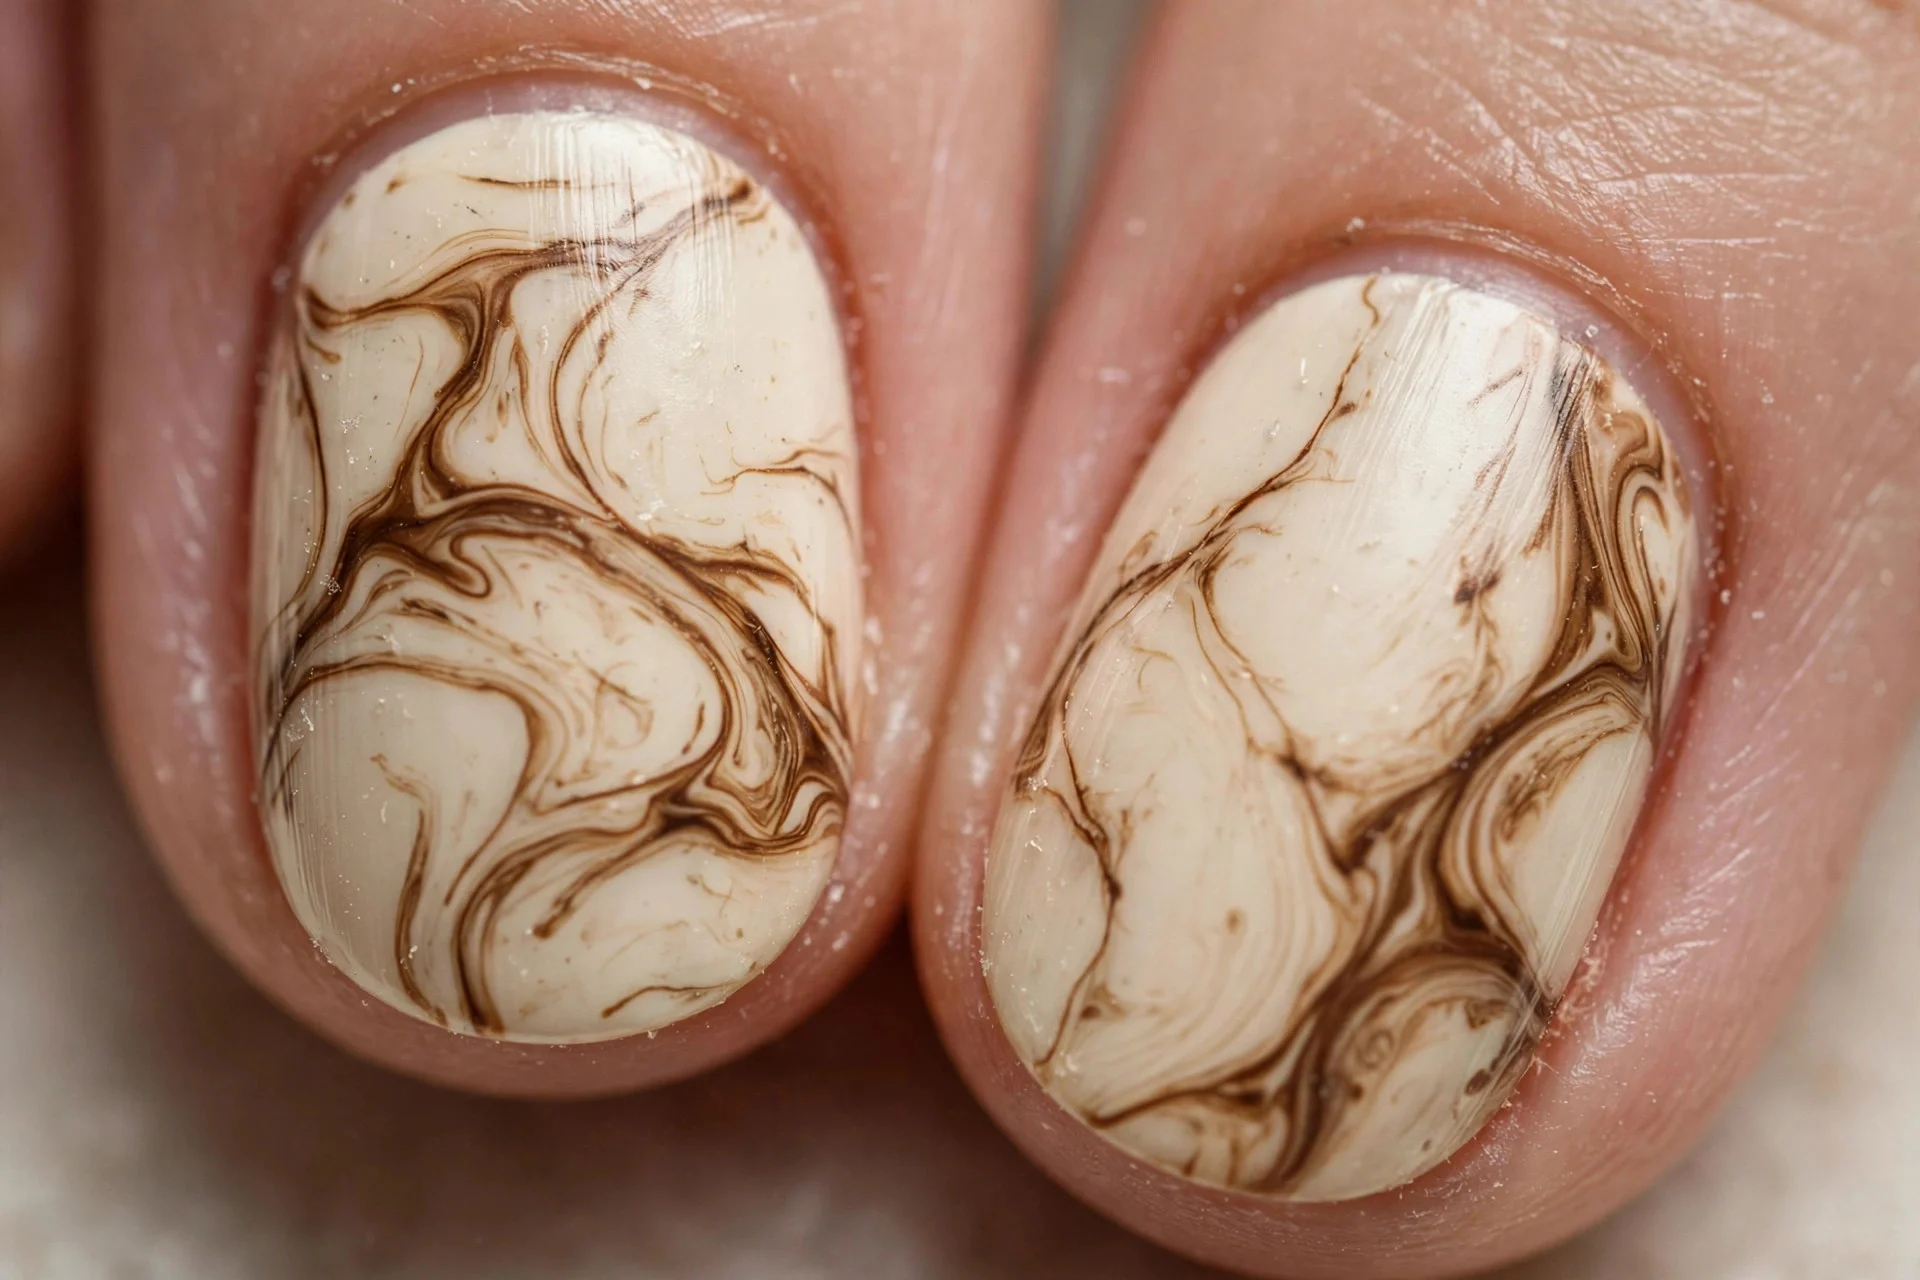
10. Brown Coffee Marble
Cream base with coffee-brown veins. Warm, cosy, perfect for autumn — like latte art on your nails.
11. Marble French Tips
Nude base, marble pattern only on the tips. All the stone effect with half the effort — and mistakes at the tip are easier to redo than a full nail. A clever beginner workaround.

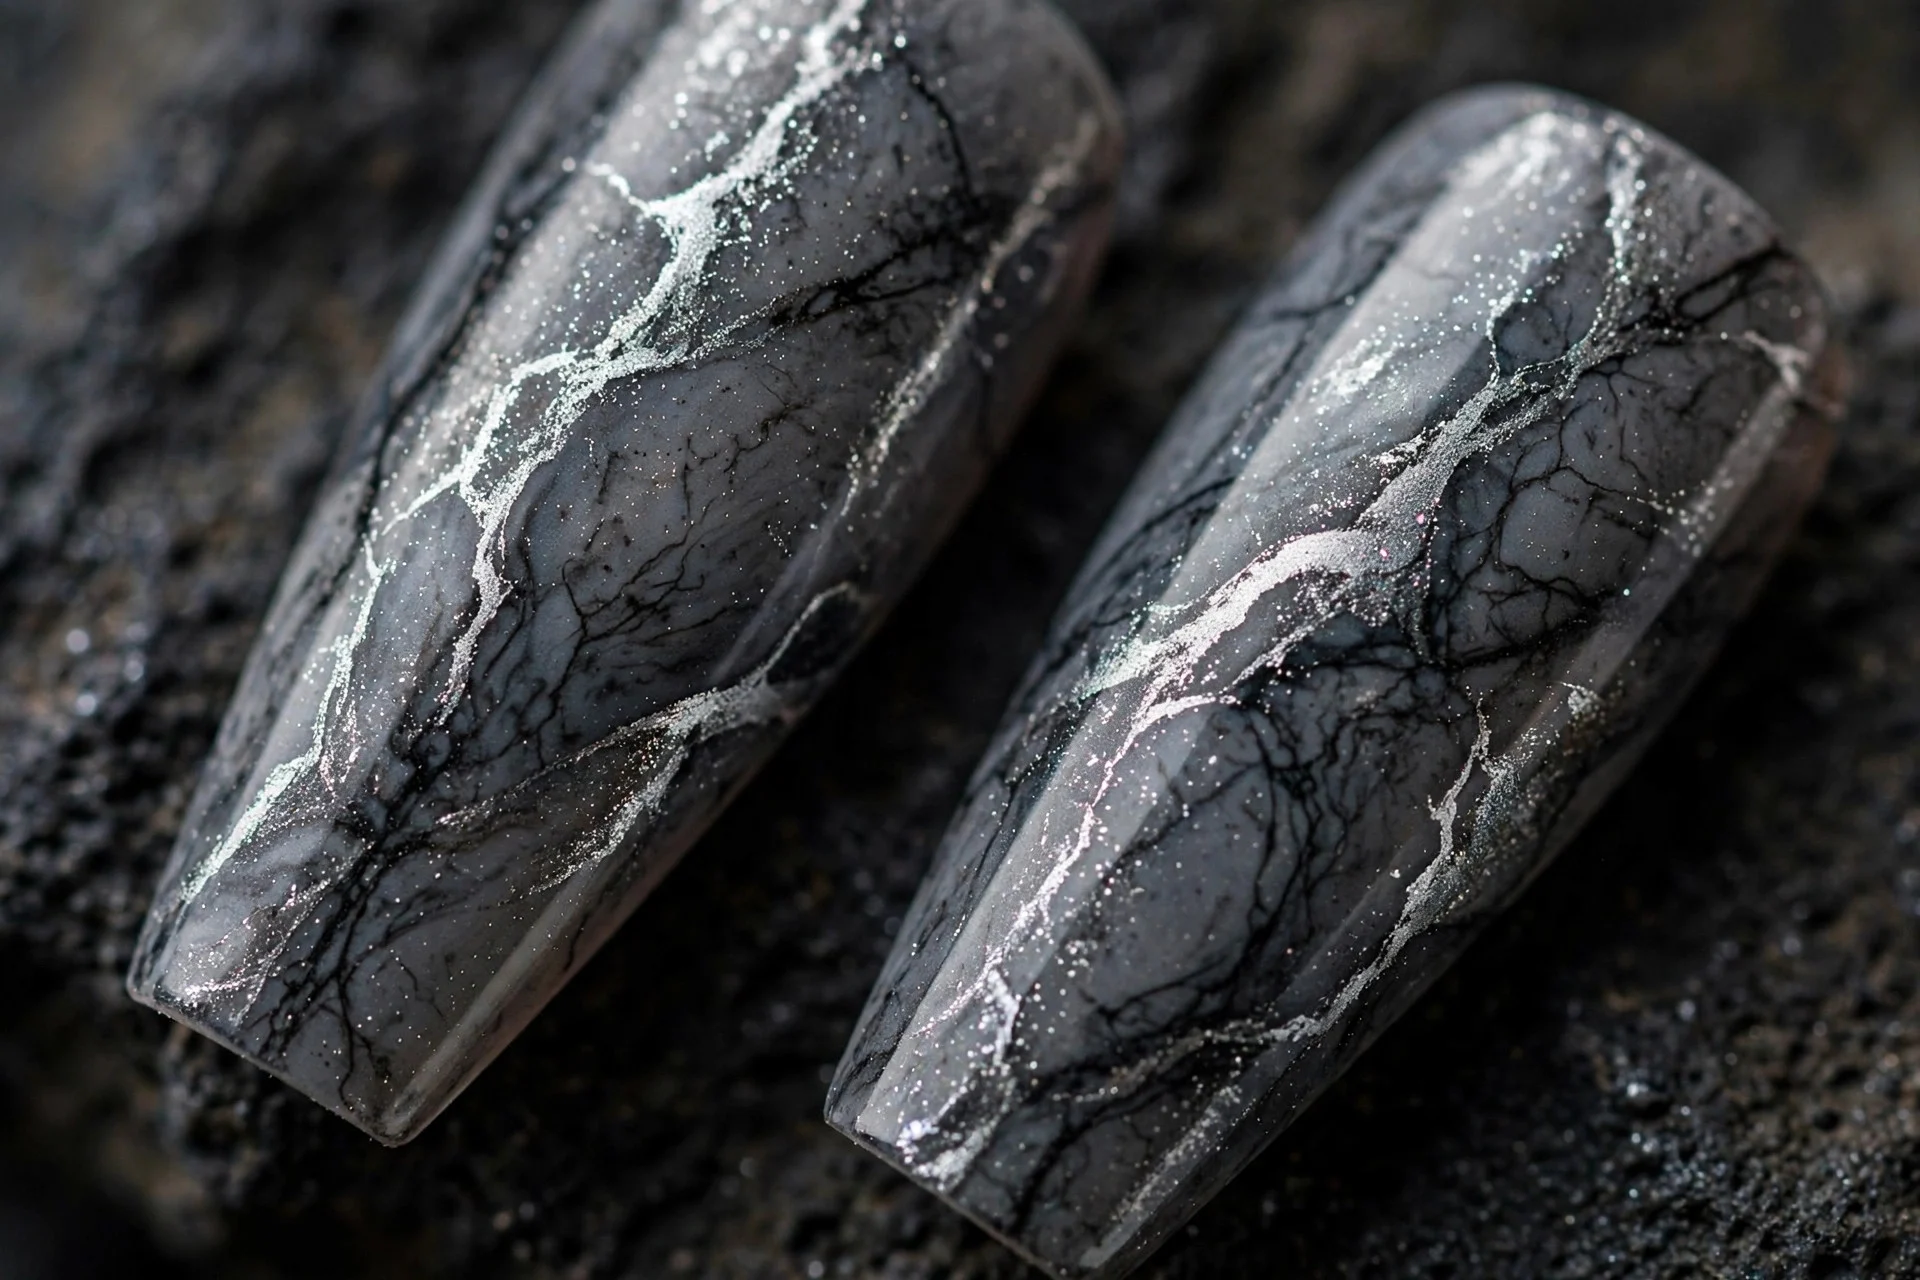
12. Smoky Grey Marble
Dark grey base with black and silver veins. Moody and sophisticated — the dark base hides every beginner mistake.
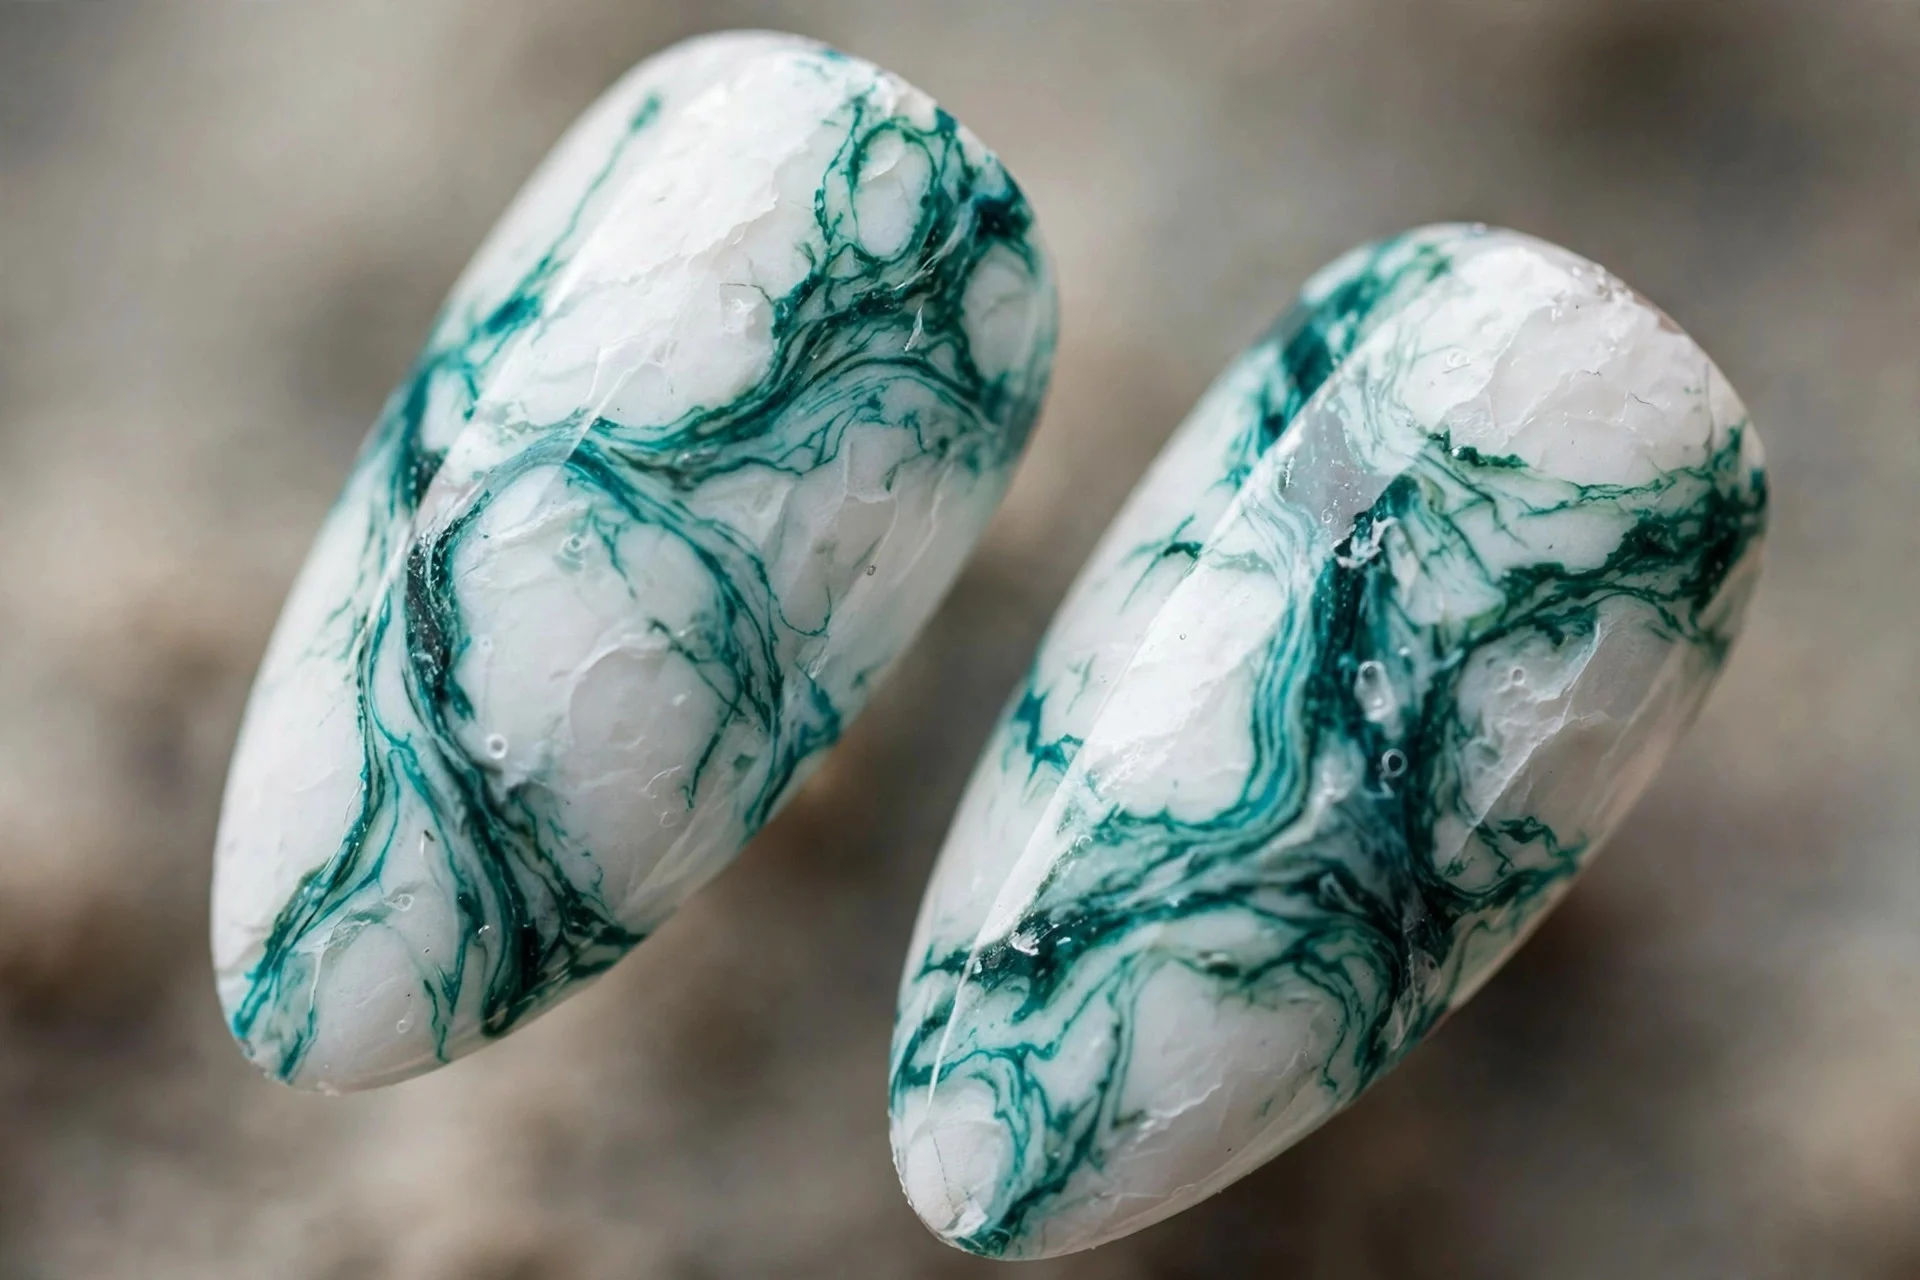
13. Teal Marble
White base with teal and deep green veins. Bold and oceanic — the statement marble. Works best on medium to long nails where the veins have room to flow.
14. Blush Pink Marble
Sheer blush base with soft white veins. Barely-there marble for minimalists — from a distance it reads as a pretty pink manicure, up close the veining appears.

15. Terracotta Marble
Warm terracotta base with cream and rust veins. Earthy and rich — a beautiful autumn marble that suits warm skin tones especially well.

16. Marble Accent Nail
One marble nail per hand, the rest solid white or nude. The low-commitment way to wear the trend — and if the marble goes wrong, you only redo one nail.
17. Cracked Ice Marble
White base with sharp, angular silver-white veins like cracked ice. More geometric than natural stone — use a fine brush and straight-ish strokes rather than flowing curves.

18. Jade Marble
Pale green base with deeper green and white veins, like jade stone. Serene and unusual — this one gets the most "what is that colour?" questions of any marble I have worn.
19. Easy Beginner Marble
The training-wheels version: white base, one grey polish, a toothpick, three wobbly veins per nail, glossy top coat. Imperfect on purpose — and honestly, real marble is imperfect too. For more beginner-friendly designs, browse easy nail designs to try at home and my white nail ideas for base-colour inspiration.
Frequently Asked Questions
Why does my water marble keep turning to mud?
Old or thick polish is the usual cause — it does not spread into clean rings, so the colours merge. Use fresh, thin polish, test one drop first, and work at room-temperature water. Replace marble polishes yearly.
Can I do marble nails without water marbling?
Yes — dry marbling with a fine brush or toothpick is easier and more controllable. Paint the base, let it go tacky, then drag thin veins through with a detail brush. Most beginners get better results this way.
How do I get thin veins instead of thick blobs?
Wipe most of the polish off your brush, work on a tacky (not wet) base, and use a light hand. Thin veins read as marble; thick ones read as abstract. A fine detail brush beats a toothpick for control.
Why does my marble look flat?
All your veins are probably the same colour and width. Layer bold veins first, then fainter thinner ones, and finish with a sheer white wash to melt everything together — that is what creates stone-like depth.
How long do marble nails last?
As long as the underlying manicure — two to three weeks for gel, about a week for regular polish. The design itself is sealed under top coat, so it wears exactly like a normal manicure.
What is the easiest marble for a beginner?
Nude or grey base with one contrasting vein colour, drawn with a toothpick on a tacky base. Or the accent-nail approach: marble on one nail per hand, solid colour on the rest.
Final Thoughts
Marble nails reward patience more than skill. Use fresh polish, room-temperature water, commit to the dip, and layer your veins for depth. Start with the classic white Carrara or the forgiving smoky grey, and remember that real stone is imperfect, so your veins can be too.