
Checkered nails look simple — little squares, two colours, done. But here is what nobody tells you: the difference between a checkerboard that looks expensive and one that looks like a craft project is not steadiness of hand. It is colour engineering. The two shades have to relate to each other and to your skin tone in a specific way, or the whole thing falls flat. I have worn checkered nails in nine colour combinations now, and I have worked out the recipes. This post gives you 15 checkered nail ideas, each with concrete colour pairings engineered for light, medium, and deep skin tones — not vague "pick what suits you" advice, but actual shade combinations.
Why Checkerboard Contrast Is Everything
A checkerboard is pure contrast: the pattern only reads when the two colours are far enough apart in lightness, but close enough in undertone to look intentional. Two colours that are both mid-tone — say, a medium pink and a medium brown — melt into each other and the checks disappear at arm's length. Two colours with clashing undertones — a cool grey and a warm orange — look accidental rather than designed.
The recipe that works: pick colours at least three steps apart on a lightness scale (one clearly light, one clearly dark), keep their undertones in the same family (both warm or both cool), and check them against your skin. Your skin is the third colour in the design whether you like it or not — the nail sits on it, and a checkerboard that fights your undertone will always look slightly wrong. That is the whole engineering problem, and it is solvable with specific shade pairs.
Colour Recipes by Skin Tone
Light skin tones
Your skin is the palest element in most designs, so you have the most freedom — but low-contrast pairings wash out. The winning formula: one deep shade plus one light shade with matching undertones. Concrete recipes: black + warm white (both neutral), deep espresso + cream (both warm), navy + powder blue (both cool). Avoid: two pastels together (they vanish against pale skin) and neon pairings (they overpower). A nude check against light skin needs the nude to be at least two shades deeper than your skin, or the squares disappear — try a toffee nude against porcelain skin.
Medium and olive skin tones
Gold and warm undertones are your friend. The checkerboard should echo your skin's warmth or contrast it deliberately — muddy middle-ground pairings are the enemy. Concrete recipes: chocolate brown + caramel (both warm, strong contrast), forest green + sage (tonal cool pairing that pops against warm skin), black + gold (maximum drama, always works). Avoid: grey-on-grey (reads dull against olive skin) and cool pastels (they can look chalky). If you want a nude checkerboard, go for a honey or amber nude paired with deep brown — the warmth ties the whole hand together.
Deep skin tones
Rich, saturated colour is your superpower — deep skin makes bold checkerboards look incredible because the contrast between skin and polish is already strong. Lean into it. Concrete recipes: black + white (the highest contrast pairing, stunning on deep skin), royal purple + lilac (jewel tones glow), burnt orange + cream (warm and striking). Avoid: sheer or translucent checks (they lose definition) and very dark-on-dark pairings like black + navy (the squares merge). For nude checkerboards on deep skin, pair a rich cocoa or espresso with a caramel or honey — never a pale "nude" that reads ashy. More inspiration for rich tones in my nail ideas for black women and nude nail ideas for dark skin.
Application Tips for Crisp Checks
Colour is half the battle; crisp edges are the other half. The checkerboard technique: paint the lighter colour as your base and let it dry completely — fully dry, not tacky. Then use striping tape or a thin brush to mark your grid, and fill alternate squares with the darker colour using a small flat brush. The pro trick is to paint the dark squares slightly over the tape edges; when you peel the tape, the lines are razor sharp.
For short nails, keep the checks small — three squares across reads better than two chunky ones. For long nails, larger checks look more graphic. And always seal with a generous layer of top coat: it levels the slight height difference between the two colours and makes the whole checkerboard look like one smooth surface.
15 Checkered Nail Ideas
1. Classic Black and White Check
The icon: black and white squares, maximum contrast. Engineered for deep skin tones especially, but it works on everyone — just keep the white a true bright white on light skin so it does not wash out. For more dark-and-bold inspiration, see my black nail ideas.
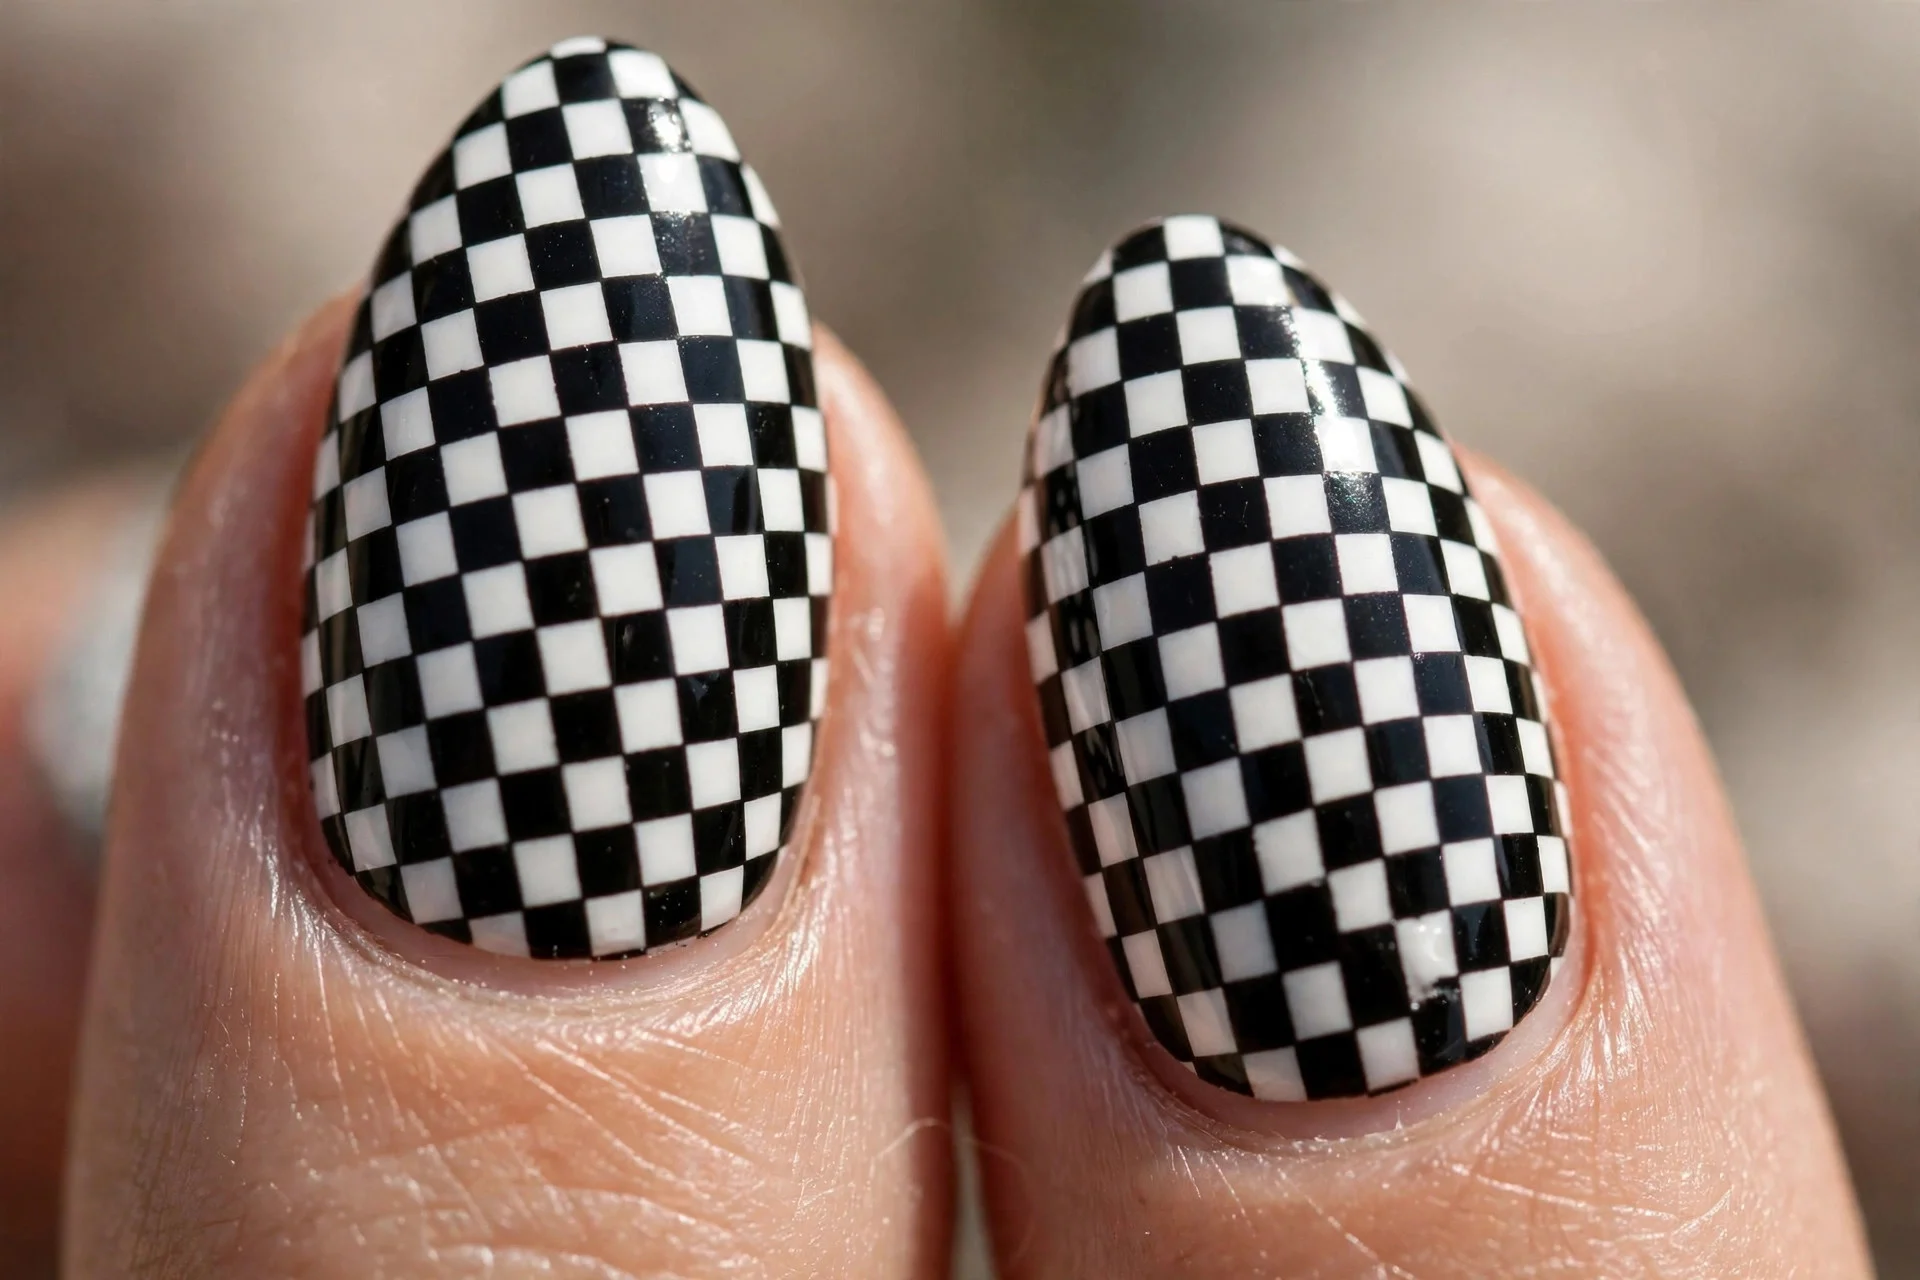
2. Espresso and Cream Check
Deep espresso brown against warm cream — both warm undertones, strong lightness contrast. The recipe for light and medium skin tones: the warmth flatters without overwhelming.
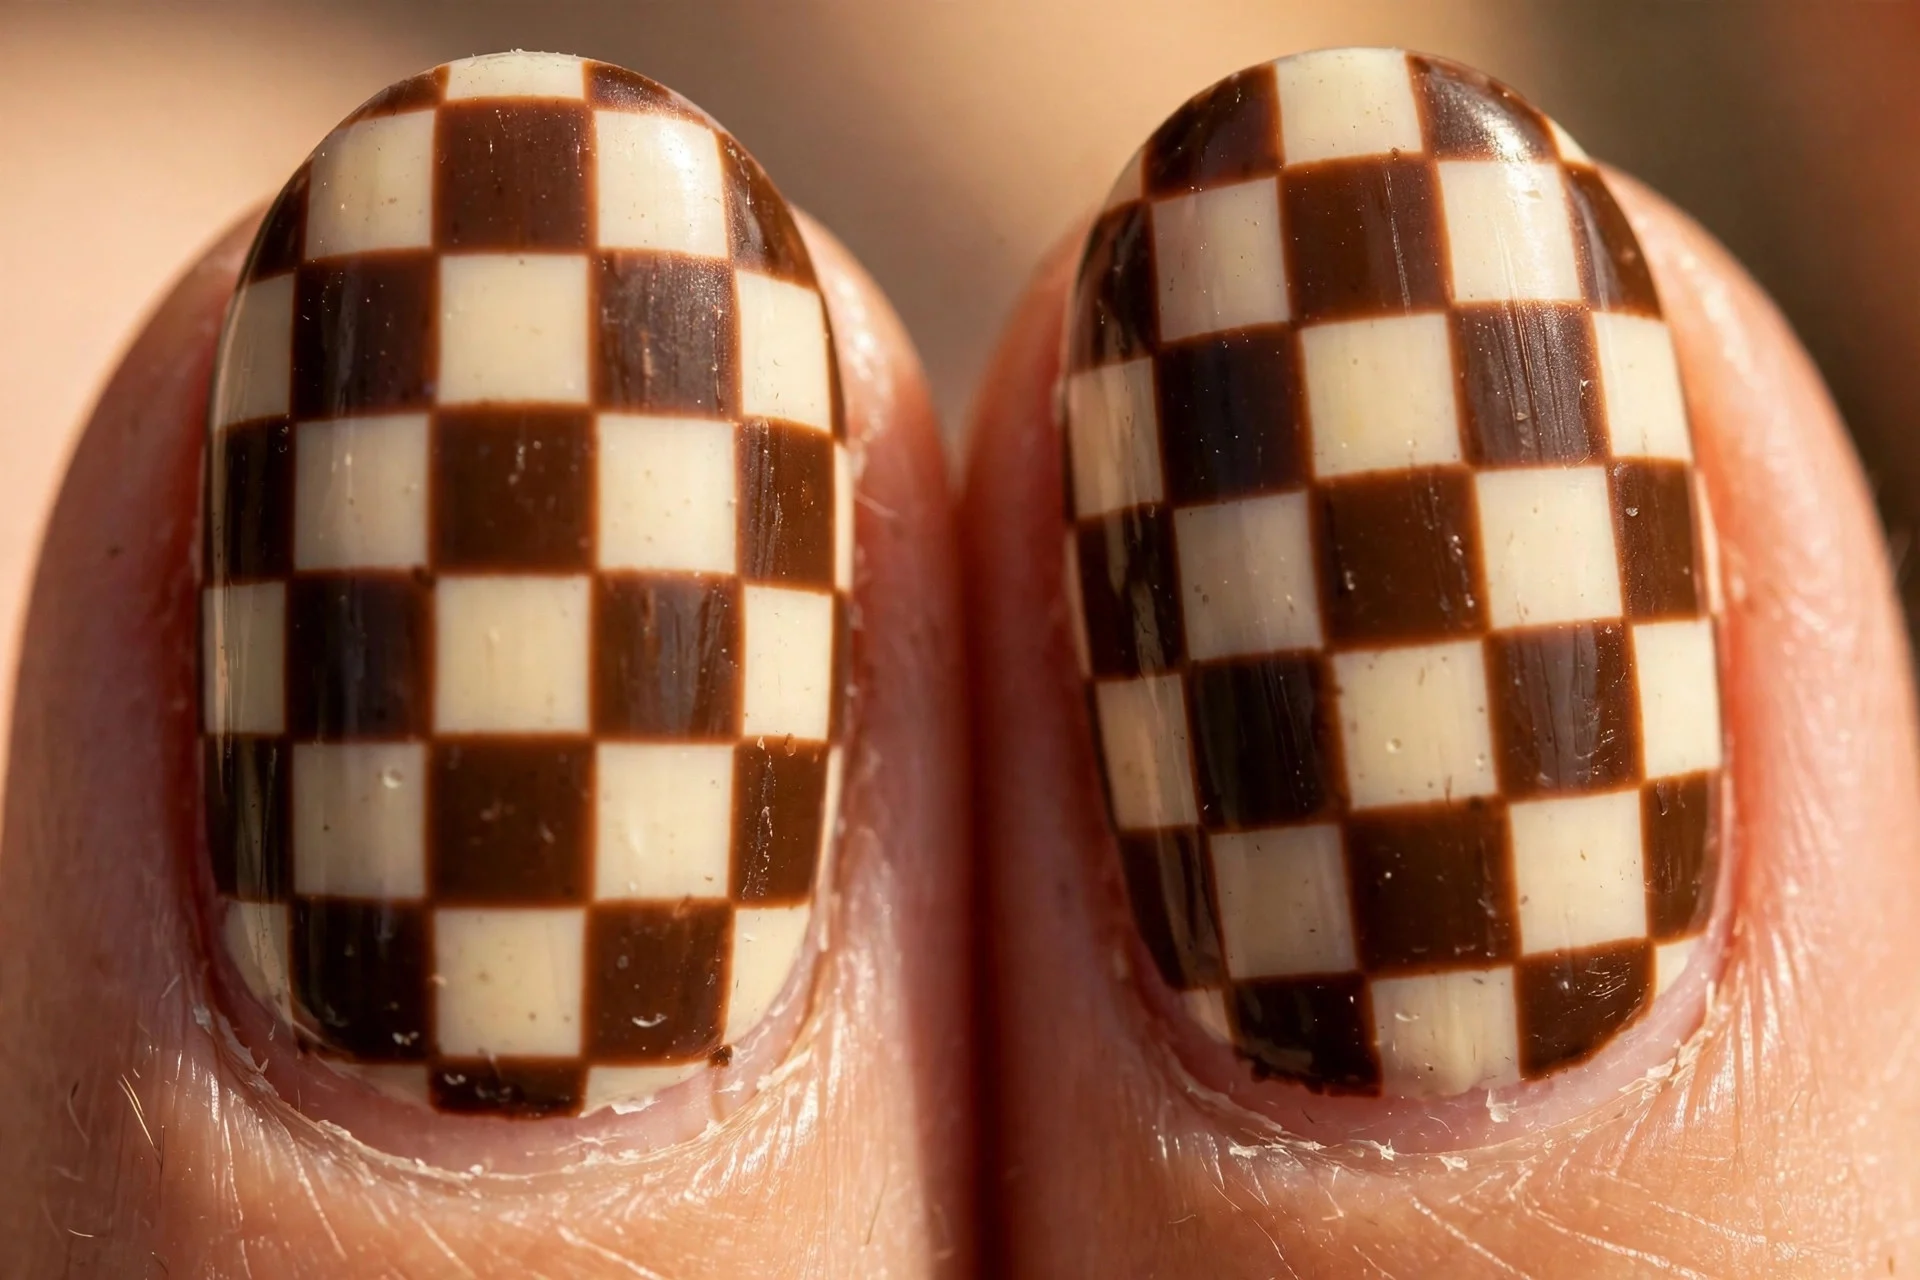
3. Navy and Powder Blue Check
Both cool, three steps apart in lightness. The cool-toned recipe for light skin — crisp, preppy, and a little unexpected. Powder blue keeps it soft; navy keeps it graphic.
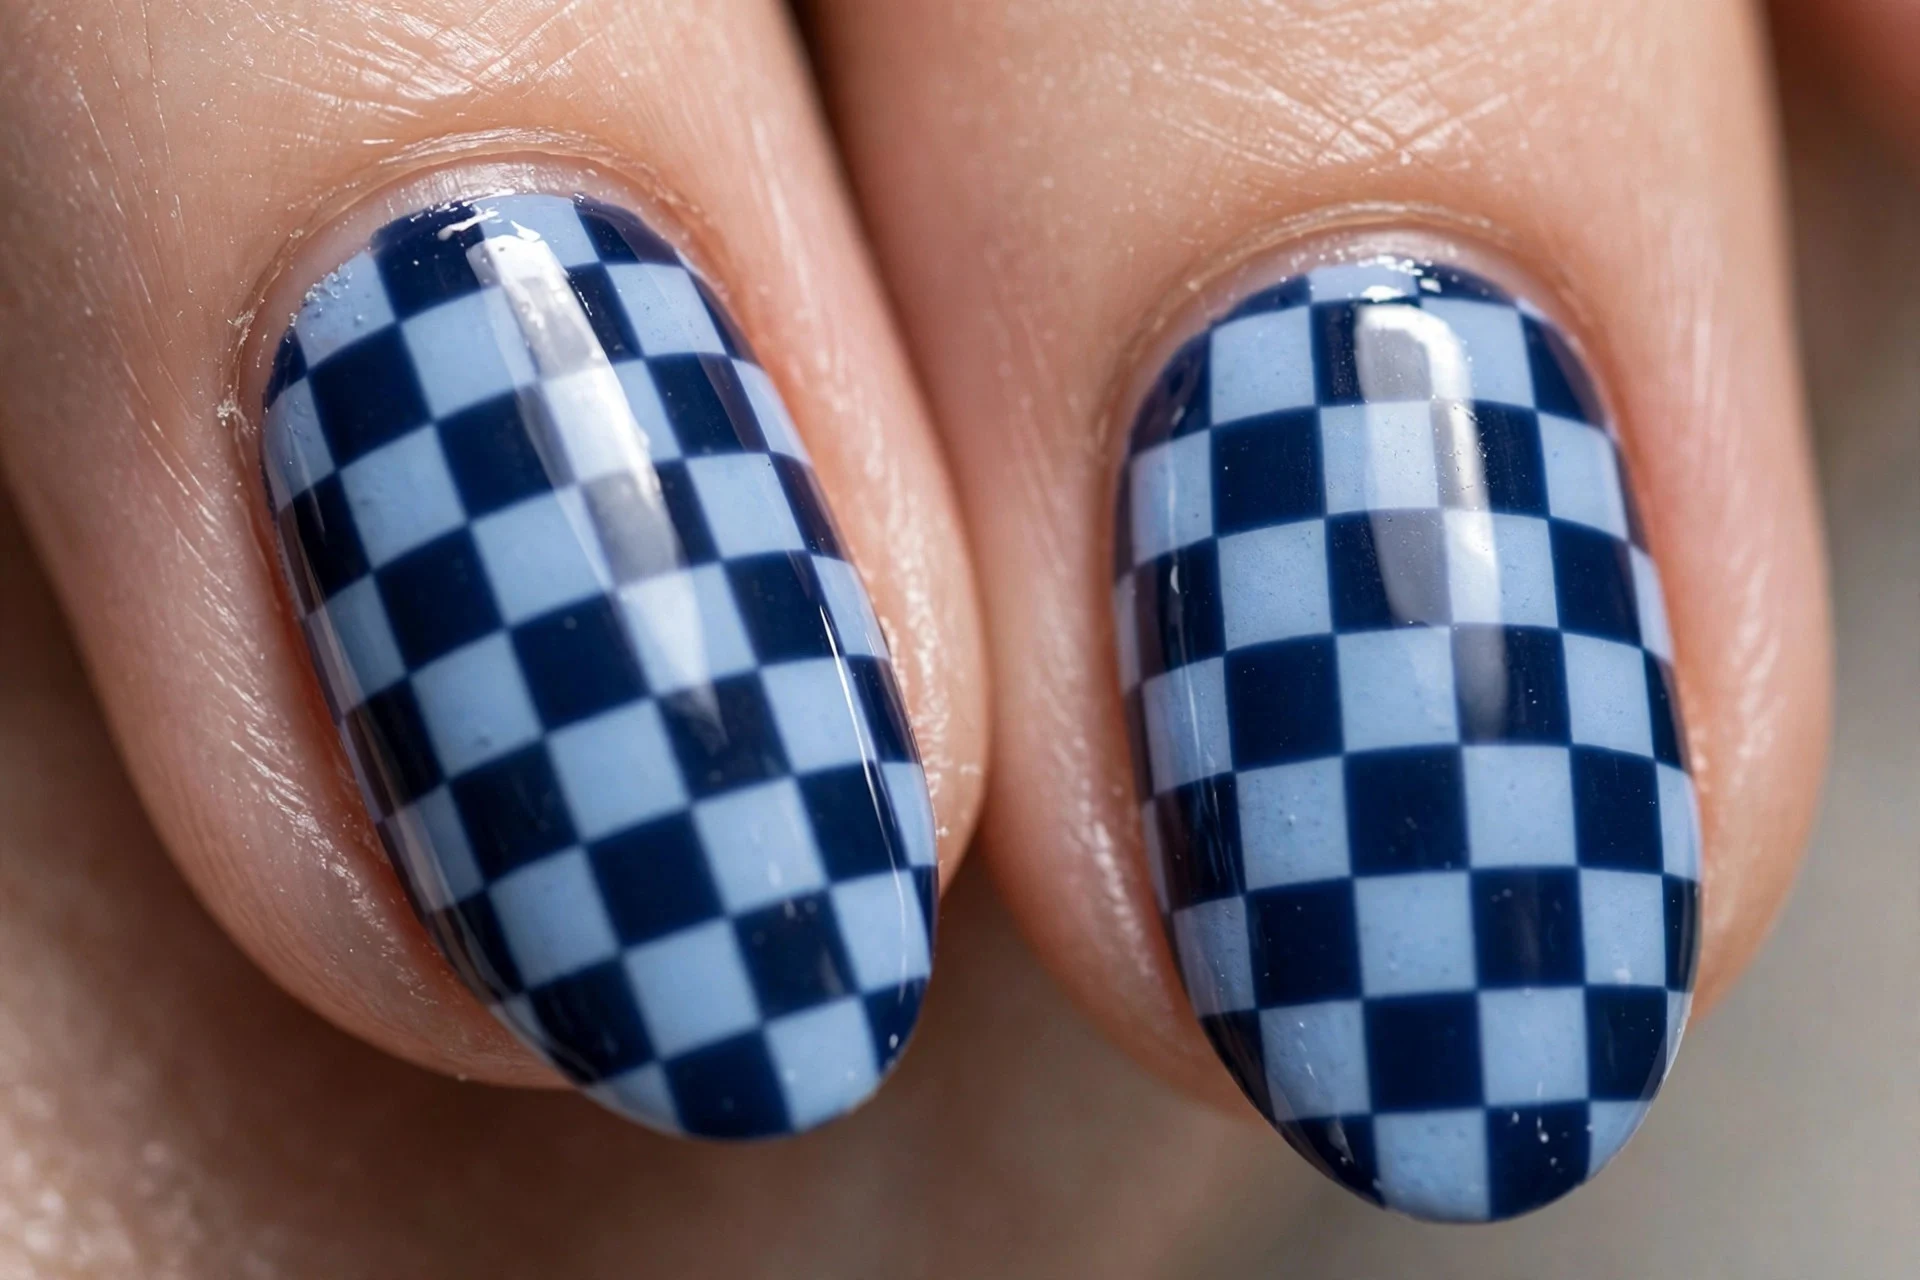
4. Chocolate and Caramel Check
The medium-skin hero pairing: warm chocolate against golden caramel. Rich, delicious, and the contrast is strong enough to read clearly at any distance.
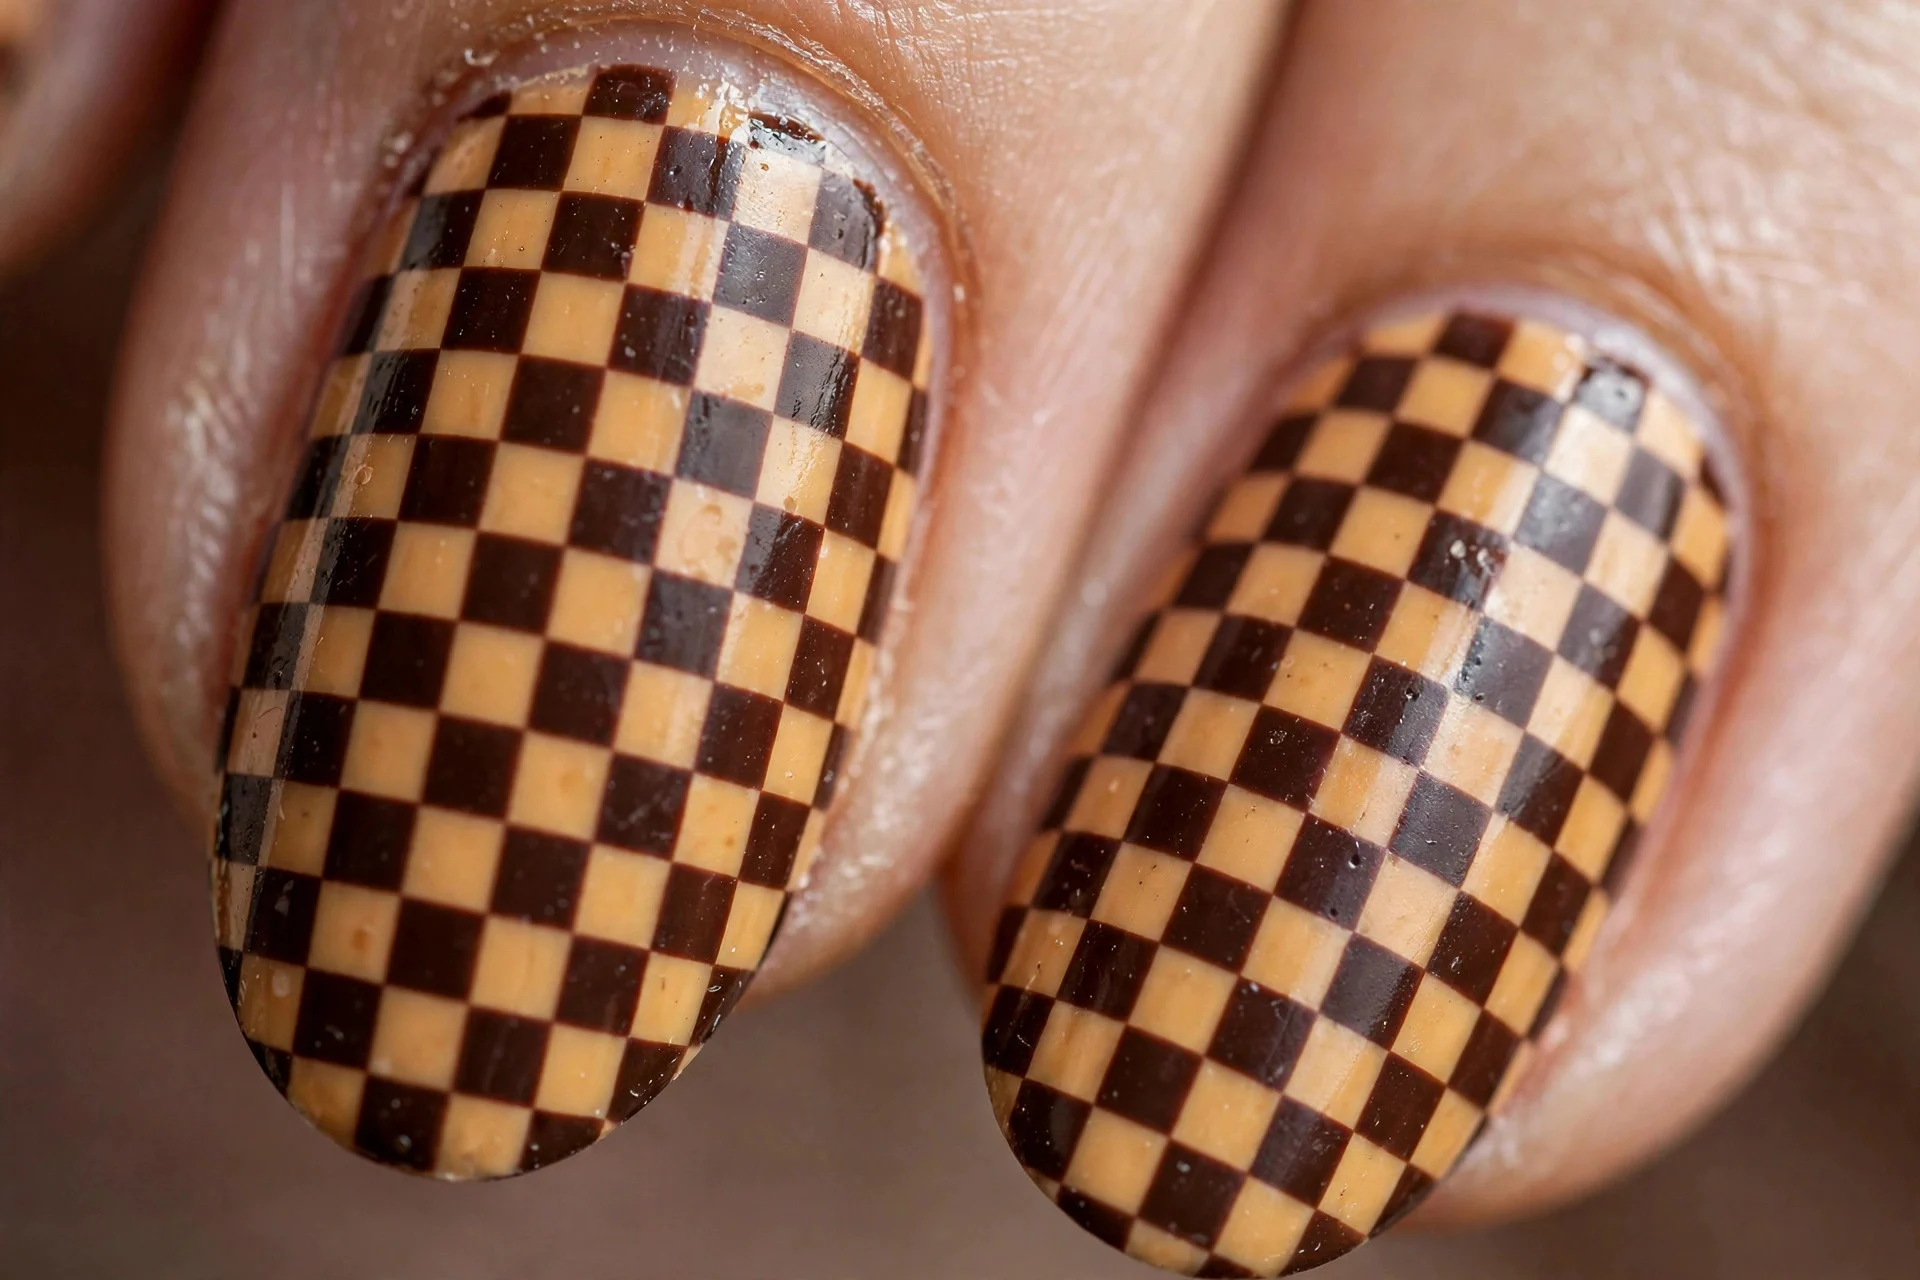
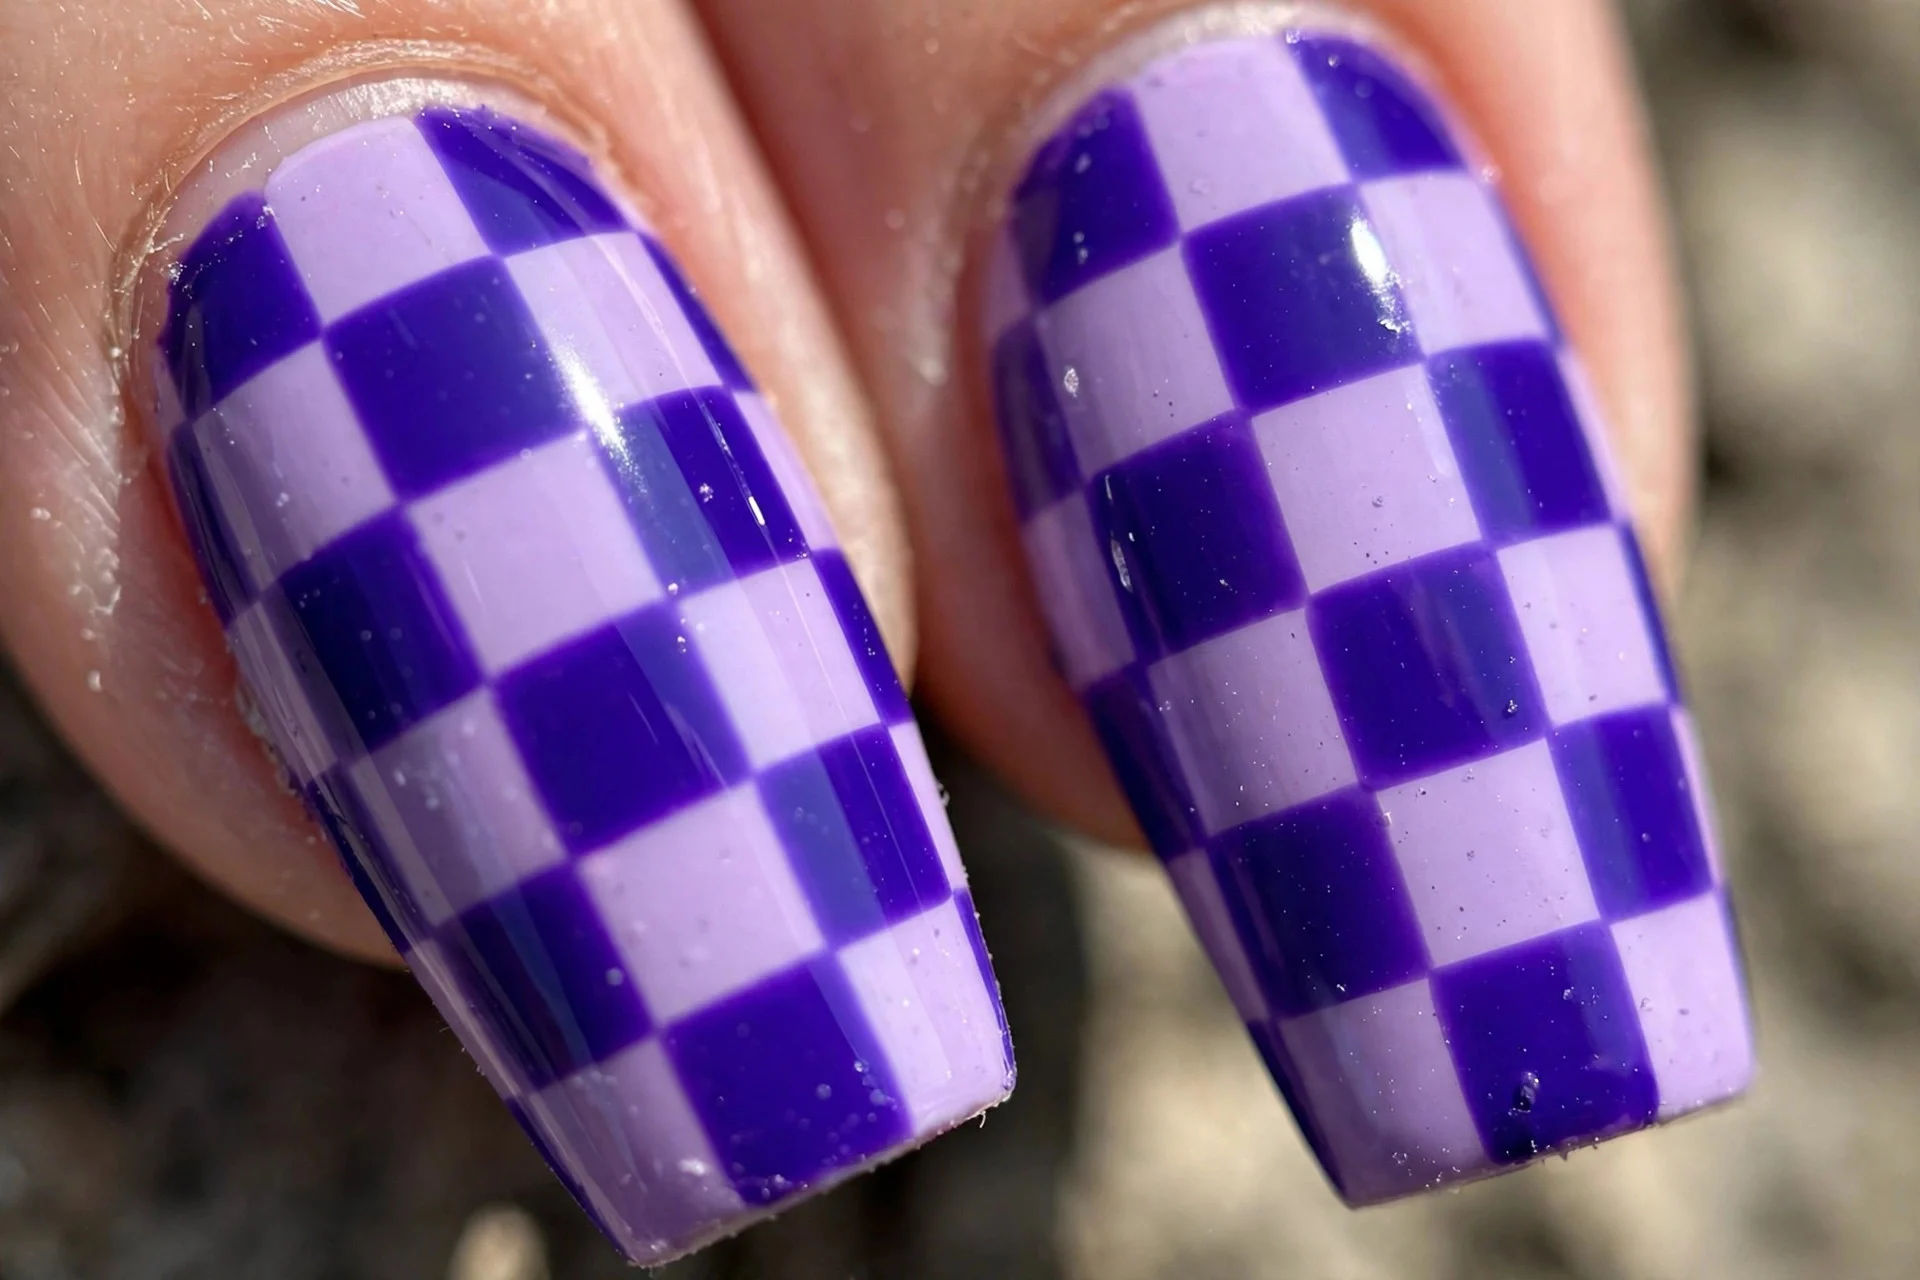
5. Royal Purple and Lilac Check
Jewel-tone recipe for deep skin: saturated royal purple against soft lilac. The purple glows against rich skin tones — this is one of the most complimented combinations I have worn.
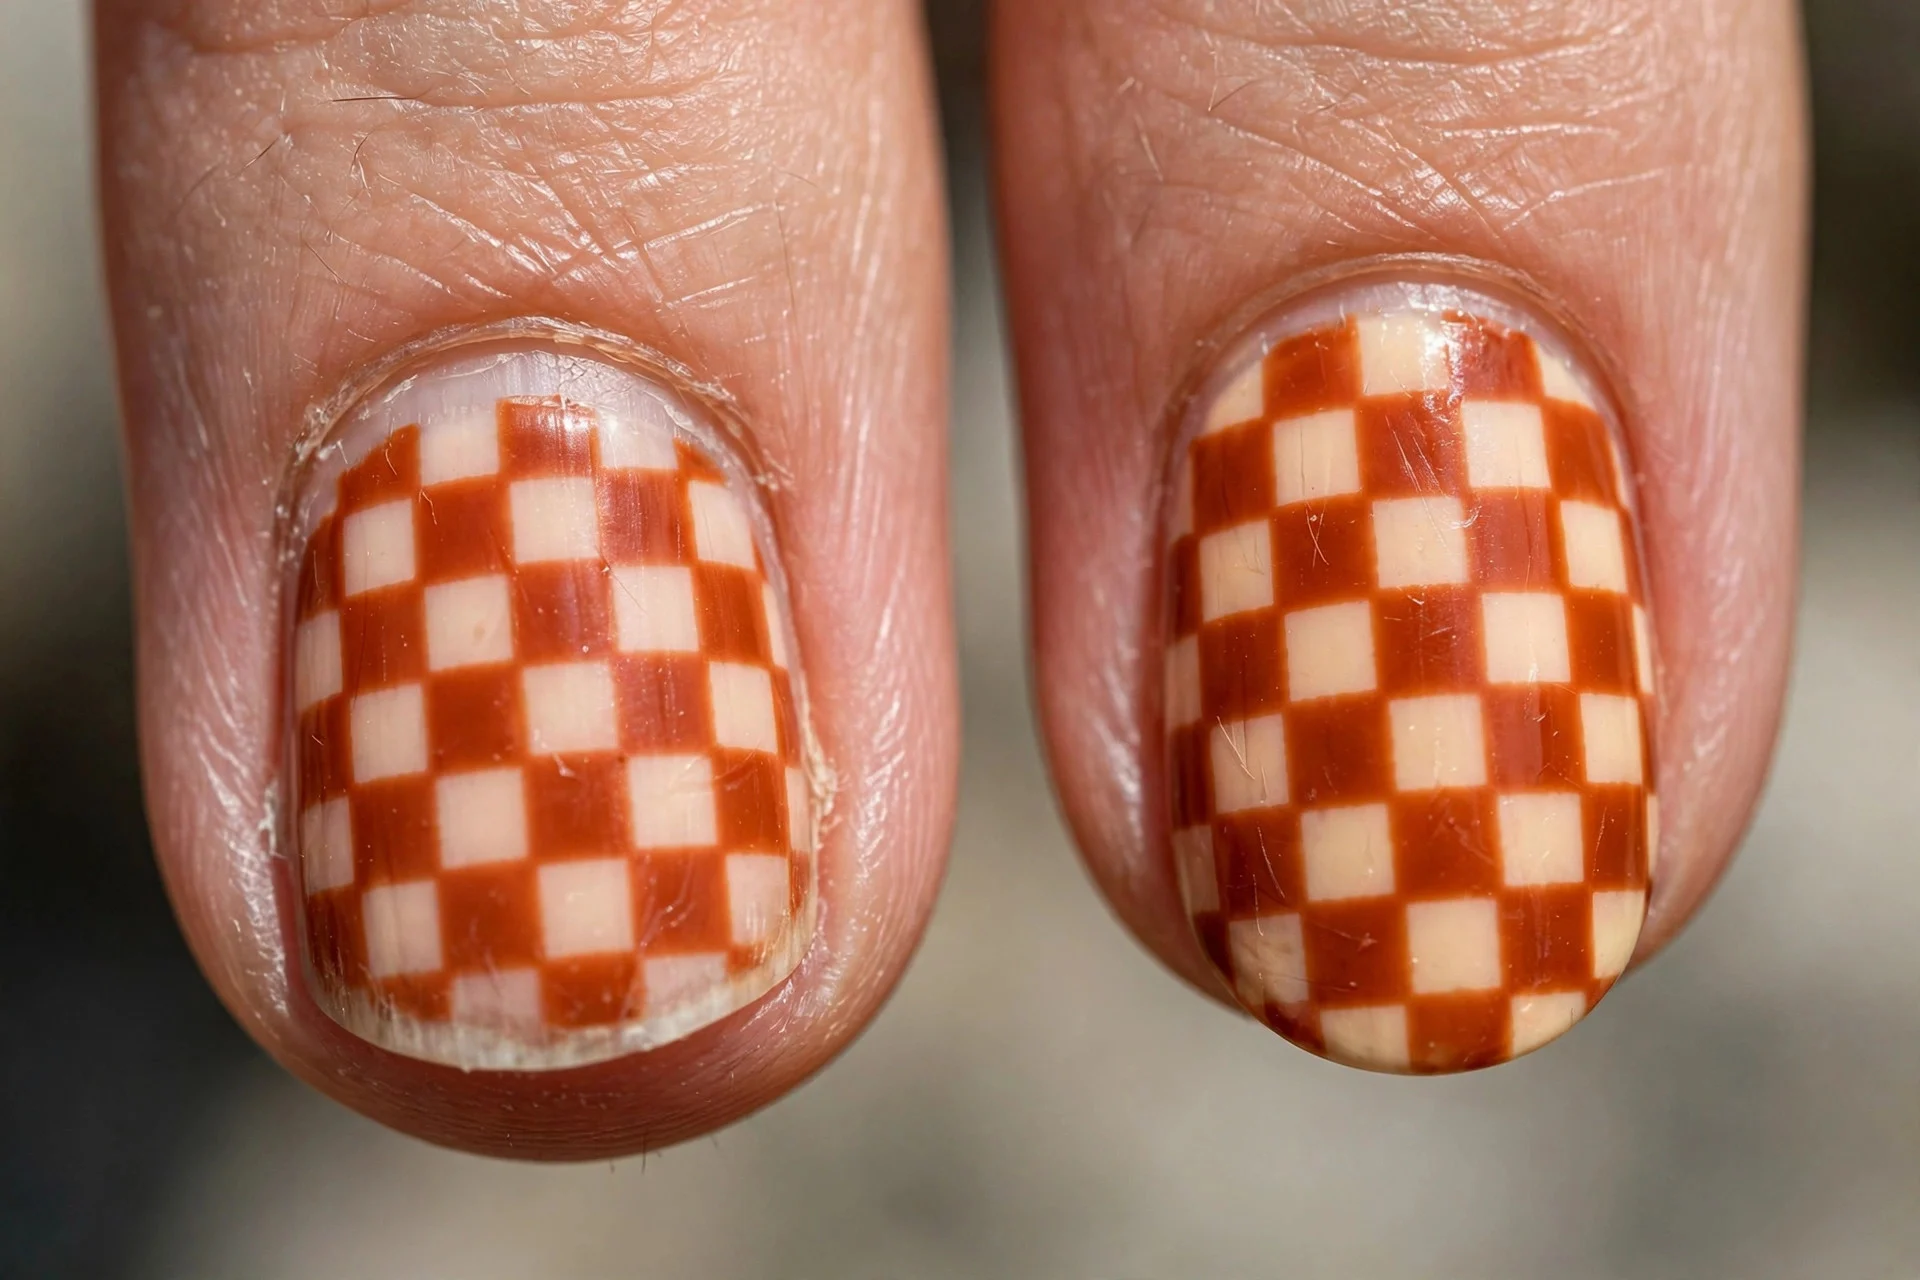
6. Burnt Orange and Cream Check
Warm and striking on deep skin: burnt orange squares against cream. The warmth ties to golden undertones beautifully. An autumn-perfect checkerboard.
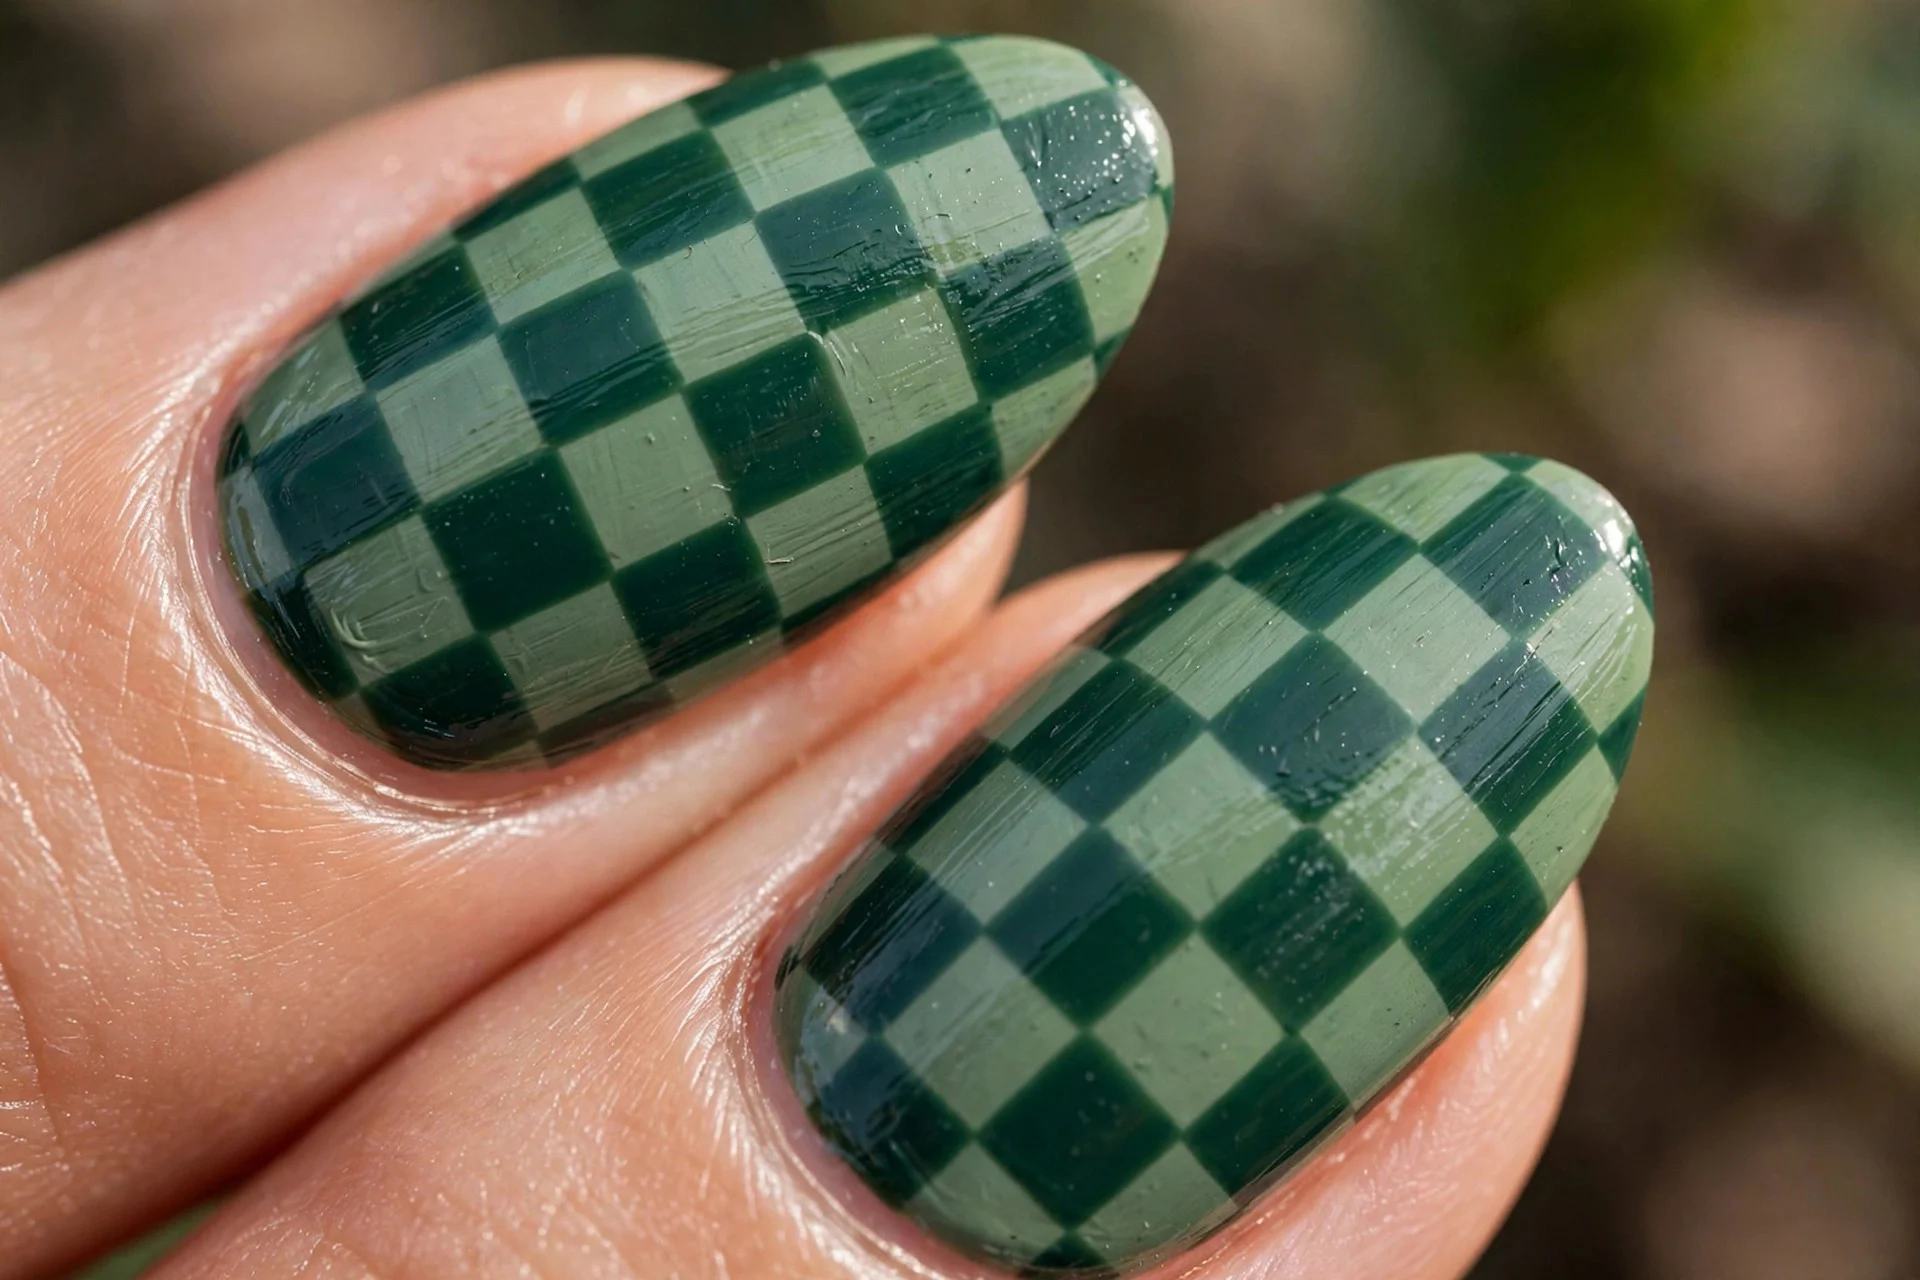
7. Forest Green and Sage Check
Tonal cool pairing engineered for medium and olive skin: deep forest against soft sage. The cool greens contrast beautifully with warm skin undertones.
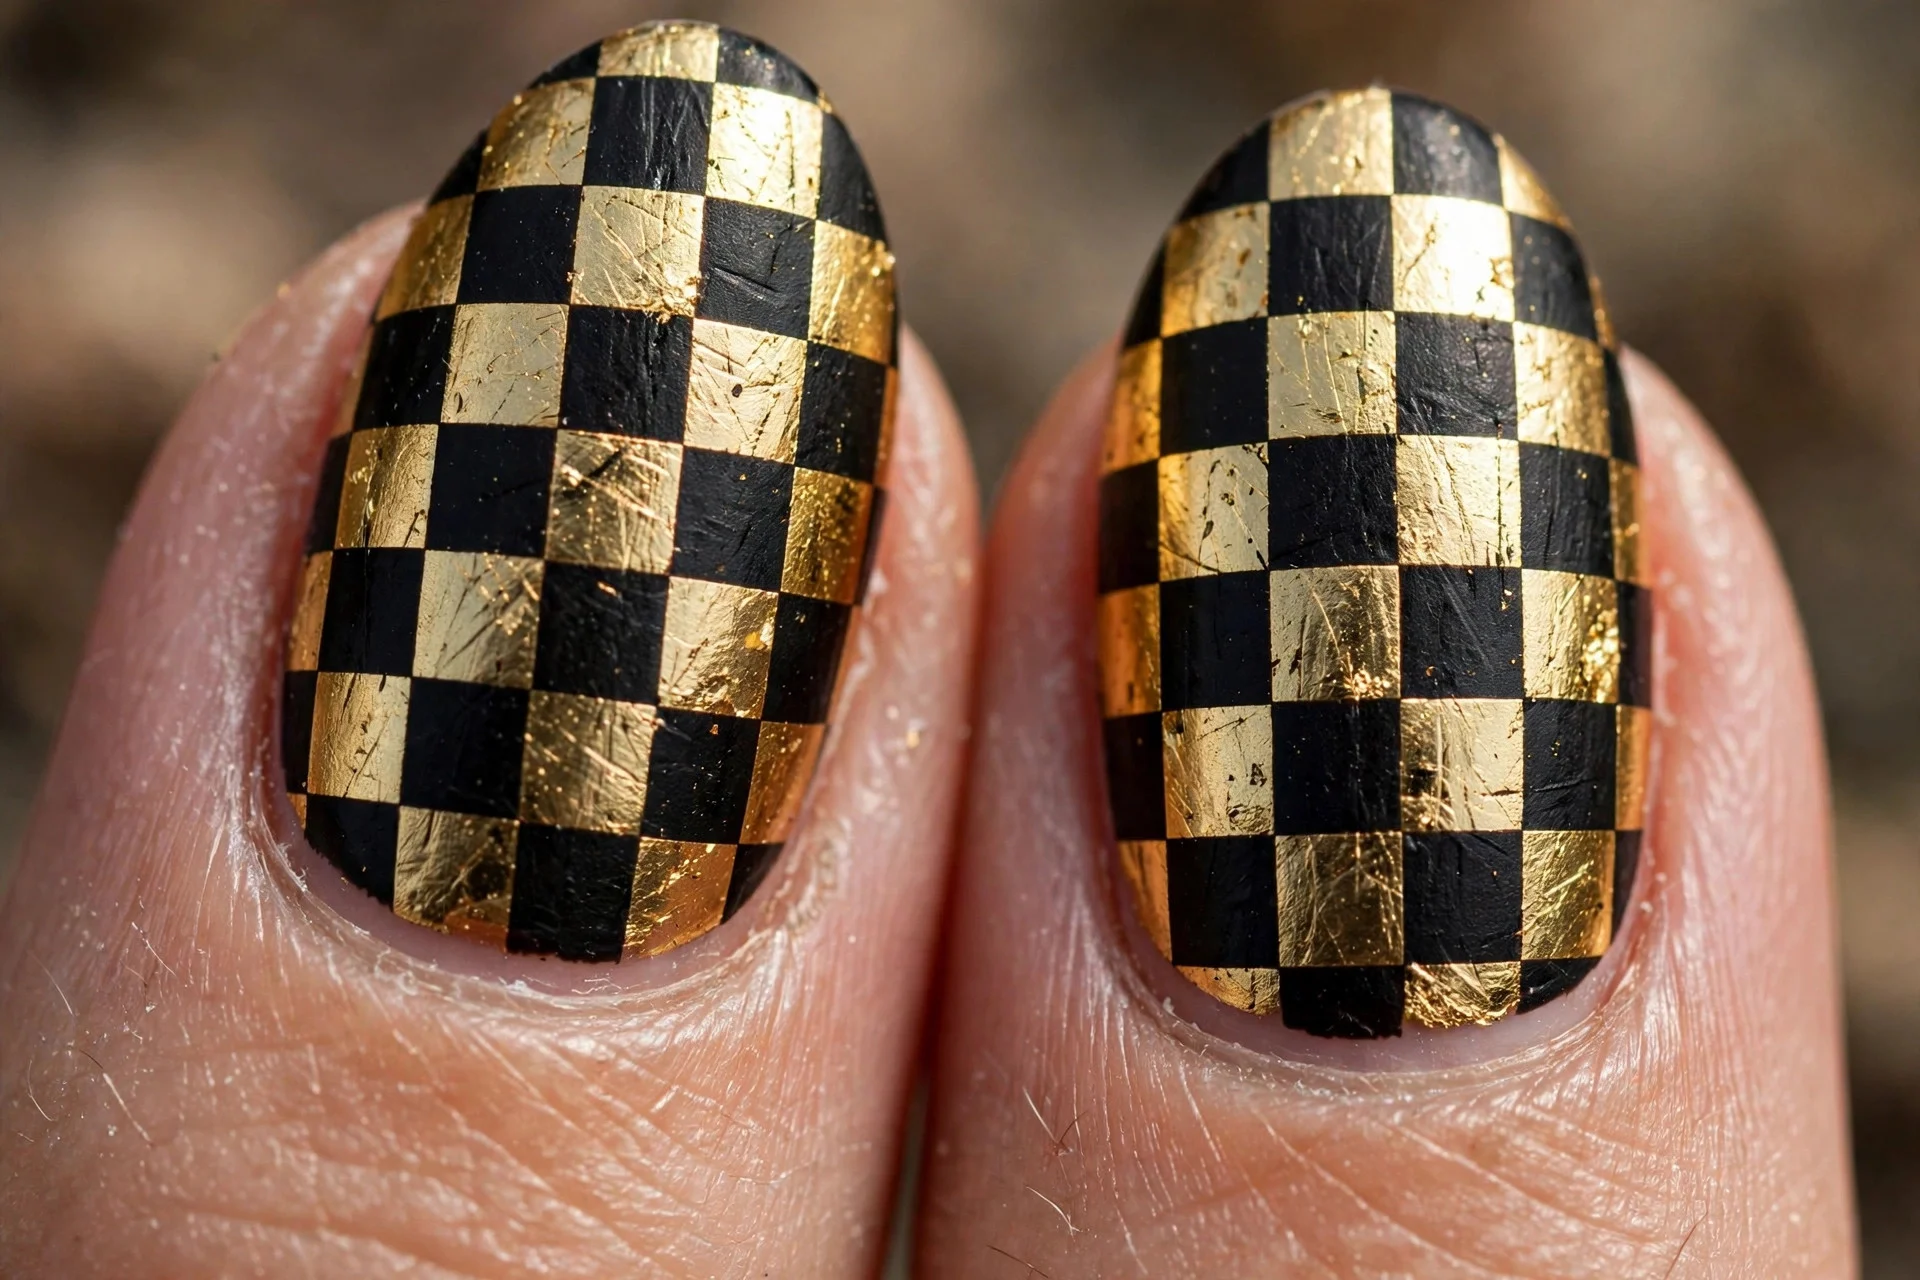
8. Black and Gold Check
Maximum drama: black squares with metallic gold. Works on every skin tone, but it is pure magic on deep skin. Use a true metallic gold, not a yellow-gold, for the expensive finish.
9. Toffee Nude Check
Toffee nude against warm white — the light-skin nude recipe. The toffee is two shades deeper than porcelain skin, so the squares hold their definition. Subtle, wearable, clever.
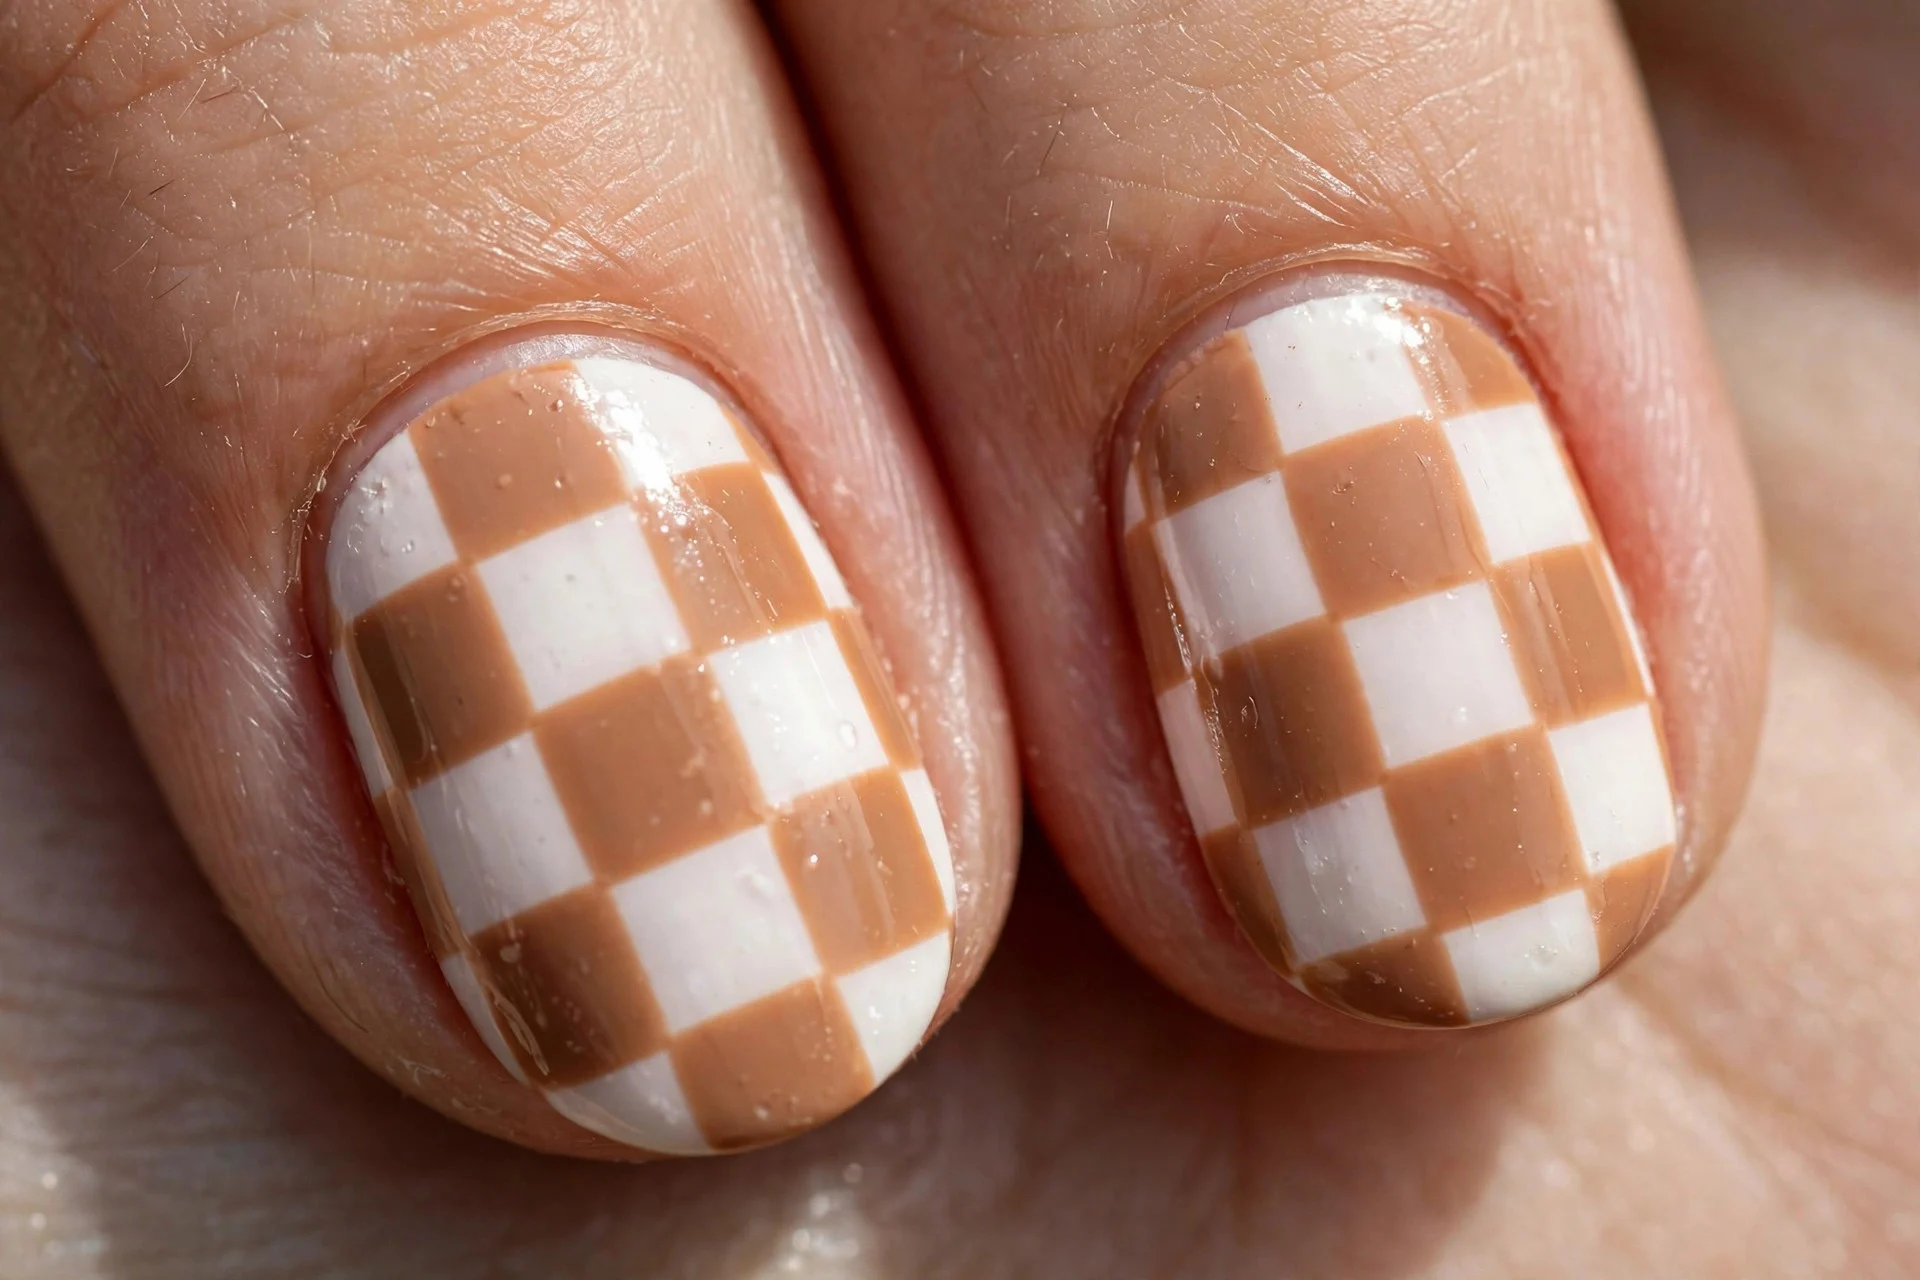
10. Cocoa and Honey Check
The deep-skin nude recipe: rich cocoa against golden honey. Both warm, strong contrast, zero ashiness. This is the nude checkerboard done right.
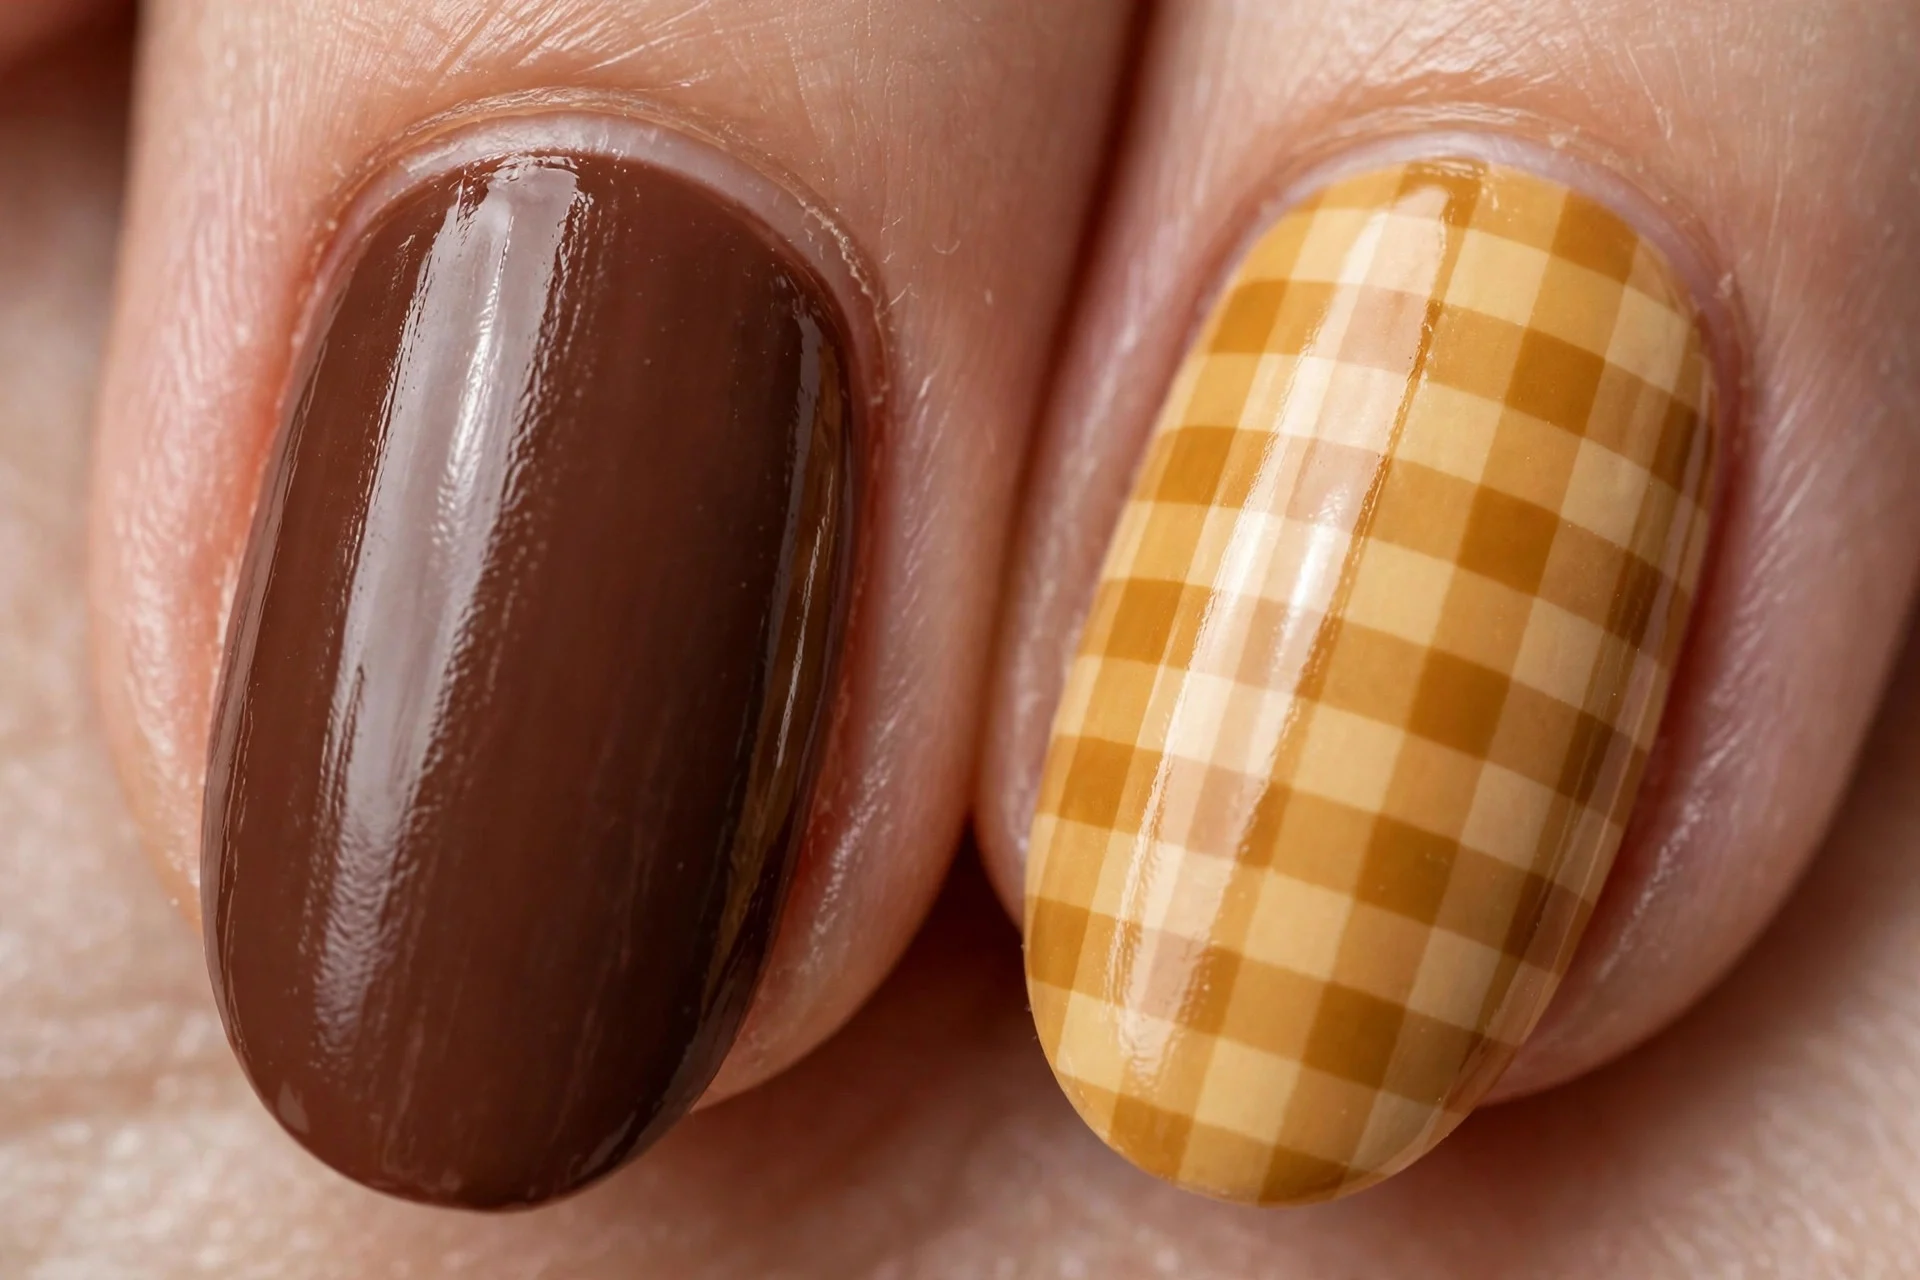
11. Cherry Red and Pink Check
Cherry red against bubblegum pink — playful, bold, and tonal. The two reds share warm undertones so they clash happily rather than accidentally. A fun one for medium skin tones.
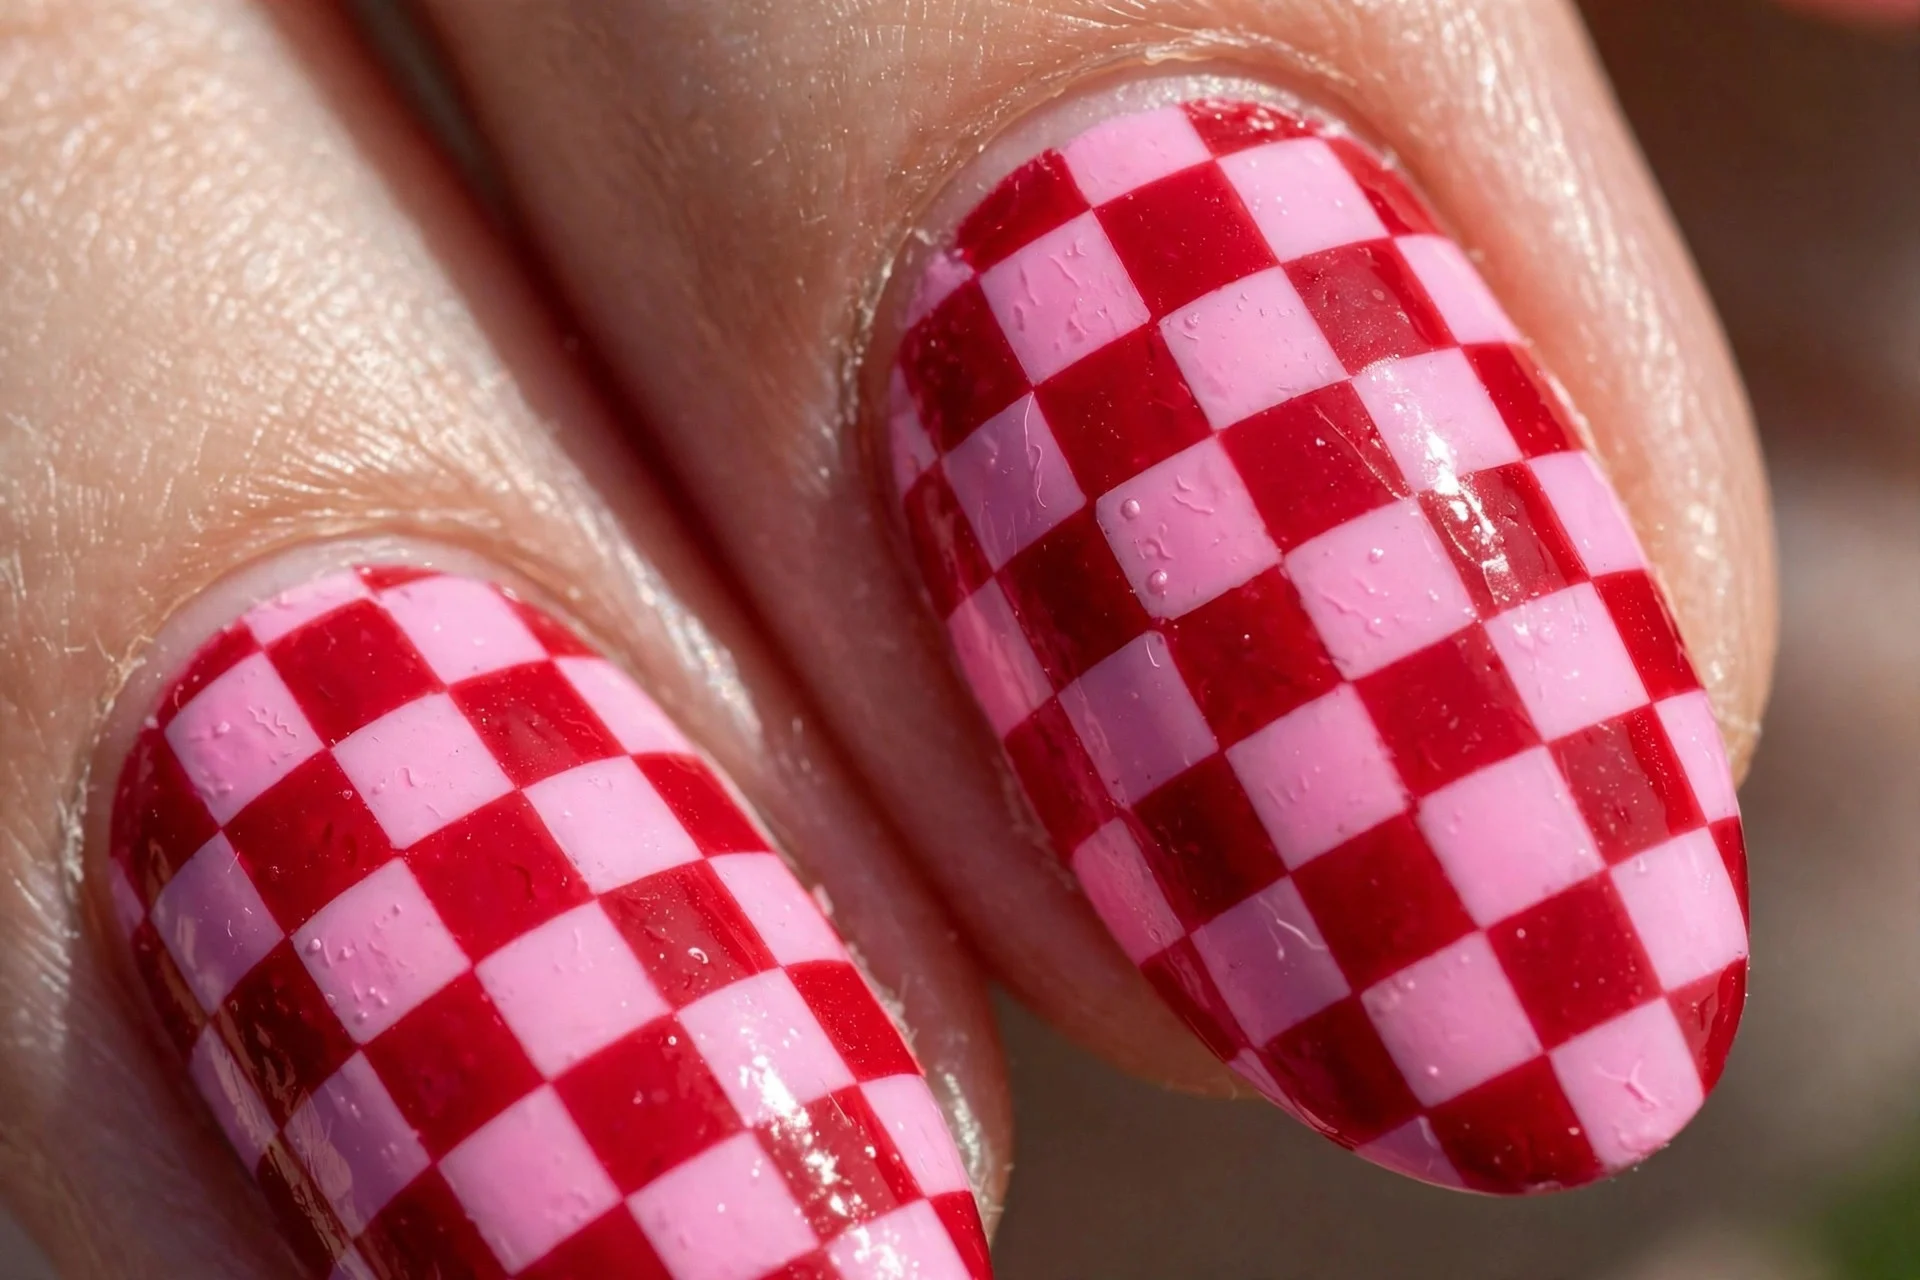
12. Checkerboard French Tips
Nude base with tiny checkerboard tips. All the graphic charm concentrated at the tip — and the small scale means you can use lower-contrast pairings that would vanish on a full nail.
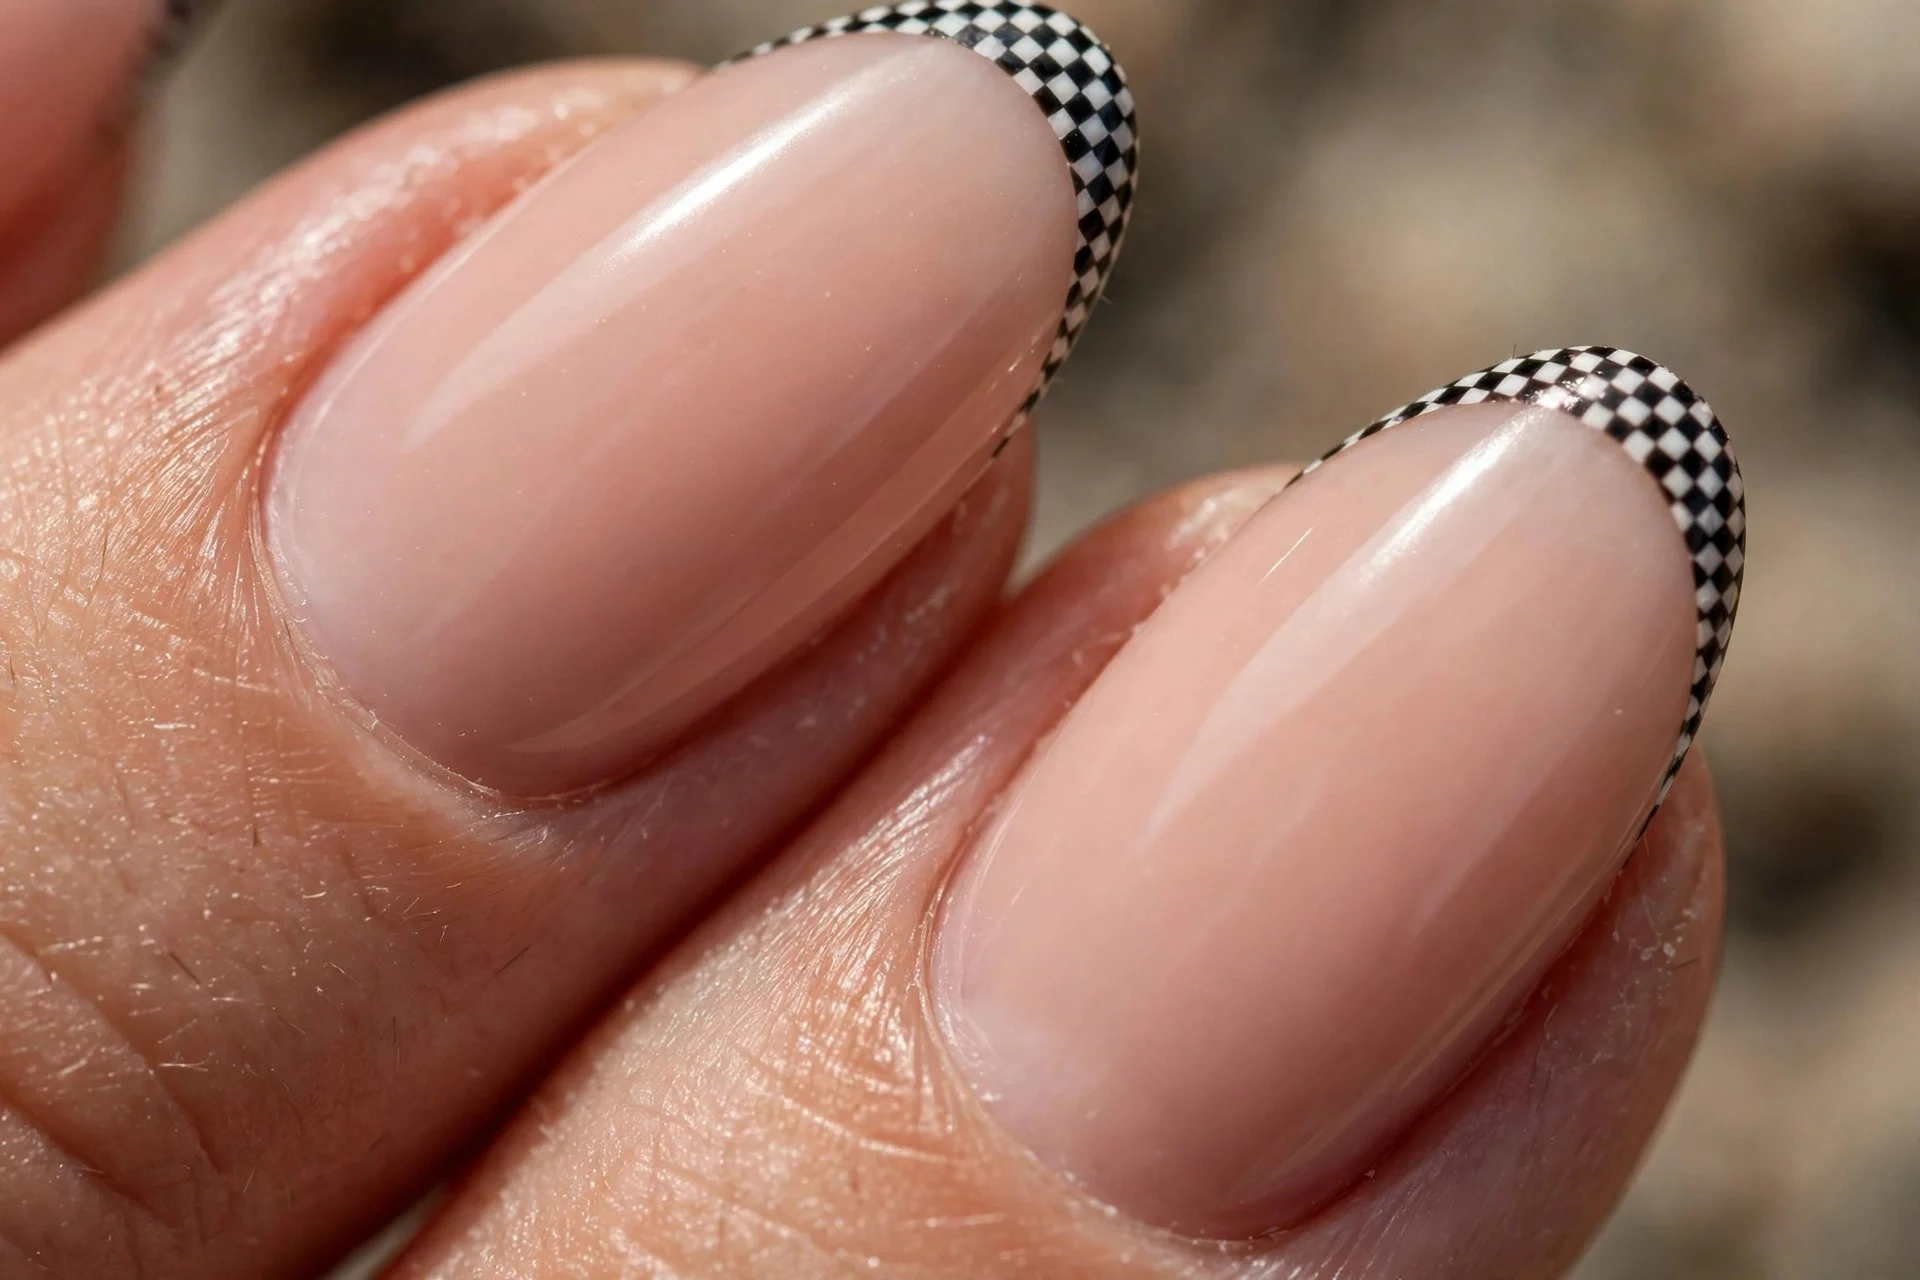
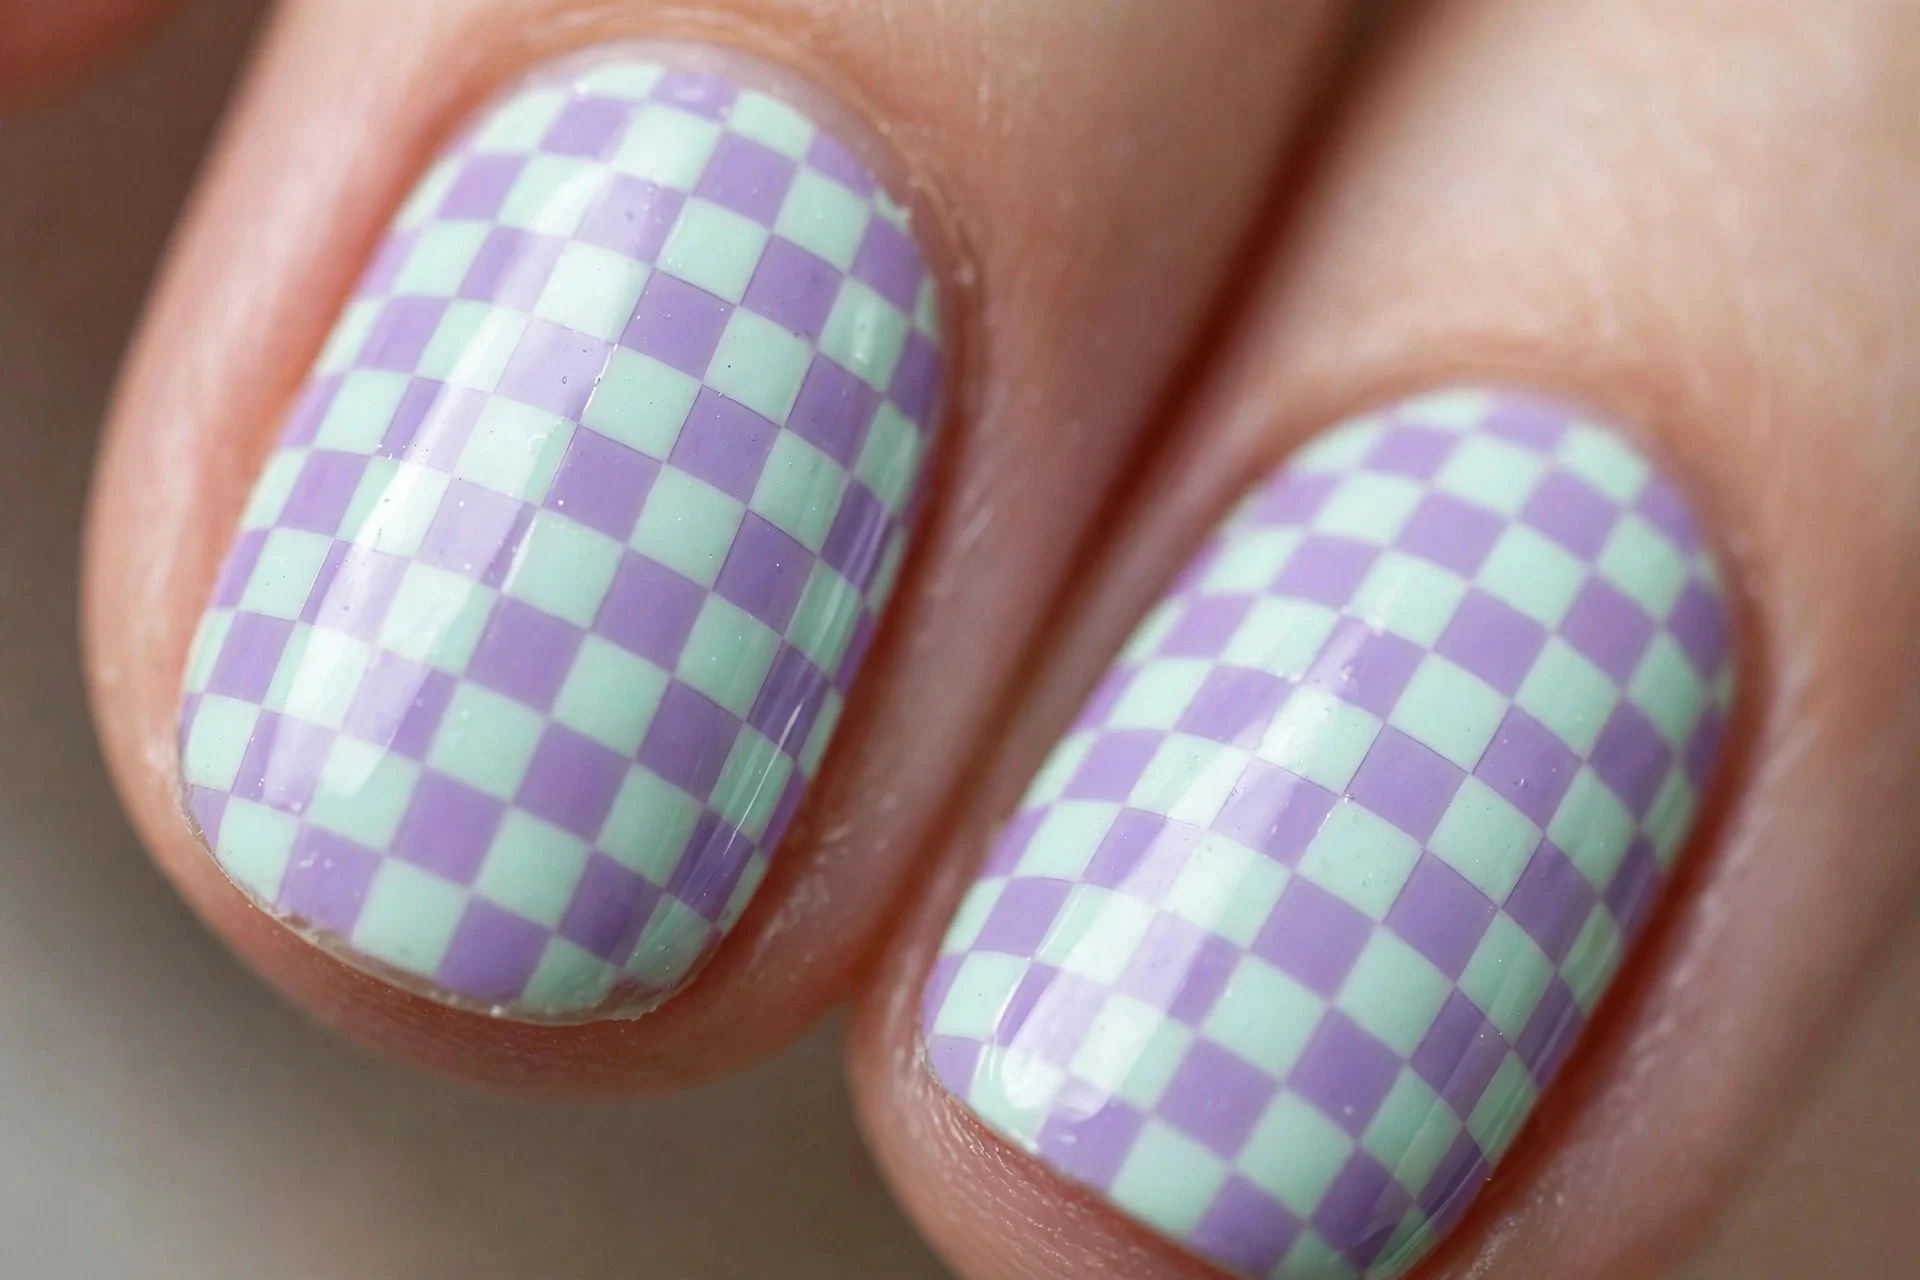
13. Pastel Check
Lavender and mint squares — the soft recipe. This only works with enough contrast against your skin: best on medium to deep skin tones, where pastels pop. On very light skin, deepen both shades one step.
14. Smoky Grey Check
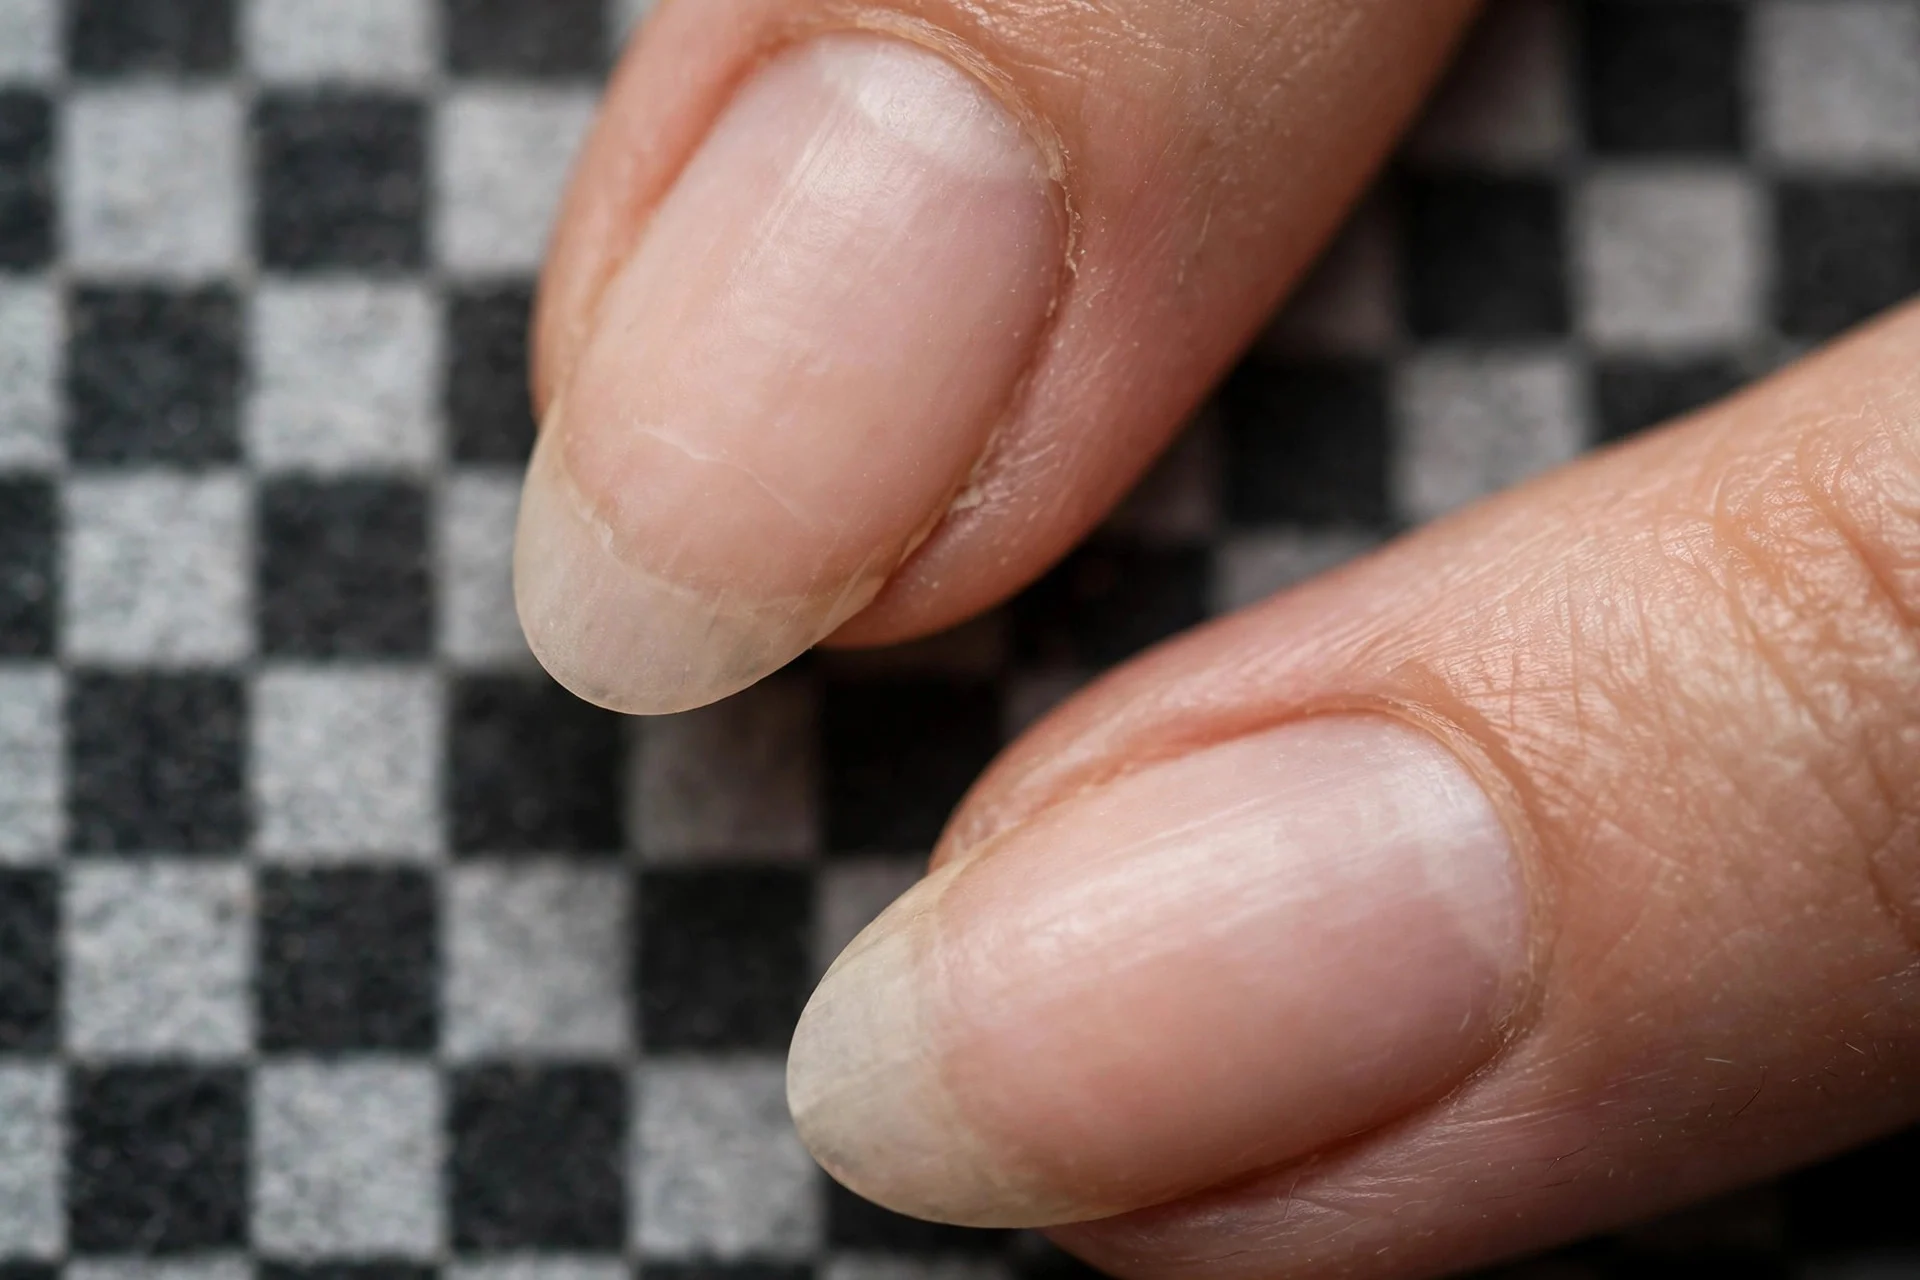
Charcoal against light grey — the cool neutral recipe. Sleek and modern, best on light to medium skin where the cool tones read crisp rather than dull.
15. Short Nail Micro-Check
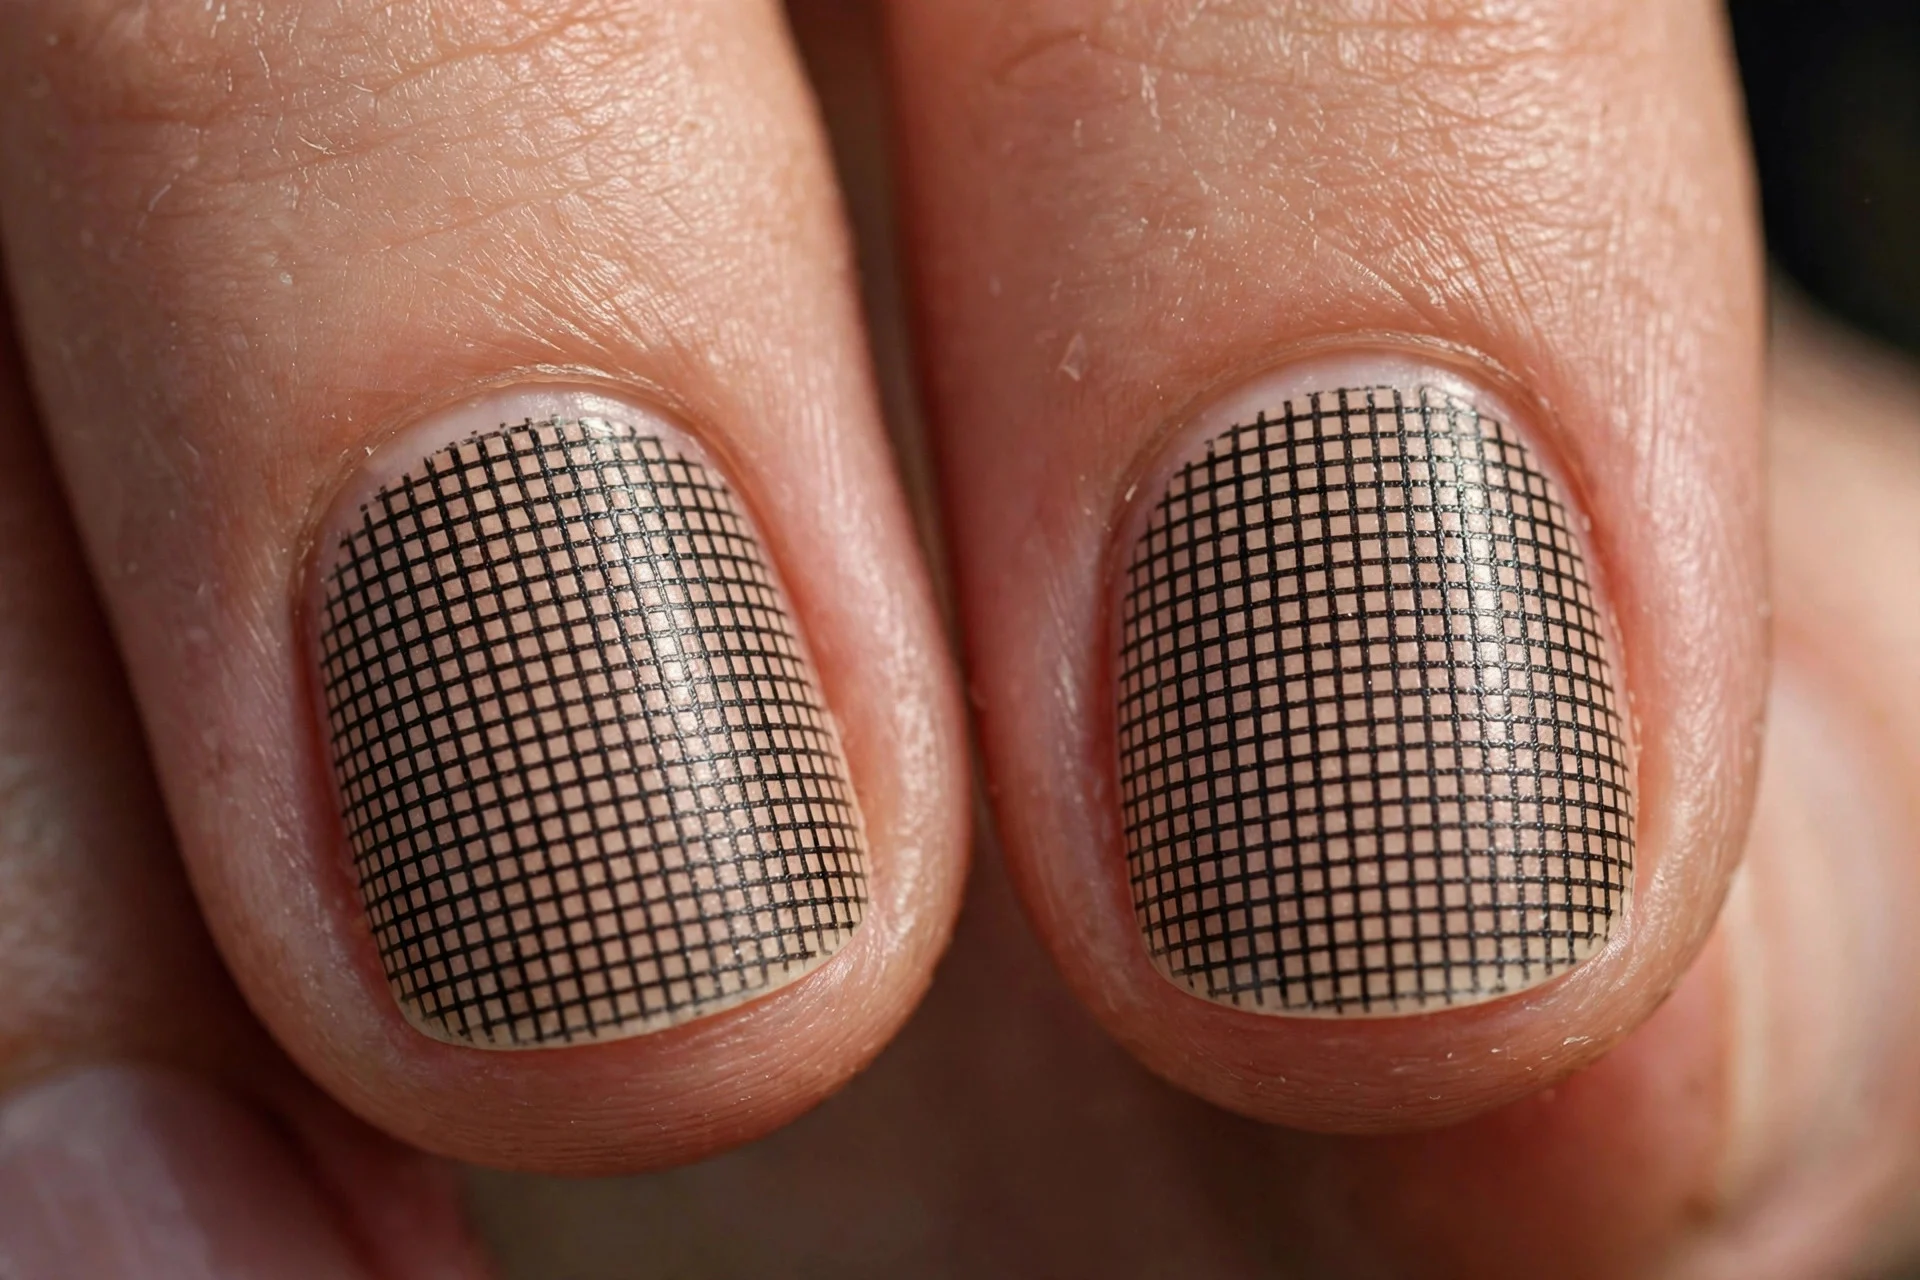
Tiny checks on short natural nails: black and nude micro-squares, three across. The small scale keeps it delicate — proof that checkerboard works at any length when the contrast is engineered right.
Frequently Asked Questions
What colours work best for checkered nails?
Pairs at least three lightness steps apart with matching undertones (both warm or both cool). Black + white is the universal winner; beyond that, match the pairing to your skin tone's undertone.
How do I get crisp checkerboard lines?
Paint the light colour first and let it dry fully. Use striping tape to mark the grid, fill alternate squares with the dark colour using a small flat brush, painting slightly over the tape edges, then peel for sharp lines.
Do checkered nails suit short nails?
Yes — keep the checks small, about three squares across the nail. Micro-checks look delicate and intentional on short nails; chunky squares overwhelm them.
What is the best nude checkerboard for deep skin?
Rich cocoa or espresso paired with caramel or honey — both warm, strong contrast. Avoid pale "nudes" that read ashy against deep skin.
Can I do checkered nails with regular polish?
Absolutely. The technique is the same; just make sure the base colour is completely dry before taping, or the tape will lift it. Work in thin coats.
How long do checkered nails last?
Like any manicure — two to three weeks for gel, about a week for regular polish. The design is sealed under top coat, and the two-colour layers wear evenly if both were applied thinly.
Final Thoughts
Checkered nails are a colour-engineering puzzle, not a skill test. Get the contrast right — three lightness steps apart, matching undertones, checked against your skin — and the pattern practically paints itself. Start with black and white to learn the technique, then work through the recipes for your skin tone. Your checkerboard will never look accidental again.