Swirl nails are pure joy — those wavy, retro, melted lines in clashing colours that look like a 70s poster shrunk onto your fingertips. I love them. What I do not love is the salon quote I got last time I asked: £65 for a set that takes the tech 40 minutes. So this post is for everyone who wants swirl nails without the salon bill: honest price comparisons, the press-on dupes that actually look good, and the DIY tricks that get you swirls for under a tenner. Plus 17 swirl nail ideas, obviously.
What Swirl Nails Cost at the Salon (Honest Numbers)
Let us talk real prices, because nobody else will. A basic swirl set — gel base with hand-painted swirls on all ten nails — runs £45-65 in the UK and $55-80 in the US, depending on the city. That is roughly £15-25 more than a plain gel manicure, because the swirls are hand-painted and take time. Add nail art on every nail (most swirl sets are full-art), long extensions, or a trendy shape, and you are looking at £75+ / $90+.
Is it worth it? Sometimes — a skilled tech's swirls are smoother, and the design lasts the full two to three weeks. But swirls are inherently wobbly and organic: unlike a crisp French tip, they do not punish imperfection, which makes them one of the best trends to DIY or dupe.
Press-On Dupes: The £8 Swirl
Press-on nails are the budget hero of the swirl trend. A good set of swirl press-ons costs £6-12 (or $8-15), takes ten minutes to apply, and lasts 5-10 days with proper prep. The designs have got genuinely good — printed swirls are crisp, the colour combinations are on-trend, and nobody at conversational distance can tell they are not hand-painted.
What to look for: sets with varied swirl placement (not the identical pattern stamped on every nail — real swirls vary), almond or oval shapes which suit the retro look, and a brand with strong adhesive tabs included. My application tips: push back cuticles, buff the nail lightly, wipe with alcohol, and size every nail before you start gluing. Press the nail on at a 45-degree angle from the cuticle and hold for 30 seconds. Done properly, they survive a week of normal life.
The maths: one salon swirl set (£55) buys roughly six sets of press-ons. Even if you wear press-ons for special occasions only, the savings are enormous.
DIY Swirls for Under £10
If you own polish already, DIY swirls cost nothing. The technique: paint your base colour and let it dry completely (this is non-negotiable — wet base plus swirl colour equals mud). Then, with a fine detail brush or even a toothpick, paint wavy lines across the nail in your contrast colour. The lines do not need to be even. In fact, varying the thickness makes them look better.
The beginner-friendly method is the "blob and drag": place small blobs of the swirl colour on the nail, then drag a toothpick through them in an S-motion. The blobs merge into organic waves with zero brush skill required. Seal with top coat, which smooths everything and makes hand-painted lines look intentional.
For gel users, the same method works with gel polish — just cure between the base and the swirls. Total extra cost if you already own polish: a £3 detail brush. If you are starting from zero, a basic nail-art brush set and two polish colours run under £10.
Salon vs DIY vs Press-On: The Real Comparison
- Salon: £45-75, a 60-90 minute appointment, lasts 2-3 weeks, no skill needed. Best for events and treats.
- DIY: under £10, 30-45 minutes at home, lasts 1-2 weeks, low skill needed. Best for regular wear.
- Press-ons: £6-12, 10 minutes to apply, lasts 5-10 days, no skill needed. Best for trying the trend.
My honest take: try press-ons first to see if you like swirls on your hands, DIY them once you are hooked, and save the salon for occasions. There is no wrong answer — only overpaying for something you could have done at home.
17 Swirl Nail Ideas
1. Classic 70s Swirl
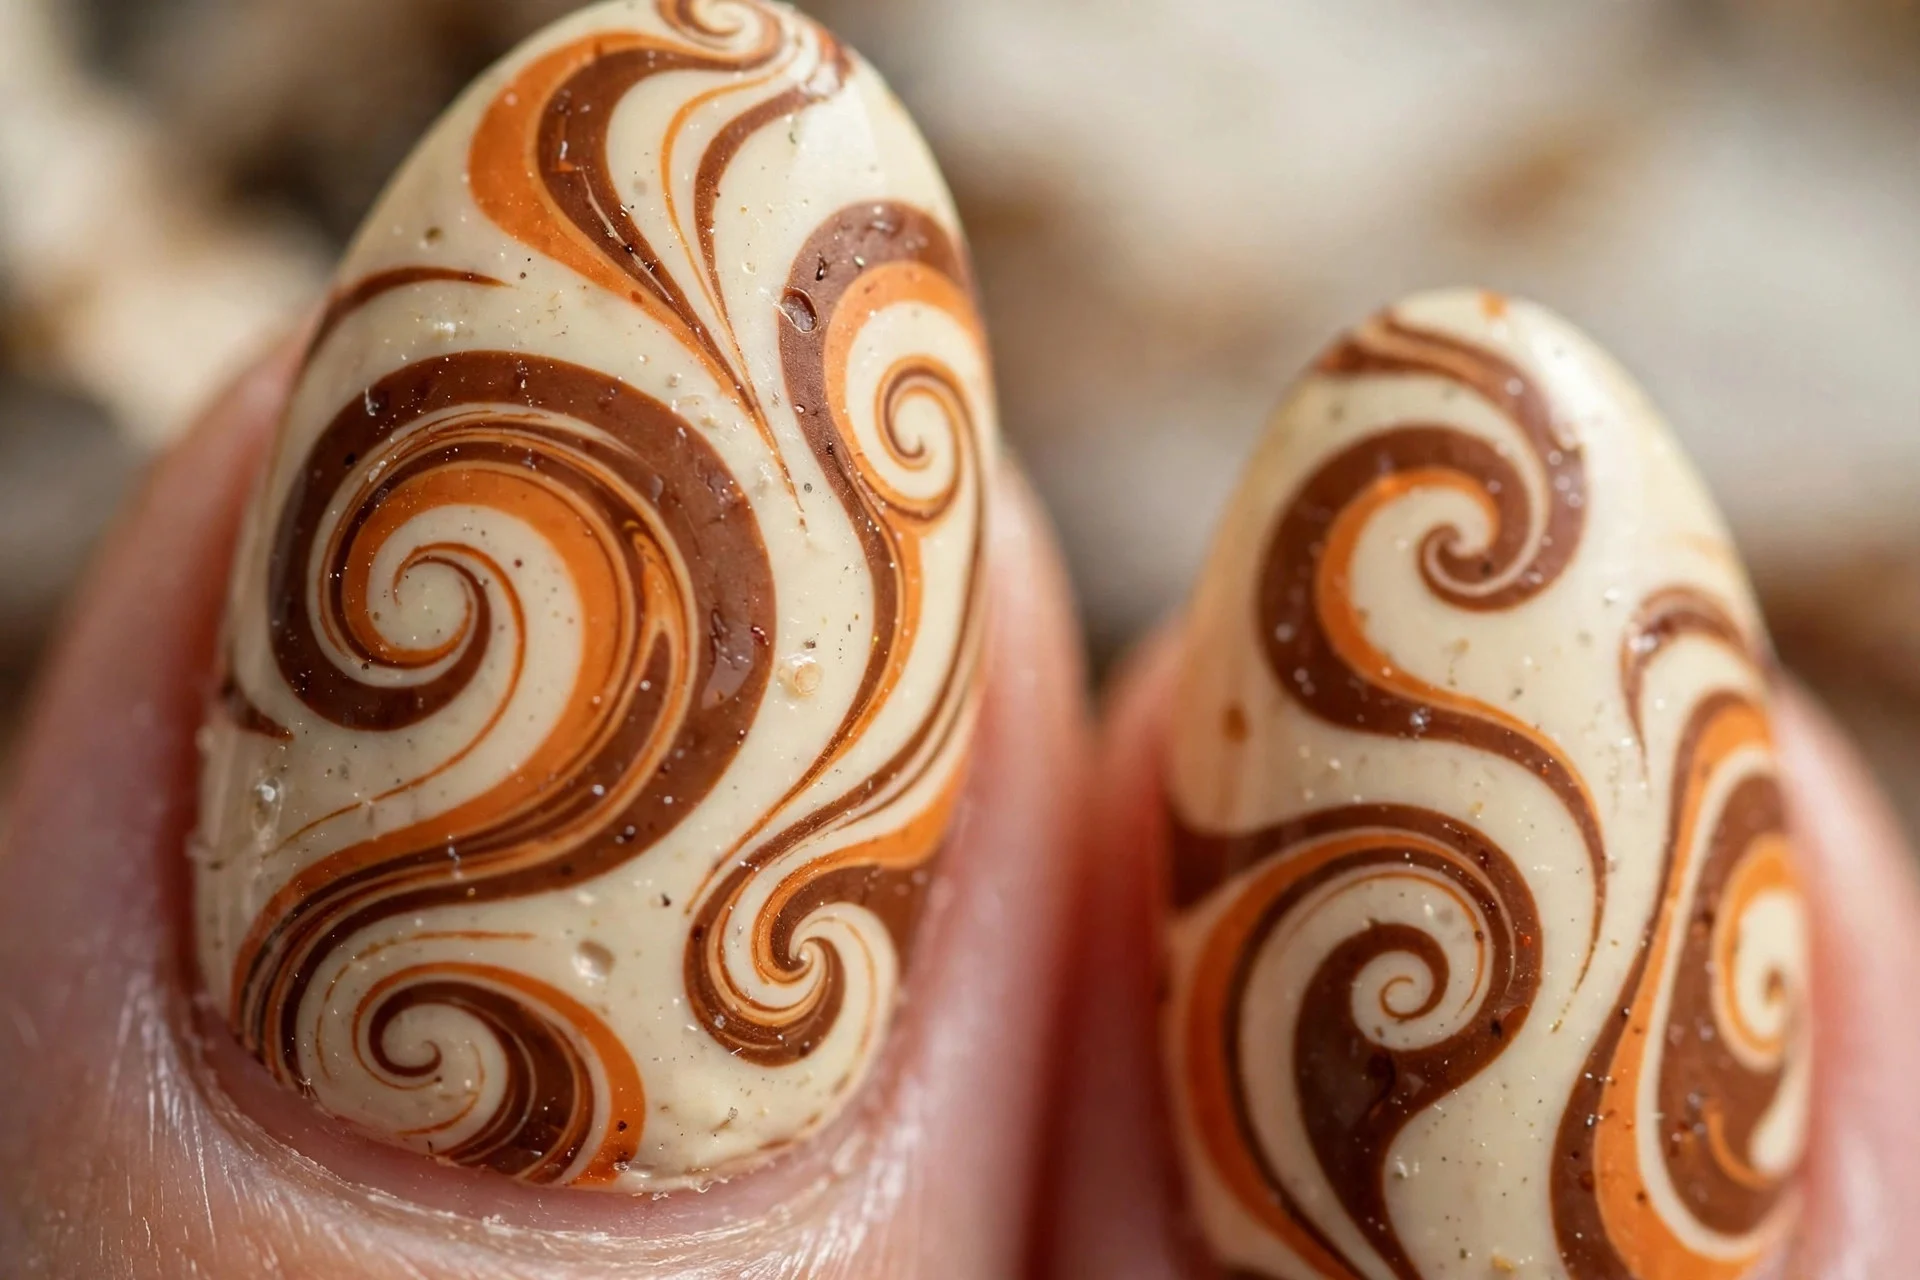
Cream base with brown and orange swirls — the retro original. This is the swirl that started the trend, and it still looks the freshest. The earthy palette suits autumn perfectly.
2. Pink and White Swirl
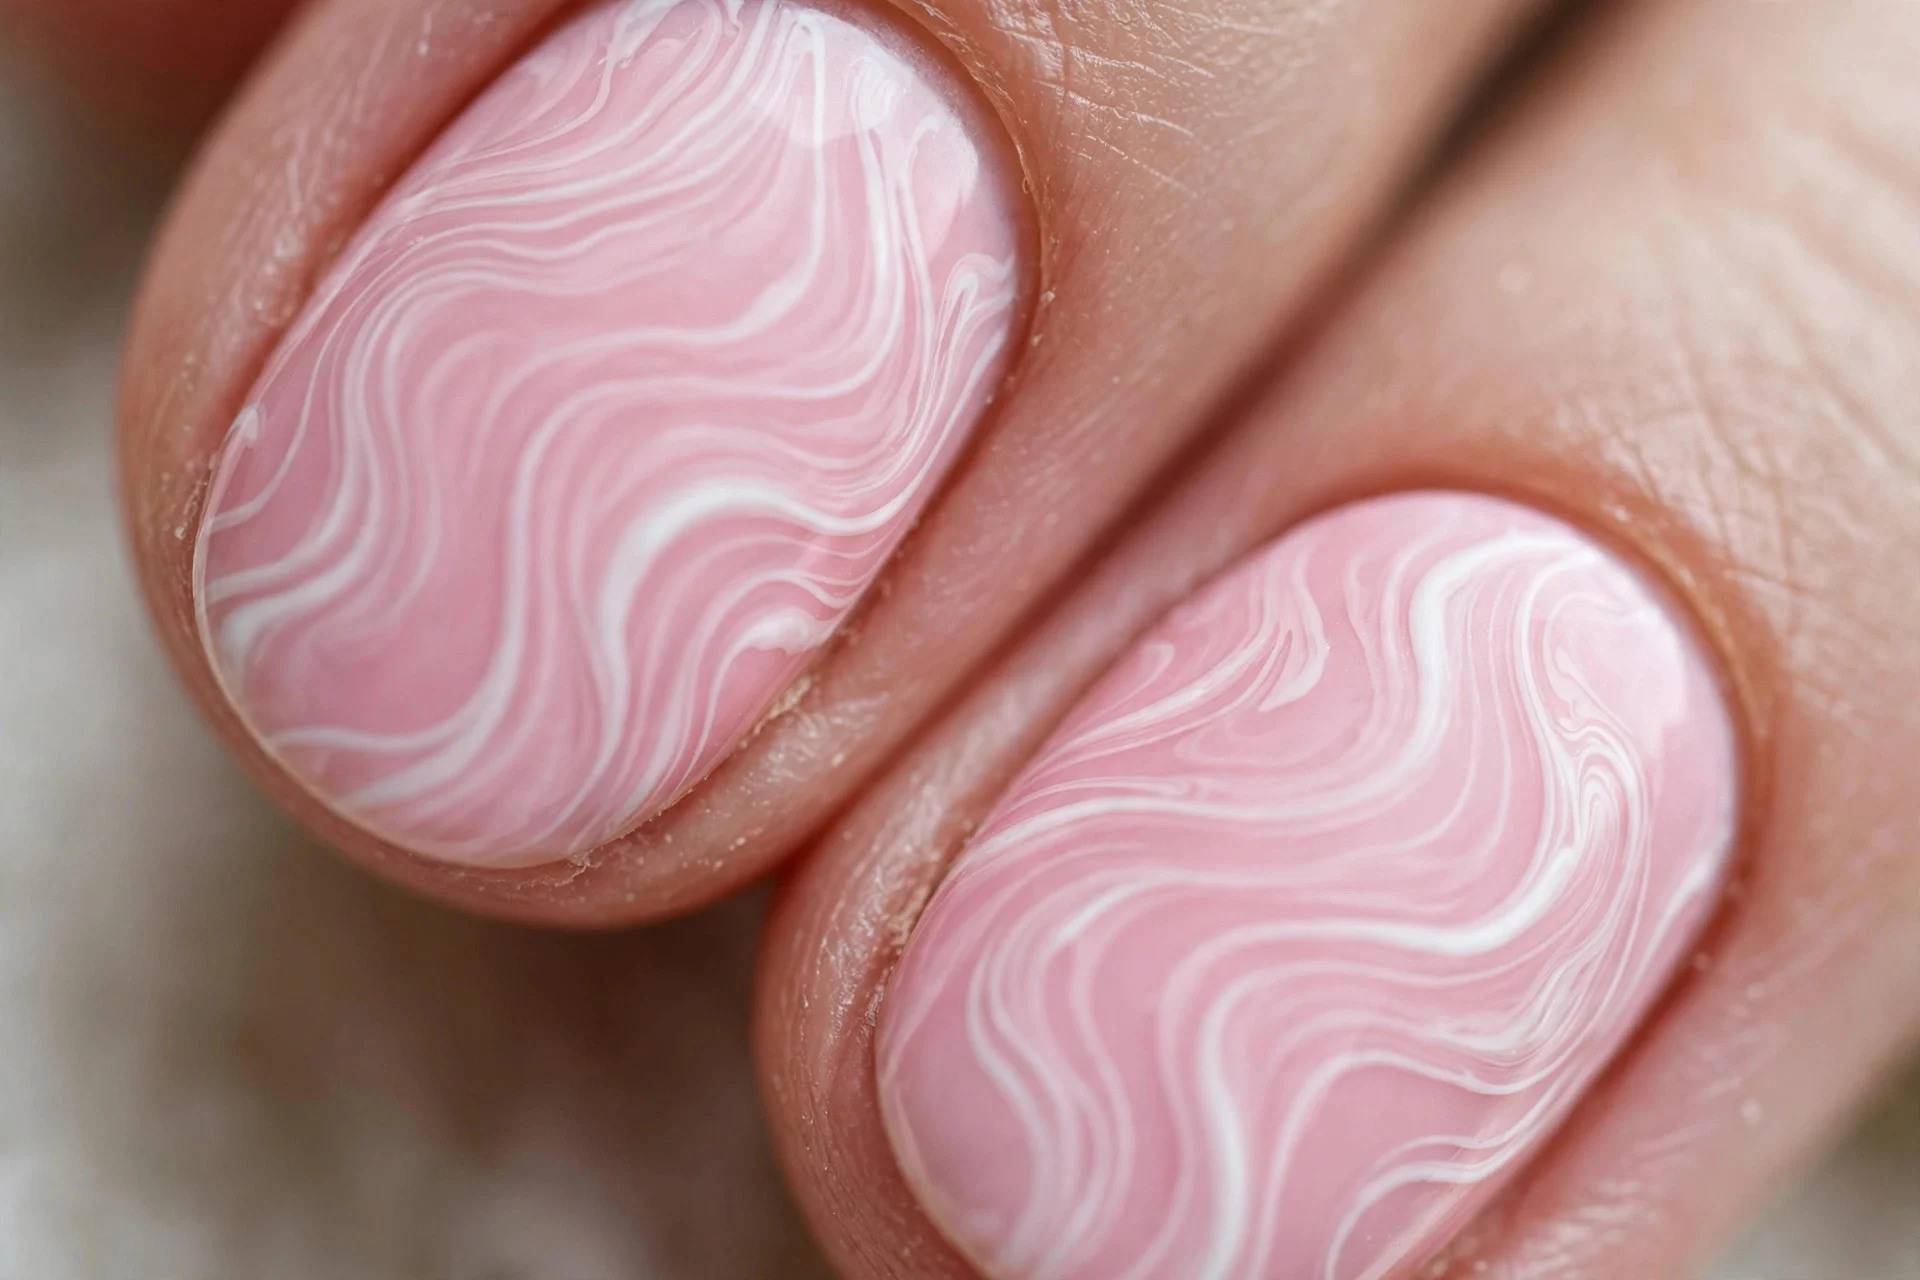
Soft pink base with white swirls. The gentlest swirl on this list — pretty, wearable, and office-safe. White swirls over pink are also the easiest DIY because the contrast is forgiving.
3. Black and White Swirl
High-contrast monochrome swirls. Bold, graphic, and oddly chic — this is the swirl for minimalists who still want nail art. Crisp lines matter here, so it is a good press-on candidate.

4. Pastel Rainbow Swirl
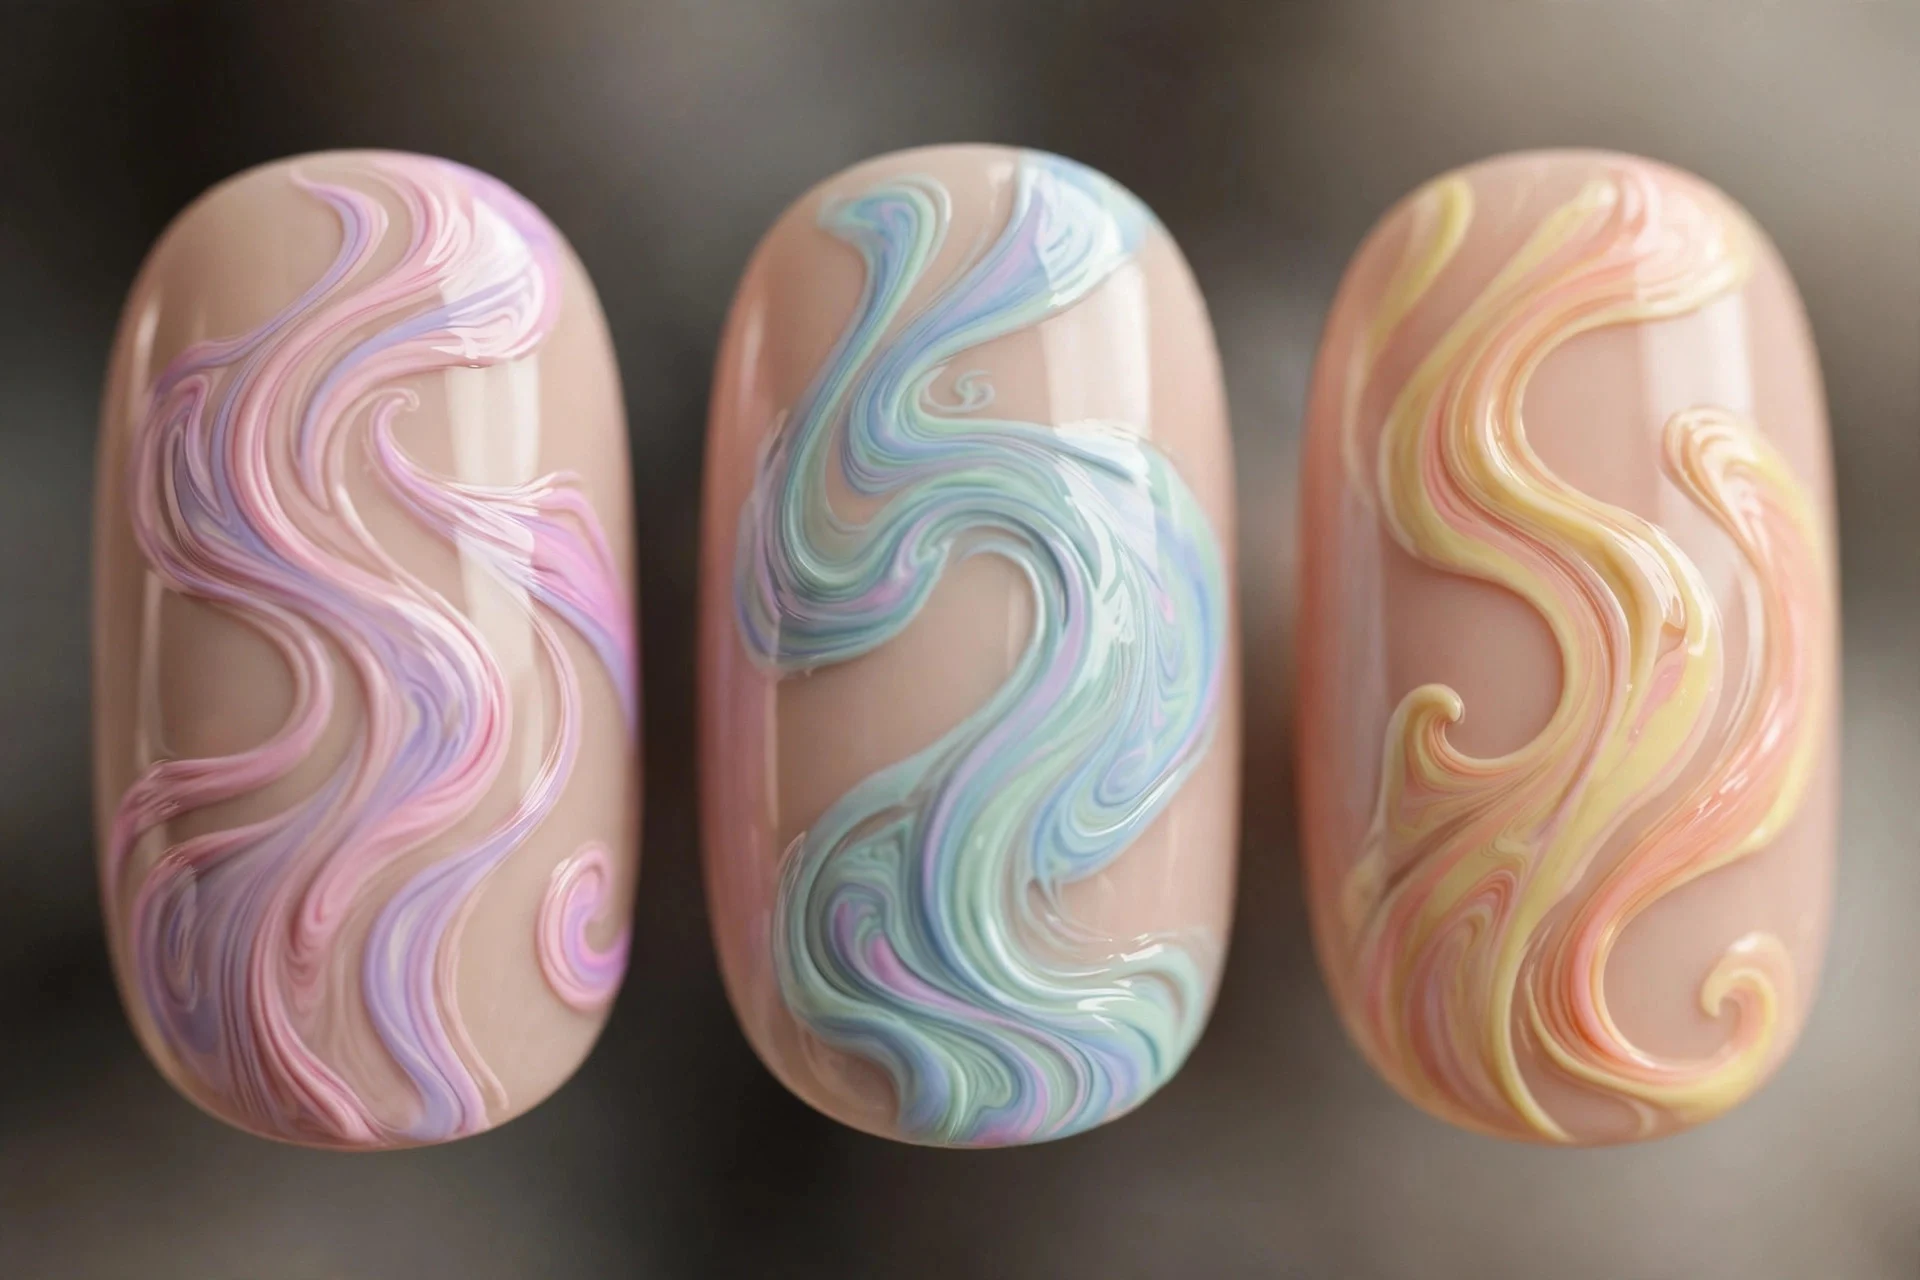
Nude base with a different pastel swirl on each nail. Playful and very 2026 — the multi-colour version photographs beautifully. DIY-friendly: one colour per nail means no blending stress.
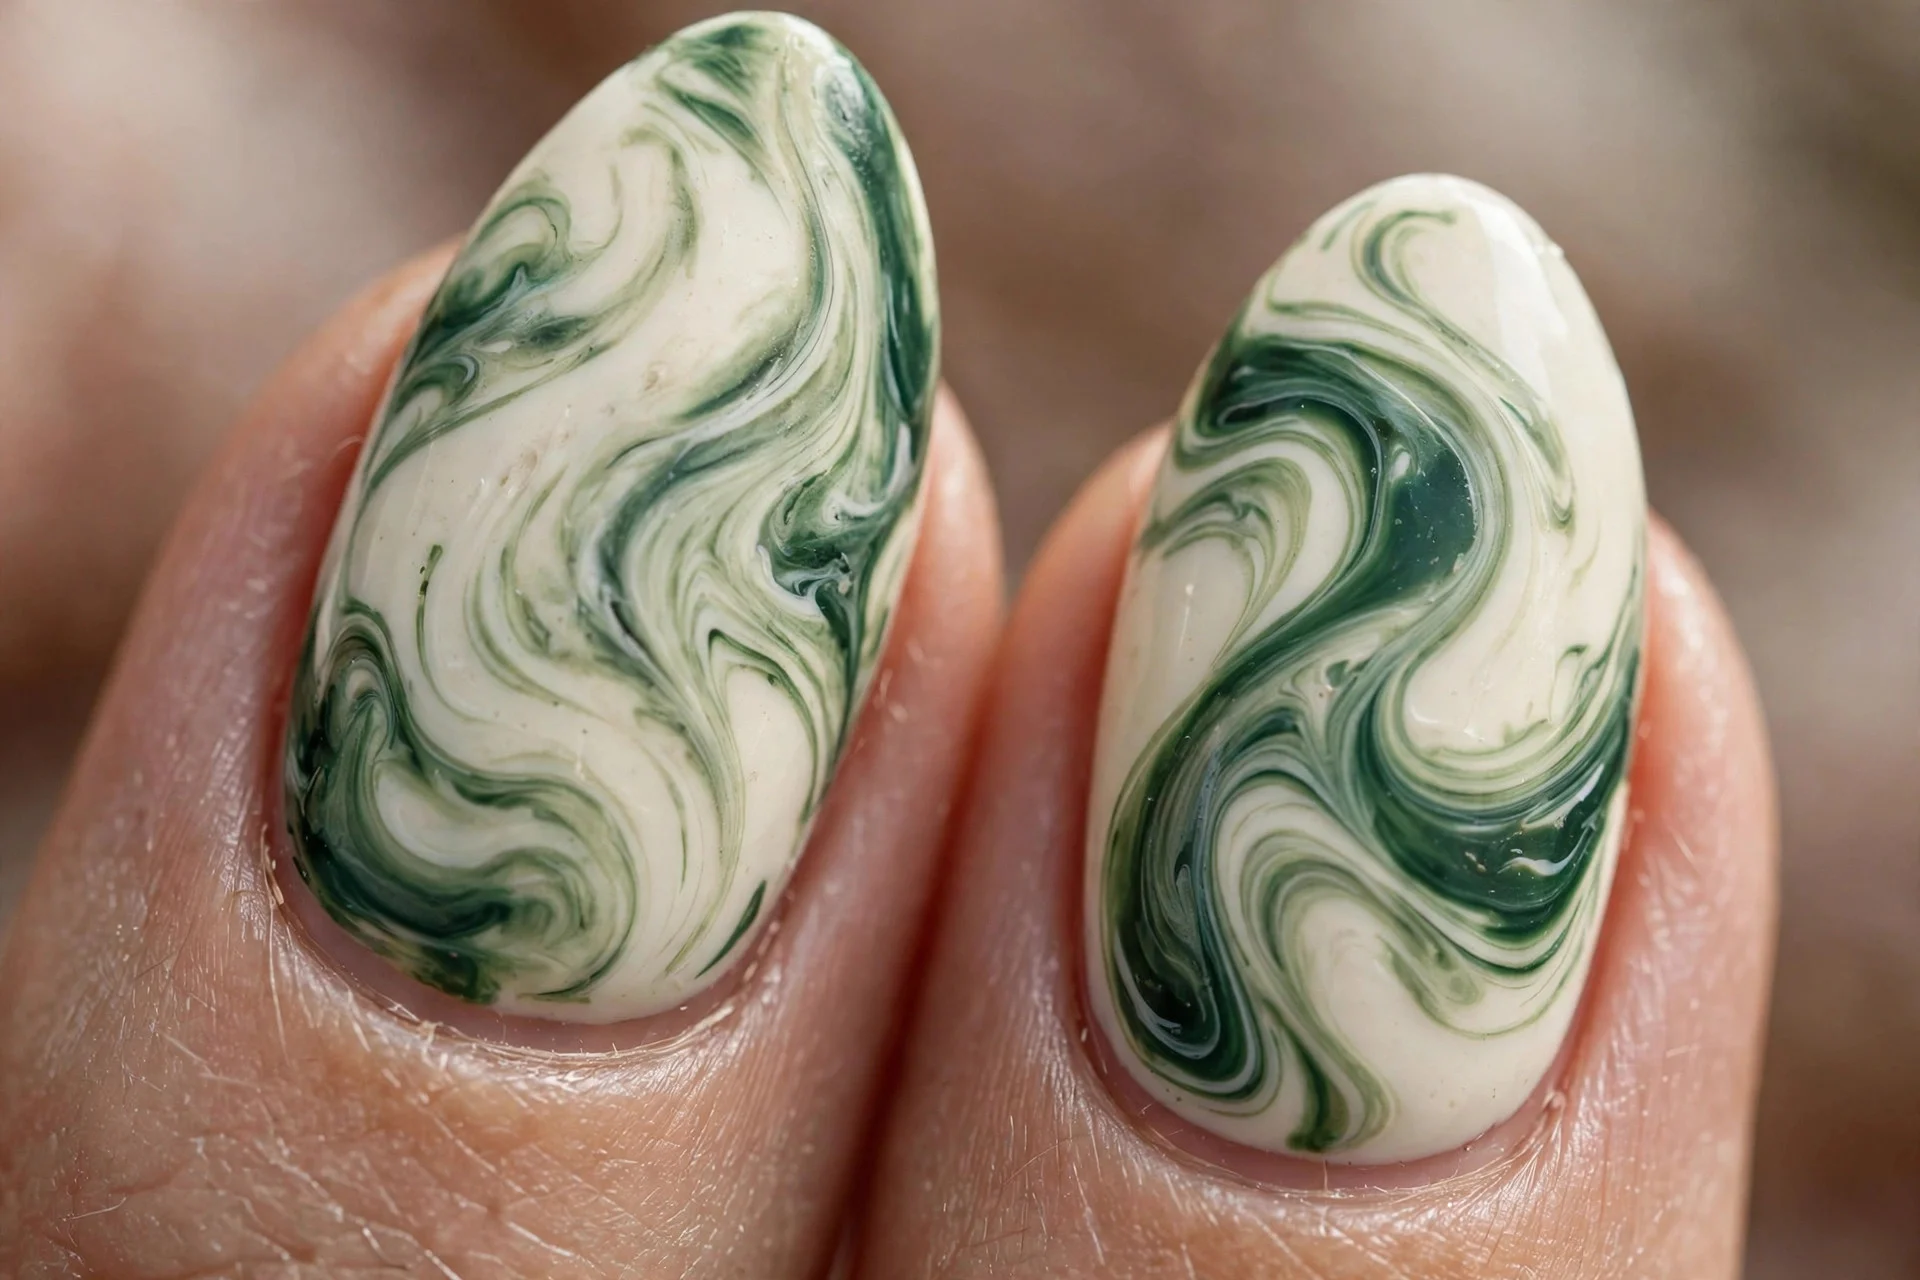
5. Green Swirl
Cream base with sage and forest green swirls. Fresh, a little retro, and surprisingly wearable. Green swirls are having a quiet moment — get in early.
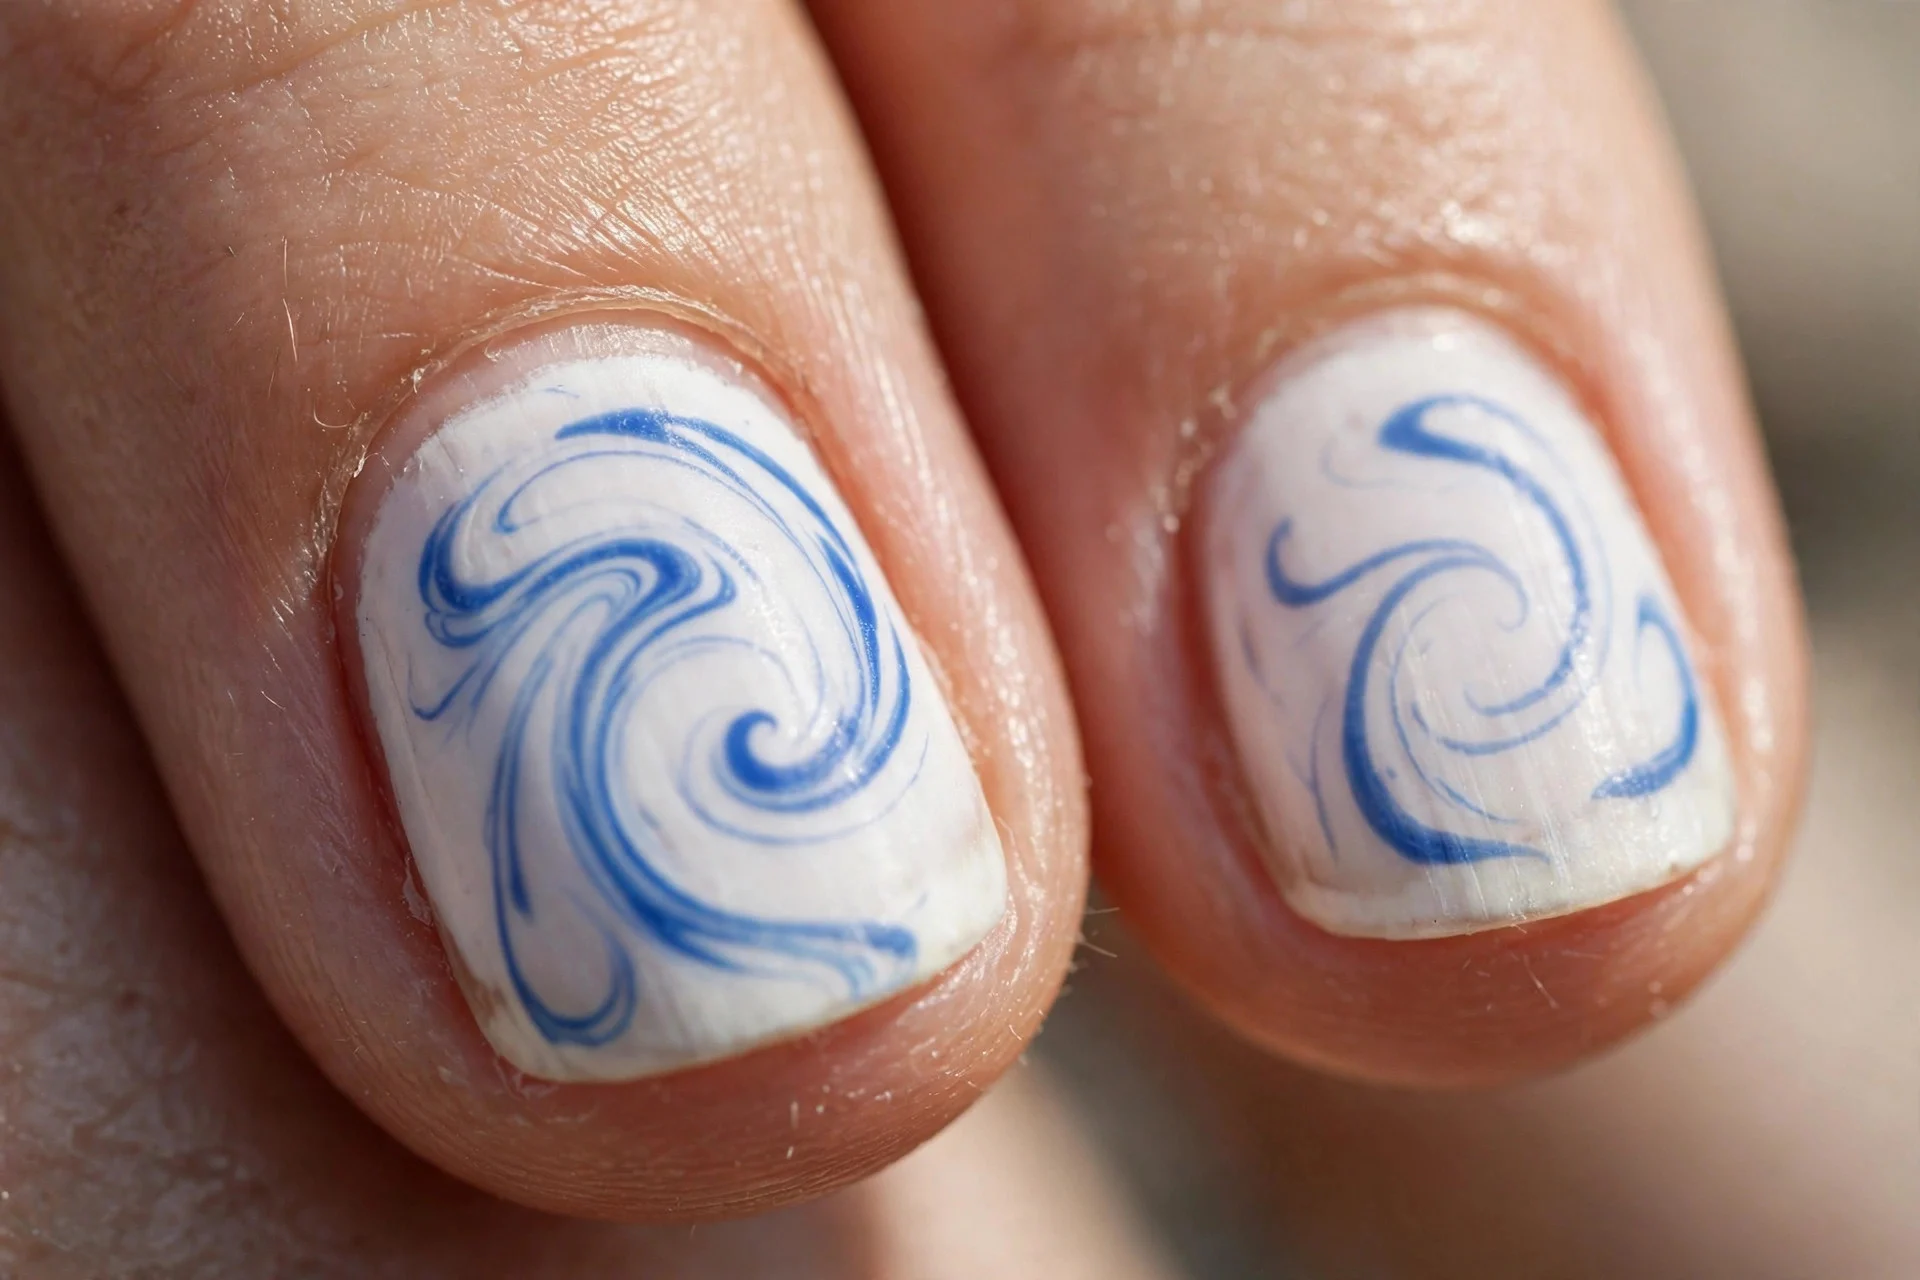
6. Blue Swirl
White base with cobalt and sky-blue swirls. Cool and striking — like ocean waves frozen on the nail. The two-tone blue gives real depth.

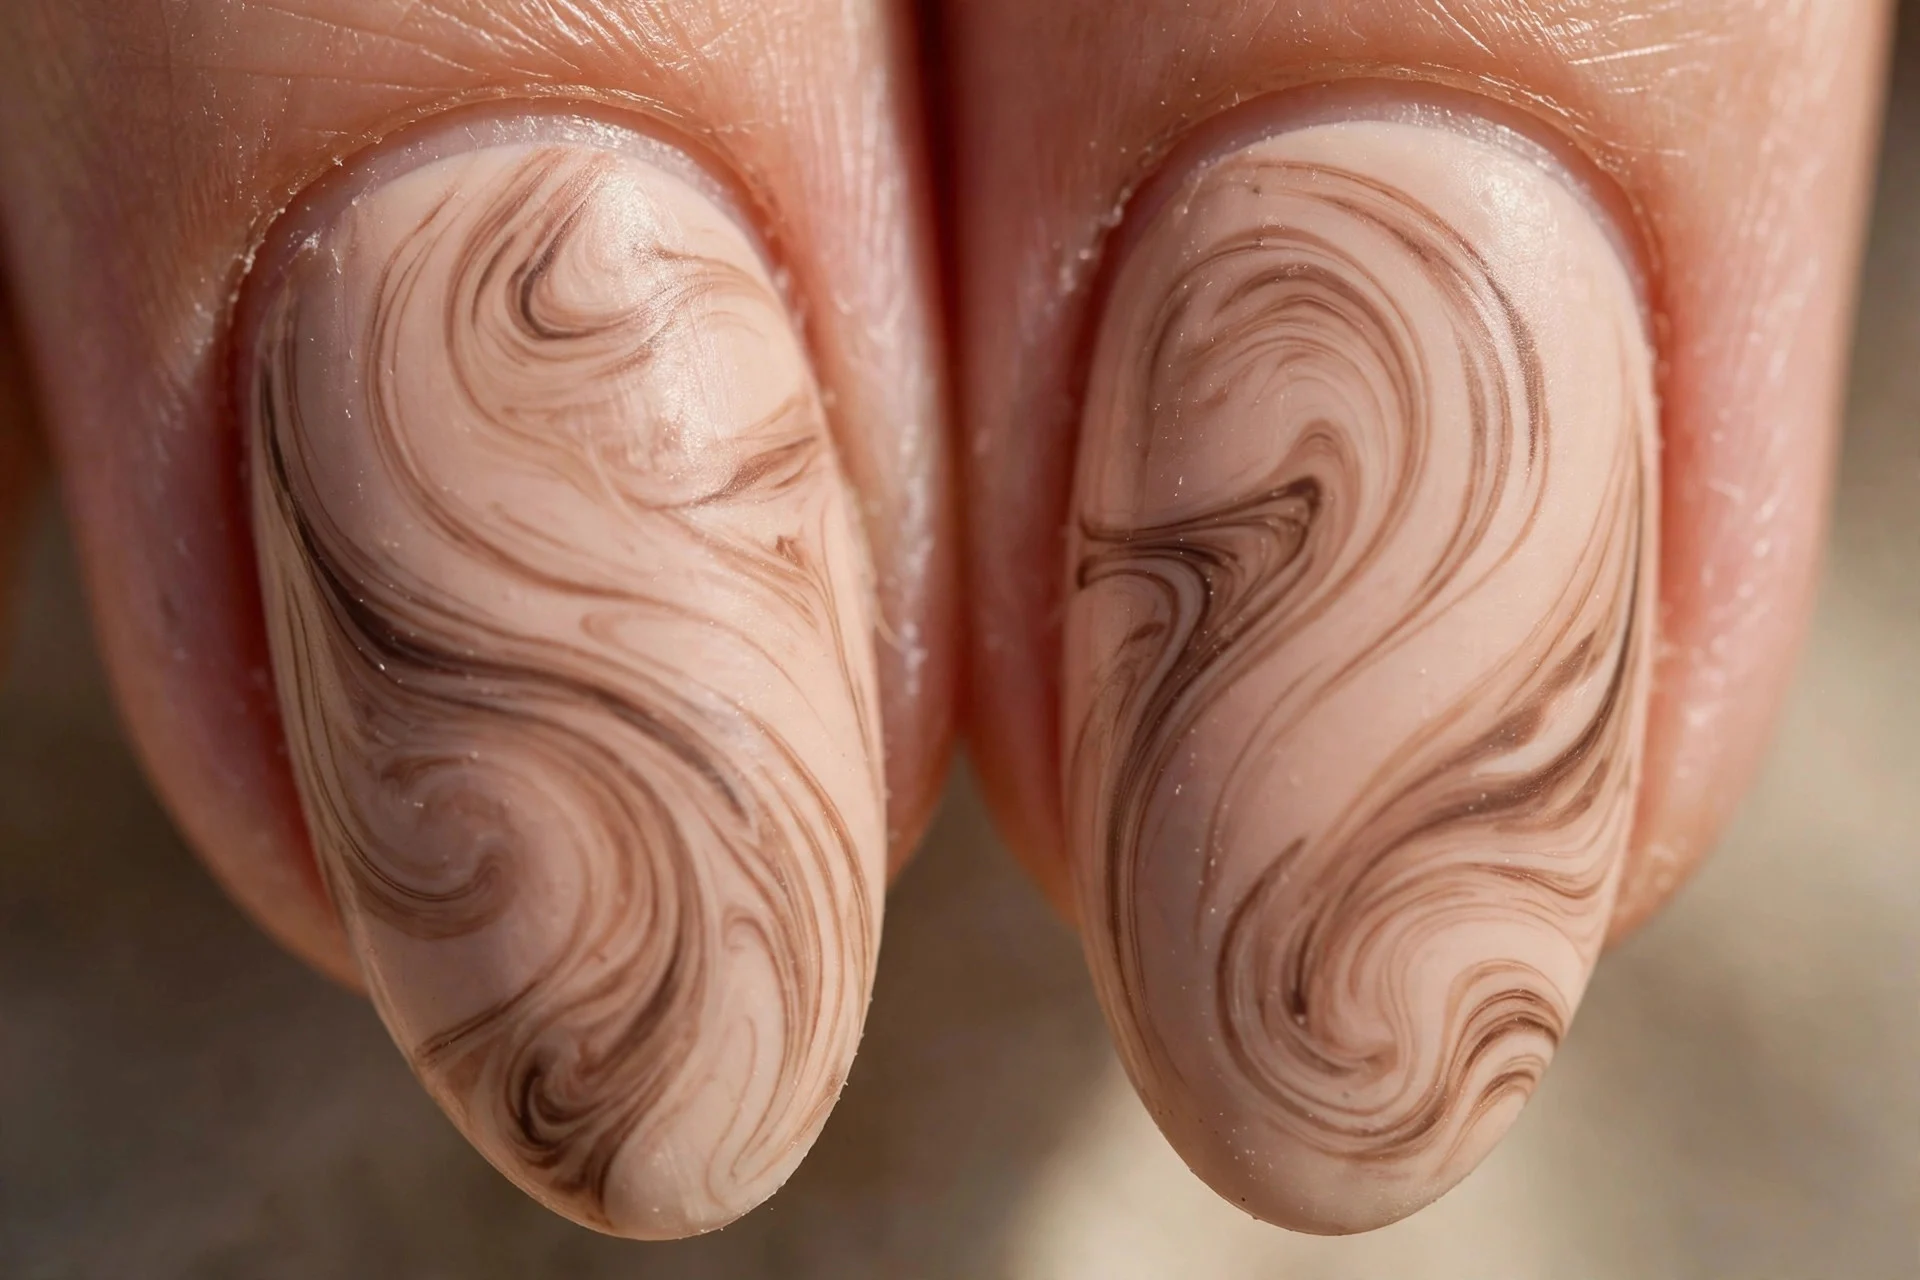
7. Nude Tone-on-Tone Swirl
Nude base with slightly deeper nude swirls. The quiet-luxury swirl — visible up close, subtle at a distance.
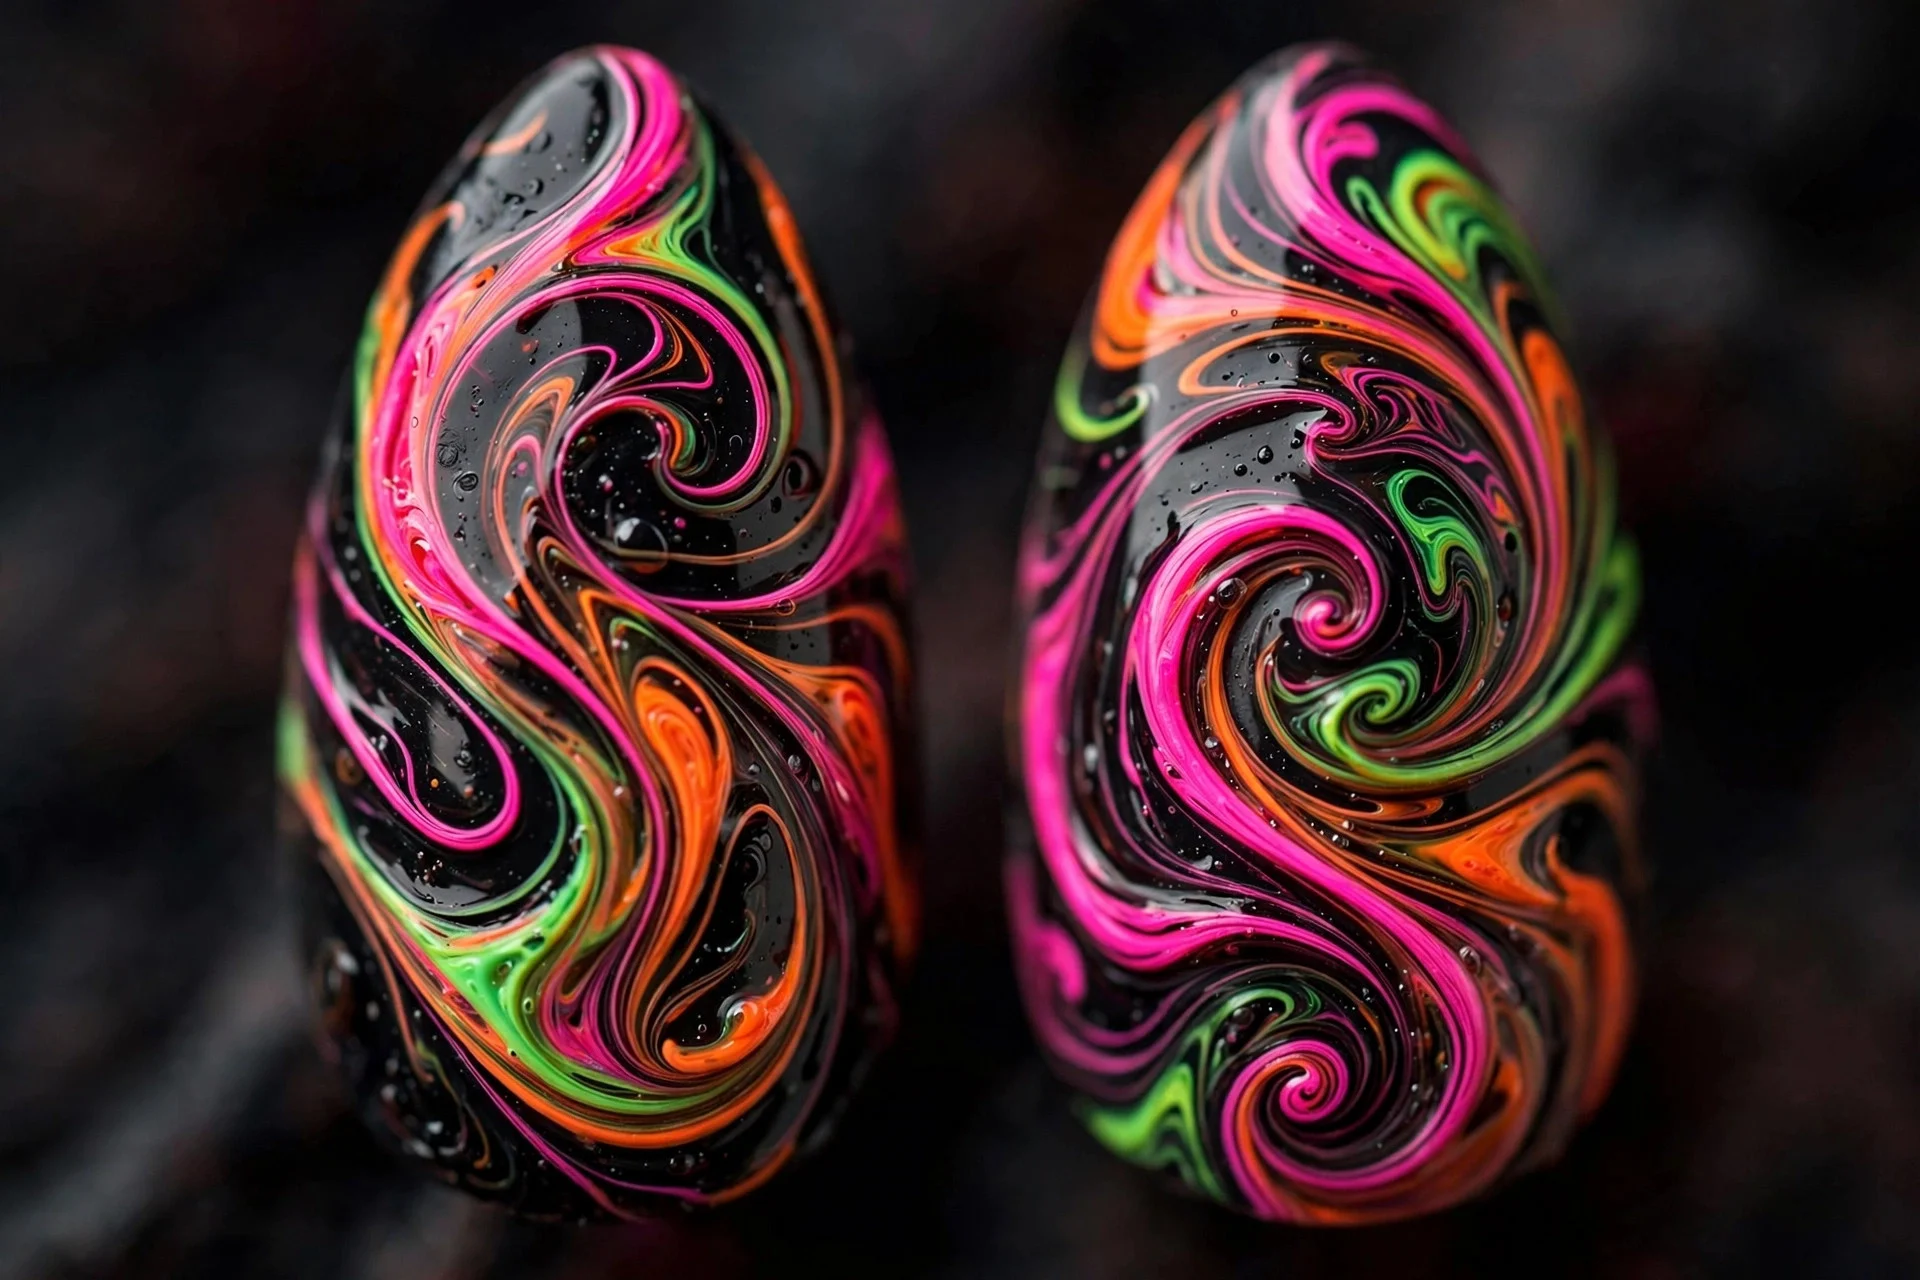
8. Neon Swirl
Black base with neon pink, green, and orange swirls. The party swirl — loud, fun, and incredible under UV light. Neon polishes are cheap, making this the ultimate budget DIY.
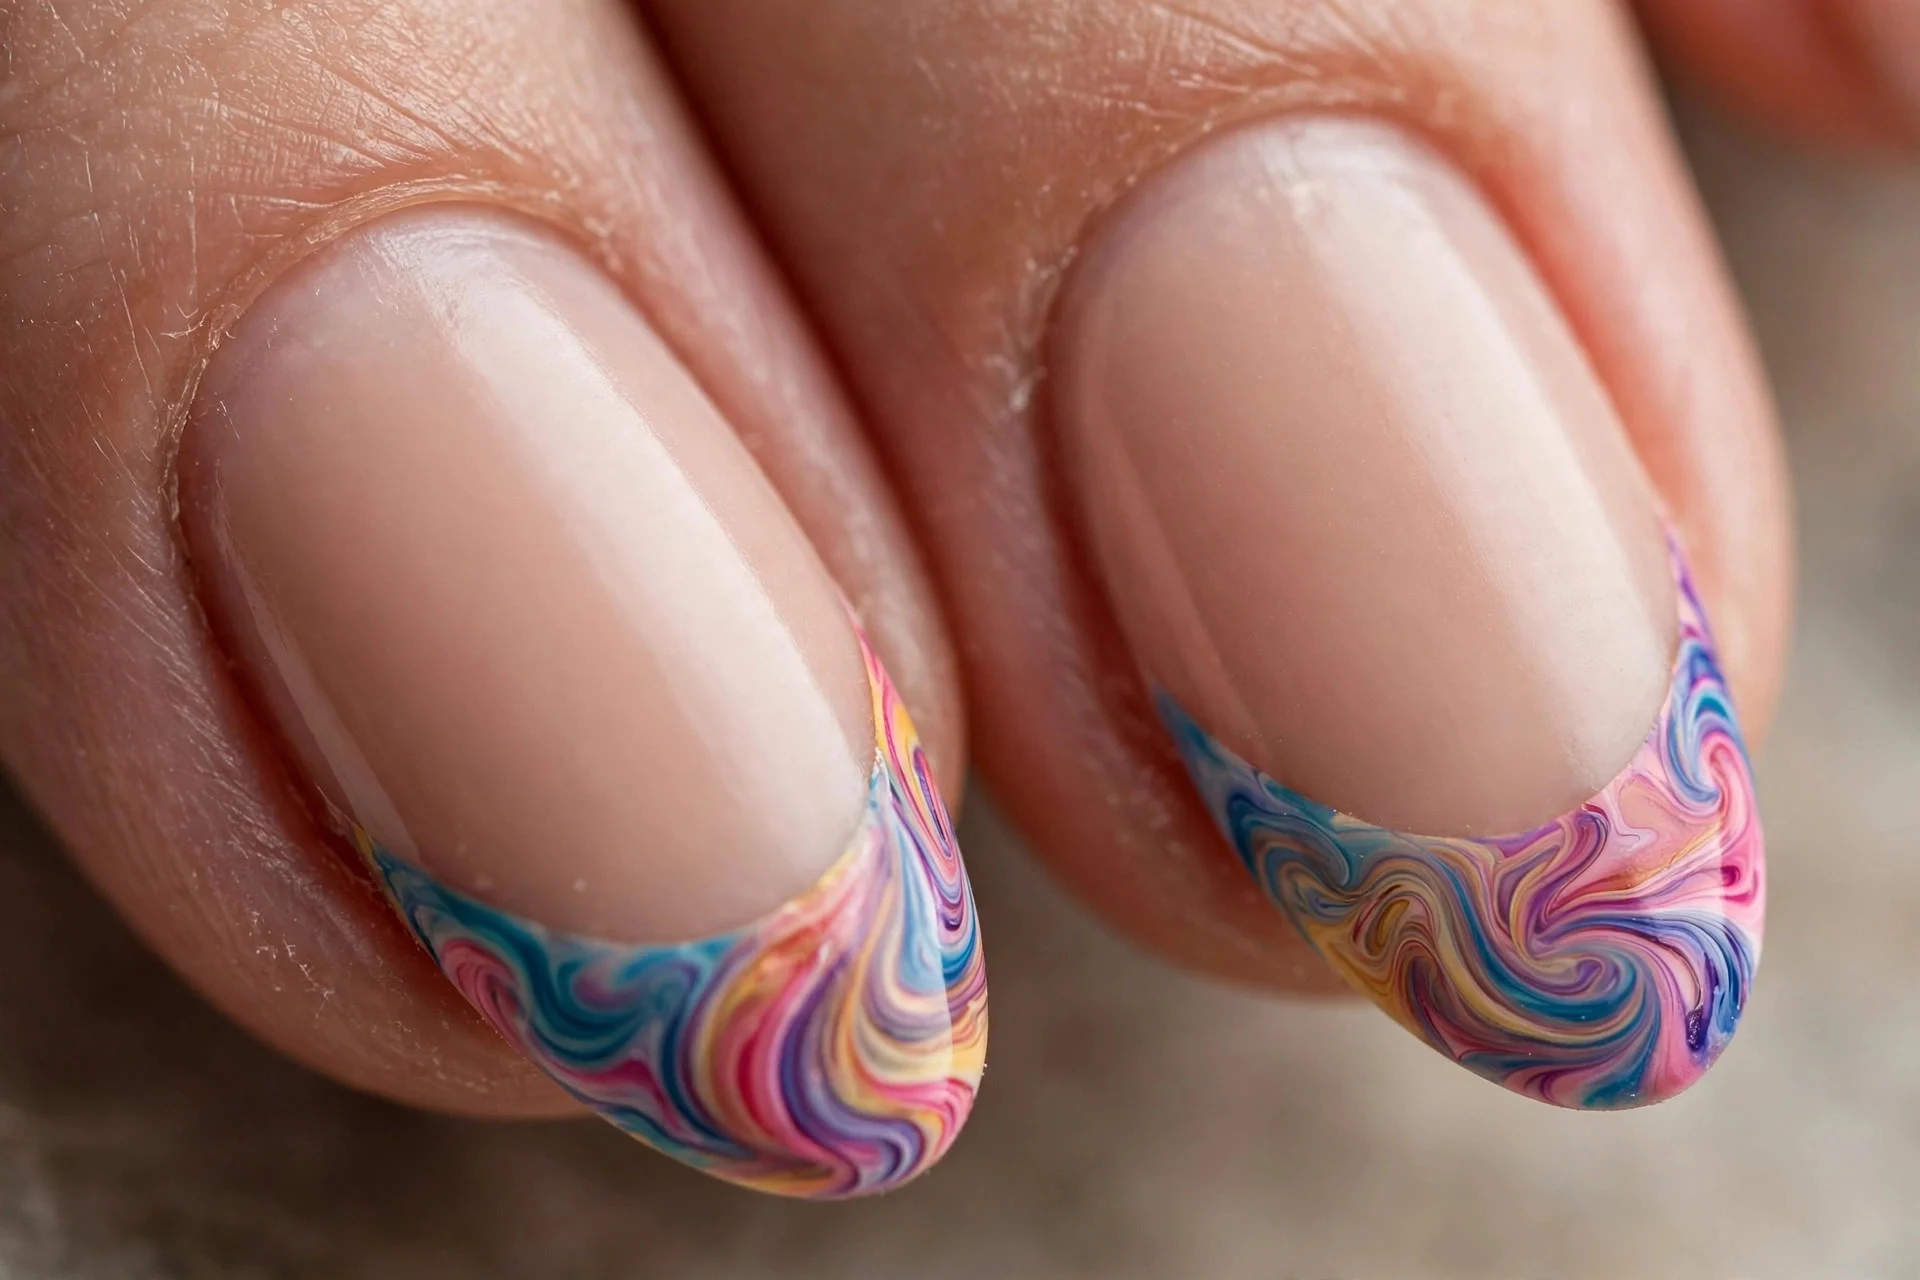
9. Swirl French Tips
Nude base with swirled tips instead of a straight French line. All the retro charm concentrated at the tip — and a clever way to try swirls with less commitment.
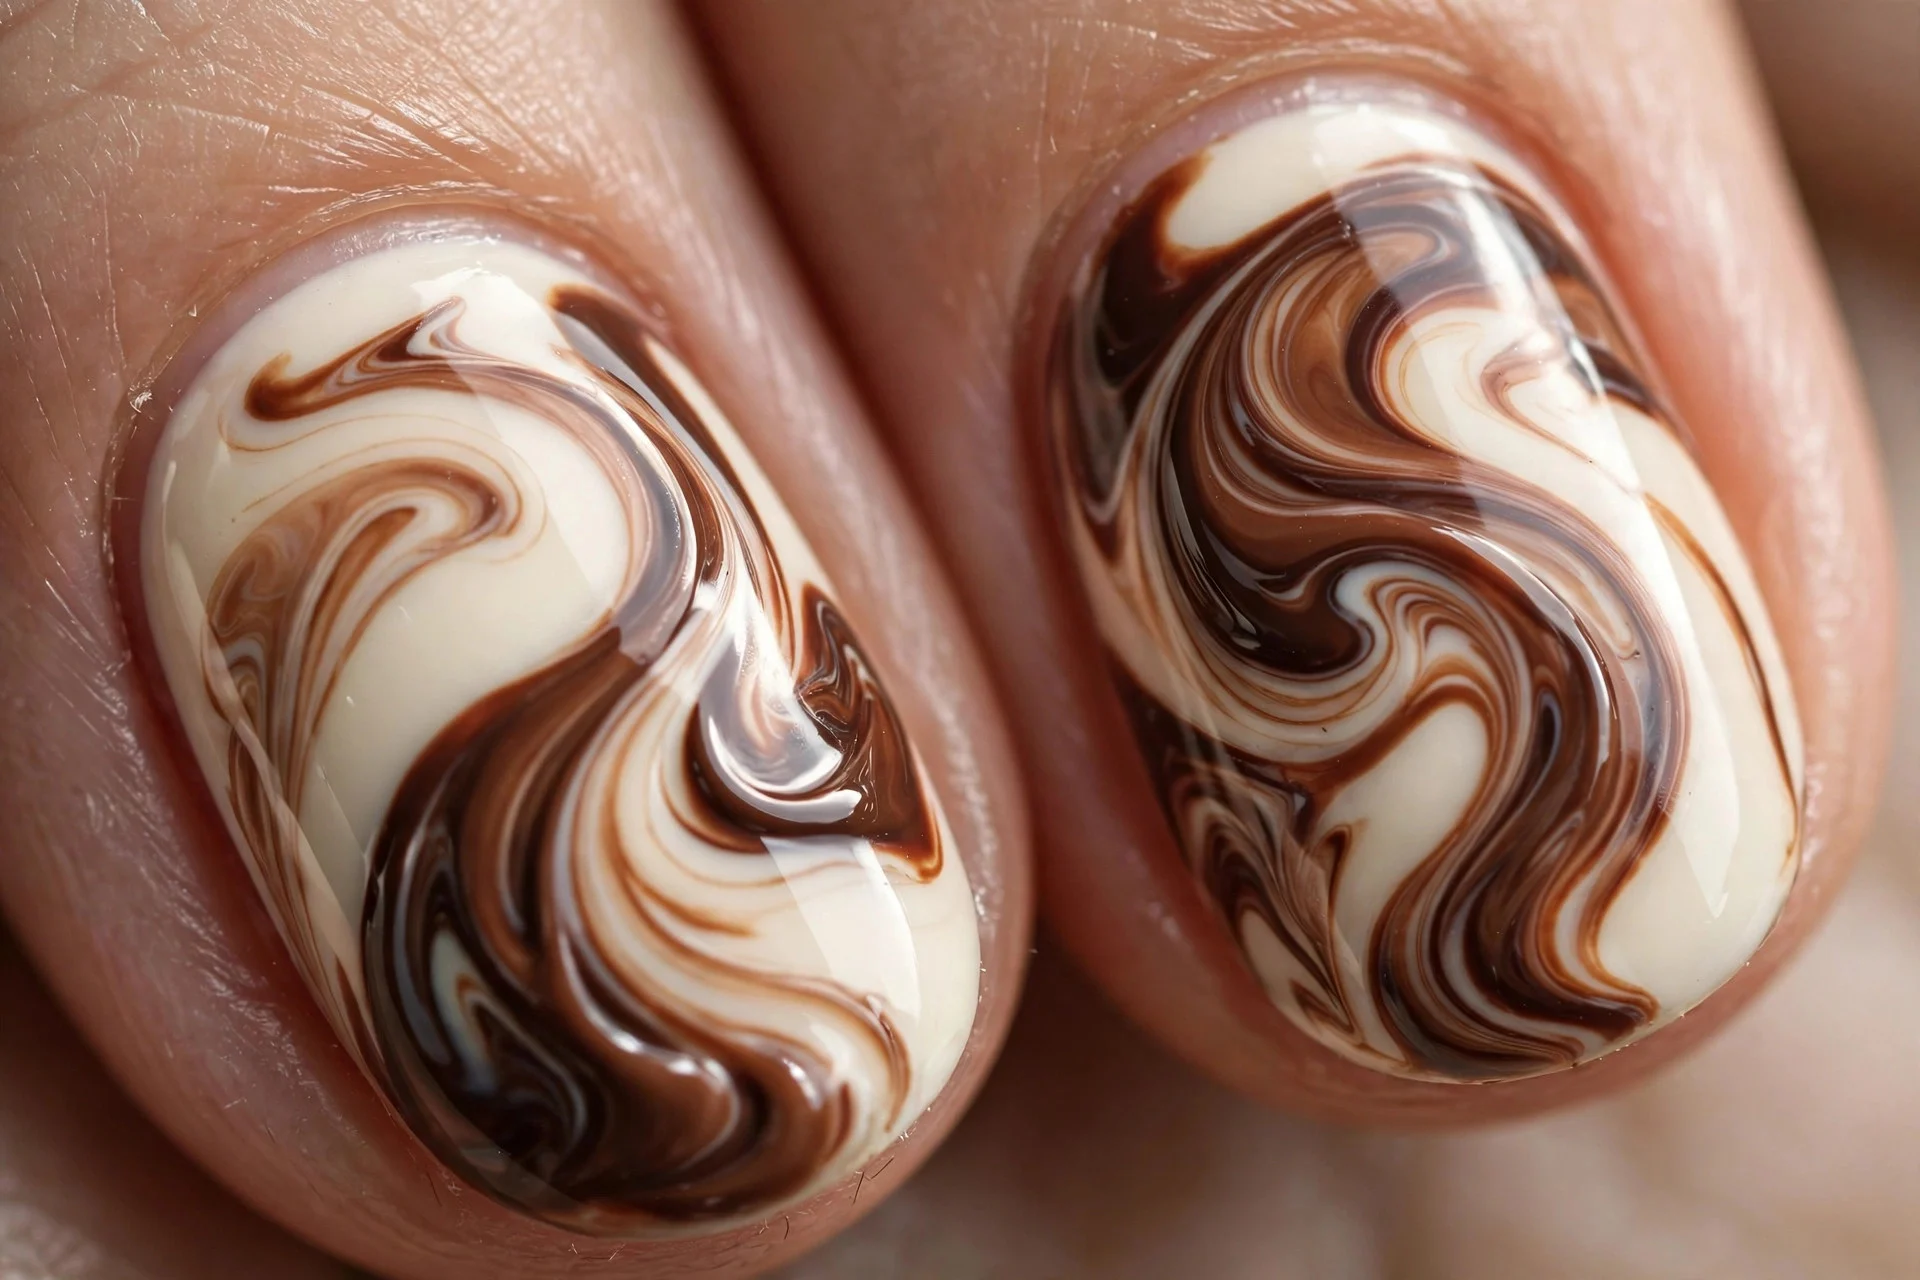
10. Chocolate Swirl
Cream base with milk and dark chocolate swirls. Delicious is the only word — this is the swirl equivalent of a dessert menu. Gorgeous for autumn and winter.
11. Lavender Swirl
White base with lavender and purple swirls. Dreamy and soft — the swirl version of a daydream. Purple polishes blend smoothly, making this forgiving for beginners.

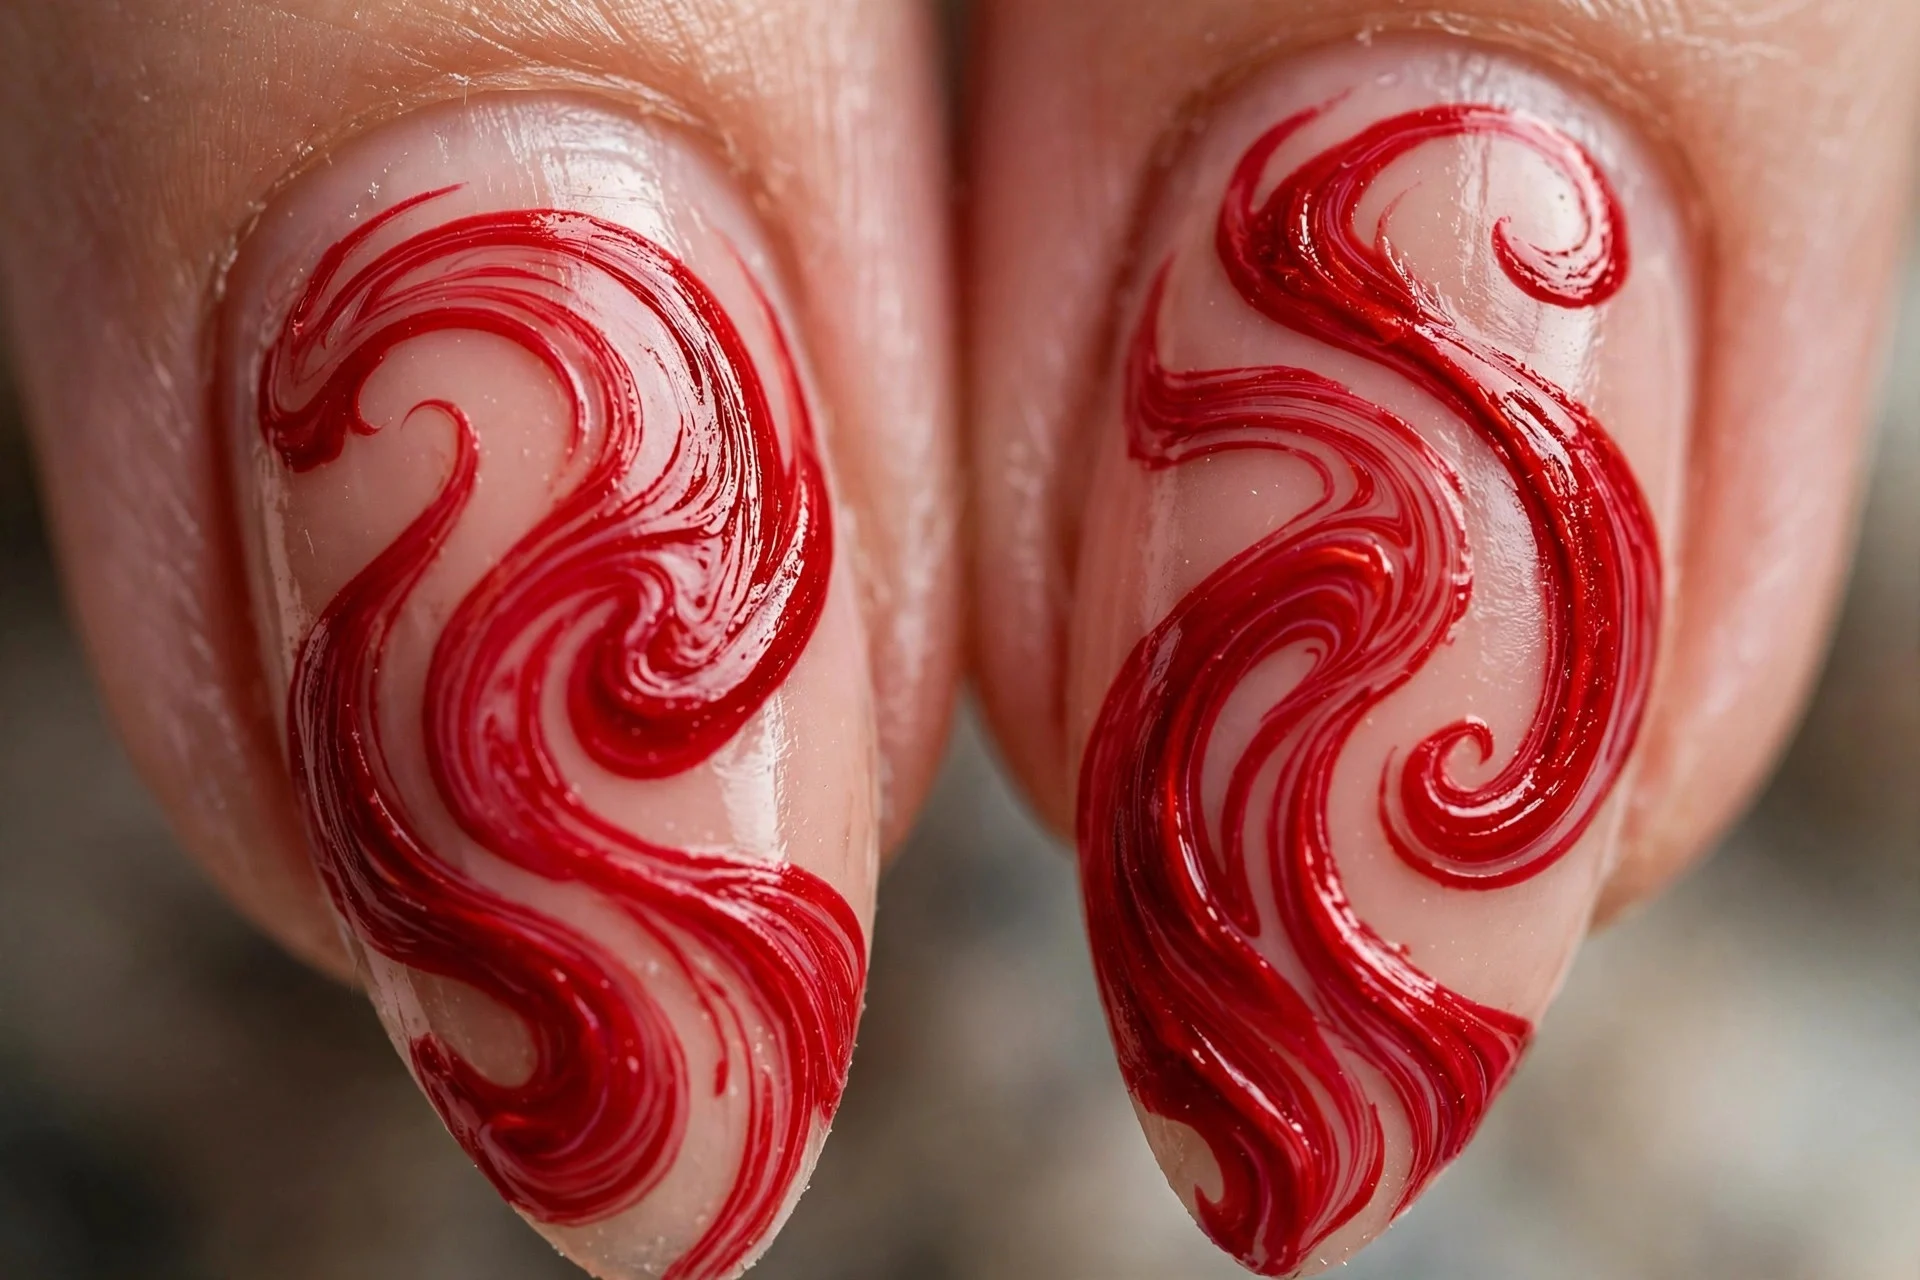
12. Red Swirl
Nude base with red swirls. Bold but classic — red keeps the retro pattern feeling grown-up rather than costume-y. A strong choice for the festive season.
13. Swirl Accent Nails
Solid colour on most nails, swirls on one accent per hand. The budget move in every sense: less product, less time, less risk. If you are DIY-ing, start here.

14. Double Swirl Lines
Thin double lines swirling in parallel — more delicate than the classic thick swirl. This refined version suits shorter nails and conservative settings. Use a striping brush for the fine lines.

15. Mismatched Swirl
Different swirl colours and placements on every nail — organised chaos. This is the most forgiving design on the list because nothing is supposed to match. For more happy-clash inspiration, see my mismatched nail ideas and polka dot nail ideas for patterns that pair well with swirls.

16. Short Nail Swirl
Short natural nails with simple two-colour swirls. Proof you need no length for the trend — keep the swirls bold and simple so they read clearly on a small nail.
17. Beginner Blob-and-Drag Swirl
The starter technique as a look: blobs of two colours dragged into waves with a toothpick. Deliberately organic, genuinely pretty, and the design I recommend to every swirl beginner. For more starter-friendly art, my simple nail ideas for beginners at home has you covered.

Frequently Asked Questions
How much do swirl nails cost at the salon?
£45-65 in the UK ($55-80 in the US) for a gel set with hand-painted swirls — about £15-25 more than plain gel. Extensions or elaborate designs push it to £75+ / $90+.
Are press-on swirl nails worth it?
Yes for trying the trend or for events. Good sets cost £6-12, apply in ten minutes, and last 5-10 days. Look for varied swirl placement across nails so they do not look stamped.
How do I do swirl nails at home?
Paint the base and let it dry completely, then paint wavy lines with a detail brush or drag blobs of colour with a toothpick in an S-motion. Seal with top coat. The blob-and-drag method needs zero brush skill.
Do swirl nails suit short nails?
Absolutely. Keep the swirls bold and simple — two colours, clear waves — so the pattern reads on a small nail plate. Thin fiddly swirls get lost on short nails.
How long do DIY swirl nails last?
With regular polish, about a week; with gel, two to three weeks. The design wears like any manicure since it is sealed under top coat.
What is the cheapest way to get swirl nails?
DIY with polish you already own costs nothing extra. Starting from zero, a detail brush and two polishes run under £10. Press-ons at £6-12 are the cheapest zero-skill option.
Final Thoughts
Swirl nails are the rare trend where the budget version is genuinely as good as the expensive one — the design forgives wobbles, press-ons look convincing, and DIY needs nothing but a toothpick. Try a £8 press-on set first, and if you are still obsessed in a week, invest the tenner in DIY supplies. Your wallet will thank you, and your nails will still look brilliant.